


Bready or Not Original: Small Batch Cakey Brownies
Sometimes you just need a few brownies. That’s the perfect time for this Small Batch Cakey Brownies recipe.
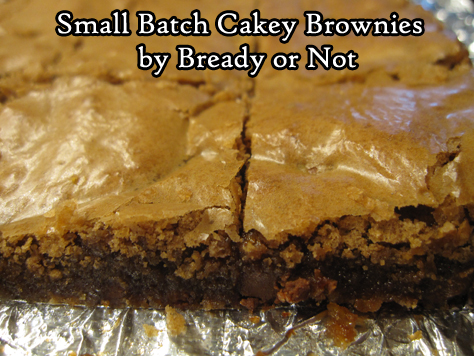
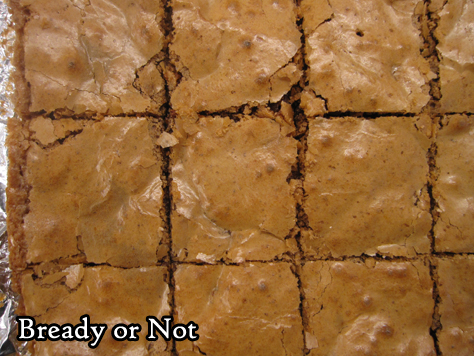
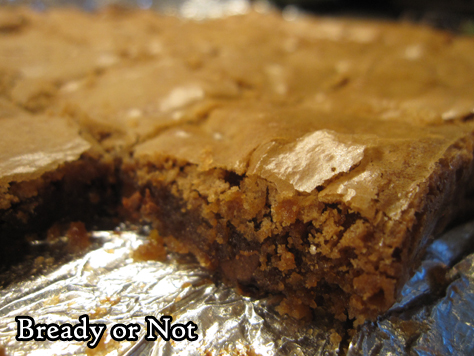
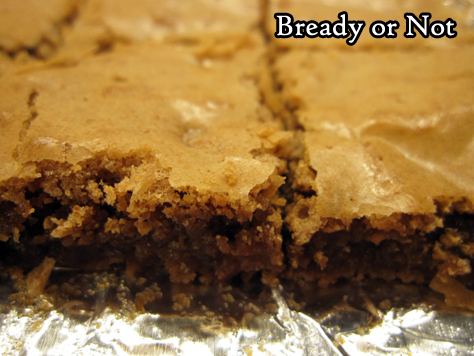
These are not monstrously thick brownies. They are thin with a crackled top, with a nice, cakey moist crumb.
I created this recipe by combining about four other recipes, trying to find a middle ground recipe that my son would like. This is the one that turned out to be the winner.
Even better, I found out these brownies kept well for an entire week in a sealed container at room temperature–and who knows, maybe they could last a lot longer? In any case, there’s no urgent need to gorge on them lest they go bad.
These brownies are all about goodness.
Bready or Not Original: Small Batch Cakey Brownies
Ingredients
- 2 ounces semi-sweet chocolate
- 6 Tablespoons unsalted butter
- 1 cup white sugar
- 2 large eggs
- 1/2 teaspoon vanilla extract
- 1/2 teaspoon fine sea salt
- 1/4 cup all-purpose flour
- 1/4 cup cake flour
- 1/2 cup milk chocolate chips
Instructions
- Preheat the oven to 350-degrees. Line a 9x9 or 8×8-inch pan with foil, letting foil overhang each side. Apply nonstick cooking spray.
- In a microwave-safe bowl, microwave the chocolate and butter on high in 30 second increments, stirring between each burst, until everything is melted. Let cool slightly.
- Using a stand mixer or hand mixer, in a large bowl beat together the sugar and eggs for 3 to 5 minutes, until they are pale, light, and fluffy. Pour in the cooled chocolate and butter mixture, followed by the vanilla.
- Combine the salt and both flours in a bowl. Stir in the chocolate chips. Fold flour mix into the wet ingredients. Pour into the prepared pan and even out.
- Bake for 20 minutes, or until a toothpick inserted in the center comes out with moist crumbs attached. Cool completely. Use foil onto a cutting board to slice into bars.
- Brownies will keep for upwards of a week in a sealed container at room temperature.
OM NOM NOM!
Book Blog: Elatsoe by Darcie Little Badger
I review everything I read and post reviews on Goodreads and LibraryThing. That’s not enough. Good books are meant to be shared. Therefore, I’m spotlighting some of my favorite reads here on my site.
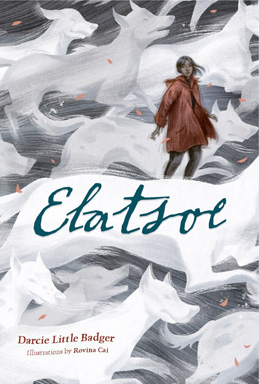
Elatsoe by Darcie Little Badger
out now in print and ebook; BookShop, B&N, and Amazon [affiliate link]
I read this as part of my Norton finalist packet.
What a fantastic YA book! Elatsoe has an urban fantasy vibe, kinda, but spins everything in a brilliant, original way. A big reason for that is the dynamic, smart heroine, Elatsoe aka Ellie. She’s still a high schooler but she has big dreams of becoming a paranormal PI. She knows the paranormal well, as she was raised on the stories of her incredible Lipan Apache ancestress Six-Great, and her near-constant companion is the ghost of her beloved dog, who she raised herself. When her cousin is in a terrible car accident, he reaches out in a dream to tell her this was no accident, but murder. Ellie goes along with her parents to take care of her cousin’s widow, and finds herself investigating not the murderer but an entire creepy town.
I loved how smart this book was. Ellie is a kid, sure, but she is competent, and she is respected for her competence by her parents and those who know her. That is so refreshing! That doesn’t take away from the tension in the book, either, because Ellie still has a lot to learn. This is a story packed with twists and turns, and the world Little Badger established is endlessly fascinating. I mean, I tend to avoid books with vampires because I feel they have been so overdone, but the way they come across here feels fresh and new, and I LOVED a scene where Ellie and her mom banish an unwelcome vampire.
I hope there are more books set in this world. I would love to visit here again!
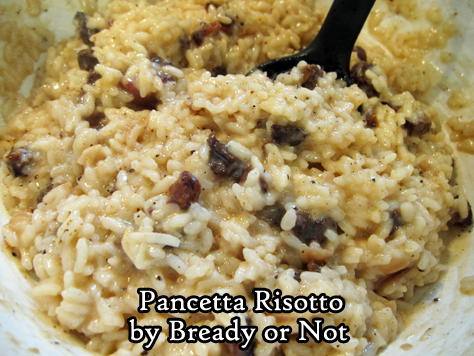
Read MoreBready or Not Original: Pancetta Risotto
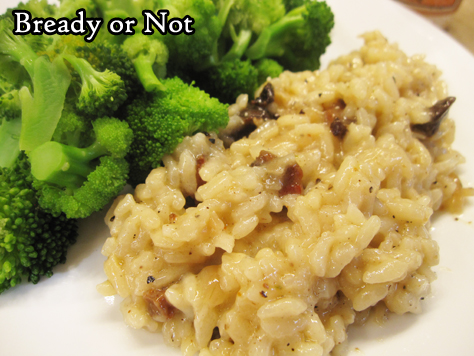
This Pancetta Risotto is a fantastic meal for two people, or a delicious side for a group. It’s time-consuming but very straightforward to make.
I confess, I spent years being intimidated by the very idea of a risotto. I would see it done on cooking shows. So much stirring! When I finally got up the gumption to give it a try, I found risotto wasn’t hard at all. It really is about lots of stirring.
This recipe here is my fancy occasion recipe, especially when I have some good pancetta on hand, such as the kind carried by Smoking Goose Meatery out of Indianapolis.

As for the wine, I’ve tried this with fancier Sauvignon Blanc from Total Wine (Cloudy Bay from New Zealand) as well as a $6 Trader Joe’s Coastal Sauvignon Blanc. Both versions turned out great! You don’t need to go all-out, but get something that is (hopefully) drinkable with the finished meal.
Bready or Not Original: Pancetta Risotto
Equipment
- large stock pot
- medium saucepan
Ingredients
- 8 oz pancetta diced
- 1 Tablespoon dried shallots or fresh shallot, finely minced
- 3 cloves garlic minced
- 1 1/4 cups Arborio rice
- 1 cup dry white wine Sauvignon Blanc works well
- 4 cups chicken broth or chicken stock, equal to a 32 oz box or 2 cans
- 1/2 cup shredded Parmesan or Pecorino Romano or Grana Padano, plus more to top rice
- salt and pepper to taste
Instructions
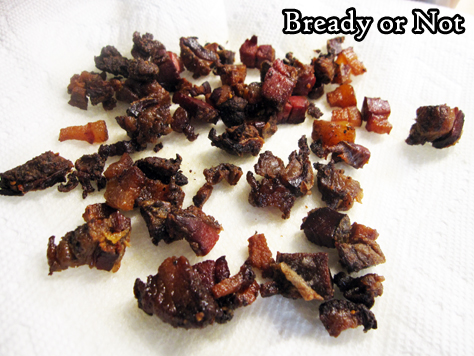
- In a large stock pot, cook the pancetta for 10 to 12 minutes, until it starts to turn brown and crispy. At the same time, on another stove burner, use a medium sauce pan to bring the chicken broth to a very low simmer.
- Use a slotted spoon to transfer pancetta to a paper towel-lined plate; set aside. Add dry shallots and garlic to the fat in the big pot. Sauté for two minutes. Add the Arborio rice and a pinch of salt. Sauté another 2 minutes, until the rice looks glossy with translucent edges.
- Add the white wine and stir until it is absorbed. Add chicken broth in 1/2 cup increments, stirring well after each addition until it is absorbed. After about 12 to 15 minutes, when most of the broth has been added, begin to taste the rice. The goal is a chewy, al dente consistency. Add more broth as needed, and remember to turn off the burner for the broth pot when it is empty.
- When the rice is creamy and al dente, stir in the pancetta and cheese. Taste the risotto again, adding more salt and pepper as needed. Serve with the remaining white wine.
OM NOM NOM!
Book Blog: The Midnight Bargain by C. L. Polk
I review everything I read and post reviews on Goodreads and LibraryThing. That’s not enough. Good books are meant to be shared. Therefore, I’m spotlighting some of my favorite reads here on my site.
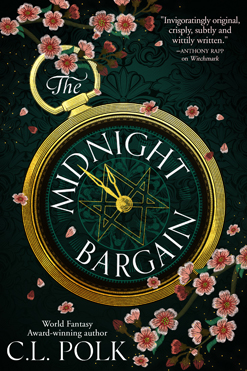
The Midnight Bargain by C. L. Polk
out now in print and ebook; BookShop, B&N, and Amazon [affiliate link]
Beatrice Clayborn is a sorceress who practices magic in secret, terrified of the day she will be locked into a marital collar that will cut off her powers to protect her unborn children. She dreams of becoming a full-fledged Magus and pursuing magic as her calling as men do, but her family has staked everything to equip her for Bargaining Season, when young men and women of means descend upon the city to negotiate the best marriages. The Clayborns are in severe debt, and only she can save them, by securing an advantageous match before their creditors come calling.
In a stroke of luck, Beatrice finds a grimoire that contains the key to becoming a Magus, but before she can purchase it, a rival sorceress swindles the book right out of her hands. Beatrice summons a spirit to help her get it back, but her new ally exacts a price: Beatrice’s first kiss . . . with her adversary’s brother, the handsome, compassionate, and fabulously wealthy Ianthe Lavan.
The more Beatrice is entangled with the Lavan siblings, the harder her decision becomes: If she casts the spell to become a Magus, she will devastate her family and lose the only man to ever see her for who she is; but if she marries—even for love—she will sacrifice her magic, her identity, and her dreams. But how can she choose just one, knowing she will forever regret the path not taken?
I checked out this book from my library as part of my reading of Nebula finalists for this year.
I LOVE THIS BOOK. LOOOOOOOVE. It hits all of my sweet spots. A regency-inspired original world, with magic! Women striving for independence against societal expectations! A central romance with a guy who is a respectful, smart, supportive person, not a jerk! Smart heroines! Everything about this book is glorious and wonderful, including an ending that delivered a multitude of surprises and immense satisfaction.
Read More