


Find my signed books at Powell’s in Downtown Portland & Beaverton!
Last week, I made a trip to the Pacific Northwest. It was my first vacation in two years, and I had a great time! While I have been in Portland before, that usually involved blazing through on I-5. I never before had the chance to explore the place… or to see the wonders of Powell’s Books with my own eyes. I didn’t get to spend much time there, alas, (but I WILL be back), but I did sign my books that they had in stock!
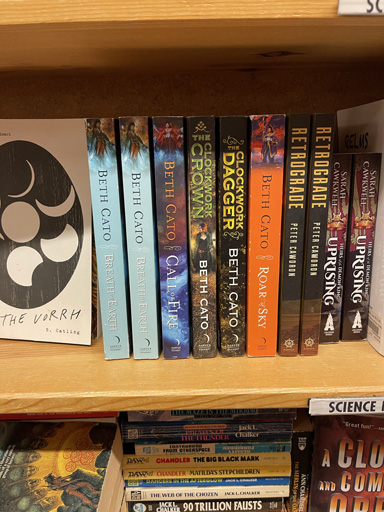
I also stopped into the Beaverton/Cedar Hills Powell’s and signed their stock. I wish I’d had the chance to look in other bookstores in the area, but as is the nature of vacations, there simply was no time.
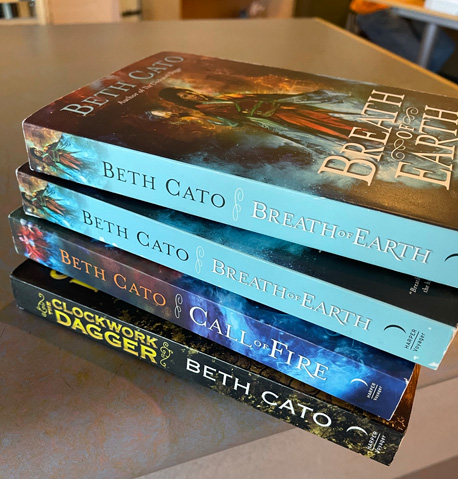
Grab these books while they’re in stock!
#SFWAPro
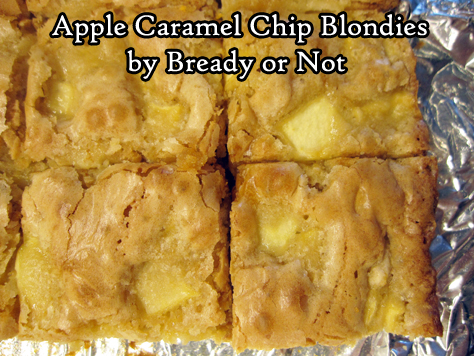
Read MoreBready or Not Original: Apple Caramel Chip Blondies
These Apple Caramel Chip Blondies are soft, sweet, and dangerously snackable, perfect for a quick bite to get you through the day.
I have other apple bar recipes like my tried-and-true Apple Cake that are thicker and more meal-like.
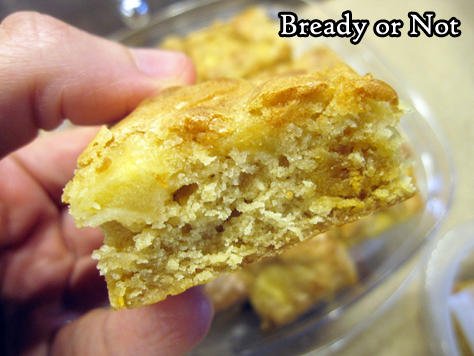
These bars are thin and light. They aren’t even heavy with apples, but the apple flavor is definitely there.
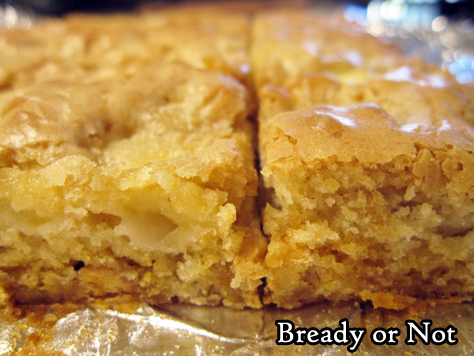
This is the kind of thing to use for a light breakfast, snack, or dessert, and they’d be great to wrap up and pack to go.
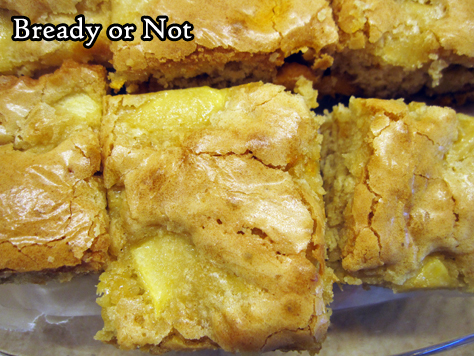
I used caramel chips for this recipe, but butterscotch or white chocolate would be great, too–or even seasonal sweet chips like pumpkin spice!
Bready or Not Original: Apple Caramel Chip Blondies
Equipment
- 9x9 pan
- medium saucepan
Ingredients
- 1 cup all-purpose flour
- 1/2 teaspoon kosher salt
- 1/4 teaspoon baking powder
- 6 Tablespoons unsalted butter
- 3/4 cup light brown sugar packed
- 1 teaspoon pure vanilla extract
- 2 large eggs room temperature
- 1 apple such as Ambrosia or Honeycrisp, peeled and chopped into raisin-sized pieces
- 1/3 cup caramel chips or substitute butterscotch chips or white chocolate chips
Instructions
- Preheat oven at 350-degrees. Line a 9x9 pan with foil and apply nonstick spray or butter.
- In a small bowl, whisk together flour, salt, and baking powder. Set aside.
- In a medium saucepan, melt the butter, and continue to monitor a few more minutes, stirring often, to brown the butter. It should have a fresh, nutty smell. Remove from heat. Stir in the brown sugar and vanilla until the sugar is less grainy. Let the pan cool for a few minutes. Beat in the eggs until smooth. Stir in the dry ingredients next, followed by the apple pieces. Fold in the chips last.
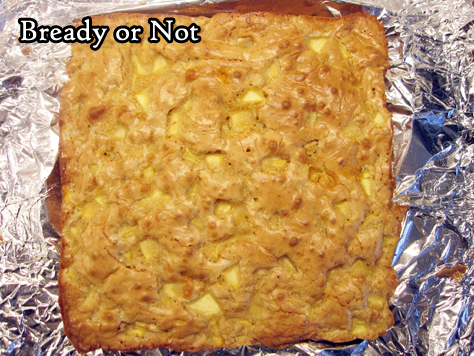
- Pour the batter into the pan and smooth out the top. Bake for about 25 minutes, until the middle passes the toothpick test.
- Cool to room temperature. Use the foil to lift the contents onto a cutting board to slice up. Store the bars in a sealed container, with waxed paper or parchment between stacked layers.
OM NOM NOM!
Book Blog: Becoming a Writer, Staying a Writer: The Artistry, Joy, and Career of Storytelling by J. Michael Straczynski
I review everything I read and post reviews on Goodreads and LibraryThing. That’s not enough. Good books are meant to be shared. Therefore, I’m spotlighting some of my favorite reads here on my site.
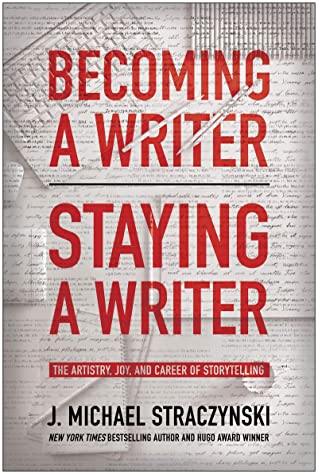
Becoming a Writer, Staying a Writer: The Artistry, Joy, and Career of Storytelling by J. Michael Straczynski
out now in print and ebook; BookShop, B&N, and Amazon [affiliate link]
I received an early copy of this book from the publisher via NetGalley.
I’ve read many writing books. Straczynski’s new release approaches the subject of writing from a fresh angle: his own life, with his diverse experience in Hollywood and in publishing, as he discusses the tenacity and work necessary to “make it” within the industries–and then how to hang after that. His tone is easy and conversational, and the book is a fast read.
I’ve adored the man since I was a Babylon 5 fan as a teenager, and this book increased my esteem for him even more. As a writer myself, one who is definitely at the “trying to hang on” stage, this book felt both timely and personal. Straczynski gets it. Even with all his success, he’s still working hard because he loves what he does, as challenging as it is at times.
He begins with a Stephen King quote that I hadn’t seen before: “In the end, you don’t even do it [writing] for love, although it would be nice to think so. You do it because to not do it is suicide.”
That sets the tone for the book. Everything here is for people who NEED to write, even though it’s hard, enough though life and rejection grind you down. Even more: even when writers grind down themselves. As he notes, “A writing career can survive rejection, ridicule, starvation, and loneliness, but fear or complacency will kill it every time.”
He doesn’t claim to possess any shortcuts or special methods. He actually, with exasperation, describes people he’s dealt with time and again who insist otherwise. When it comes down to it, the book is about tenacity and hard work. Other writing books address that, sure, but Straczynski’s words really resonated with me. This is the kind of volume I think I’ll reference again in the future when I need his honest outlook to motivate me.
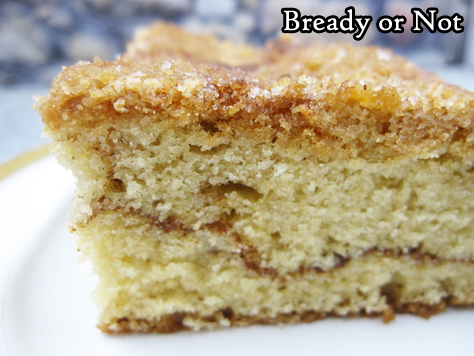
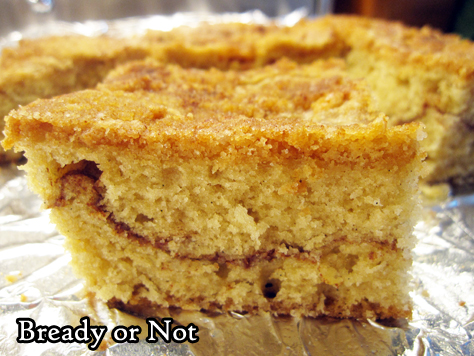
Read MoreBready or Not Original: Snickerdoodle Crumb Cake
Snickerdoodles are a regular theme on Bready or Not, and this new Snickerdoodle Crumb Cake version is something amazing.
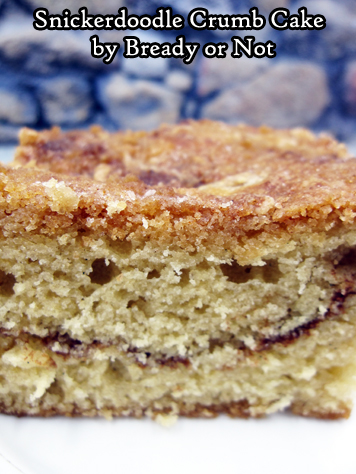
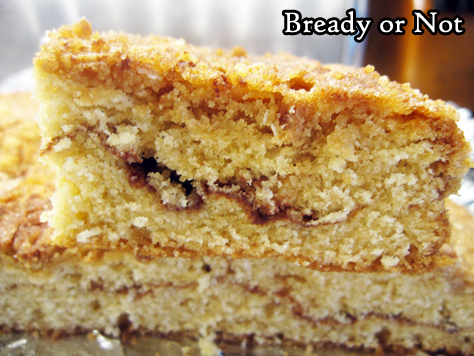
This is a true cake, not simply a bar. It has a light, airy crumb that isn’t too moist or too dry.
Most importantly, it tastes like a Snickerdoodle. Despite what some store versions think these days, that doesn’t simply mean cinnamon and sugar, but the distinct taste of cream of tartar as well.
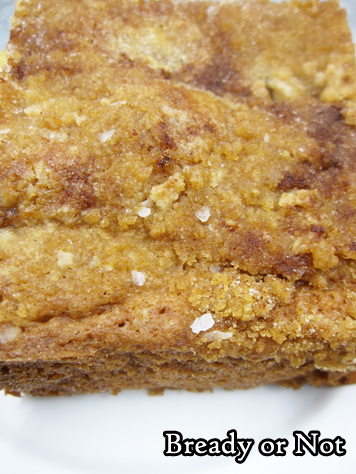
That cinnamon-sugar thing is important too, though. That’s why this cake has a visible layer through the middle–which looks gorgeous when pieces are cut–as well as a crust on top. To which I added a pinch of pretzel salt for contrast, because why not?
This recipe doesn’t produce a massive batch of cake, but if you are baking for a few people, know that you can safely slice up and individually wrap pieces and freeze them for later.
Bready or Not Original: Snickerdoodle Crumb Cake
Equipment
- 8x8 or 9x9 pan
- uneven spatula
Ingredients
Streusel
- 1/2 cup all-purpose flour
- 1/2 cup brown sugar packed
- 1/2 teaspoon kosher salt
- 4 Tablespoons unsalted butter half stick, cut into pieces
Dough
- 1 1/2 cups all-purpose flour
- 1/4 teaspoon baking soda
- 1/2 teaspoon cream of tartar
- 1/2 teaspoon kosher salt
- 3/4 cup unsalted butter 1 1/2 sticks, room temperature
- 1/2 cup brown sugar packed
- 1/2 cup white sugar
- 3 large eggs room temperature
- 1 teaspoon vanilla extract or paste
Filling
- 1 teaspoon cinnamon
- 2 Tablespoons white sugar
Topping
- 1/2 teaspoon cinnamon
- 1 Tablespoon white sugar
- pinch pretzel salt optional
Instructions
Make the streusel
- Stir together the flour, brown sugar, and salt. Use a pastry cutter or butter knife and fork to mash the butter into pea-sized pieces and crumbs. Set in fridge to chill.
Make the dough
- Preheat oven at 350-degrees. Line an 8x8 or 9x9 pan with foil and apply nonstick spray.
- In a small bowl, combine the flour, baking soda, cream of tartar, and salt. Set aside.
- In a big bowl, beat the butter and both sugars until creamy. Mix in eggs one by one followed by the vanilla extract. Gradually mix in dry ingredients until just combined.
- Spread about half the dough in the pan, using an uneven spatula fully coat the bottom.
Make the layers
- Stir together the two filling ingredients. Sprinkle to entirely cover the base layer of dough.
- Dollop the rest of the batter on top, again using the uneven spatula to spread evenly to edges. Sprinkle the streusel across the top. Mix together the cinnamon-sugar topping, then sprinkle that over the crumbs.
- Bake for 33 to 37 minutes, until the middle passes the toothpick test. Cool completely. Use foil to lift cake onto a cutting board to slice into bars.
- Store in airtight container at room temperature for up to 3 days. Can also be sliced into bars, wrapped in plastic, and frozen for an easy treat later.
