New poem in Fantasy Magazine: “How to Find Yourself Again”

I’m thrilled to have achieved a long-time goal to have something published in Fantasy Magazine. For a few years there, it looked like it wouldn’t be possible at all, as the magazine was no more… but now it’s back, I had my second chance, and I’m in with a very appropriate poem!
Read “How to Find Yourself Again” in Fantasy Magazine.
#SFWAPro
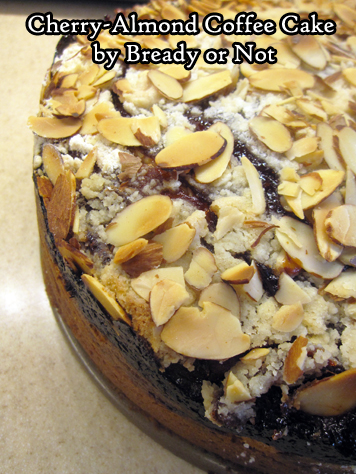
Read MoreBready or Not: Cherry-Almond Coffee Cake
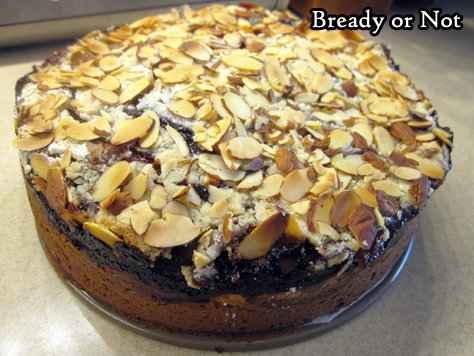
This Cherry-Almond Coffee Cake is more cake than cheesecake, and is all sweet, fruity goodness.
If you need a showstopper cake for a brunch or dessert, this one is perfect. It’s great to make ahead of time, too–slices can even be frozen for later, no prob!
I used Murray’s Spiced Cherry Preserves; that little kick of spice was fantastic in the cake. Other bold preserves would be great in this cake, too–raspberry, strawberry, blueberry, even tropical flavors.
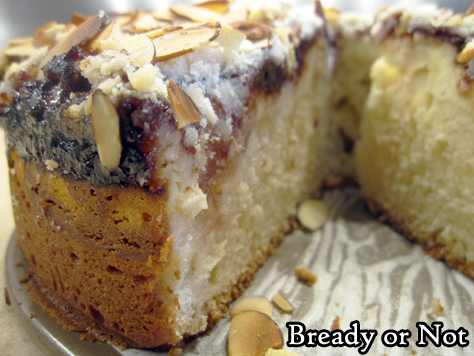
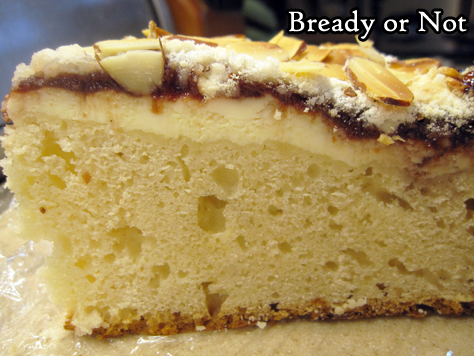
This is a thick, rich cake. It tastes best when you get a bit of all the layers in a single bite: the sliced almonds, crumb topping, fruit, cream cheese, sponge.

My husband liked the cake cold but he liked it even more when warmed a bit–and not in the microwave, either, but gently brought to room temperature by letting a slice sit out for 30 to 45 minutes.
Don’t forget a slice on the counter, though. This does contain cream cheese and shouldn’t be left out for hours!
Modified from Taste of Home Magazine December 2015.
Bready or Not: Cherry-Almond Coffee Cake
Equipment
- 9-inch springform pan
- parchment paper
Ingredients
- 2 1/2 cups all-purpose flour
- 1 cup white sugar divided
- 3/4 cup cold unsalted butter cubed
- 1/2 teaspoon baking powder
- 1/2 teaspoon baking soda
- 1/4 teaspoon salt
- 1 cup vanilla yogurt or sour cream, 8 ounces
- 2 large eggs
- 1 teaspoon almond extract
- 8 ounces cream cheese 1 box, softened
- 1 cup cherry preserves
- 1/2 cup slices almonds
Instructions
- Preheat oven at 350-degrees. Cut a parchment round to fit the bottom of the springform pan. Apply nonstick spray or butter on bottom of sides of pan, add the parchment, then grease it as well.
- In a big bowl, mix flour with 3/4 cup of sugar. Cut in butter until it is crumbly. Measure out 1/2 cup crumb mixture for topping; set aside.
- To the bulk of the flour mix, add baking powder, baking soda, and salt. Stir in yogurt, 1 egg, and almond extract, until blended. Spread batter onto bottom of the springform pan.
- In a small bowl, beat together the softened cream cheese, the remaining 1/4 cup sugar, and egg, to make it as smooth as possible. It's okay if it still has some clumps. Pour it onto the pan and smooth out. Spoon the preserves all across the top. Sprinkle with the reserved crumb topping and the sliced almonds.
- Bake for 50 to 60 minutes. The middle should no longer be jiggly, the top a nice golden brown. Cool on a wire rack for 10 to 15 minutes then unlatch and life away the pan's ring to let the cake cool for another hour. Then place cake in fridge to complete set and cool for a few hours.
- Cake can be eaten cold or after slices are brought to room temperature after about 30 to 45 minutes. Do remember to store cake in the fridge, as it does contain cream cheese! Slices can also be individually wrapped and frozen, and will thaw in the fridge with no issue.
OM NOM NOM!
Bready or Not Original: Mini Cookie Butter-Chocolate Babkas
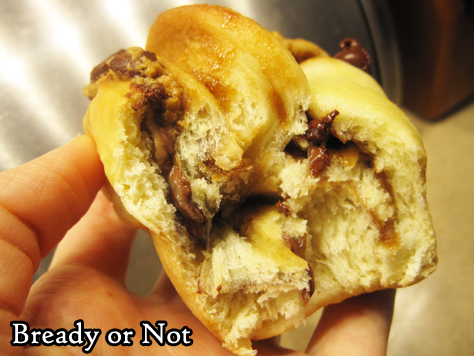
I hope it gets your attention when I say that these Mini Cookie Butter-Chocolate Babkas are among the best things I have ever made.
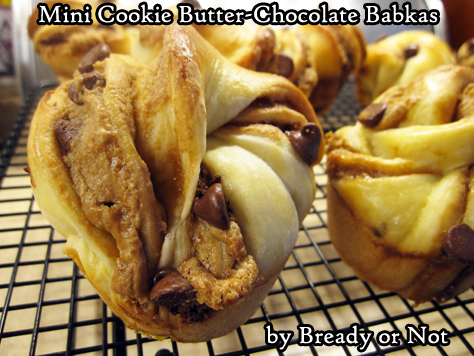
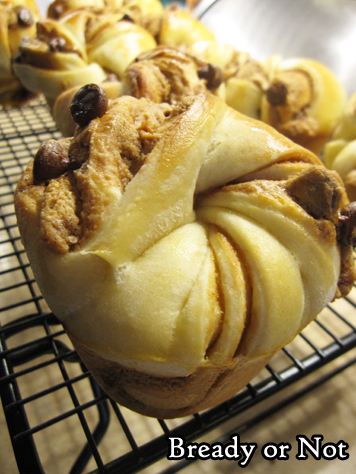
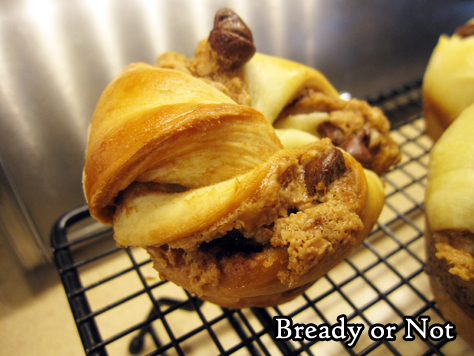
Really, these have it all going on. A tender enriched dough. Gooey chocolate. The sweet joy of cookie butter. Plus, the presentation is stunning with the dough coiled to reveal the layers of goodness.
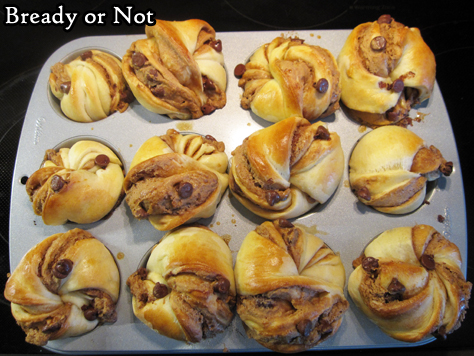
Even better, this recipe is great about portion control. You don’t have a babka loaf to worry about. Each babka is muffin-sized. This makes it easy to take on the go, and they are also convenient to freeze.
If you’re unsure what cookie butter is, it is essentially sliced cookies pureed with oil to be the same consistency as peanut butter. It tastes like cookie dough in its purest form minus the risk of salmonella poisoning from raw eggs or flour. Find it near the peanut butter in a lot of stores; Biscoff is the most common brand, and it’s called Speculoos at Trader Joe’s.
You can, of course, substitute a smooth peanut butter in this recipe–which is what the original recipe in Bake from Scratch was all about. But me, nah, I’m a rebel. And my husband doesn’t like peanut butter, and he’s the one who needs to eat these things.
Modified greatly from Bake from Scratch Magazine July/August 2019; also online.
Bready or Not Original: Mini Cookie Butter-Chocolate Babkas
Equipment
- 12-cup muffin pan
- nonstick spray
- pastry brush
Ingredients
- 4 1/4 to 4 1/2 cups all-purpose flour divided
- 1/2 cup white sugar
- 2 1/4 teaspoons instant yeast or one store-bought packet
- 1 1/2 teaspoons kosher salt
- 1 cup plus 1 Tablespoon water divided
- 1/2 cup plus 1 Tablespoon unsalted butter melted and divided
- 2 large eggs room temperature and divided
- 1 large egg yolk room temperature
- 1 cup creamy cookie butter
- 1/4 cup confectioners’ sugar
- 1 teaspoon vanilla extract
- 1/3 cup semisweet chocolate chips plus extra
Instructions
- In the bowl of a stand mixer fitted with the paddle attachment, stir together 4 cups flour, white sugar, yeast, and salt.
- Using a saucepan or the microwave, heat 1 cup water and 1/2 cup (1 stick) butter until it is 120 to 130-degrees on an instant-read thermometer. Pour the water mixture into the flour mixture. Beat at medium speed for 2 minutes. Add one egg and egg yolk, and beat for another 2 minutes. Beat in a 1/4 to 1/2 cup more flour until a soft, sticky dough forms.
- Switch to the dough hook attachment. Beat at low speed until dough is soft, smooth, and elastic, 6 to 8 minutes.
- Add nonstick spray to a large bowl. Shape dough into a smooth ball, and place in bowl. Roll it briefly to coat in oil. Cover the bowl and let the dough rise in a warm spot until doubled in size, about 45 minutes.
- Use nonstick spray on a 12-cup muffin pan.
- In a small microwave-safe bowl, melt 1 Tablespoon butter. Add to it the cookie butter, confectioners’ sugar, and vanilla, stirring until smooth.
- On a lightly floured surface, roll the dough into roughly a 20x12-inch rectangle. Spread cookie butter mixture onto dough. Sprinkle with chocolate chips. Fold rectangle crosswise into thirds as if folding a sheet of paper for an envelope, forming a smaller rectangle, about 12x6 inches.
- Cut rectangle crosswise into 12 (about 1 inch) dough strips. Gently stretch and twist one to coil it inside a prepared muffin cup, tucking the end inside edge of cup to create a rounded top. Repeat 12 times. If desired, press a couple of additional chocolate chips into the top of each babka, but try to place them so they won't melt off the pan during baking.
- Cover and let rise in a warm spot until they are puffed, about 30 minutes. Meanwhile, preheat oven to 325-degrees.
- In a small bowl, whisk together the last egg with 1 Tablespoon water. Brush tops of dough with egg wash.
- Bake until babkas are golden brown, about 17 to 25 minutes. An instant-read thermometer inserted in center should register 190-degrees.
- Babkas are much better served warm--eat them fresh, or heat up later with a 20-30 burst in the microwave! This makes the dough soft and the chocolate gooey. They keep well sealed at room temperature for up to 3 days, but can also be frozen and thawed later.
OM NOM NOM!
FREE Virtual Cog Match Game this Saturday! Theme: CHEESE

If you follow me on social media, you may be aware that I have a deep and abiding affection for cheese. My reputation is leading to fun and interesting opportunities!
A bunch of steampunkers, myself included, are taking part in a cheese-themed version of the classic game show Match Game this coming Saturday July 10th at 8pm Pacific. It’s free and online. When you sign up, you can indicate if you want to be audience or maybe participate. No pressure either way. You better brie-lieve this will be a game packed with hilarity and cheese wisdom you’ll want to share with everyone you meet in the coming days!