


Book Blog: Under the Whispering Door by T.J. Klune
I review everything I read and post reviews on Goodreads and LibraryThing. That’s not enough. Good books are meant to be shared. Therefore, I’m spotlighting some of my favorite reads here on my site.
Under the Whispering Door by T.J. Klune
out now in print and ebook; BookShop, B&N, and Amazon [affiliate link]
I received an advance copy of this book via NetGalley.
The skin around my eyes remains stiff from tears because this book made me SOB, but in the best of ways. This is a beautiful, extraordinary book that will crush your heart and put it back together, too.
Wallace is a jerk. He’s like Scrooge brought into the modern-day–a high-powered lawyer who is callous, cold, and not the slightest bit loved. When he keels over dead, he attends his own funeral and rages, unseen, at the way his ex-wife and law firm partners disrespect him. A reaper arrives–a young woman, Mei, who can see and hear him, and takes him to a strange tea house in the middle of nowhere. It’s a waypoint for the recently dead to come to grips with their new state of being before they move on through a door set in the fourth-floor ceiling. The purveyor is Hugo, a man with a knack to choose the right tea for anyone–and also, a ferryman, a person with a genuine, empathetic heart. He helps the recently-dead move on.
But Wallace doesn’t want to move on. He stays. He rages, he grieves, and slowly, he starts to change. And fall in love.
I fell in love, too, with every character. The deep feels of this book remind me of Becky Chambers’s novels–stories that truly capture the complexity and the goodness of people and somehow manage to reaffirm your belief in humanity. I like that this took the Scrooge trope and made it more realistic–there’s no overnight change. It’s gradual, it’s painful, it’s full of regret. Ultimately, it’s a queer love story, too, and again, one that feels realistic (because honestly, anyone and everyone can and will fall in love with Hugo).
This will be one of the best books I’ve read this year, and probably an all-time favorite.
Read MoreBready or Not Original: Thin Mint Cake
Oh hey, it’s time for cake. A Thin Mint Cake that is neither too big or too small, something that keeps well stashed in the fridge, and looks as amazing as it tastes.
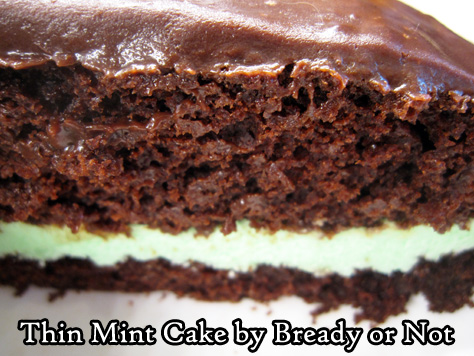
If you love chocolate and mint, this is the cake for you. The cake is loaded with chocolate flavor, and a ganache adds a shiny finishing touch.
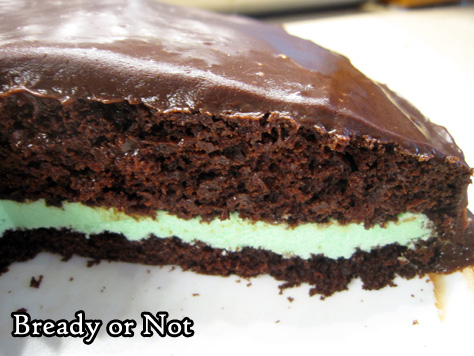
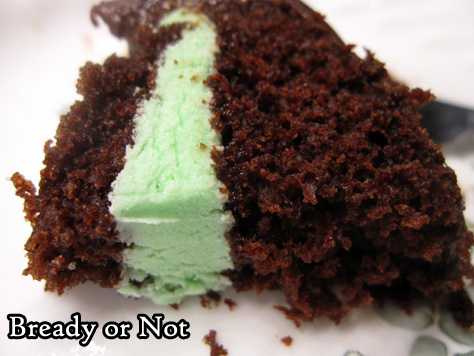
The middle layer of the cake is essentially a peppermint or mint-flavored buttercream. Sweet but not too sweet, it gives good contrast to balance the prevalent chocolate flavor.

I used this cake to try out a technique I’ve only read about and seen on TV before–I used four toothpicks to measure the halfway point on the sides of the cake, then tugged a piece of floss to cut the cake evenly in half! It worked out well.

Of course, you can still use a knife to cut through. The toothpicks will still be a helpful guide.
This is an ideal birthday or special occasion cake for a small group!
Greatly modified from Eating Well Magazine May 2020.
Bready or Not Original: Thin Mint Cake
Equipment
- 9-inch cake pan
- ruler
- toothpicks
- unwaxed floss
- parchment paper
Ingredients
Cake
- 1 cup all-purpose flour
- 1/2 cup white whole-wheat flour
- 3/4 cup white sugar
- 1/4 cup unsweetened cocoa powder sifted
- 1 teaspoon baking soda
- 1/2 teaspoon salt
- 1 cup water
- 1/3 cup canola oil
- 1 Tablespoon apple cider vinegar or other cider vinegar
- 1/2 teaspoon almond extract
- 1/2 teaspoon vanilla extract
Mint Filling
- 1/2 cup unsalted butter (1 stick), room temperature
- 1 1/2 cups confectioners' sugar sifted, more as needed for consistency
- 1/4 teaspoon peppermint extract or mint extract
- 1/4 teaspoon vanilla extract
- 1/4 teaspoon salt
- 1-2 drops green food coloring
- 2 Tablespoons half and half or milk
Glaze
- 1/2 cup half and half
- 1 1/4 cups semisweet chocolate chips
- pinch salt
Instructions
To prepare the cake
- Preheat an oven at 350-degrees. Cut a piece of parchment paper to fit inside a 9-inch cake pan. Apply nonstick spray inside pan, place parchment inside, and spray it again.
- Stir together all-purpose flour, white whole wheat flour, sugar, cocoa, baking soda, and salt.
- In another bowl, whisk together water, oil, vinegar, and both extracts. Gradually mix the wet ingredients into the dry until the batter is smooth. Pour into the prepared pan. Tap and thump it gently on the counter to knock out as many bubbles as possible.
- Bake 25 to 30 minutes, until a toothpick in the middle emerges with few crumbs attached. Let the pan cool on a rack for 10 minutes, then invert cake onto the rack to cool completely.
Make the filling
- Beat the butter until it is creamy and light. Add the confectioners' sugar, 1/2 cup at a time, to fully incorporate; if the mixture is still too soft and loose, add more sugar. Add mint and vanilla extract, followed by the salt. Add a few drops of food coloring to achieve the desired tint. Add the half and half and beat to make the filling fluffy and light.
Slice the cake and fill
- Stick a toothpick into the halfway point at each side of the cake; four toothpick markers work well. Use a knife to barely slice into the cake above each toothpick. Continue to use a long-bladed knife to slice all the way through, or use a long piece of unwaxed floss with the toothpicks as a guide to divide the cake evenly in half.
- Place the base of the cake on a serving plate. Spread the filling over the cake. Place the top of the cake over it, cut side down.
Make the glaze
- Microwave the half & half in a microwave-safe bowl for about a minute, until hot. Stir in the chocolate chips and salt. Stir, stir, stir until the chocolate is smooth and glossy. Let cool about 5 minutes to thicken, then slowly pour and spread glaze over the cake. Let sit at room temperature or in fridge to set, then slice in and enjoy!
- Store cake in fridge. Exposed sides of the cake will dry out more, but it will still be tasty. Keeps for at least 4 days.
OM NOM NOM!
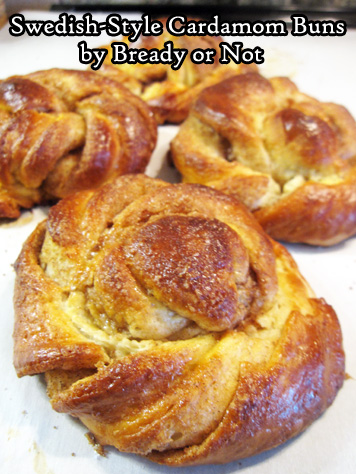
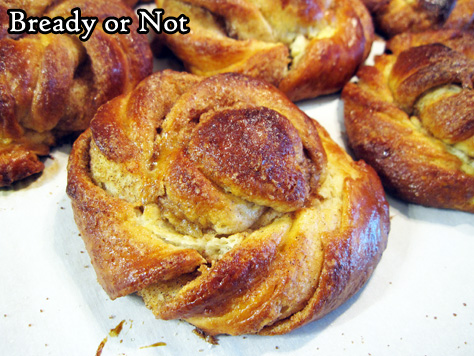
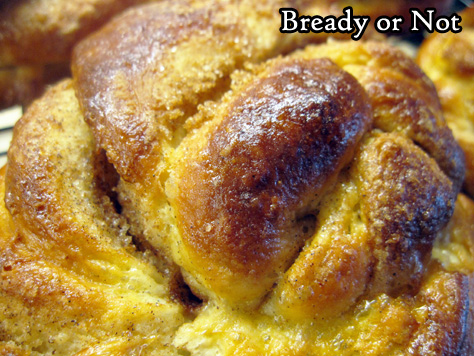
Bready or Not: Swedish-Style Cardamom Buns
These Swedish-Style Cardamom Buns are as delicious as they are beautiful, and that’s saying a lot.
This enriched dough is light and luscious, and almost melts in the mouth. It’s also somewhat tricky to work with as the dough warms quickly as the rolls are formed. I was dismayed as the dough became tacky as I did the final rolls, but you know what?
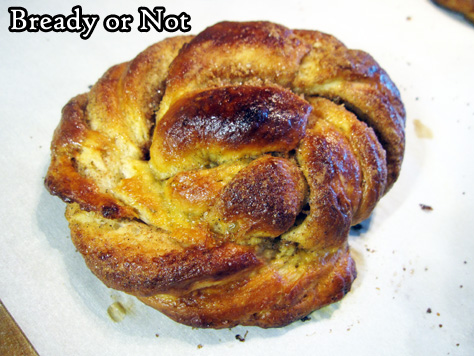
These rolls are beautiful as they are. Sure, Paul Hollywood would criticize them for not all being the exact same, but I’m not on Great British Bake Off–and neither are you. Embrace the wabi-sabi of these rolls, the perfection in imperfection.
Plus, when it comes down to it, the flavor and texture are fantastic. The buttery crumb is perfect with a likewise buttery center swirl that’s packed with cardamom and cinnamon.
These buns taste best when slightly warm. Eat them fresh, and after that, give them a quick toast in the oven to wake up the flavor.
The buns will keep for up to 3 days at room temperature, but be sure they are in a sealed container. They can also be frozen and thawed later, no problem.
Make these buns to really impress guests–and yourself. Like me, I bet you’ll find this recipe to be a keeper.
Modified from Saveur Magazine Volume 4 2018.
Bready or Not: Swedish-Style Cardamom Buns
Equipment
- stand mixer
- parchment paper
- kitchen brush
Ingredients
Dough
- 1/2 cup cold milk or half & half
- 1 Tablespoon instant yeast
- 3 large eggs room temperature
- 1 teaspoon pure vanilla extract or vanilla bean paste
- 3 1/4 cups all-purpose flour plus more as needed
- 1/4 cup white sugar
- 1 1/4 teaspoons kosher salt
- 2 sticks unsalted butter (16 Tablespoons) cold, cut into cubes
Filling
- 1/4 cup white sugar
- 1/4 cup light brown sugar packed
- 1 Tablespoon ground cardamom
- 1 teaspoon ground cinnamon
- 1/2 stick unsalted butter (4 Tablespoons) softened
Instructions
- In a small bowl, whisk together the milk, 2 of the eggs, and the vanilla. Set aside.
- In the bowl of a stand mixer with a paddle attachment affixed, mix together the flour, sugar, and salt. Mix in the chilled butter cubes until they are broken down to the size of peas, which will take a minute or two. Keep the mixer running as the milk mixture is drizzled in. Everything should come together as dough.
- Turn out dough onto a lightly floured surface. Knead it into a ball and wrap it tightly in plastic wrap. Chill it in fridge for at least 6 hours, or a full day.
- About 2 1/2 hours before the buns are to be served, prepare to shape them. Line 2 baking sheets with parchment paper. In a small bowl, mix together the filling’s two sugars, cardamom, and cinnamon. In another bowl, beat the remaining egg with a splash of water and set it aside.
- Lightly flour a large, clean work surface and a rolling pin. [Note for bakers who have hot kitchens: you may need to move fast here, as high-butter content dough can be finicky as it warms.] Roll out the dough into a 12×16 rectangle. Use an uneven spatula or the back of a spoon to evenly spread the softened butter over the surface, leaving a 1-inch border along the top and bottom edges.
- Sprinkle the sugar and spice mixture over the butter. Brush the edges with the beaten egg; set aside the egg to use again for a wash in a short while. Fold the dough in half so that the two egg-washed edges meet. Then use a knife, pizza cutter, or bench knife to make ten even slices perpendicular to the fold.
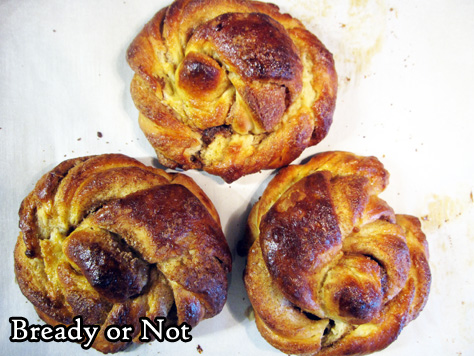
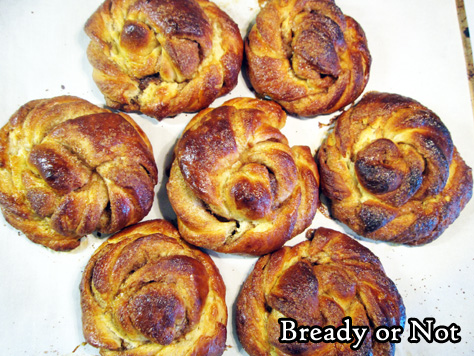
- One at a time, pick up a strip at the two short ends and twist them each in opposite directions while pulling and stretching gently. Coil the strand to make a bun, tucking the outermost end underneath the round. Set on prepared sheet and continue to form more with several inches of space between them.
- Cover formed buns with plastic wrap and set aside to rise until puffed, about 1 1/2 hours.
- Preheat oven at 400-degrees and situate racks inside to have five inches of space between them.
- Remove the plastic wrap and brush the buns with the remaining egg wash. Bake for 12 minutes, then swap the pan positions in the oven, then bake another 8 to 12 minutes. Buns should be a consistent brown, and a digital thermometer discreetly plunged into a center roll should be over 190-degrees.
- Let rolls cool slightly before indulging. Rolls will keep for up to 3 days in a sealed container at room temperature, and will taste best warmed slightly in an oven or toaster oven. Rolls can also be frozen for later enjoyment.
OM NOM NOM!
Come to the Online Book Club Meeting this Sunday!

On Sunday September 19th, my collection Red Dust and Dancing Horses will be discussed in a virtual book club meeting on Facebook that is conducted by the wonderful Madame Askew. The event will happen at 4:30 MST. Buy the book ahead of time (if you don’t have it already) and join in on the discussion! I’ll be there to answer questions.
#SFWAPro
Read More