


Bready or Not Original: No Bake Pecan Praline Cookies
Do you need cookies ready, FAST? These no-bake wonders are prepared in minutes and just need 15 minutes to set.
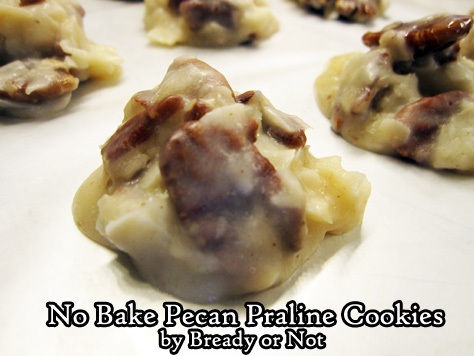
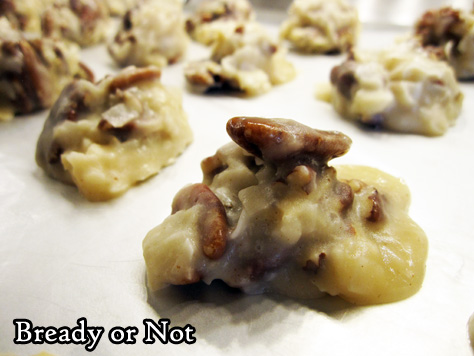
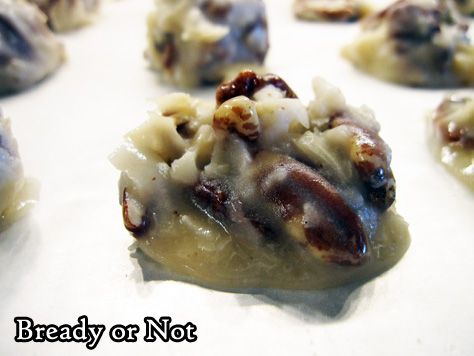
Traditional pecan pralines are crunchy and sweet. This no-bake cookie version definitely has all that going on, with added chewiness from coconut.
I highly recommend using unsweetened coconut flakes or shreds here, as these cookies are not lacking at all in the sugariness department!
It’s amazing to me how something so goopy and hot can so quickly become set and easy to handle. This is the ultimate in fast-and-delicious cookies.
Bready or Not Original: No Bake Pecan Praline Cookies
Equipment
- large saucepan
- cookie sheet
- waxed paper
- tablespoon scoop
Ingredients
- 2 1/2 cups pecans chopped or whole
- 2 cups unsweetened coconut flakes or coconut shreds
- 2 1/2 cups white sugar
- 1/2 cup milk
- 1/2 cup light corn syrup
- 1 stick unsalted butter 1/2 cup
- 1 teaspoon vanilla extract
Instructions
- Prepare a large cookie sheet, or several sheets, with waxed paper. In a bowl, stir together the pecans and coconut.
- In a saucepan on medium-high heat, stir together the sugar, milk, corn syrup, and butter. Continue to stir while bringing the mixture to a rolling boil. Stabilize the heat so that it continues to boil for 3 minutes.
- Remove pot from heat. Pour in the vanilla. Follow up with the pecans and coconut, stirring well to coat everything in goopy hot sugar.
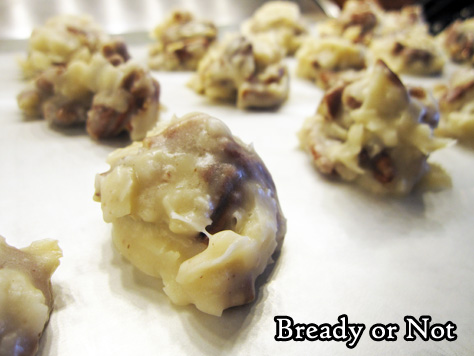
- Use a tablespoon scoop to dole out cookies on the waxed paper. If they fall apart a bit, carefully use a spoon or the scoop to shape them again. Let cookies set, at least 15 minutes. Carefully peel them away from the waxed paper; note that the first scoops may be more prone to stick.
- Store cookies in a sealed container.
OM NOM NOM!
Giftmas 2021 Blog Train: Help Those in Need & Enjoy a Story, Too!

I’m taking part in Giftmas again this year, an annual effort coordinated by Rhonda Parrish for the benefit of the Edmonton Food Bank. I don’t need to state the reasons why helping food banks is more important right now than in past years. We need to help each other. We can’t connect in person, but we can connect with a few bucks that will help fill bellies and add warmth to the world through kindness. If you’re American like me, your dollars will deliver extra bang with each buck, too. $1 = 3 meals.
This year, Giftmas is giving something extra to readers: a story: Eleven of us are participating in what is called an “exquisite corpse” story. One person begins, and each person adds another section in the sequence. There is no planning, no plot. The story zigs and zags with each new raconteur.
Yesterday’s story segment was by Iseult Murphy. My contribution is below. The story will continue to grow and change over the next week! Keep reading, and please, donate.
Agnes certainly felt like a living person, her warmth muffled by her fuzzy woolen coat. “They said you headed off to the store, in a snow storm, to buy cheese. You were never found, but they thought…” Cherie’s stomach lurched with every incredible leap taken by the fox, snow crunching and squealing beneath his paws each time he landed.
“They,” scoffed Agnes. “The town police? It’s a wonder they can find a donut shop! At least I vanished for a noble cause. I did get that cheese, by the way, and it was far superior to anything found at that neon blight called Buy-It-Rite back on Earth.”
Right. She was most definitely not on Earth now. Cherie squinted her eyes shut as snow pattered her face. Septimus had landed in an especially deep bank. “Okay,” she said, spitting out some flakes. “You’re alive after all. Yay. You came through a fantasy portal for cheese. Yay to that, too. I might have come here more readily if I’d known that good cheese awaited me. But why do I have a bad feeling that those snowmen want to eat us?”
“You’re a smart girl, listening to your intuition,” said Agnes.
Septimus glanced back. “It helps when carnivores let it be known they are carnivores.” He flashed his own pointed teeth. They were icicles. “Now hold on!”
He advised such with a reason. Cherie’s frantic check showed the snowmen still trailed them all-too-closely, their rounded bottoms gliding over the snow. Cherie clutched Agnes impossibly tighter as Septimus sped up. Rather than lap, he plowed through the snow. Cherie grunted and held on as the world turned black with whiteness.
Then suddenly, they were through. His claws tapped on icy rocks as they climbed a slope–a slope to an incredible castle on high, its peaked towers threatening to puncture the very clouds.
“Oh.” The reaction escaped Cherie like a gasp.
“As you can see,” Agnes said with blatant smugness, “I have upgraded my domicile somewhat.”
“Lady A!” sang a voice from above. “You in a difficult spot today, love?”
Why did that voice sound familiar? Cherie craned up her head to see a pegasus. An honest-to-goodness flying horse with a shimmering white coat and faint gray dapples across the hindquarters. Broad wings flapped outward, fanning back Cherie’s hair as the pegasus dove low.
“Oh, it’s those snowmen again. They are always hungrier on colder–“
“Clover?” Cherie cried out. “Clover, is that you?”
Clover had been her so-called imaginary friend during her lonely, awful childhood. Together they had romped across field and fen and made everything into a grand adventure. Back then, Clover had been an awkward colt to match Cherie as an awkward girl.
He’d become the most beautiful thing she had ever seen.
The pegasus’s hooves clattered as he landed beside them, keeping pace with Septimus’s continued run. “Cherie?” his voice cracked. “You’re real?“
“I’m real?” Cherie sounded almost hysterical to her own ears. She wanted to glare accusingly at Agnes but had to settle for giving her an additional squeeze.
“I can explain,” Agnes said airily.
As heavily as Septimus panted, he managed an incredulous cackle. “Oh, this should be good,” he said as they pounded across the long drawbridge to the castle gate.
To be continued… by Jemima Pett tomorrow!
Read MoreBready or Not: Peppermint Cheesecake Swirl Brownies
These Peppermint Cheesecake Swirl Brownies will dirty a lot of bowls and tools, but to gorgeous, delicious results.
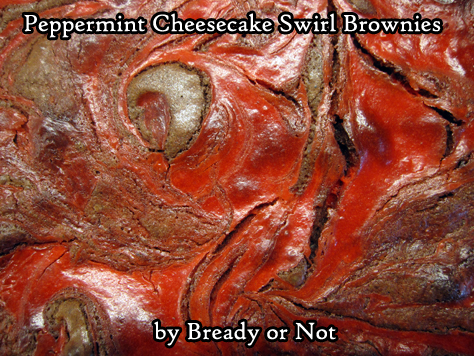
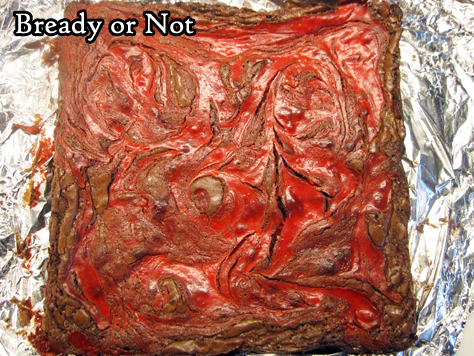
These are an incredibly holiday-appropriate brownie. I colored the cheesecake layer in red, but really, you could do green, or even mix two small, separate bowls with green and red!
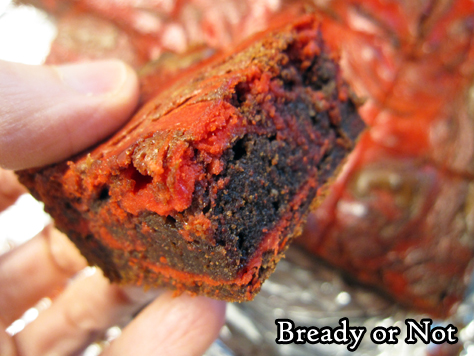
Then there’s the peppermint. It’s not overwhelming in this recipe; to me, it was mild and refreshing against the deep chocolate flavor.
I’m not a fan of cheesecake alone, but I do love that cheesecake flavor and texture when mixed with brownies or other great mix-ins. Be sure to check out some past Bready or Not recipes in the same family!
- Snickerdoodle Cheesecake Bars
- Cheesecake Brownies
- Cream Cheese-Stuffed Lemon Bundt Cake
- Swirled Goat Cheese Brownies
- Lemon Cheesecake Bars
- Earl Grey Cheesecake Bars
- Matcha Cheesecake Cookies
- Matcha Cheesecake Bars
Peppermint Cheesecake Swirl Brownies modified from the original recipe in Bake from Scratch Holiday Cookies 2019.
Bready or Not: Peppermint Cheesecake Swirl Brownies
Ingredients
Cream cheese swirl
- 8 ounces cream cheese (one block) softened
- 1/4 cup white sugar
- 1 large egg room temperature
- 1/2 teaspoon peppermint extract
- red gel food coloring
Brownie layer
- 4 ounces dark chocolate chips or chopped chocolate bar
- 3/4 cup unsalted butter 1 1/2 sticks
- 1 cup white sugar
- 1/2 cup brown sugar light or dark, packed
- 2 teaspoons vanilla extract
- 1 teaspoon kosher salt
- 3 large eggs room temperature
- 1/2 cup all-purpose flour
- 1/4 cup unsweetened cocoa powder sifted
Instructions
- Beat cream cheese until it is smooth and creamy. Add white sugar to fully incorporate. Mix in egg and peppermint extract. Stir in droplets of food color to reach desired tint. Set bowl aside.
- Prepare a 9×9 pan by lining it with foil and applying nonstick spray or butter to grease it. Preheat oven at 350-degrees.
- Using a microwave-safe bowl, in brief bursts heat the butter and dark chocolate, stirring well between each pass, until both are melted and smooth. Set aside to cool for a few minutes.
- In the large bowl of a stand mixer, use the whisk attachment to beat together both sugars, the vanilla, and salt. Add the eggs one at a time, and continue to beat at a high speed for 10 minutes. With the mixer on low, pour in the butter-chocolate. Use a spatula to fold in the flour and cocoa until just combined. Batter will be thick.
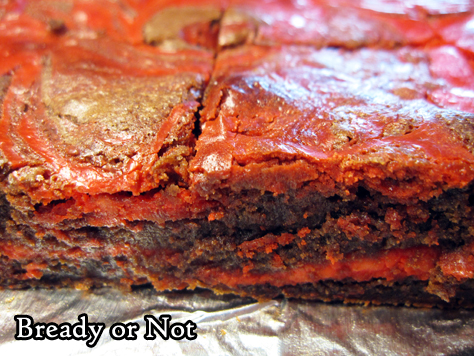
- Pour half the brownie batter into the prepared pan; use an offset spatula to even it out. Add about half the cheesecake mix in dollops. Repeat twice more, adding brownie and cheesecake in alternate dolloped layers. Use a butter knife to swirl everything together to create a marbled effect.
- Bake for about 45 minutes, until the middle passes the toothpick test. Cool to room temperature then cut into pieces.
OM NOM NOM!
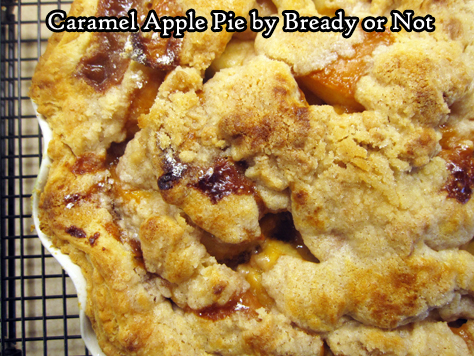
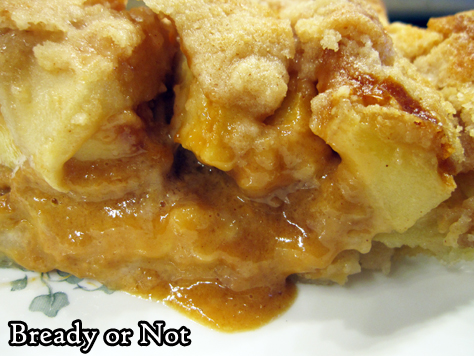
Bready or Not Original: Caramel Apple Pie
Bready or Not has featured many kinds of apple pie and cake over the years, but this is the recipe that I have made most often across my twenty years of marriage: Caramel Apple Pie.
I was shocked to realize I hadn’t featured it on Bready or Not since I started it on my domain site in 2014. I posted an earlier version on my LiveJournal, back in the day.
The base recipe came from Mr. Food. Who else remembers the Mr. Food spots on TV? He used to be on Channel 30’s midday news in Fresno. I was newly engaged when I saw him demonstrate this on his five-minute TV spot, and I mailed to the TV station with a SASE to get a print copy of the recipe.
The air date on the sheet is October 8th, 1999. I would have been watching the news from my dorm room at Fresno Pacific University!
I’m pretty sure I made this recipe for my fiancé when he came to visit me that Christmas (and we hoped that the Y2K Disaster would happen so he didn’t have to fly back to the Navy on January 1st).
It seems only right to feature this recipe at holiday time all these years later. I wouldn’t be surprised if I’m asked to make this again in just a few weeks!
Greatly modified from Caramel Crunch Apple Pie from Mr. Food (rest in peace, good chef).
Bready or Not Original: Caramel Apple Pie
Ingredients
Pie filling:
- 1 deep-dish pie shell homemade dough or store-bought
- 5 medium apples mix of varieties best, including Granny Smith, Honeycrisp, Pink Lady, etc
- 2 Tablespoons all-purpose flour
Topping:
- 2/3 cup all-purpose flour
- 1/2 cup white sugar
- 1/2 teaspoon ground cinnamon
- 1/2 cup unsalted butter 1 stick, cold
- 1 jar caramel drizzle as much as desired; most of the jar will be unused
Instructions
- Preheat oven at 375-degrees; set a baking sheet in the oven to heat up as well (this will reduce the likelihood of a pie with a soggy bottom). Press the pie dough into a deep dish pie pan, if not already formed. Stash it in the fridge while the filling is being prepared.
- Peel and core apples and slice into thin wedges. Toss them with the 2 Tablespoons flour to coat. Set aside.
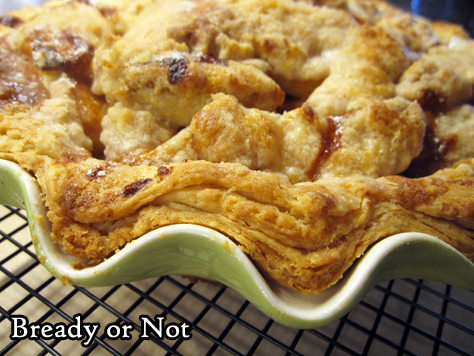
- In a mixing bowl, sift together the flour, sugar, and cinnamon. Dice up the butter and toss it in the mix. Use a pastry cutter or a fork to mash up the butter to make pea-sized and smaller pieces of various shapes. Set bowl in fridge briefly, and bring out the pie shell.
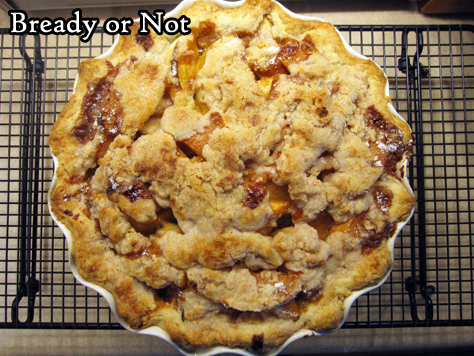
- Pour the apple slices into the pie shell and distribute them to make a nice mound. Drizzle jarred caramel over the top, to personal preference. Use a spoon to distribute crumb topping to cover apples, using butter lumps and powder to fill the nooks and crannies.
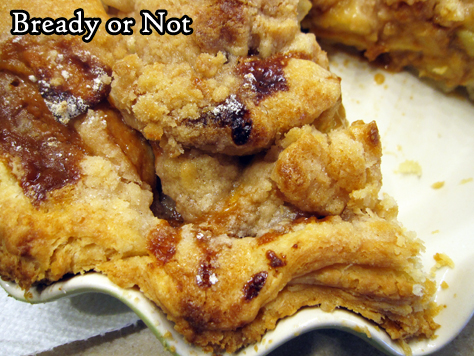
- Set pie on hot baking sheet. Bake for 40 to 45 minutes, until apples are tender when pierced by fork. Cool for at least 30 minutes before cutting in.
- Store pie covered by foil in fridge. Will keep for as long as a week. Great eaten cold or warmed up!
