


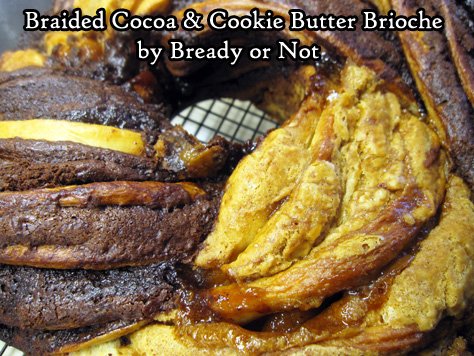
Bready or Not: Braided Cocoa and Cookie Butter Brioche
This Braided Cocoa and Cookie Butter Brioche is stunning in appearance and taste, so be warned: there are more pictures than usual for this post, including some process photos.
When I set out to rewrite the original recipe, featured in the January/February 2019 issue of Bake from Scratch, I knew this bread would be time-consuming. Intimidating, even.
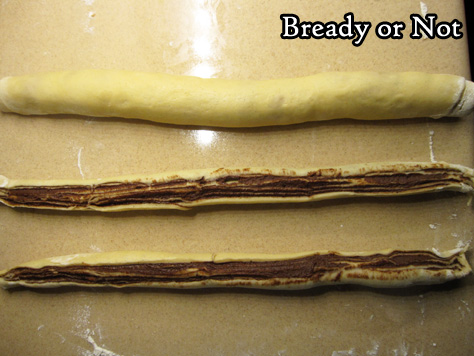
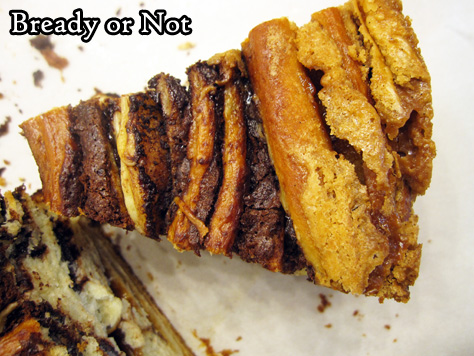
The braiding process, shown here, had me worried to start, but that turned out to not be so bad after all.

What ended up being the most tedious aspect was all the necessary dishwashing between the various stages! This recipe would be a great time to have some helpful assistants around.
The original recipe used special black cocoa paired with peanut butter. I went with normal baking cocoa (Penzey’s), which is less dramatic in color but great with flavor, and my stalwart baking favorite, cookie butter.
Despite my evangelizing, some people are always meeting cookie butter for the first time. It’s found in jars near the nut butters in stores. Trader Joe’s carries it under the name Speculoos. The other major brand is Biscoff. It tastes like spice cookies pureed in oil, because that’s exactly what it is.
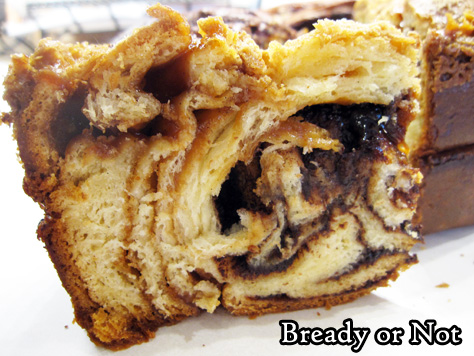
It’s also incredible to bake with because it can even make cookies taste inherently more cookie-like. Here, when it’s used with chocolate, cocoa, and fresh bread, it’s truly amazing.
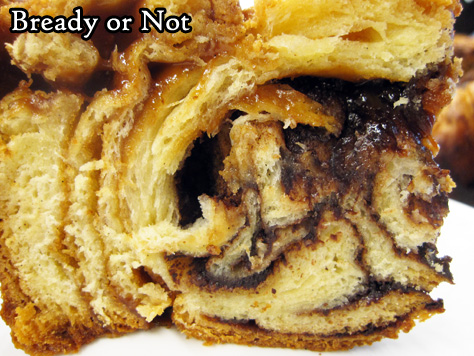
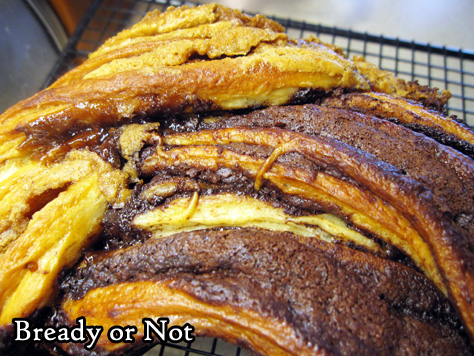
During baking, I found the exposed swirls of cookie butter actually caramelized, creating a wonderful crunch in the same bite as tender enriched bread. That, along with chocolate?
Oh wow. Oh wow.
Bready or Not: Braided Cocoa and Cookie Butter Brioche
Equipment
- stand mixer
- food scale
- Rolling Pin
- uneven spatula
- bench knife
- pastry brush
Ingredients
- 1 cup warm milk (105-110-degrees F)
- 2 1/4 teaspoons active dry yeast
- 2 large eggs room temperature
- 1/2 cup unsalted butter (1 stick) melted
- 4 teaspoons vanilla extract or vanilla bean paste, divided
- 4 1/2 cup all-purpose flour plus more if needed
- 1/4 cup white sugar
- 1 Tablespoon kosher salt
- 3/4 cup plus 2/3 cup confectioners' sugar divided
- 2/3 cup creamy cookie butter
- 3 Tablespoons unsalted butter melted
- 1/2 cup unsalted butter softened
- 1/2 cup semisweet chocolate melted
- 1/3 cup cocoa powder sifted
- 1 large egg white
- 1 Tablespoon water
Instructions
- In a stand mixer with a paddle attachment, stir together warm milk and yeast, letting it stand about 5 minutes to get foamy.
- Mix in the eggs, 1 stick melted butter, and 2 teaspoons vanilla. Follow up with the flour, sugar, and salt, beating until combined. Switch to the dough hook and beat for about 4 minutes, until smooth.
- Use nonstick spray on a large bowl. Lightly flour a flat surface and turn out the dough to form it into a round. Place it in a bowl, rotating it to grease the entire surface. Cover and let rise for about 1 hour, until it doubles in size.
- Clean everything and return to the stand mixer. Using the paddle attachment, beat the 2/3 cup confectioners’ sugar with the cookie butter, 1 teaspoon vanilla, and 3 Tablespoons melted butter, until smooth. Transfer the mixture to another bowl. set aside.
- Clean the mixer and paddle attachment again. Beat the final stick of softened butter, the melted chocolate, cocoa, remaining 3/4 cup confectioners’ sugar, and last 1 teaspoon vanilla, until smooth. Set aside.
- Lightly flour a flat surface again. Punch down the dough and turn it onto the surface. Use a food scale to divide the dough in half. Stash one half back in the bowl for now, covered to prevent drying. Roll the other half into a 20 by 9 rectangle. Use an uneven spatula to spread the cookie butter filling onto the dough, up to 1/2-inch of the edges all the way around. Starting on a long side, tightly roll up the dough, pinching the seam to seal. Set aside with the seam faced down.
- Roll out the other dough in the same way, this time spreading on the chocolate-cocoa filling. Roll it up as well, placing the two dough rolls side by side. Use a bench knife to cut each roll in half, lengthwise. With the multi-layered middles facing up, twine the strips together.
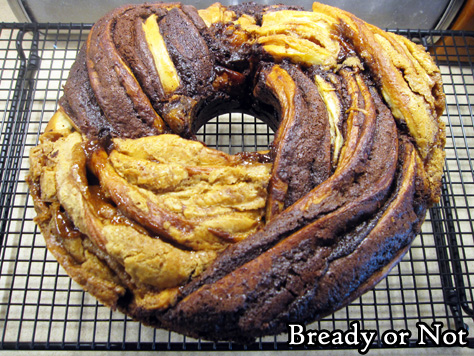
- Apply nonstick spray on tube pan. Lift braid into the pan and tug it to form a complete circle, tucking the ends beneath. Cover the bread and let it rise in a warm spot until it’s puffed, about 30 minutes.
- Preheat oven 350-degrees.
- In a small bowl, whisk together the egg white and water. Brush the top of the dough, touching the cookie butter strands first, then the chocolate; this will prevent the chocolate from smearing too much.
- Bake for about 50 to 55 minutes, covering the bread with foil halfway through to prevent too much browning. When done, the top should be golden and an instant-read thermometer should be above 190-degrees.
- Let cool in pan for about 15 minutes. Turn out onto a plate, then tip it back onto a rack to completely cool, top-up.
- The bread is best eaten within a day, but it can also be sliced up and frozen in pieces. It'll thaw later and taste beautifully fresh! Eat at room temperature or slightly warmed.
OM NOM NOM!
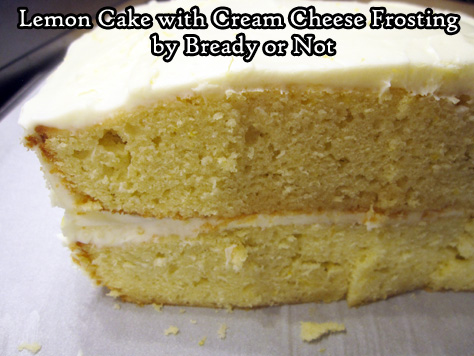
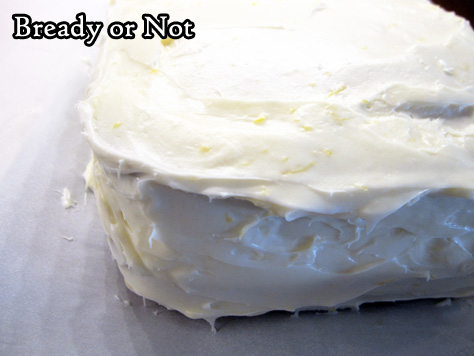
Bready or Not: Lemon Cake with Cream Cheese Frosting
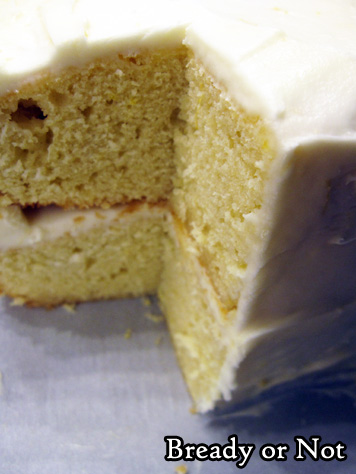
This Lemon Cake with Cream Cheese Frosting isn’t fancy. It’s a 9×13 cake cut in half and stacked. It has curves and straight edges. It also tastes amazing.
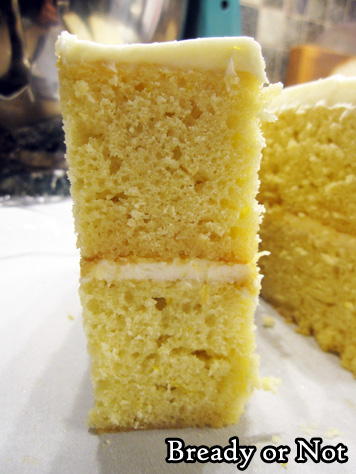
This is also an ideal cake for lemon-lovers. Two lemons are zested and juiced, their flavor infusing both the batter and frosting.
The cream cheese frosting here is an absolute classic, too. This is a recipe where you definitely want to lick the beaters and the bowl afterward!
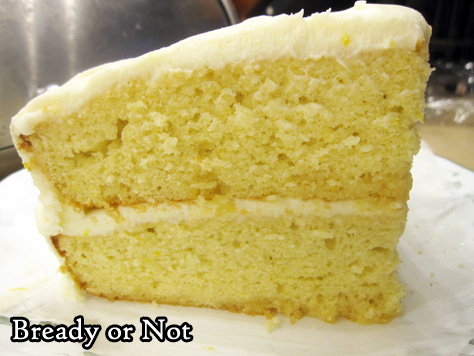
I actually debated whether or not to post the cake on Bready or Not because it is so basic. After a lot of thought, though, I realized that simplicity is one of the perks.
It may not win awards for looks, sure. But does it taste good? YES.
Modified from Food & Wine Magazine January 2021.
Bready or Not: Lemon Cake with Cream Cheese Frosting
Equipment
- 9×13 pan
- uneven spatula
- cooling rack
- chopstick or skewer
- hand mixer
- parchment paper
Ingredients
Lemon Cake
- 1 3/4 cups white sugar
- 2 large lemons zested and juiced, to use for cake and frosting
- 3/4 cup extra virgin olive oil
- 4 large eggs room temperature
- 1 cup milk
- 1 teaspoon vanilla extract
- 3/4 teaspoon fine sea salt
- 3 cups all-purpose flour
- 1 1/2 teaspoons baking powder
- 3 Tablespoons honey
Cream Cheese Frosting
- 8 ounces cream cheese (1 box) softened
- pinch fine sea salt
- 1/2 cup unsalted butter (half stick) softened
- 3 cups confectioners’ sugar
Instructions
Make the lemon cake
- Preheat oven at 350-degrees. Line a 9×13 pan with foil and apply nonstick spray.
- Mix together the white sugar and 1 Tablespoon of the lemon zest; reserve remaining zest for the frosting. Using fingertips, for about a minute rub zest into sugar to deploy the inherent oils. Whisk in the olive oil followed by the eggs. Add the milk, vanilla, and salt. Keep beating until the sugar is dissolved.
- Beat in the flour and baking powder until just combined, making sure to scrape the bottom of the bowl. Pour batter into the cake pan.
- Bake for 30 to 35 minutes, until the middle passes the toothpick test. Let cake cool in pan about 10 minutes. In a small bowl, whisk together the honey and 3 Tablespoons of the lemon juice until smooth.
- Invert the cake onto a large cooling rack. Stab cake all over with chopstick or skewer. Set a cookie sheet beneath the rack. Drizzle or brush the honey-lemon mix all over the cake. Let cool for about an hour.
Frosting
- Combine cream cheese, salt, the rest of the lemon zest, and a Tablespoon of lemon juice; use rest of juice otherwise. With a hand mixer, beat on medium-high until smooth, about 30 seconds. Add the butter and beat until pale and fluffy, about a minute.
- Reduce the speed and gradually add the confectioners’ sugar. Once it’s all in, increase the speed to high and beat until fluffy, about 2 minutes.
- Transfer the cake to a parchment paper-lined cookie sheet. Use an uneven spatula to spread 1 1/2 cups frosting all over the top of the cake. Place cake in fridge to chill for 15-30 minutes. Once frosting has hardened. Slice in half crosswise and stack the halves. Spread the remaining frosting on the top and sides of cake, getting all of the odd angles, nooks, and crannies.
- Refrigerate cake, uncovered, at least 30 minutes before serving. For longer than that, cover with plastic wrap; it’ll keep well in the fridge for up to 3 days, and can also be frozen in individual slices. Serve cake right from fridge.
OM NOM NOM!
New publications for spring!
I’m staying incredibly busy these days, and publishers are keeping busy, too. I’ve had a number of new works published of late! [Note that links to Amazon are through their affiliate program.]

Short stories
- “The Recipe Keeper,” Flash Fiction Online
- “How to Hide a Unicorn,” Untethered
- “More Than Nine,” Reinvented Heart
Poetry
- Four works nominated for the 2022 Rhysling Award and included in the anthology: long form “The Bookstore” and “Follow the Meandering Path”; short form “Field Trip to See the Mermaid” and “How to Find Yourself Again”
- “Let’s Enjoy the Stars One Last Time” and “Today,” Star*Line 45.1
- “Forget That,” Star*Line 45.2
Nonfiction
- “Joy Amidst the Sorrow,” Chicken Soup for the Soul: Grieving, Loss and Healing
#SFWAPro
Read MoreBready or Not Original: Snickerdoodle Blondies (Redux)
I first shared this recipe for Snickerdoodle Blondies back in 2015, so it’s time for a re-bake and repost, with shiny new pictures of these delicious things!
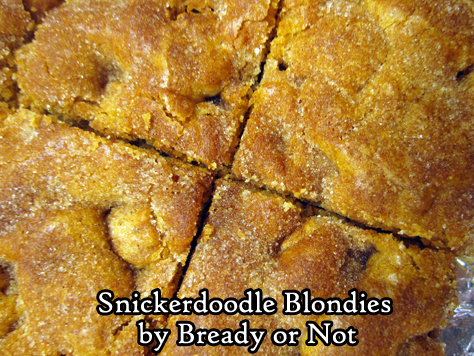
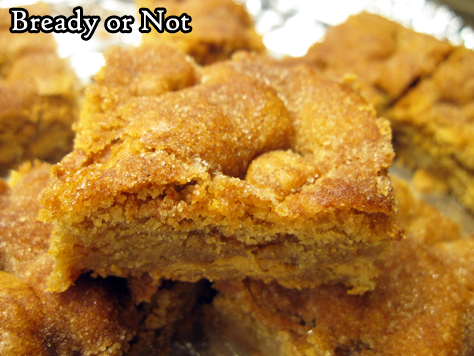
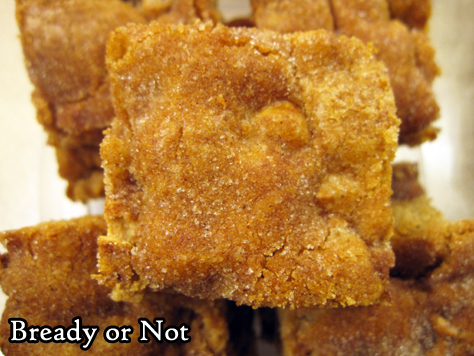
These are thick, soft, and chewy bars, packed with snickerdoodle flavor. The top is crowed with cinnamon and sugar.
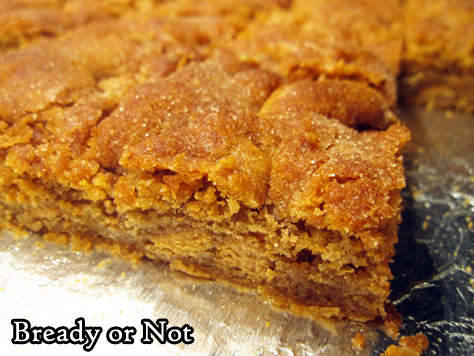
Oh yes, and through the tender crumb are sporadic caramel chips–or cinnamon chips. This recipe is fantastic using either, or both. They add extra oomph without being overkill.
The recipe makes a big 9×13 pan, so this is a good recipe to feed a crowd!
Bready or Not Original: Snickerdoodle Blondies (Redux)
Equipment
- 9×13 pan
- aluminum foil
Ingredients
Blondies
- 1 cup unsalted butter (2 sticks) room temperature
- 2 cups brown sugar packed
- 1 Tablespoon vanilla extract
- 2 large eggs room temperature
- 2 2/3 cups all-purpose flour
- 1 teaspoon kosher salt
- 1/2 tsp cream of tartar
- 1 teaspoon ground cinnamon
- 2 teaspoons baking powder
- 10 ounces caramel chips or cinnamon chips
Topping
- 2 Tablespoons white sugar
- 2 teaspoons ground cinnamon
Instructions
- Prepare a 9×13 pan by lining it with aluminum foil and applying nonstick spray. Preheat oven at 350-degrees.
- In a large bowl, cream together the butter, brown sugar, and vanilla extract. Add the eggs one at a time.
- In a separate bowl, sift together the flour, salt, cream of tartar, cinnamon, and baking powder. Gradually add the dry mix into the wet bowl. Once everything is mixed, add the bag of caramel or cinnamon chips.
- Evenly spread the dough into the prepared pan. In a small bowl, mix the sugar and cinnamon. Sprinkle the mix over the dough.
- Bake for 30 to 40 minutes, until toothpick inserted in center comes out clean. Cool completely. Use the foil to lift out the contents and cut into bars. Store at room temperature. They will keep well for a few days if kept sealed.
