


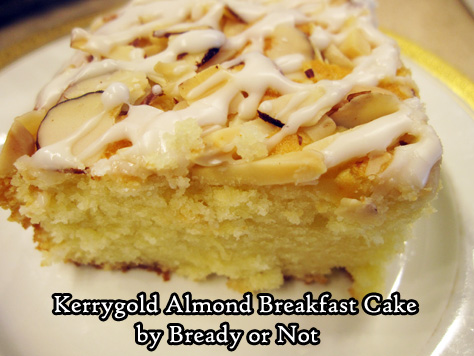
Bready or Not: Kerrygold Almond Breakfast Cake
This Kerrygold Almond Breakfast Cake is moist, light, and delicious thanks to Irish butter, ricotta cheese, and a vivid spark of lemon.
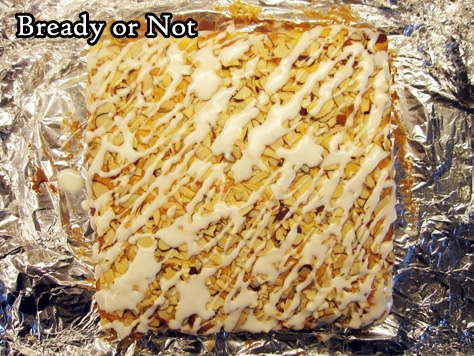
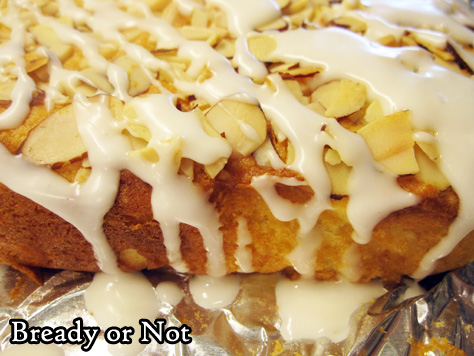
I found the original version of this recipe on the Kerrygold website and modified it quite a bit to make it work for a square 9-inch pan. I also added a glaze because, well, I thought it needed one–and it does. Not only does it boost the sweetness, but it helps that layer of sliced almonds adhere more.
Using ricotta cheese in a cake like this doesn’t make it taste cheesy. The ricotta adds moisture, creating a soft, tender crumb, and it plays beautifully with the potent Kerrygold butter.
Now, about that Kerrygold. For baking purposes, I like to buy it at Costco when it goes on sale a few times a year. Stash it in the freezer and it keeps for a long, long time. It’s sure more cost-effective than buying it at the grocery store.
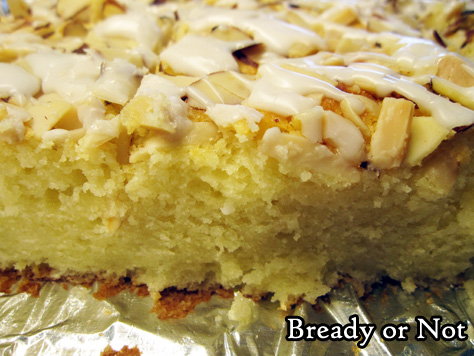
This cake is lemony-bright in flavor with a crisp-top crust thanks to the almonds. It keeps at room temperature for a few days or can be frozen for later.
Bready or Not: Kerrygold Almond Breakfast Cake
Equipment
- 9-inch square pan
- aluminum foil
- uneven spatula
Ingredients
Cake
- 1 1/2 cups all-purpose flour
- 2 teaspoons baking powder
- 3/4 teaspoon kosher salt
- 8 Tablespoons Kerrygold unsalted butter (1 stick) 1/2 cup, room temperature
- 1 cup white sugar
- 1 lemon zested and juiced
- 2 large eggs room temperature
- 1 teaspoon pure almond extract
- 1 1/2 cups whole milk ricotta cheese
- 3/4 cup sliced almonds
Glaze
- 3/4 cup confectioners’ sugar
- 3 teaspoons fresh lemon juice
Instructions
- Preheat oven at 350-degrees. Line 9-inch pan with foil extended up all four sides. Apply nonstick spray.
- Whisk together flour, baking powder, and salt. Set aside.
- In a large mixing bowl, beat together butter, sugar, and lemon zest until light and fluffy, about 4 minutes. Add eggs and almond extract.
- To the mixing bowl, alternatively add the flour mixture and the ricotta. Batter will be thick.
- Pour it into the prepared pan. Level off with an uneven spatula. Sprinkle sliced almonds to cover the top.
- Bake for 33 to 38 minutes, until the middle passes the toothpick test.
- Cool in pan for at least 45 minutes, then use foil to lift it onto a rack to completely cool at room temperature.
- Make glaze and drizzle across the top. Let set for 30 minutes before cutting. Cake will keep at least two days at room temperature, or pieces can be individually wrapped and frozen for later.
OM NOM NOM!
Bready or Not Original: Cookie Butter Shortbread
The Cookie Butter Shortbread is a new riff on my classic Shortbread recipe that I’ve also made with espresso powder and chocolate chips–and also with an infusion of lemon and a glaze. It’s a versatile base recipe.
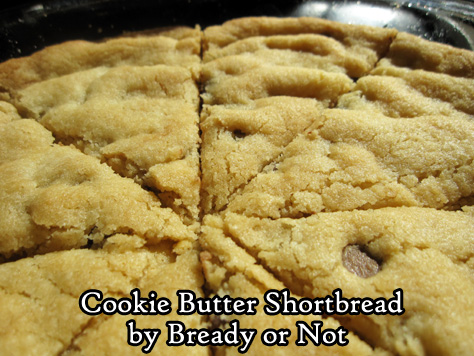
Now, I bet some of you are asking–what is cookie butter? It’s essentially pureed spice cookies with oil, forming a spreadable consistency just like peanut butter. You can find it in stores by the nut butter; Trader Joe’s carries it under the name Speculoos. What cookie butter does is make cookies taste more… cookie. You’ll know what I mean when you try it.
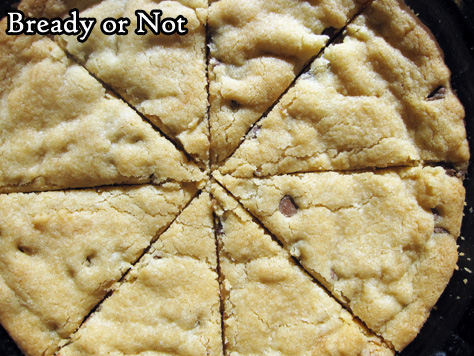
This is not a crisp shortbread like the traditional Walker’s brand (which is delicious in its own right). No, this shortbread is cakey and soft, only crisp at the very edge.
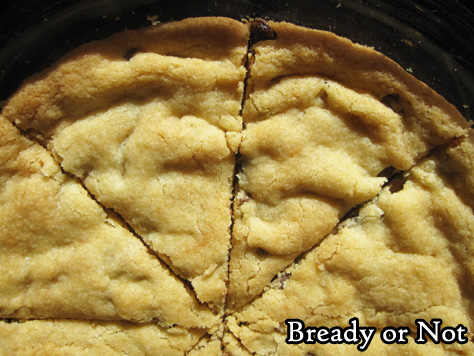
Sometimes the first piece out of the pan can even be fussy and break in half; a metal pie spatula helps, but sometimes it can still happen. That’s no major problem, though, because of every bite of Shortbread is good, even if it’s not perfectly photogenic.
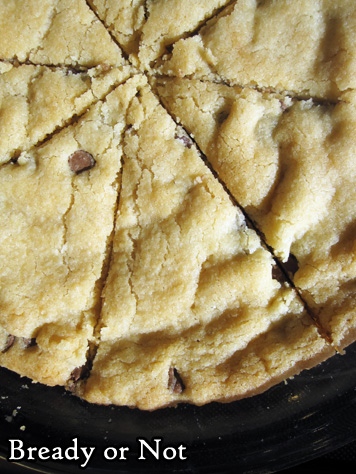
Enjoy this Cookie Butter Shortbread for breakfast or snacks, or in proper fashion at tea time.
Bready or Not Original: Cookie Butter Shortbread
Equipment
- 2 pie plates
Ingredients
- 2 cups all-purpose flour
- 3/4 cup white sugar
- 1/4 teaspoon salt
- 1 cup unsalted butter 2 sticks, softened
- 1 egg yolk
- 1/2 teaspoon vanilla extract
- 1/4 cup creamy cookie butter
- 1/2 cup milk chocolate chips
Instructions
- Preheat oven at 375-degrees. Apply nonstick spray to both pie plates.
- Stir together the flour, sugar, and salt. Add butter, egg yolk, vanilla extract, and cookie butter. Use hands to compress dough together. Add the chocolate chips and mix, bringing dough together again to form a ball. Divide in half, placing one in each pie plate. Flatten dough with palms to create an even surface. Prick surface all over with a fork then use a knife to slash dough into triangular wedges.
- Bake for 18 to 22 minutes, until edges are golden brown and middle is set. Remove from oven and cut again along slash marks. Let shortbread cool completely, then cut again along existing marks.
- Shortbread keeps for several days at room temperature. It can be stored covered in pie plates, or stacked in a sealed container with wax paper between the layers.
OM NOM NOM!
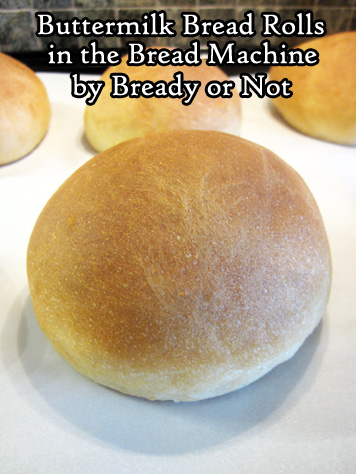
Bready or Not Original: Buttermilk Bread Rolls in the Bread Machine
The blog is called Bready or Not, and today we’re decidedly bready with these Buttermilk Bread Rolls that are conveniently made in the bread machine!
I can make bread by hand or use my KitchenAid, but the bread machine is my favorite way to mix dough. I never use it for the full baking process.
This dough is soft and dreamy to work with. Buttermilk is great for baking because it not only adds dairy to enrich the dough, but acid that causes a chemical reaction resulting in a tender crumb and great flavor.
If you don’t keep buttermilk around, no problem: look at the Note at the bottom of the recipe for advice on how to create soured milk as a substitute. I should also add that powdered buttermilk, which is reconstituted with water, also works well in recipes, though I haven’t tried it with this one in particular.
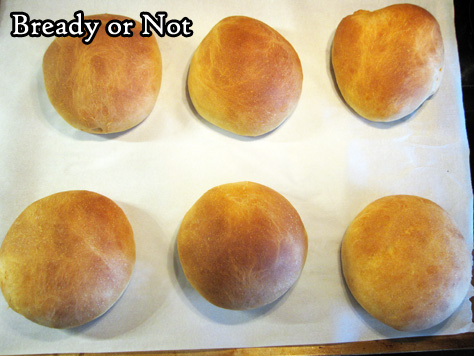
These sandwich-sized rolls are great to eat fresh, and like so many breads, is also fantastic to freeze. Throw them in a gallon freezer bag and then thaw a roll as needed in the coming weeks.
Bready or Not Original: Buttermilk Bread Rolls in the Bread Machine
Equipment
- bread machine
- food scale
- parchment paper
- baking sheet
Ingredients
- 1 1/2 cups buttermilk lukewarm (100-110-degrees); can substitute soured milk, see NOTE
- 3 Tablespoons unsalted butter melted
- 2 Tablespoons white sugar
- 1 teaspoon sea salt
- 3 3/4 cups bread flour
- 2 1/4 teaspoon instant dry yeast
Instructions
- Place all of the ingredients in the bucket of a bread machine. Start on DOUGH cycle. Set out a baking sheet with parchment paper.
- When the cycle is done, weigh the dough on a food scale. Divide it by six to create large sandwich rolls. Split up the dough, using hands form nicely rounded balls, with any rough bits tucked underneath. Place spaced out on baking sheet. When all of the rolls are formed, cover with plastic wrap or a towel to rise in a warm place until puffed, about 45 minutes.
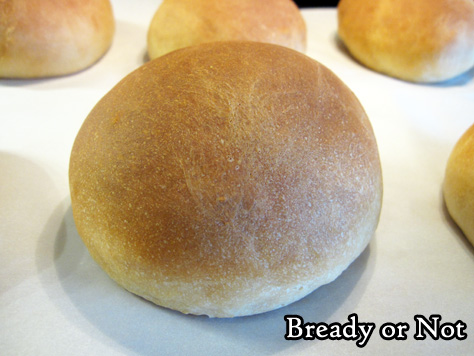
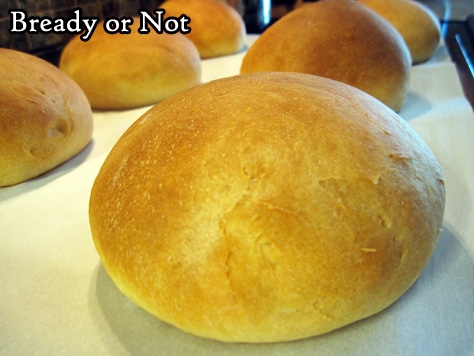
- Preheat oven at 350-degrees. Uncover the rolls and bake them for about 25 minutes. They should be golden brown and sound hollow when tapped. A digital thermometer discreetly plunged into the center should read about 190-degrees.
- Cool rolls for at least 20 minutes before slicing open. Store in a sealed bag for up to 3 days. Rolls can also be frozen for later enjoyment.
OM NOM NOM!
Notes
Bready or Not Original: Berry Frangipane Cake
This Berry Frangipane Cake is a lot of work, and it shows! This cake would make for a stunning breakfast, brunch, or dessert.

Frangipane is a kind of pastry filling made from almond flour. It is absolutely delicious, imbuing treats with nuttiness and sweetness.
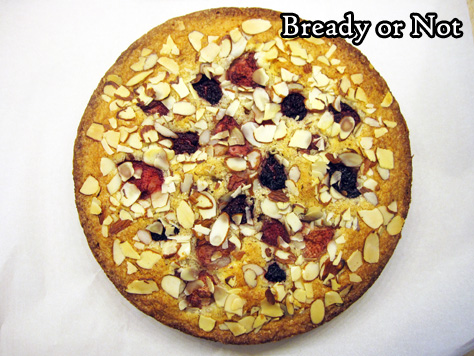
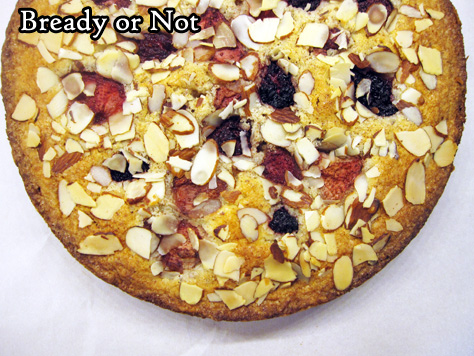
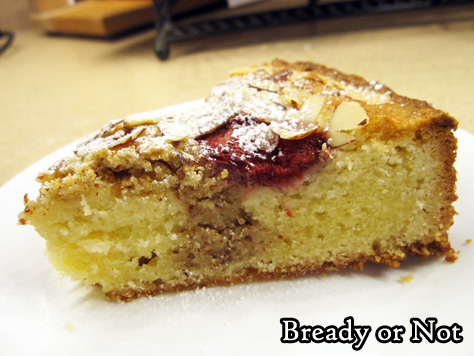
In this cake, frangipane works alongside cake batter to form the base for a lovely topping of formerly-frozen fruit and sliced almonds. I used a pretty standard fruit mix with raspberries, blackberries, and strawberries, and it’d come from the dollar store.
If you want to use a single frozen fruit or a more select mix, go for it. Just remember that it should be thawed, drained, and patted dry, and if the pieces are very large, they should probably be cut to be around bite-size.
I found that this kept perfectly well in individually-wrapped pieces at room temperature for about 2 days. It was also great to freeze. I had pieces frozen for weeks and then thawed them, and it was impossible to tell they’d ever been in the freezer.
Greatly modified from Bake from Scratch January/February 2021 issue.
Bready or Not Original: Berry Frangipane Cake
Equipment
- 9-inch springform pan
- parchment paper
- offset spatula
- 2 cookie scoops
Ingredients
Frangipane
- 2/3 cup unsalted butter room temperature
- 1 1/2 cups superfine almond flour sifted if thick or clumpy
- 3/4 cup white sugar
- 1/4 cup all-purpose flour
- 1 large egg
- 1 large egg white
- 1 teaspoon kosher salt
- 1 teaspoon almond extract
Batter
- 1/2 cup unsalted butter 1 stick, room temperature
- 3/4 cup white sugar
- 1 large egg room temperature
- 3/4 teaspoon vanilla extract
- 1/4 teaspoon almond extract
- 1 cup all-purpose flour
- 3/4 teaspoon baking powder
- 1/4 teaspoon kosher salt
- 1/4 cup milk or half & half
Fruit topping
- 3/4 cup frozen mixed berries drained, thawed, and patted dry
- 3 Tablespoons sliced almonds
- confectioners' sugar for dusting
Instructions
- Preheat oven at 325-degrees. Cut a piece of parchment to fit the base of a 9-inch springform pan. Spray pan with nonstick spray, place paper cut-out inside, then spray that as well. Set aside.
- Make the frangipane. In a bowl, beat the butter until it’s creamy. Add the rest of the ingredients to combine well. Set aside.
- Make the batter. In a large bowl, beat the butter and sugar until they are fluffy. In a stand mixer, this will be 3 to 4 minutes. Add the egg followed by the extracts,
- In a separate bowl, combine the flour, baking powder, and salt. Gradually add the dry ingredients into the butter-batter alternatively with the milk. Scrape the bottom of the bowl often.
- Scoop about 1 cup of the batter into the pan and even out with an offset spatula. Measure out about 1 cup of the frangipane. Use two spring-loaded cookie scoops (tablespoon or teaspoon-sized, or without those, use a normal tablespoon and get your fingers dirty), scoop from the 1 cup frangipane and the batter to create a checkerboard pattern of dollops atop of base. Continue to alternate in a second layer, using up the rest of the batter as well as the 1 cup frangipane. Use a butter knife to swirl through them to create a slight marbled effect. Tap the pan on the counter a few times to knock out bubbles.
- Use a scoop to place the rest of the frangipane on the top of the cake. Even out with offset spatula. Place the berries atop the frangipane, then sprinkle the almonds all over to coat.
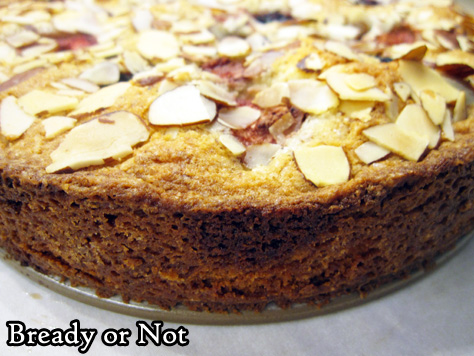
- Bake until the cake has set edges, about 50 minutes to 1 hour. An instant-read thermometer plunged into the middle should read over 202-degrees. Let cool in pan 10 minutes, then release the side clasp. Continue to cool the cake on the metal base until room temperature. Add a sprinkle of confectioners' sugar to pretty it up for serving.
- Cake will keep covered for up to 2 days at room temperature. It can also be individually sliced and frozen for later enjoyment.
