


Bready or Not: Peppermint Cheesecake Swirl Brownies
These Peppermint Cheesecake Swirl Brownies will dirty a lot of bowls and tools, but to gorgeous, delicious results.
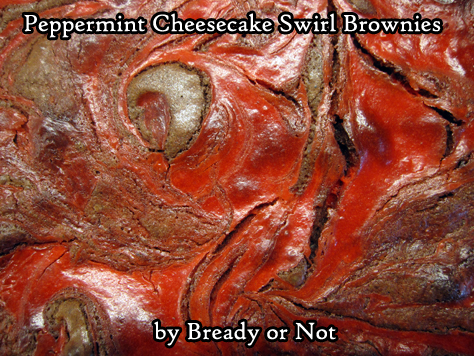
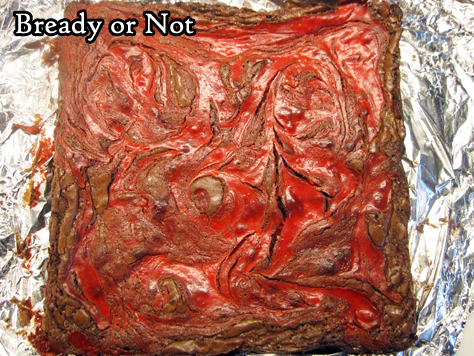
These are an incredibly holiday-appropriate brownie. I colored the cheesecake layer in red, but really, you could do green, or even mix two small, separate bowls with green and red!
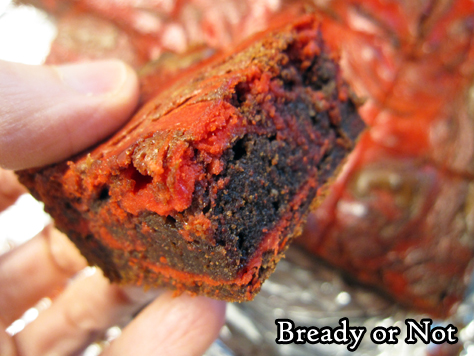
Then there’s the peppermint. It’s not overwhelming in this recipe; to me, it was mild and refreshing against the deep chocolate flavor.
I’m not a fan of cheesecake alone, but I do love that cheesecake flavor and texture when mixed with brownies or other great mix-ins. Be sure to check out some past Bready or Not recipes in the same family!
- Snickerdoodle Cheesecake Bars
- Cheesecake Brownies
- Cream Cheese-Stuffed Lemon Bundt Cake
- Swirled Goat Cheese Brownies
- Lemon Cheesecake Bars
- Earl Grey Cheesecake Bars
- Matcha Cheesecake Cookies
- Matcha Cheesecake Bars
Peppermint Cheesecake Swirl Brownies modified from the original recipe in Bake from Scratch Holiday Cookies 2019.
Bready or Not: Peppermint Cheesecake Swirl Brownies
Ingredients
Cream cheese swirl
- 8 ounces cream cheese (one block) softened
- 1/4 cup white sugar
- 1 large egg room temperature
- 1/2 teaspoon peppermint extract
- red gel food coloring
Brownie layer
- 4 ounces dark chocolate chips or chopped chocolate bar
- 3/4 cup unsalted butter 1 1/2 sticks
- 1 cup white sugar
- 1/2 cup brown sugar light or dark, packed
- 2 teaspoons vanilla extract
- 1 teaspoon kosher salt
- 3 large eggs room temperature
- 1/2 cup all-purpose flour
- 1/4 cup unsweetened cocoa powder sifted
Instructions
- Beat cream cheese until it is smooth and creamy. Add white sugar to fully incorporate. Mix in egg and peppermint extract. Stir in droplets of food color to reach desired tint. Set bowl aside.
- Prepare a 9×9 pan by lining it with foil and applying nonstick spray or butter to grease it. Preheat oven at 350-degrees.
- Using a microwave-safe bowl, in brief bursts heat the butter and dark chocolate, stirring well between each pass, until both are melted and smooth. Set aside to cool for a few minutes.
- In the large bowl of a stand mixer, use the whisk attachment to beat together both sugars, the vanilla, and salt. Add the eggs one at a time, and continue to beat at a high speed for 10 minutes. With the mixer on low, pour in the butter-chocolate. Use a spatula to fold in the flour and cocoa until just combined. Batter will be thick.
- Pour half the brownie batter into the prepared pan; use an offset spatula to even it out. Add about half the cheesecake mix in dollops. Repeat twice more, adding brownie and cheesecake in alternate dolloped layers. Use a butter knife to swirl everything together to create a marbled effect.
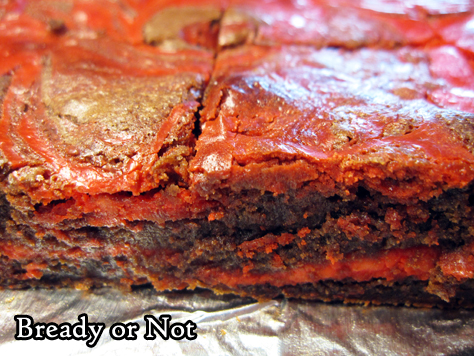
- Bake for about 45 minutes, until the middle passes the toothpick test. Cool to room temperature then cut into pieces.
OM NOM NOM!
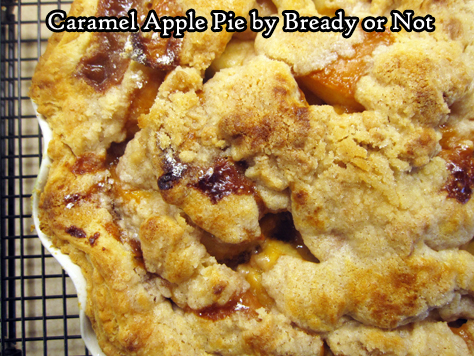
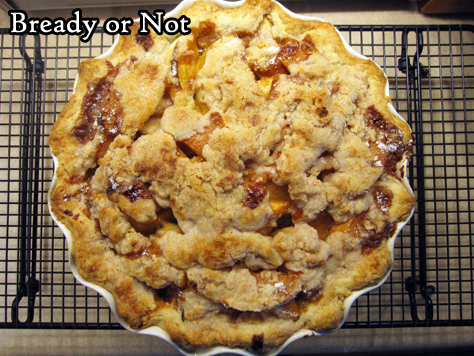
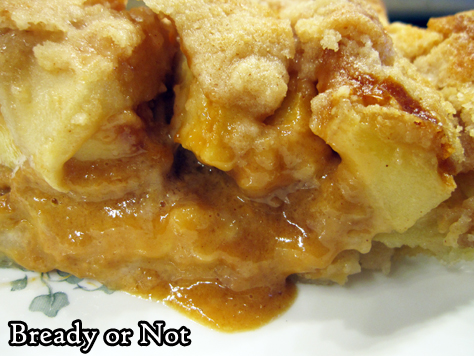
Bready or Not Original: Caramel Apple Pie
Bready or Not has featured many kinds of apple pie and cake over the years, but this is the recipe that I have made most often across my twenty years of marriage: Caramel Apple Pie.
I was shocked to realize I hadn’t featured it on Bready or Not since I started it on my domain site in 2014. I posted an earlier version on my LiveJournal, back in the day.
The base recipe came from Mr. Food. Who else remembers the Mr. Food spots on TV? He used to be on Channel 30’s midday news in Fresno. I was newly engaged when I saw him demonstrate this on his five-minute TV spot, and I mailed to the TV station with a SASE to get a print copy of the recipe.
The air date on the sheet is October 8th, 1999. I would have been watching the news from my dorm room at Fresno Pacific University!
I’m pretty sure I made this recipe for my fiancé when he came to visit me that Christmas (and we hoped that the Y2K Disaster would happen so he didn’t have to fly back to the Navy on January 1st).
It seems only right to feature this recipe at holiday time all these years later. I wouldn’t be surprised if I’m asked to make this again in just a few weeks!
Greatly modified from Caramel Crunch Apple Pie from Mr. Food (rest in peace, good chef).
Bready or Not Original: Caramel Apple Pie
Ingredients
Pie filling:
- 1 deep-dish pie shell homemade dough or store-bought
- 5 medium apples mix of varieties best, including Granny Smith, Honeycrisp, Pink Lady, etc
- 2 Tablespoons all-purpose flour
Topping:
- 2/3 cup all-purpose flour
- 1/2 cup white sugar
- 1/2 teaspoon ground cinnamon
- 1/2 cup unsalted butter 1 stick, cold
- 1 jar caramel drizzle as much as desired; most of the jar will be unused
Instructions
- Preheat oven at 375-degrees; set a baking sheet in the oven to heat up as well (this will reduce the likelihood of a pie with a soggy bottom). Press the pie dough into a deep dish pie pan, if not already formed. Stash it in the fridge while the filling is being prepared.
- Peel and core apples and slice into thin wedges. Toss them with the 2 Tablespoons flour to coat. Set aside.
- In a mixing bowl, sift together the flour, sugar, and cinnamon. Dice up the butter and toss it in the mix. Use a pastry cutter or a fork to mash up the butter to make pea-sized and smaller pieces of various shapes. Set bowl in fridge briefly, and bring out the pie shell.
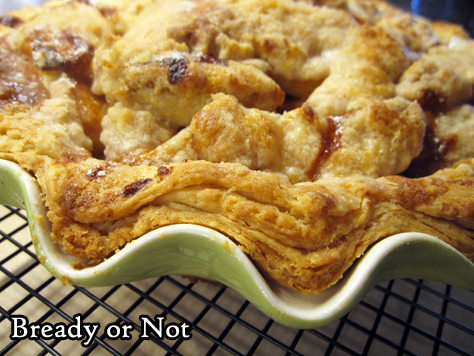
- Pour the apple slices into the pie shell and distribute them to make a nice mound. Drizzle jarred caramel over the top, to personal preference. Use a spoon to distribute crumb topping to cover apples, using butter lumps and powder to fill the nooks and crannies.
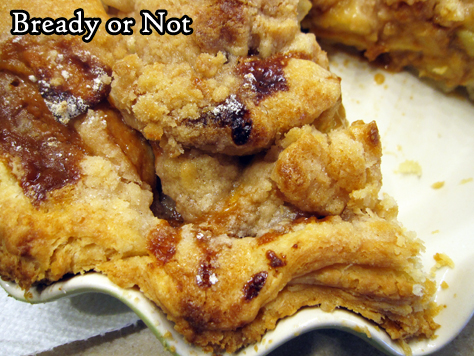
- Set pie on hot baking sheet. Bake for 40 to 45 minutes, until apples are tender when pierced by fork. Cool for at least 30 minutes before cutting in.
- Store pie covered by foil in fridge. Will keep for as long as a week. Great eaten cold or warmed up!
OM NOM NOM!
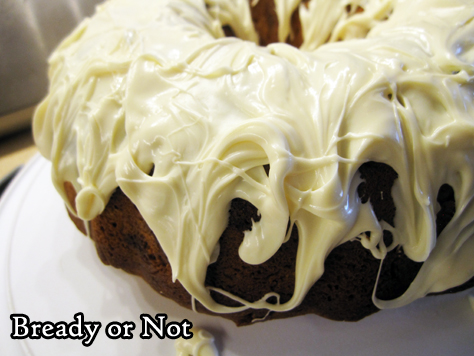
Bready or Not: White Chocolate Peppermint Bundt Cake
This White Chocolate Peppermint Bundt Cake features a light, refreshing peppermint flavor and a lot of white chocolate. Seriously, it’s a snow-capped mountain of a cake.

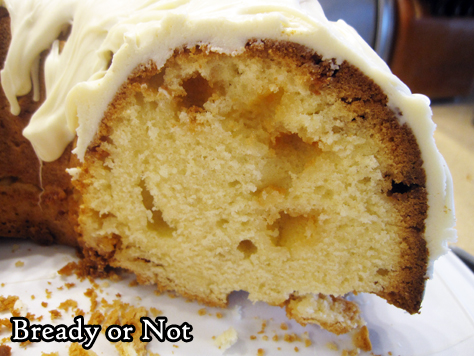
Don’t look for health food here. This thing is sweet. Lush. The middle is moist and dense, with a base (the former top) wonderfully crunchy in contrast.
White chocolate is melted into the batter, with chips also mixed in. See the golden dapples throughout the crumb? Those are the chips. They are like sweet explosions in the mouth.
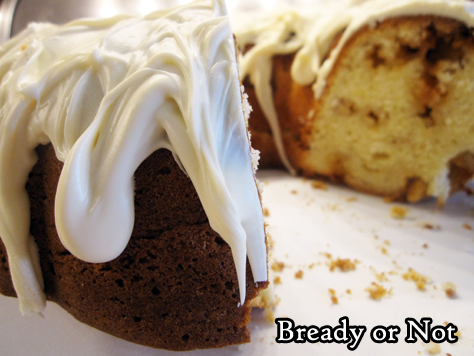
And yes, there’s that snow cap: a thick blanket of melted-down chocolate wafers. It ends up firm, but ready to melt again once it meets the warmth of a mouth. It’s perfect along with that tender cake.
This will be great for any December gathering, but it’s so delicious, you’ll want to make it year-long!
Bready or Not: White Chocolate Peppermint Bundt Cake
Equipment
- 10-cup bundt cake
- nonstick spray with flour
- microwave-safe bowls
Ingredients
Cake:
- 3/4 cup unsalted butter 1 and a half sticks, softened
- 1 1/2 cups white sugar
- 3 large eggs room temperature
- 2 teaspoons vanilla extract
- 1/2 teaspoon peppermint extract
- 3 cups all-purpose flour
- 1 1/2 teaspoons baking powder
- 1/2 teaspoon kosher salt
- 1/2 cup half & half or milk
- 8 ounces white chocolate chips divided
- 1/2 cup sour cream
Topping:
- 8- ounces white chocolate melting wafers melted
- 5 peppermint candies crushed, optional
Instructions
- Preheat oven at 325-degrees. Apply nonstick spray with flour to coat the interior of the bundt pan.
- In a big bowl, beat the butter and sugar until fluffy. Add eggs one at a time, followed by the extracts.
- In a separate bowl, stir together flour, baking powder, and salt. Gradually mix the dry ingredients into the big bowl alternatively with the half & half, beating until they are just combined.
- In a microwave-safe bowl, heat 2 ounces of white chocolate chips in 30 second bursts, stirring well between each zap, until it’s melted and smooth; keep an eye on the white chocolate, as it can burn fast! Add the melted chocolate into the cake batter. Follow that with the sour cream and the remaining white chocolate chips. Pour batter into the prepared pan.
- Bake for about 1 hour 15 minutes; the middle should pass the toothpick test. If it’s getting overly brown near the end, cover the top with foil.
- Let cake cool in pan for 20 minutes, then upend onto a cooling rack. Cool completely, speeding process in fridge if desired.
- Melt chocolate wafers in microwave or on stovetop. Drizzle atop cake to form a thick snowcap. If desired, top with peppermints.
OM NOM NOM!
Bready or Not: Pearl Sugar Ginger Cookies
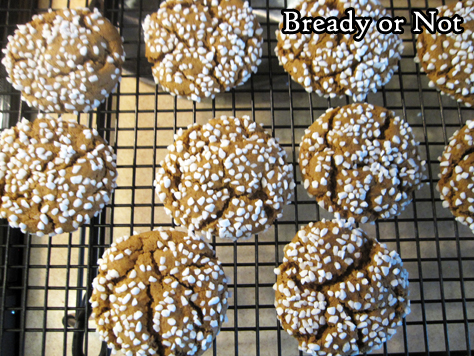
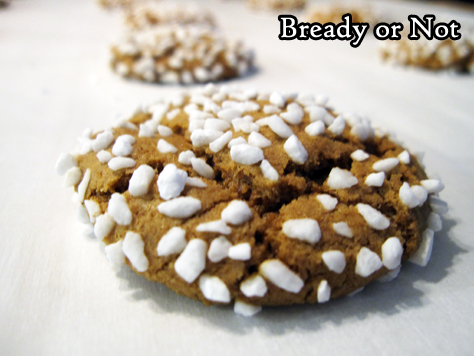
Pearl Sugar Ginger Cookies! These beauties are holiday-perfect with their crackled gingerbread looks and a crusting of pearl sugar.
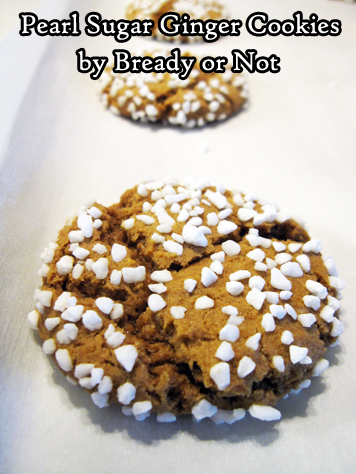
What is pearl sugar, you ask? Something awesome! It’s the kind of thing you see in Scandinavian bakeries, and through the miracle of the internet, you can now use it in home baking as well.
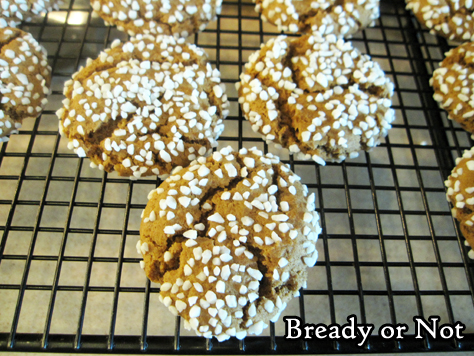
I highly recommend the stuff. Not only is it pretty, but it adds an texturally-pleasant crunch. That is especially nice with these cookies, as the actual cookie is quite chewy. The sugar granules make it into something extraordinary.
If you can’t find pearl sugar in nearby stores (I can’t), it is available on Amazon. I like the Lars’ brand. [affiliate link]
These cookies will keep for upwards of a week in a sealed container, making them perfect for holiday cookie trays and gift-giving.
Recipe modified from my favorite baking magazine, Bake from Scratch.
Bready or Not: Pearl Sugar Ginger Cookies
Equipment
- parchment paper
- teaspoon scoop
Ingredients
- 1/2 cup unsalted butter (1 stick) room temperature
- 3/4 cup white sugar
- 1/4 cup light brown sugar packed
- 1 medium lemon zested
- 1/3 cup molasses not blackstrap
- 1 large egg room temperature
- 2 1/4 cups all-purpose flour
- 2 teaspoons ground ginger
- 1 teaspoon baking soda
- 1 teaspoon kosher salt
- 3/4 teaspoon ground cinnamon
- 1/2 teaspoon ground cardamom
- 1/2 teaspoon ground cloves
- 1 cup Swedish pearl sugar
Instructions
- Preheat oven to 350-degrees. Line a baking sheet with parchment paper.
- Beat together the butter, white sugar, brown sugar, and lemon zest until fluffy. In a stand mixer , this will be 2 to 3 minutes. Add the molasses and egg, scraping the bowl to make sure everything is mixed.
- In a separate bowl, stir together the flour, ginger, baking soda, salt, cinnamon, cardamom, and cloves.
- Gradually add the dry ingredients to the butter mixture. Stage the pearl sugar in a small bowl.
- Use a teaspoon scoop to form balls of dough. Roll them in the pearl sugar. If the granules aren’t sticking well, lightly dampen the dough and try again. Place the balls spaced out on the pan.
- Bake until the cookies look crackled on top with the edges just set, at 10 to 12 minutes. Let set on pan a few minutes before transferring cookies to a rack to completely cool. Store cookies in an airtight container at room temperature.
OM NOM NOM!
Follow me


