Bready or Not: Maple-Walnut Cookies
It’s been too long since I featured a maple recipe. Let’s finish off November with Maple-Walnut Cookies!
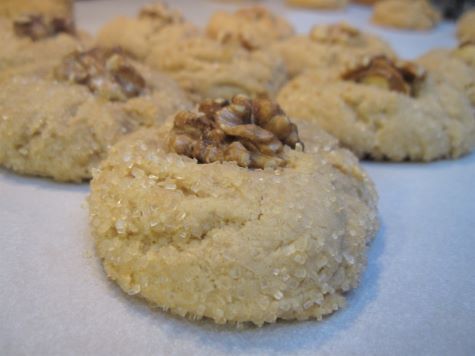
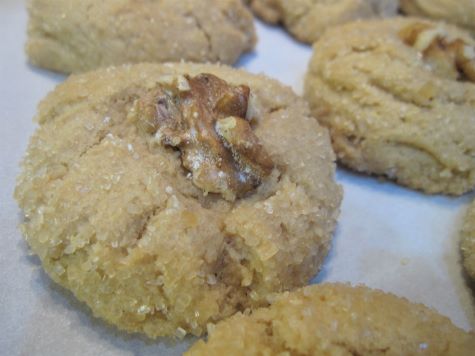
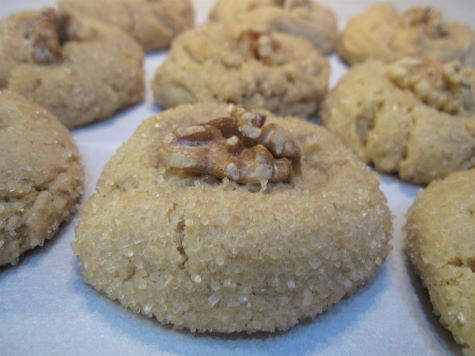
The texture of these cookies is pillowy and light. Overall, they are soft and chewy, though the bottom is crisp thanks to the pan, while the turbinado sugar creates a crust on top.
Walnut and maple are such a great combination. Here, the walnut half crowns each cookie and not only adds great flavor and texture, but they just plain look lovely.
Bready or Not: Maple-Walnut Cookies
Equipment
- parchment paper
- tablespoon scoop
Ingredients
- 2 1/2 cups all-purpose flour
- 1/2 teaspoon baking soda
- 1/2 teaspoon salt
- 1/2 cup unsalted butter (1 stick) room temperature
- 2/3 cup brown sugar packed
- 1/2 cup pure maple syrup
- 1 large egg
- 1 teaspoon vanilla extract
- 1/2 teaspoon maple flavor
- 1/2 cup turbinado sugar
- 3/4 cup walnut halves
Instructions
- Combine the flour, baking soda, and salt in a small bowl. Set aside.
- In a large bowl, beat butter and brown sugar on medium-high until light and fluffy, about 3 minutes. Mix in maple syrup, egg, vanilla, and maple flavor. The ingredients may look curdled.
- Gradually add in the dry ingredients, scraping the bottom of the large bowl a few times. Chill bowl in fridge for about 30 minutes to reduce stickiness.
- Preheat oven at 350-degrees. Line a baking sheet with parchment paper. Measure out the turbinado sugar in a small bowl.
- Roll tablespoon-sized balls of dough in the turbinado sugar. Set spaced out on baking sheet. Press a walnut half into the top of each round.
- Bake for 12 to 14 minutes. Cookies should be set but still soft. Let rest on sheet for 10 minutes before transitioning to a cooling rack.
- Store in a sealed container at room temperature.
OM NOM NOM!
Bready or Not Original: Gingerbread Brownies
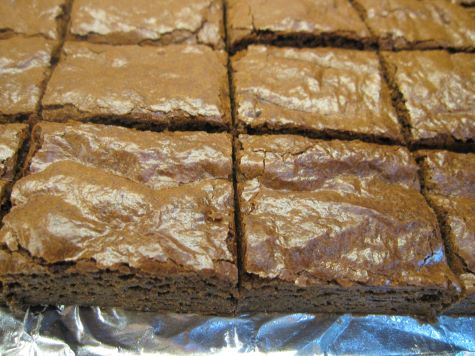
These Gingerbread Brownies are the perfect holiday season treat–or make them year-round, because they are just that good.
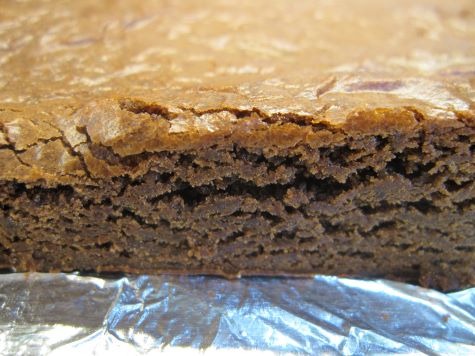
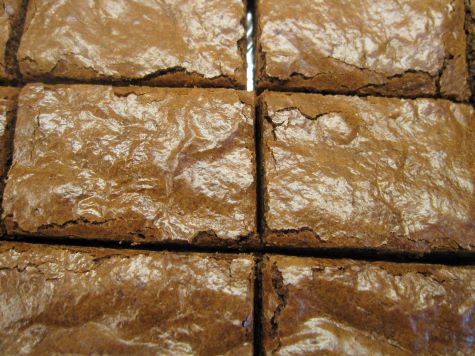
These are soft, moist, and dense in texture. The chocolate flavor hits the tongue first, followed by the pleasant warmth of ginger. The combination is fantastic.
If you want to aim for an especially nice presentation, cut off the very edge of the brownies all the way around, then slice the interior into nice squares or rectangles.
Unfortunately, someone has to eat those leftover edge pieces. Oh, darn.
Bready or Not Original: Gingerbread Brownies
Equipment
- 9×13 pan
- aluminum foil
Ingredients
- 1 1/2 cups all-purpose flour
- 1/4 cup Dutch-processed cocoa powder sifted
- 1/2 teaspoon salt
- 1/2 teaspoon baking powder
- 1/4 teaspoon baking soda
- 4 ounces semisweet chocolate chopped or in chips
- 8 Tablespoons unsalted butter 1 stick
- 1 Tablespoon ground ginger
- 1 cup brown sugar packed
- 2 large eggs room temperature
- 1/3 cup unsulphured molasses
Instructions
- Preheat oven at 325-degrees. Line 9×13 pan with foil and apply nonstick spray or butter to grease bottom and sides.
- In a medium bowl, stir together flour, cocoa, salt, baking powder, and baking soda. Set aside.
- In a microwave-safe bowl in the microwave or on the stovetop in a pot, melt together the chocolate and the butter. Stir in the ginger. Let set to cool for ten minutes, then stir again.
- In a large mixing bowl, beat together brown sugar, eggs, and molasses. Mix in the chocolate. Stir in the dry ingredients until just combined. Pour batter into the prepared pan and even out.
- Bake for 24 to 28 minutes. The middle should pass the toothpick test.
- Let bars cool for several hours, speeding the process in the fridge if desired. Use the foil to lift the contents onto a cutting board for easy slicing. Store in a sealed container.
OM NOM NOM!
Bready or Not Original: Cherry Almond Bars
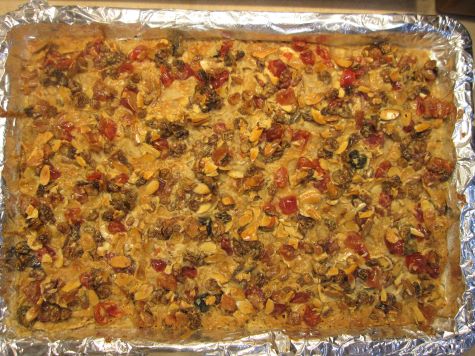
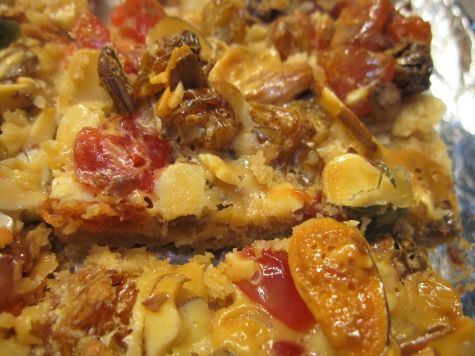
These Cherry Almond Bars are fast to make and are a delicious, seasonally-colorful treat.
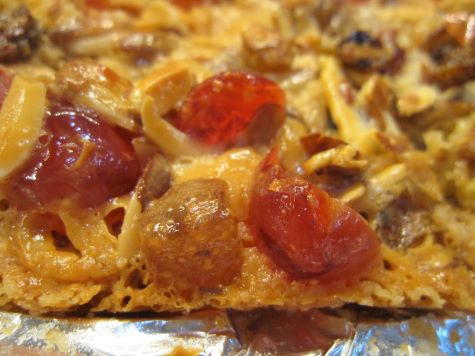
This recipe is a great way to use up fruit cake mix in a way that does NOT involve fruit cake. Here, I used a combination of red and green cherries with pineapple bits, but you could use all kinds of mixes.
The crust here is both chewy and crisp. The top is sheer candy, really, which goes so well with the pastry base.
This is a great treat for a cookie exchange or to set out on a holiday display!
Bready or Not Original: Cherry Almond Bars
Equipment
- jelly roll pan (15x10x1-inches)
- aluminum foil
Ingredients
- 2 cups all-purpose flour
- 1/2 cup brown sugar packed
- 1 cup unsalted butter cold
- 1 cup golden raisins
- 8 ounces fruit cake mix chopped
- 1 cup sliced almonds
- 14 ounces sweetened condensed milk
Instructions
- Preheat oven at 325-degres. Line jelly roll pan with a wide strip of aluminum foil. Add nonstick spray all over.
- In a large bowl, combine flour and brown sugar. Cut in the butter and mash until it is crumbly. Press the mix into the prepared pan. Bake for about 18 minutes, until browned.
- In the same bowl, place the raisins, fruit cake filling, almonds, and sweetened condensed milk. Stir to coat everything. Dollop the mix all over the crust; it’s too thick to spread, so distribute as evenly as possible. Bake for 25 to 30 minutes, until golden brown.
- Let cool at least an hour. Slice into bars. Store in a sealed container.
OM NOM NOM!
Bready or Not: Gingerbread Bundt Cake
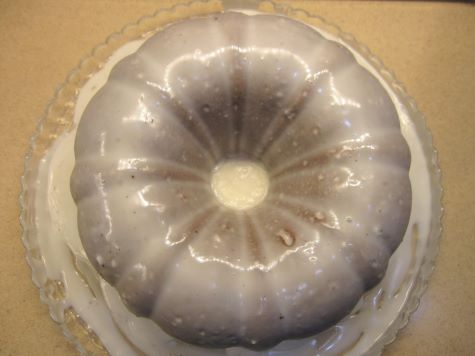
Why choose between gingerbread and a cake? With this Gingerbread Bundt Cake, you get both at once!
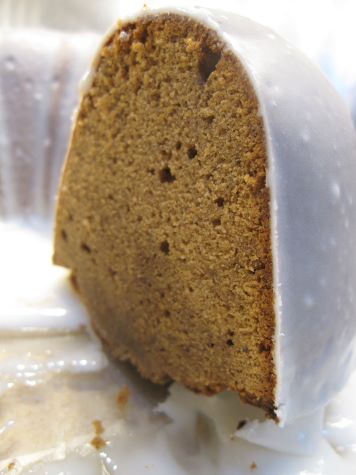
This is everything you’d look for in gingerbread, too. Loads of spices. A nice warm zing in the mouth. Sweetness to enhance everything else.
I should add, this is especially good for people like me who want SOFT gingerbread. The crispy kind has its uses in architectural structures or for decorated cookies, but I’d rather eat soft gingerbread.
Modified from Bake from Scratch November/December 2021.
Bready or Not: Gingerbread Bundt Cake
Equipment
- large bundt pan
- baking spray with flour
Ingredients
Cake
- 1 1/2 cups unsalted butter (3 sticks) room temperature
- 2 cups brown sugar packed
- 6 large eggs room temperature
- 1/3 cup unsulphured molasses
- 2 teaspoons vanilla extract
- 3 cups all-purpose flour
- 1 1/2 Tablespoons ground ginger
- 1 Tablespoon ground cinnamon
- 1 Tablespoon ground nutmeg
- 1 teaspoon kosher salt
- 1 teaspoon ground cloves
- 1 teaspoon ground allspice
- 1/2 teaspoon baking powder
- 1 cup milk or half & half, room temperature
Glaze
- 3 cups confectioners’ sugar
- 1/3 cup milk or half & half
- 2 1/2 Tablespoons light corn syrup
- 1 1/2 teaspoons vanilla bean paste
- 1/2 teaspoon kosher salt
Instructions
- Preheat oven at 350-degrees. In a mixer, beat together butter and brown sugar until light and fluffy, about 3 to 4 minutes. Add eggs one at a time, beating after each addition. Add molasses and vanilla, scraping bowl as needed.
- In a separate large bowl, stir together flour, ginger, cinnamon, nutmeg, salt, cloves, allspice, and baking powder.
- Gradually add the dry ingredients to the butter mix alternatively with the milk. Batter may look broken at some points, but keep mixing things in and it’ll come together again.
- Generously apply nonstick spray with flour to the interior of the bundt pan. Pour batter inside and even it out. Tap the pan on the counter a few times to knock bubbles out.
- Bake until golden brown on top, about 1 hour. A digital thermometer plunged into the middle should read over 200-degrees. Let cake cool in pan for about 20 minutes, then invert it onto a rack to cool completely.
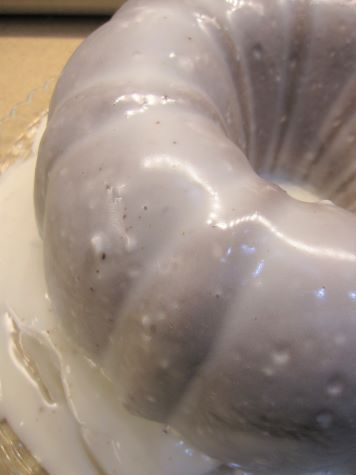
- Trim the bottom of the cake, if desired, to make it flat and even (saving those remnants to nibble on, of course). Put cake on serving platter. Combine glaze ingredients. Slowly spoon over the cake to totally cover the surface. If desired, spoon up what drips off and reapply to cake a few more times, coating surface generously.
- Let glaze set at room temperature or in the fridge. Slice and enjoy!


