Bready or Not: Dulce de Leche Brownies Redux
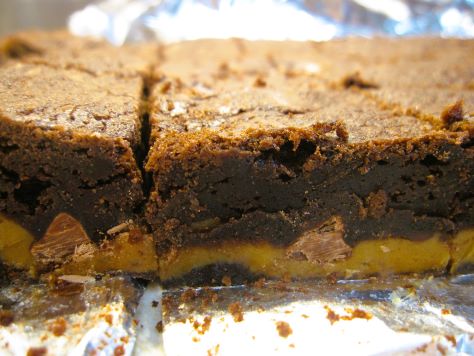
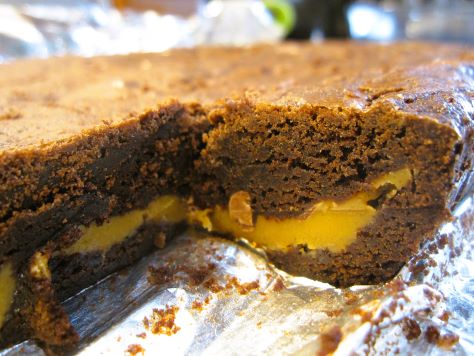
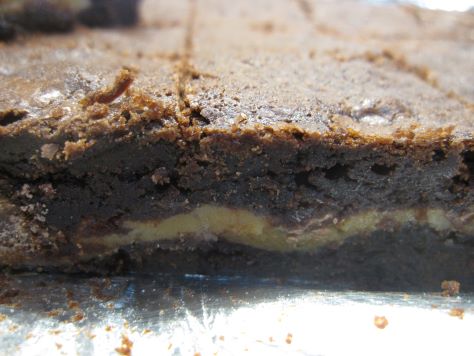
Do you need a brownie recipe that will really impress people this holiday season? Try these Dulce de Leche Brownies!
This is a resurrected recipe that was originally shared on the Holy Taco Church, which I then reposted here on my site in 2015. It was a big hit back then–I had several people reach out to say they tried it and loved it.
Now, one big warning: This is a dangerous recipe, and I’m not just talking calories. Sweetened condensed milk becomes lava after mere minutes in the microwave. Make this recipe with care. I originally advised using 10-12 minutes total time to make the dulce de leche in the microwave, but when I remade it this year, I did shorter bursts and spent more like 15 minutes, and there were no scalding-hot overflows.
So, take care with this recipe, and know that the reward for your risk is sweet indeed.
Bready or Not: Dulce de Leche Brownies Redux
Equipment
- microwave
- large bowl
- 9×13 pan
- aluminum foil
- nonstick spray
- uneven spatula
Ingredients
Dulce de Leche
- 14 ounces sweetened condensed milk can
- 1 Tablespoon corn syrup
- 2 Tablespoons unsalted butter
Brownies
- 1 cup unsalted butter softened (2 sticks)
- 1 1/4 cups white sugar
- 1/2 cup brown sugar packed
- 4 large eggs room temperature
- 2 teaspoons vanilla extract
- 1 cup all-purpose flour
- 1 teaspoon espresso powder optional but awesome
- 3/4 cup unsweetened cocoa powder sifted
- 1/2 teaspoon salt
- 1/2 cup chocolate chips
Instructions
To make Dulce de Leche
- (Note that you can buy canned Dulce de Leche on the Hispanic foods aisle in many grocery stores and skip this step! You can also make it in a crock pot or stove–look up these other methods online. Microwave is faster, but has some danger involved.)
- Combine sweetened condensed milk and corn syrup in a LARGE microwave safe bowl. You need the bowl large because the stuff may start to boil like an erupting volcano.
- Microwave on 50% power, stopping and stirring every 2 minutes. Start watching VERY CAREFULLY about the 5 minute point. It can start to boil over very quickly. Start doing 1 minute increments, stirring well in between. Somewhere from 10 to 15 minutes, it will thicken and look caramel-colored rather than white, at which point it is ready. It might look curdled but that goes away when you stir. Add in the butter and stir until it’s melted. Set aside.
To Make the Brownies
- Preheat oven at 325-degrees. Line a 9×13 pan with foil and butter it or apply nonstick spray.
- In a large bowl, cream the butter and sugars until fluffy. Beat in eggs and vanilla. Combine flour, espresso powder (if using), cocoa, and salt. Add dry ingredients into creamed mixture; mix until well blended.
- Spread about 1/2 of mixture in the prepared pan. This will just cover the bottom. Drop spoonfuls of Dulce de Leche evenly over this layer and smooth out with an uneven spatula. Sprinkle chocolate chips all over. Cover with remaining brownie batter using clean uneven spatula.
- Bake 35 to 40 minutes, until the middle passes the toothpick test. Cool and cut into squares.
OM NOM NOM!
Bready or Not: Half and Half Cookies
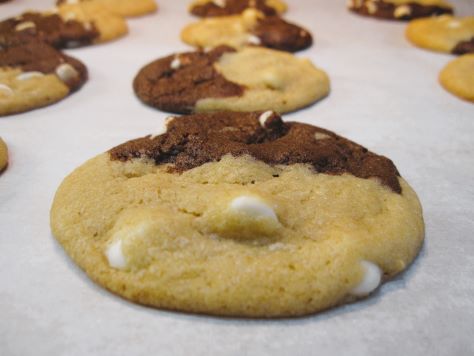
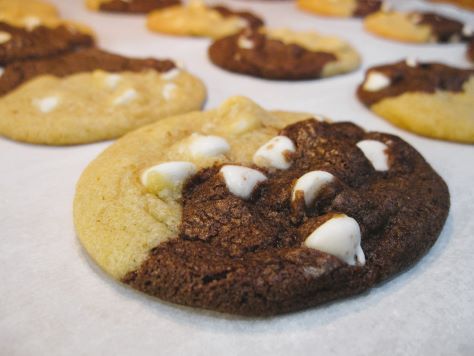
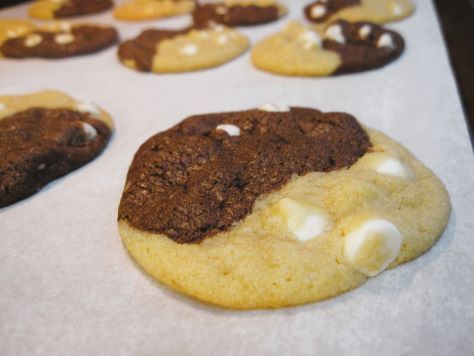
You don’t have to choose between chewy chocolate cookies and brownies with this delectable recipe for Half and Half Cookies. You can enjoy both, and in the same bite, if you want!
This recipe is wonderfully straightforward. The dough doesn’t even need to be chilled. You mix, bake, and enjoy.
Recipes like this are when a teaspoon scoop comes in handy for creating even portions of dough. The resulting cookie is fairly large because it’s essentially two mini cookies merged like Voltron to create something even more awesome.
Bready or Not: Half and Half Cookies
Equipment
- parchment paper
- food scale
- teaspoon scoop or spoon
Ingredients
Main dough
- 3 cups all-purpose flour
- 1/2 teaspoon baking soda
- pinch salt
- 1 cup unsalted butter room temperature (2 sticks)
- 1 cup brown sugar packed
- 1/2 cup white sugar
- 2 large eggs room temperature
- 2 teaspoons vanilla extract
- 11 ounces white chocolate chips 1 bag
Cocoa dough
- 1/4 cup white sugar
- 1/4 cup unsweetened cocoa powder sifted
Instructions
- Preheat oven to 350-degrees. Line a large cookie sheet with parchment paper.
- In a small bowl, sift together flour, baking soda, and salt. Set aside.
- In a large bowl, beat together butter, brown sugar, and white sugar until smooth, scraping the bottom of the bowl a few times to ensure everything is combined. Add eggs, one at a time, followed by the vanilla. Gradually beat in the flour mixture.
- Use a food scale to divine dough in half between two bowls. To one dough, add the extra sugar and cocoa, stirring until the color is consistent. Divide the white chocolate chips in half between the two doughs and fold in to incorporate.
- Use the teaspoon scoop to dole out one scoop of white dough, one scoop of cocoa dough and press together. Flatten slightly so that the half-and-half dough is visible. Set each combined dough ball spaced out on the baking sheet.
- Bake for 11 to 13 minutes, until cookies look set. Let them rest on the sheet for about 5 minutes before transferring to a cooling rack. Store them in an airtight container for up to 3 days at room temperature.
OM NOM NOM!
Bready or Not Original: “Coal” Double Chocolate Cookies
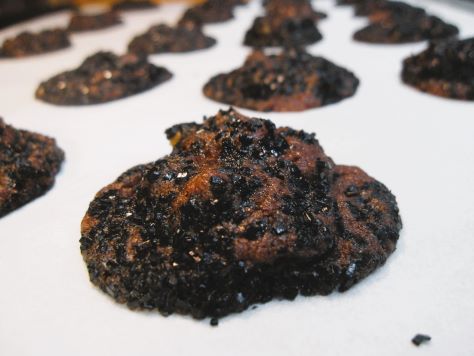
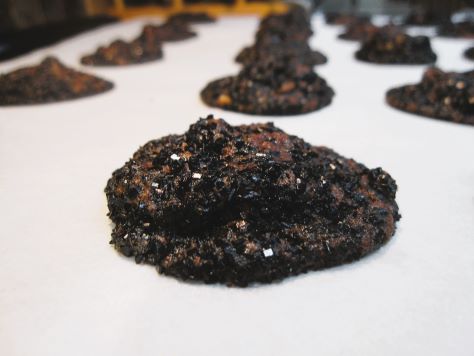
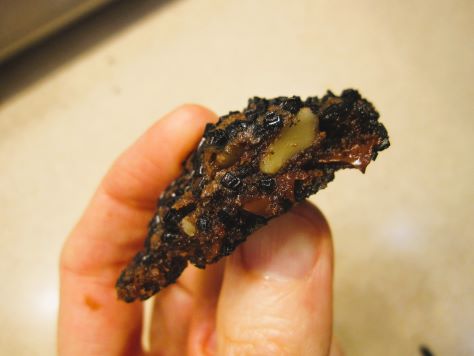
For about a decade, I had it in my head that I wanted to surprise my husband’s co-workers at the nuclear plant with coal cookies as a holiday surprise. I wasn’t sure how to go about it until I saw a brownie-style cookie recipe and decided evolve it with some modifications and a coating of sparkly black sugar. The result: “Coal” Double Chocolate Cookies.
These still taste like crunchy-chewy brownies. The black sugar adds a sweetly crisp outer layer… and in my case, it also turned tongues blue! I didn’t expect that, and it made the gag cookies even funnier to me. I don’t know if all black sugar brands will do that, so if you actually want that effect, you may need to do some testing.
These cookies were a hit at the nuclear plant, a delicious joke that everyone got. Do note that if you want to stick these in stockings, use small baggies–most of the sugar stays put, but some will come off. That’s the way the (coal) cookies crumble.
Bready or Not Original: “Coal” Double Chocolate Cookies
Equipment
- baking sheet
- parchment paper
- teaspoon scoop or spoon
Ingredients
- 1 cup unsalted butter room temperature
- 1 cup white sugar
- 1/2 cup brown sugar packed
- 1 teaspoon vanilla extract
- 1 large egg room temperature
- 1/3 cup baking cocoa sifted
- 1 teaspoon espresso powder optional, for deeper chocolate flavor
- 2 Tablespoons milk or half & half
- 1 3/4 cups all-purpose flour
- 1/2 teaspoon baking powder
- 1 cup walnuts chopped
- 1 cup chocolate chips
- 1 cup black sugar crystals for topping
Instructions
- Cream together butter, sugars, and vanilla. Beat in the egg. Add the cocoa, espresso powder (if using), and milk. Gradually add in the flour and baking powder, scraping the bottom of the bowl to incorporate everything. Fold in the walnuts and chocolate chips. Wrap dough with plastic wrap and set in fridge to firm up for 30 minutes.
- Preheat oven at 350-degrees. Line a baking sheet with parchment paper. Place black sugar in a small bowl.
- Use a teaspoon scoop or spoon to create a lump of dough. Roll it in black sugar to coat. Place spaced out on cookie sheet.
- Bake for 9 to 11 minutes. Watch for the cookies to look set; it will otherwise be difficult to gauge doneness because of the cookies’ dark color. Let sit on sheet a few minutes, then move to a cooling rack. Pack cooled cookies in a sealed container at room temperature.
OM NOM NOM
Giftmas 2023: Winter Light to benefit the Edmonton Food Bank
Giftmas is an annual tradition here on my site. Rhonda Parrish organizes the event to benefit the Edmonton Food Bank, and each year (knock on wood), it has funded. The goal this year is $1,000 CAD. The Food Bank can make 3,000 meals out of that. Wow. (For the Americans reading, note that the current exchange rate is about 1 USD = 1.29974 CAD. That means there’s a lot of bang in that American buck.)
If you want to avoid my wall o’ text below, click here and donate right now! And hey, we’re all fancy this year. There’s a QR code!
Our theme this year is “Winter Light.” Those words can be interpreted many ways. Considering what to say feels a bit overwhelming, to be honest. Therefore, I’ll go ahead and babble to work out my thoughts.
I’ve spent the past 16 winters in Arizona. There is very little winter to be experienced there, and that’s how a lot of people like it. You get maybe a month and a half of “cold” weather, and maybe there’s a week in there where the nightly lows dip near freezing and threaten to kill sensitive desert plants. Overall, though, the experience is quite mild, and likely has little rain, too.
I’m now residing in southeastern Minnesota. I’m starting to experience winter as I never have before. I’ve seen it snow maybe, oh, five times in my life prior to moving here, and all of these instances were when I lived in Washington state, where the mere hint of forecasted snow creates panic and mayhem. Minnesotans are made of stronger stuff. Me, I’m the newbie. California-born. I grew up with cold weather and fog, not snow, and definitely not below-zero temperatures. I’m learning to layer clothes in new ways.
The weather forecasters here keep mentioning “Alberta clippers” that bring cold fronts this way. Mentions of Alberta make me think of Rhonda (the organizer of Giftmas) up there in Edmonton, every time, because she’s the person I’ve known there for ages. So, the brutally cold weather I’m experiencing and will soon be experiencing more fully is coming here courtesy of Alberta, home of the Edmonton Food Bank.
People, it’s been cold here in Minnesota. Two days ago, it hit 1-degree here, with a wind chill below zero. That means it’s surely colder up in Edmonton. And darker. And scarier. I’m finding this winter change daunting as I shelter in my house with a (mostly) working thermostat and a stockpile of cheese in the fridge. How much worse is it for people who don’t have food? If there’s no money for food, there may not be much for heating a house or apartment, either. As my grandpa used to say, speaking about his impoverished barefoot youth in Arkansas, “It’s much harder being poor when it’s cold.”
People need food. Heat. Light. HOPE. Please, please, spare what you can and give the Edmonton Food Bank some help for this winter, so they can help others in turn.
Read More


