Book Blog: American Cheese: An Indulgent Odyssey Through the Artisan Cheese World by Joe Berkowitz
I review everything I read and post reviews on Goodreads and LibraryThing. That’s not enough. Good books are meant to be shared. Therefore, I’m spotlighting some of my favorite reads here on my site.
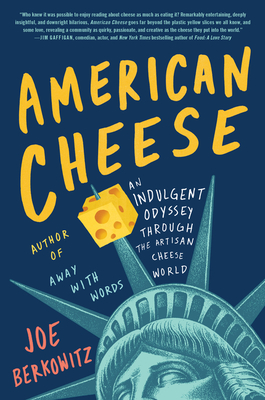
American Cheese: An Indulgent Odyssey Through the Artisan Cheese World by Joe Berkowitz
out now in print and ebook; BookShop, B&N, and Amazon [affiliate link]
I received an advance galley through NetGalley.
American Cheese is my kind of book. Author Joe Berkowitz had a near-religious experience with artisan cheese that awoke him to the diverse flavors and textures of the world’s cheese, resulting in a country and world-spanning odyssey to understand the joys of modern cheese and the industry as a whole. It’s enlightening. It’s laugh-out-loud funny throughout. Perhaps most of all, I felt as if I had connected with a friend who gets it.
I love cheese. I chronicle every cheese that I try and constantly seek out new experiences. It has become one of my prime (and most expensive) hobbies. I’ve had many of the cheeses he viscerally describes in this book, and discovered many more to add to my wish list (and yes, there is an actual wish list). Even more, he gets to experience and describe incredible things I never will, like volunteering at Murray’s Cheese in NYC, attending and eating his way through the Cheesemonger Invitational, hanging out with cheese influencers like Cheese Sex Death (one of my favorites online), traveling the California Cheese Trail (totally a goal of mine, though as a native Californian, I was appalled that the author didn’t know California made cheese), and attending world-class cheese events in France and Italy. Through his words, I was vicariously there, and left desperately craving the cheeses he describes.
Throughout everything, he is easy to relate to, modest, and hilarious. Some choice quotes include:
“I wanted to run outside doing full Kermit-arms and scream for everybody to try this cheese right now, which probably wouldn’t be the weirdest thing anyone overheard on Bleecker Street that day.”
“Cheese is literally heaven. It’s what happens after milk sheds this mortal coil and ascends to a higher plain of existence.”
Seriously, if you love cheese, get this book.
Read MoreBready or Not: Pecan-Whiskey Pumpkin Pie
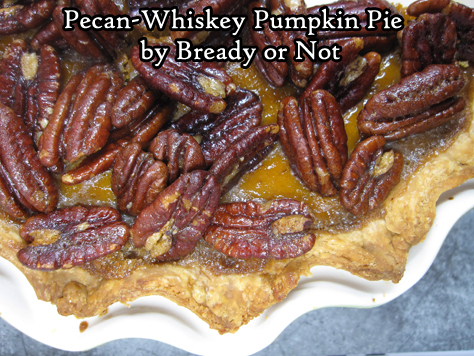
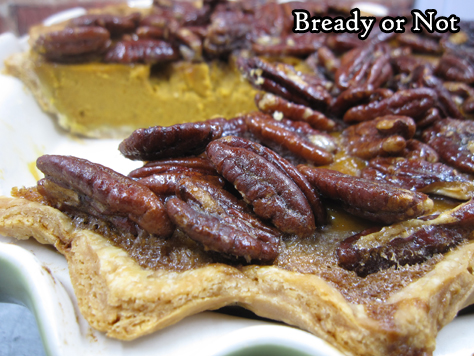
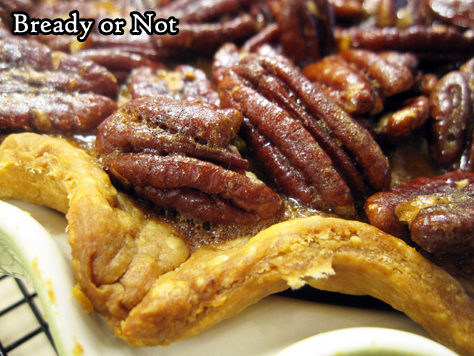
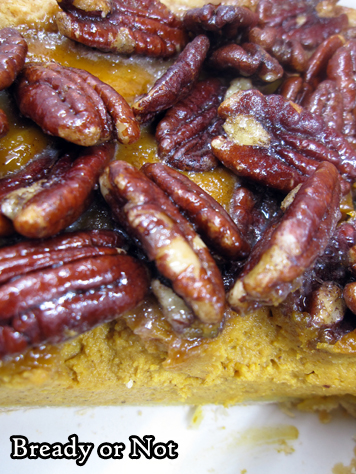
This Pecan-Whiskey Pumpkin Pie is FANCY. It looks fancy, and let me assure you, it tastes fancy.
I’m relieved that the results are amazing, because honestly, this is the most complicated pumpkin pie recipe I have ever made.
I’m used to the basic, yummy Libby’s pie. This pie is substantially more intimidating, but doable.
I found the original recipe in the November 2019 issue of Bon Appetit. I do not like how the original recipe is written. It’s confusing at several points. Therefore, I largely rewrote it, creating what (I hope) is a more straightforward version.
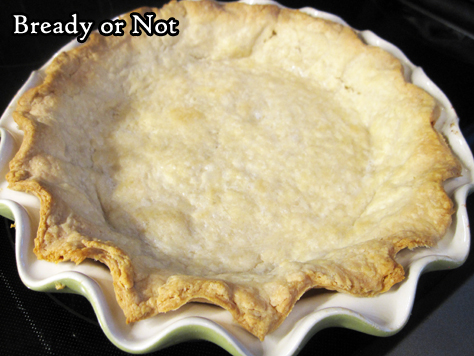
But it is still complicated. I suggest making the pie crust a day ahead, just to avoid dirtying everything all at once.
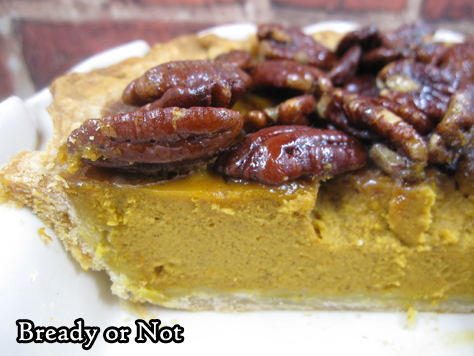
The end result is a pumpkin pie with a custard that is delicately firm and soft, with nuanced spices that perfectly complement the candied pecans on top.
This is a pie to make to impress people. Truly, this is a Bake Off showstopper kind of pie.
Recipe heavily rewritten from original in Bon Appetit November 2019.
Bready or Not: Pecan-Whiskey Pumpkin Pie
Equipment
- deep dish pie pan
- parchment paper
- pie weights
- immersion blender or blender
Ingredients
Crust
- 1 3/4 cups all-purpose flour
- 1 Tablespoon white sugar
- 3/4 teaspoon kosher salt
- 3/4 cup unsalted butter (1 1/2 sticks) cold, cut into pieces
- 3/4 cup ice water
- 1 large egg white reserve yolk to use in pie filling
Pecan Topping
- 1 1/2 cups whole pecans
- 2 Tablespoons brown sugar packed
- pinch kosher salt
- 1 Tablespoon unsalted butter melted
- 1 Tablespoon pure maple syrup
Pumpkin Pie
- 3 large eggs
- 1 egg yolk
- 15 oz pure pumpkin puree
- 3/4 cup heavy cream
- 1/4 cup white sugar
- 2 Tablespoons rye whiskey
- 1 teaspoon ground cinnamon
- 1 teaspoon ground ginger
- 1/4 teaspoon ground nutmeg
- 1/4 teaspoon ground cardamom
- pinch ground cloves
- 6 Tablespoons brown sugar packed
- 2 Tablespoons unsalted butter melted
- 1/4 teaspoon kosher salt
Instructions
Make the crust
- Note that the dough can be made as days in advance and kept chilled. The crust can also be baked a day or two before the pie is finished; keep it covered at room temperature in the meantime.
- Whisk together flour, sugar, and salt. Add butter and coat it with flour, then use fingers to press butter into shaggy pieces of varying sizes. Drizzle in about 5 Tablespoons of cold water and knead it into flour. Add additional small increments of water until dough just starts to come together. There should still be visible pieces of butter.
- Dump dough onto a clean, lightly-floured surface and knead a few more times to work in any dry, shaggy bits. Form the dough into an even, broad disc and encase in plastic wrap. Tuck inside fridge to chill for at least 30 minutes, or up to 3 days.
- To blind-bake crust, preheat oven at 400-degrees.
- On a floured surface, roll out dough to make about an even 12-inch round. Loop it over the rolling pin to lift it onto a deep dish pie plate. Shape it into pan. Form the crust edge as desired and trim away any excess dough.
- Line the inside of the crust with parchment paper. Fill entire crust with pie weights, such as dry beans.
- Bake until the edges of the crust start to brown, about 20 minutes. Use parchment to lift out pie weights and set aside to cool--do so with great care!
- Decrease the oven temperature to 350-degrees, and continue to bake for another 20 to 25 minutes. While it is baking, separate an egg; place the white in a bowl and beat it slightly, and reserve the yolk in fridge to use for the pie filling.
- Remove crust from oven. Immediately brush a tablespoon of egg white over the bottom, which will help it resist going soggy once the filling is added. Return crust to oven for another 5 to 10 minutes. Reserve the remaining egg white for use in the pie.
- At this point, the recipe can proceed to the filling stage, or the crust can cool completely and be covered to sit at room temperature for a few days.
Filling
- Heat oven at 350-degrees; set a baking sheet inside oven at heat up, too.
- While mixing the filling ingredients, toast the pecans on a foil-lined rimmed baking sheet for about 8 to 10 minutes, stirring them once at the halfway point. The pecan should be a little darker and fragrant.
- If using an immersion blender, combine the following ingredients in an even-bottomed large pot (a slow cooker pot works for this) or use a large blender (in two batches, if needed). Combine eggs, egg yolk, pumpkin puree, heavy cream, and white sugar. Add the whiskey, cinnamon, ginger, nutmeg, cardamom, cloves, 6 Tablespoons brown sugar, 2 Tablespoons melted butter, and kosher salt. Blend until smooth.
- Pour into crust and bake until the filling is puffed and mostly set--a little wobble is okay--about 40 to 45 minutes.
- While that is finishing up, coat the pecans. Pull out the leftover egg white and whisk in 2 Tablespoons brown sugar and kosher salt. Add maple syrup and Tablespoon of melted butter, stirring until just combined. Add the pecans and toss to coat.
- Carefully use baking sheet to bring out the pie. Use a slotted spoon to add the pecans on top of the pumpkin, letting the excess egg white slurry stay in the bowl.
- Return pie to oven. Bake until filling is completely set, until a butter knife stabbed into center (avoiding pecans) comes out clean. This can take anywhere from 10 to 30 minutes. If necessary, cover the edge of crust with foil to prevent overbrowning.
- Let pie cool at least 2 hours before cutting in, chilling first if desired. Store pie loosely covered by foil at room temperature or in fridge.
OM NOM NOM!
Read More
Book Blog: Mary Quirk and the Secret of Umbrum Hall (Dark Lessons #1) by Anna St. Vincent
I review everything I read and post reviews on Goodreads and LibraryThing. That’s not enough. Good books are meant to be shared. Therefore, I’m spotlighting some of my favorite reads here on my site.

Mary Quirk and the Secret of Umbrum Hall (Dark Lessons #1) by Anna St. Vincent
out now in paperback and ebook; available from B&N and Amazon [affiliate link]
I received a gratis galley of this book for review.
Mary Quirk and the Secret of Umbrum Hall starts off a new YA series in fun fashion. After reading several intense, dark adult books in a row, I had no idea how much I needed THIS book until I was already immersed–and that immersion happened within a few pages of the start. There was just something delightful about an entrance to a magical school found via a portal in a rural Oklahoma farmhouse. Plus, Mary is an easy character to relate to–a goth with family drama she’d rather forget about, and who really wants to get good grades and become better at her fire magic.
The whole cast is great, really. The book follows the familiar trope of the start of the school year with new classes and social dynamics, plus magical twists. One of the many eye-rolling things about Harry Potter (because such comparisons are unavoidable with any magic school novel now) is the whole instant-enemies thing. In Mary Quirk’s world, her schoolmates and teachers are quite nuanced. She is, too. She starts out the book with some very set biases but learns and matures. The magic in the book is fun, as is the gradual exploration of the school grounds. Umbrum Hall is hiding more than one secret, that’s for sure!
I look forward to reading more in this series. This is the cozy YA fantasy escape from reality that I need right now.
Read MoreBready or Not Original: Pumpkin Shortbread Cookies
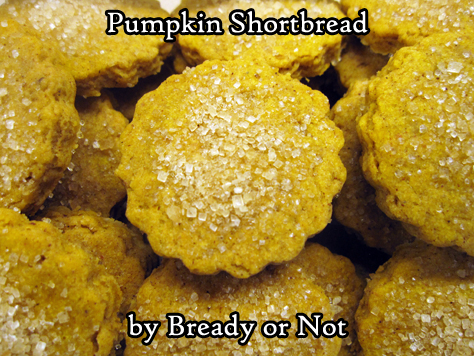
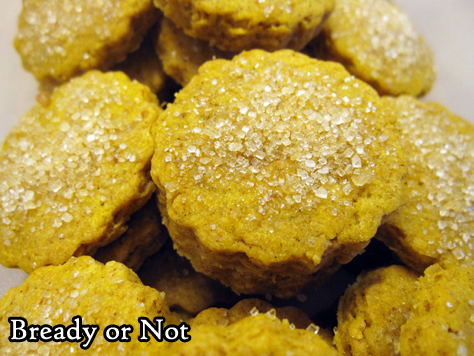
Welcome to an annual tradition at Bready or Not–the autumn pumpkin theme! We begin with Pumpkin Shortbread Cookies.
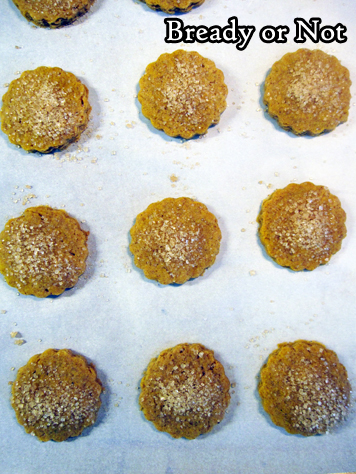
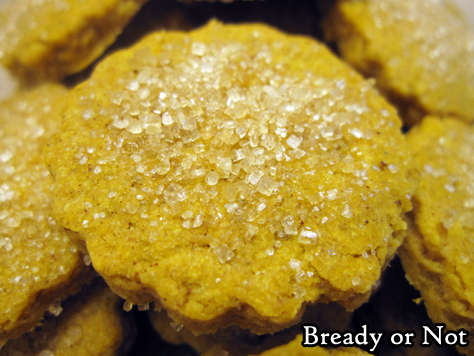
This recipe makes a small batch (about 30 1-inch cookies) of delicious pumpkin shortbread cookies. I crusted the top with turbinado shortbread to make them extra pretty.
These cookies are not as dry as some shortbread can be, likely because of the pumpkin.
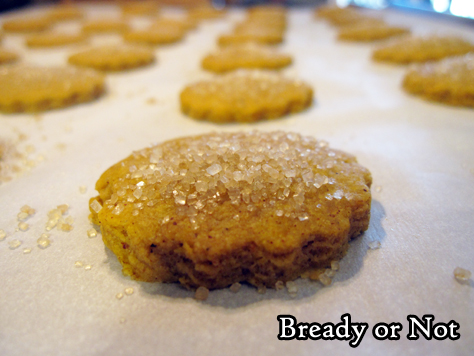
Pumpkin can make some baked cookies quite tacky; that’s not a problem here, in part, because the puree is actually dried a bit prior to being mixed into the dough.
The end result is a cookie that is just moist enough, perfect to go with tea, coffee, or perhaps some cider or cocoa. The orange color of the cookies makes them even more perfectly fall.
In Arizona, hot as it is, it’s important to enjoy some fall traditions like pumpkin goodies, even if it’s 100-degrees out and no trees are dropping leaves!
Bready or Not Original: Pumpkin Shortbread Cookies
Equipment
- 1 to 1 1/2-inch cookie cutter
- parchment paper
Ingredients
- 1/4 cup pumpkin puree
- 1/2 cup unsalted butter 1 stick
- 1 cup all-purpose flour
- 1/4 cup plus 2 Tablespoons confectioners' sugar
- 1 teaspoon cinnamon
- 1/4 teaspoon ground cloves
- 1/4 teaspoon ground nutmeg
- 1/4 teaspoon ginger
- turbinado or other coarse sugar, optional, for tops
Instructions
- Preheat oven at 350-degrees. Line a large baking sheet with parchment paper.
- Measure out pumpkin puree onto a couple of layered paper towels. Gently pat dry, turning over puree to sop moisture from different angles.
- In a medium sauce pan, brown the butter, carefully heating it until it smells nutty. Remove from heat. Whisk in the pumpkin puree until well combined. Note that it might bubble and pop, so take care.
- In a large bowl, combined the dry ingredients. Use a rubber spatula to mix in the saucepan items.
- Place the dough between two sheets of parchment paper and use a rolling pan to make the dough an even 1/4-inch thickness. Place it in fridge to chill for 5 to 10 minutes.
- Set dough on counter and remove top parchment. Use cookie cutter to portion out cookies. Transfer to baking sheet, spaced out a bit. Mix leftover dough together again, adding a tiny bit of water if needed to make it cohesive, and cut out more cookies.
- If desired, sprinkle turbinado sugar all over the tops of the cookies. Bake for 10 to 12 minutes, until cookies are set. Cool completely on baking sheet. Store in a sealed container.
OM NOM NOM!
Bready or Not Original: Snickerdoodle Swirl Loaf
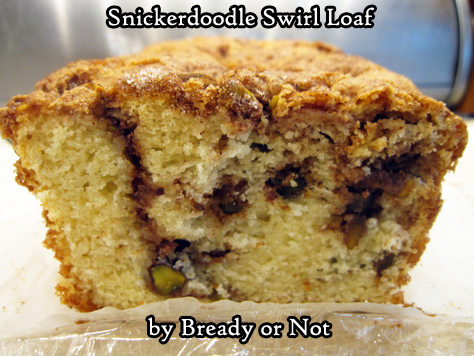
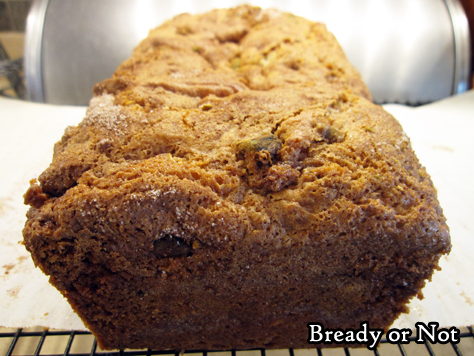
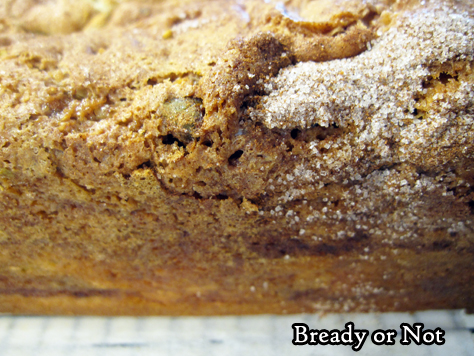
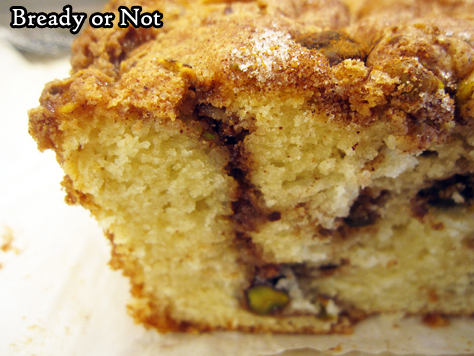
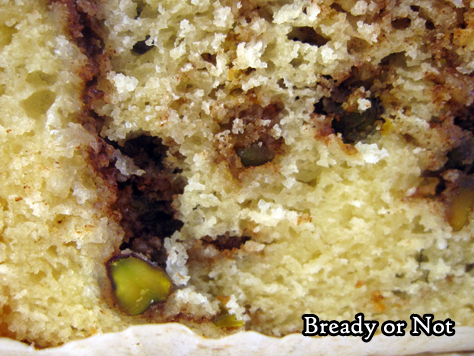
This Snickerdoodle Loaf Cake is proof, yet again, that snickerdoodles are awesome in any form.
I made this based on a recipe in Bake from Scratch and had to modify it significantly to make it more snickerdoodly (that is totally a word) and work overall.
The foremost issue on my first bake is that, despite the toothpick test, my loaf wasn’t fully baked. It ended up collapsing as it cooled. I had to gut the middle of the cake, but the majority of it was edible.
Not only was it edible, but my husband loved it. Therefore, he was happy when I baked it again, with more modifications–including a longer bake time.
This cake is a great keeper, too. It tasted great for a full five days. It might last even longer than that.
I guess I’d need to bake it again to test that theory. Oh darn.
Bready or Not Original: Snickerdoodle Swirl Loaf
Equipment
- 9x5 loaf pan
- parchment paper
Ingredients
- 2 cups all-purpose flour
- 3 teaspoons baking powder
- 1/2 teaspoon cream of tartar
- 1 1/2 cups white sugar divided
- 1 1/2 teaspoons kosher salt
- 1 cup whole milk or half & half
- 1 teaspoon vanilla extract
- 1/4 cup vegetable oil
- 1 large egg
- 1 Tablespoon ground cinnamon
- 1/2 cup pecans or pistachios, divided, optional
Instructions
- Preheat oven at 350-degrees. Cut parchment paper to fit long-ways in a loaf pan, sticking up on either side as a sling. Apply nonstick spray into pan, place paper, then spray again. Set aside.
- In a big bowl, stir together flour, baking powder, cream of tartar, 1 cup white sugar, and salt. Gradually mix in the milk, vanilla extract, oil, and egg, until just combined.
- In a small bowl, combine the remaining 1/2 cup sugar with the cinnamon.
- Spread about half the batter in the loaf pan. Sprinkle half the cinnamon-sugar on top, followed by about half the nuts (if using). Add rest of the batter. Use a knife to swirl batter, bringing the blade up and down a bit, to marble the layers together. Sprinkle rest of the cinnamon-sugar across the top followed by the nuts (if using). Swirl the batter again.
- Bake for 55 to 65 minutes, until a toothpick stuck deep in the middle comes out clean. About halfway through the bake, add foil over the top to prevent overbrowning.
- Let cool in pan for 10 minutes, then use parchment sling to lift loaf onto a rack to fully cool.
- Well-wrapped loaf keeps at room temperature as long as 5 days. Slices can also be frozen for later enjoyment.
OM NOM NOM!
Bready or Not: Homemade Cheese Crackers
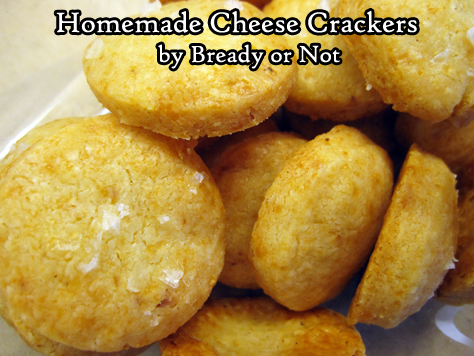
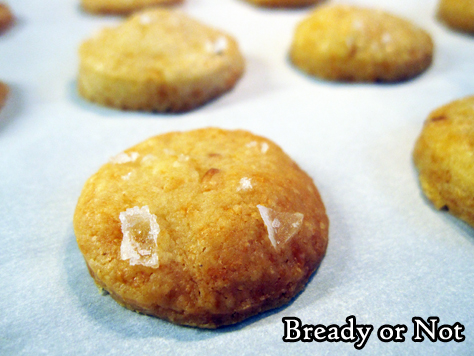
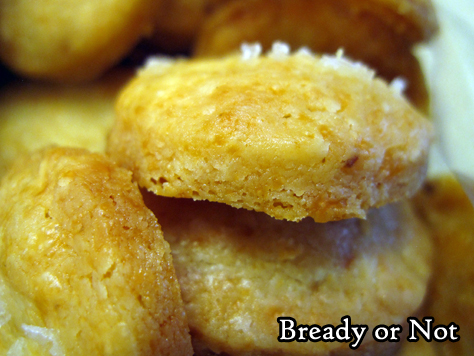
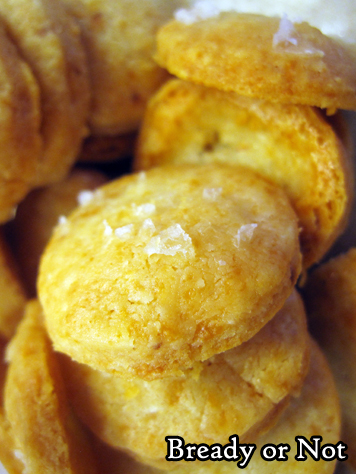
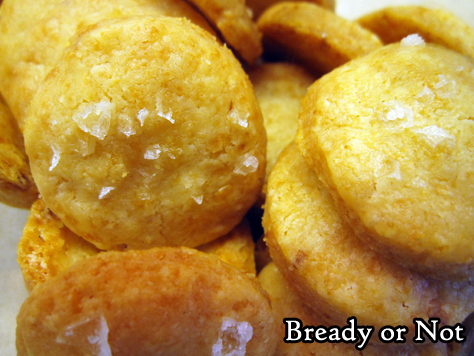
Cheese is divine to eat straight-up, but it can also be baked into delicious things such as these Homemade Cheese Crackers.
These crackers can be as fancy as you want. Use an import cheese like Gruyere or Comte, or stick with a basic American cheddar.
Whatever cheese you choose, be sure you have a food processor to, well, process the dough. The cheese needs to be at one with the flour and spices.
The dough can be frozen, but do be aware that the finished crackers have a definite shelf life.
After about 3 days, the crackers become softer and crumblier. They still taste okay, but the structural integrity won’t be very good if you want to carry them in a baggy.
But then, these crackers are so good, you might have them inhaled so quickly that this is not a problem at all.
Modified from Around My French Table by Dorie Greenspan.
Bready or Not: Homemade Cheese Crackers
Equipment
- food processor
- baking sheet
- parchment paper
- 1-inch cookie cutter
Ingredients
- 1/2 cup unsalted butter 1 stick, cut into small pieces
- 4 ounces Comte grated, or Gruyere or Emmenthal or good old cheddar
- 1/2 teaspoon salt
- 1/8 teaspoon white pepper
- pinch cayenne pepper optional
- 1 cup plus 2 Tablespoons all-purpose flour
- Maldon sea salt or other flaky gourmet salt, optional
Instructions
- Place the butter, cheese, salt, white pepper, and cayenne (if using) in the food processor. Pulse until the butter is broken into uneven pieces and the mixture begins to form small curds. Add the flour and mix until it looks like larger curds. If the dough is stubborn, pulse a bit more to distribute ingredients.
- Dump dough onto a flat surface and gently knead with hands to make cohesive. Divvy dough in half, forming each piece into a flat disk, and wrap in plastic. Tuck into fridge to chill for at least an hour or a couple days; it can also be frozen at this stage.
- When time to bake, preheat oven at 350-degrees. Line a baking sheet with parchment or nonstick mats.
- Pull out a dough disk. Use two sheets of parchment to roll dough to about 1/4 inch thickness; if the dough is too hard to roll, let it rest at room temperature for a few minutes before trying again. Use a small cookie cutter (about 1-inch) to cut dough into crackers. Place them spaced out on parchment on pan. Gather the scraps to form more crackers, using a touch of water, if needed, to make it cohesive again.
- If desired, sprinkle some Maldon sea salt atop crackers; only a few flakes are needed to add extra flavor.
- Bake for about 10 minutes. Rotate pan. Bake for another 4 to 7 minutes, until crackers are lightly golden and firm to the touch. Let cool on pan or on a rack.
- Crackers are great warm or at room temperature. They are best eaten within 3 days. After that, they soften and become more crumbly, but they are still tasty.


