


Bready or Not Guest Post: T. Frohock with Spinach with Raisins and Pine Nuts
 Today I welcome T. Frohock, a fellow Harper Voyager Impulse author and a generally awesome person. Her first novella in the Los Nefilim series is In Midnight’s Silence and it is fantastic–I happily blurbed it! Think pre-World War II Spain with angels, demons, and dark machinations. The novella is out tomorrow and it’s only 99-cents.
To get you ready for a good read, here is a healthy, genuine recipe that is something her characters might enjoy.
Okay, bready people, it’s time to shake off those carbs and go for the green!
I have a new series coming out called Los Nefilim, which is set in Spain in the early thirties. While doing research for the novellas, I had to schedule events around mealtimes, because in Spain, lunch (usually held between 2:00 and 4:00 p.m.) is the biggest meal of the day. It is a lengthy affair with many courses whereas dinner is a lighter meal usually consisting of the kind of foods that Americans tend to associate with lunch.
When Beth offered her gracious invitation for a guest post, I contacted my friend in Barcelona. Josep suggested a couple of recipes for me: spinach with raisins and pine nuts, or panellets, I chose spinach, because I have a “vintage kitchen.” That means my oven is old. I’m also a lousy baker and sweet potatoes have never appealed to me in any form. However, since this is a bready blog, I’m including a link to panellets, which are cookies or cakes made with sweet potatoes, almonds, and pine nuts. You can find a recipe for them here.
The recipe I’m going to tell you about is spinach with raisins and pine nuts, mainly because we’ve got to balance out all this delicious sweet stuff with something that is good for us.
I searched around online and found this recipe on Leite’s Culinaria blog.
I had a great deal of success with it, so here goes:
Ingredients
1/4 cup raisins
1/4 cup pine nuts
3 tablespoons olive oil, plus 1 to 2 teaspoons for the nuts (optional)
1 small onion, chopped (optional), or 3 ounces serrano ham, minced (optional)
2 pounds spinach, tough stems removed and rinsed
Salt and freshly ground black pepper
A short note here: 2 pounds of spinach looks like you’re walking out of the store with enough spinach to feed a small herd of goats. Not so. Like any other green, spinach cooks up small, so be sure you get the full 2 pounds.
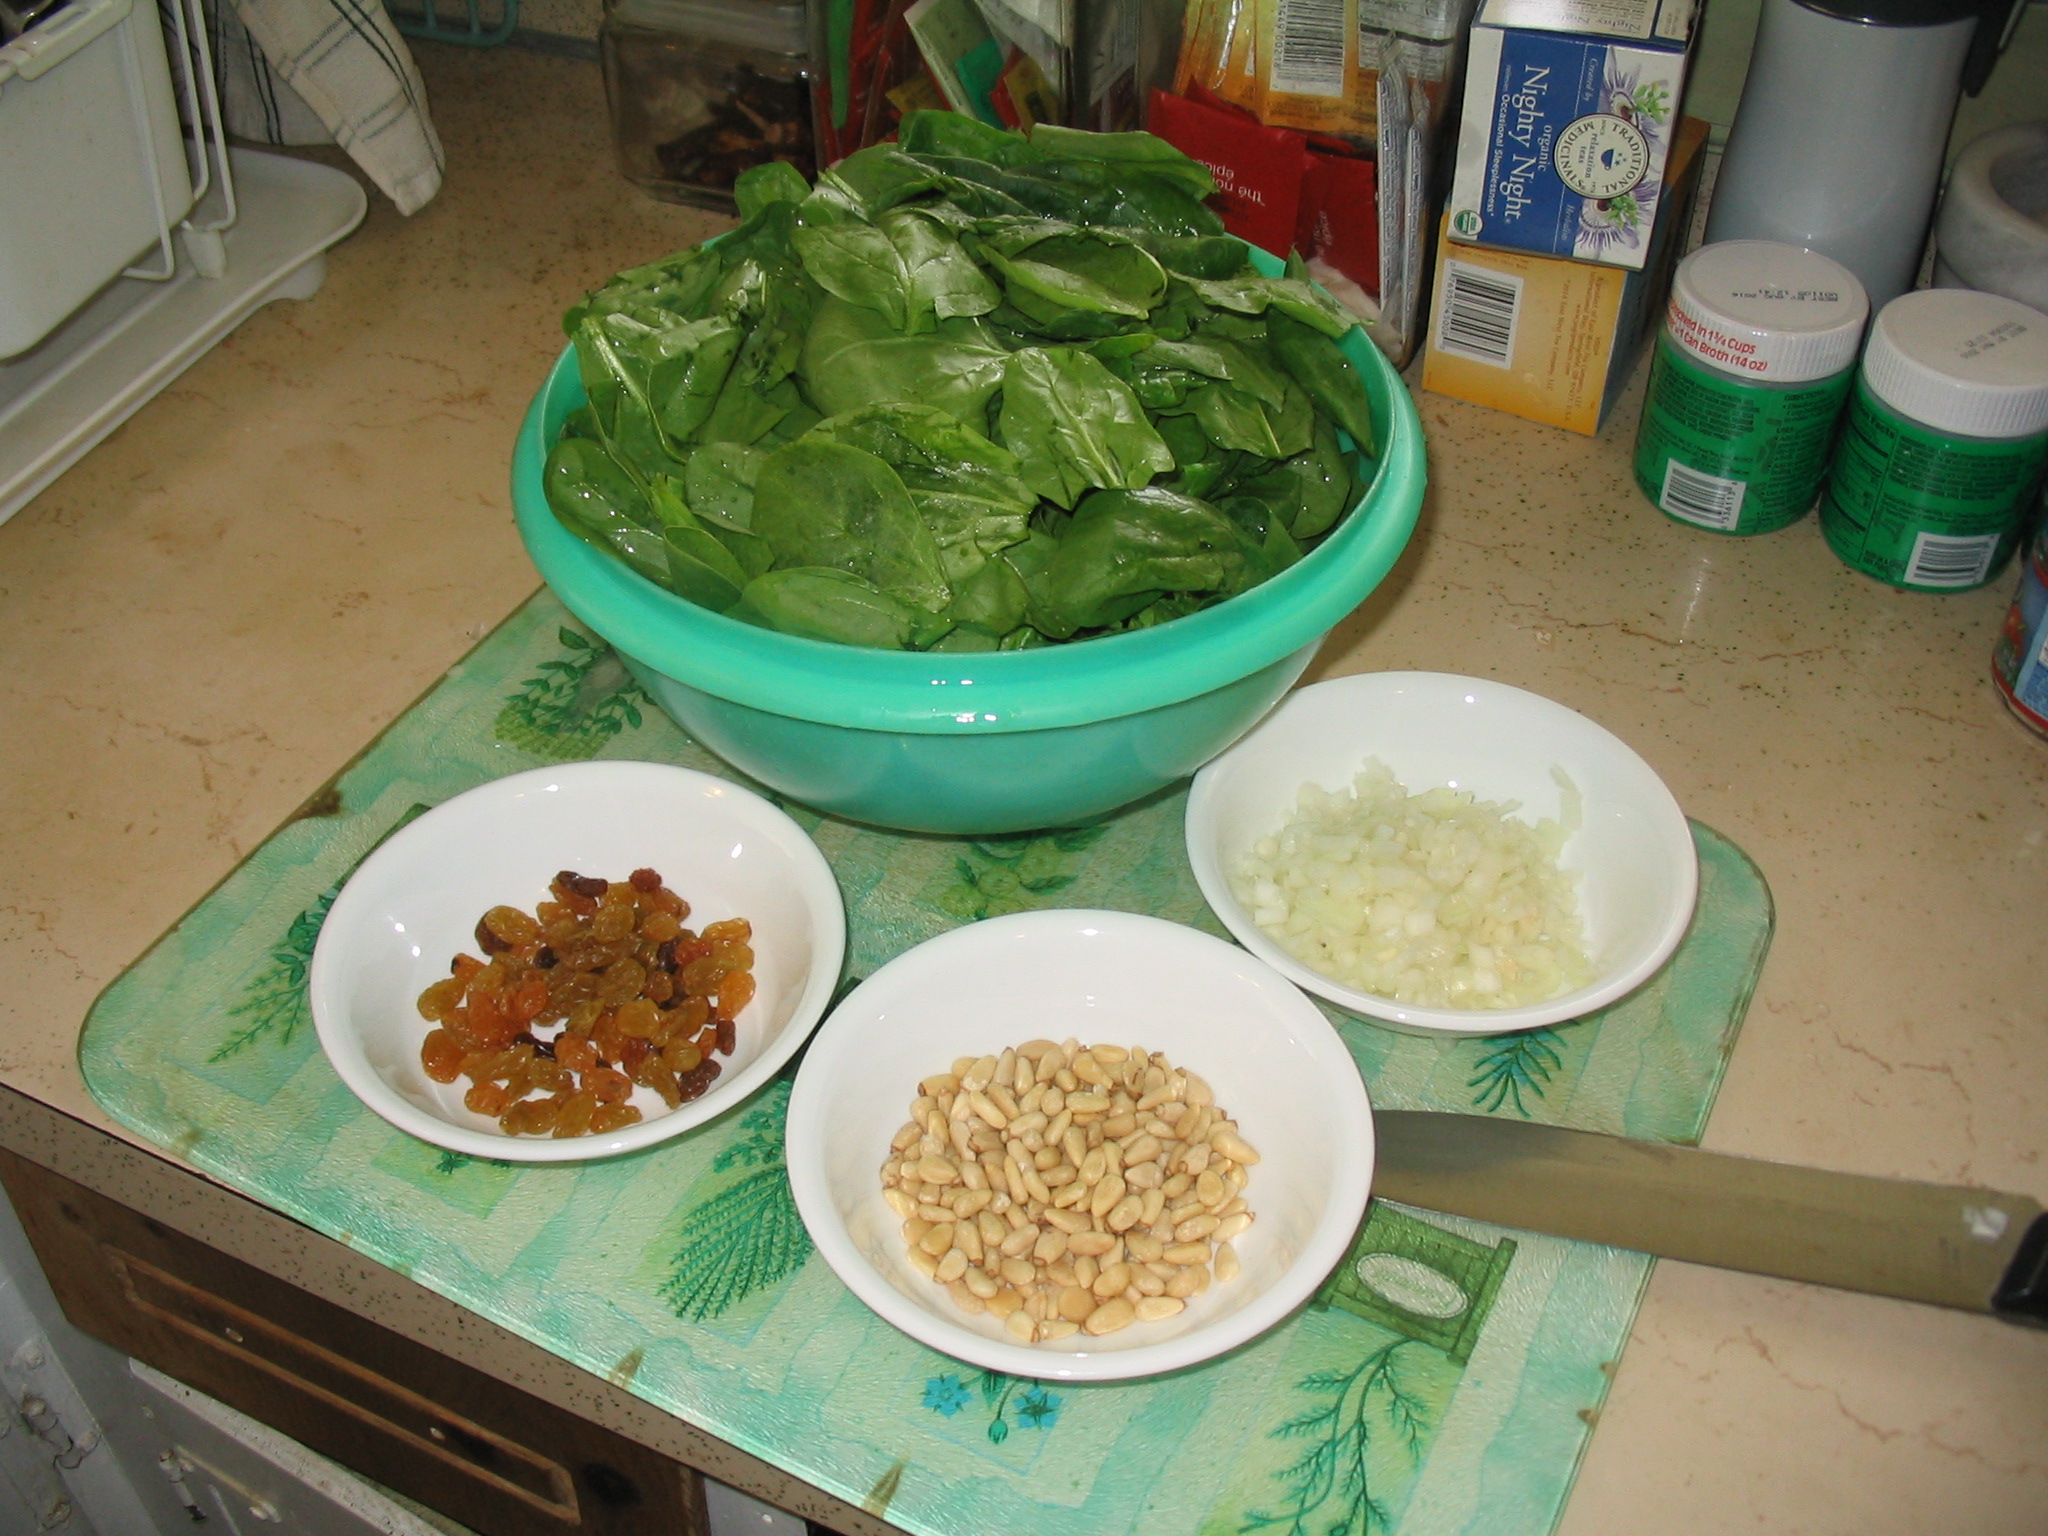 I measured everything out and covered the raisins in hot water in order to plump them. Give them about 30 minutes.
While the raisins are soaking, you want to remove the stems from the spinach. Removing the stems took me the longest, so if you’re planning on using this recipe on a weeknight, I’d recommend preparing the spinach over the weekend. Yes, you can probably use frozen, but fresh is the best.
Once the stems are removed, rinse the spinach.
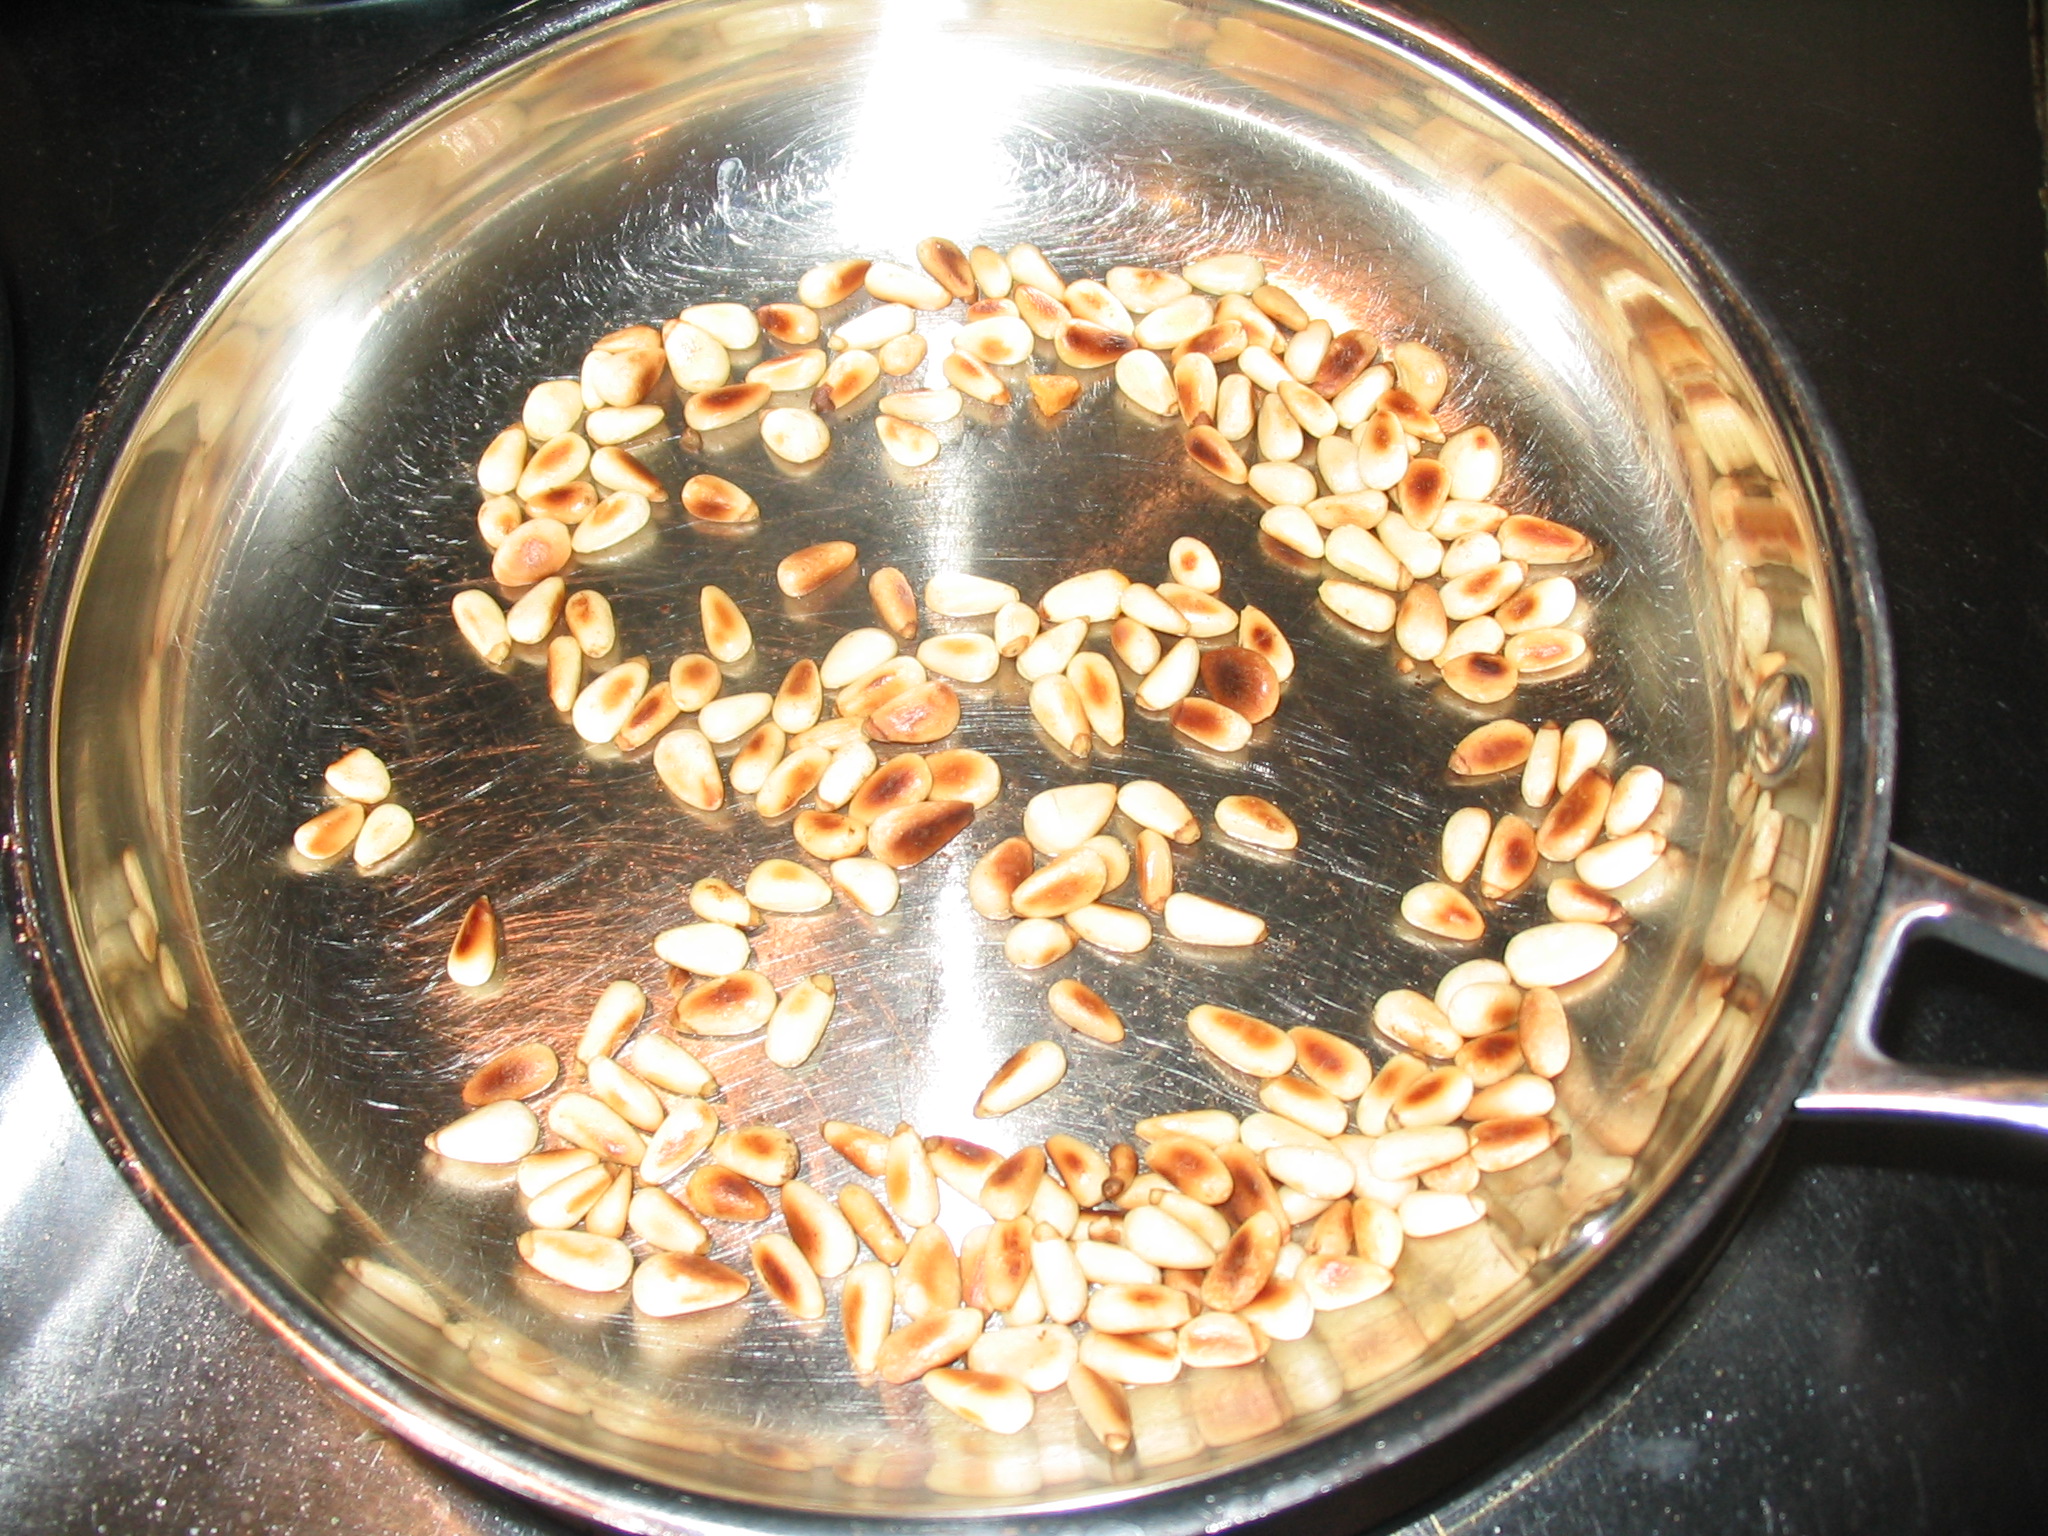 1. Roast the pine nuts in a small dry skillet over medium heat, shaking the pan frequently. This isn’t the time to check your Twitter feed. It only takes about 3 to 5 minutes, and once they start to brown, you can go from brown to burnt in seconds. Pour them into a plate or small bowl to cool.
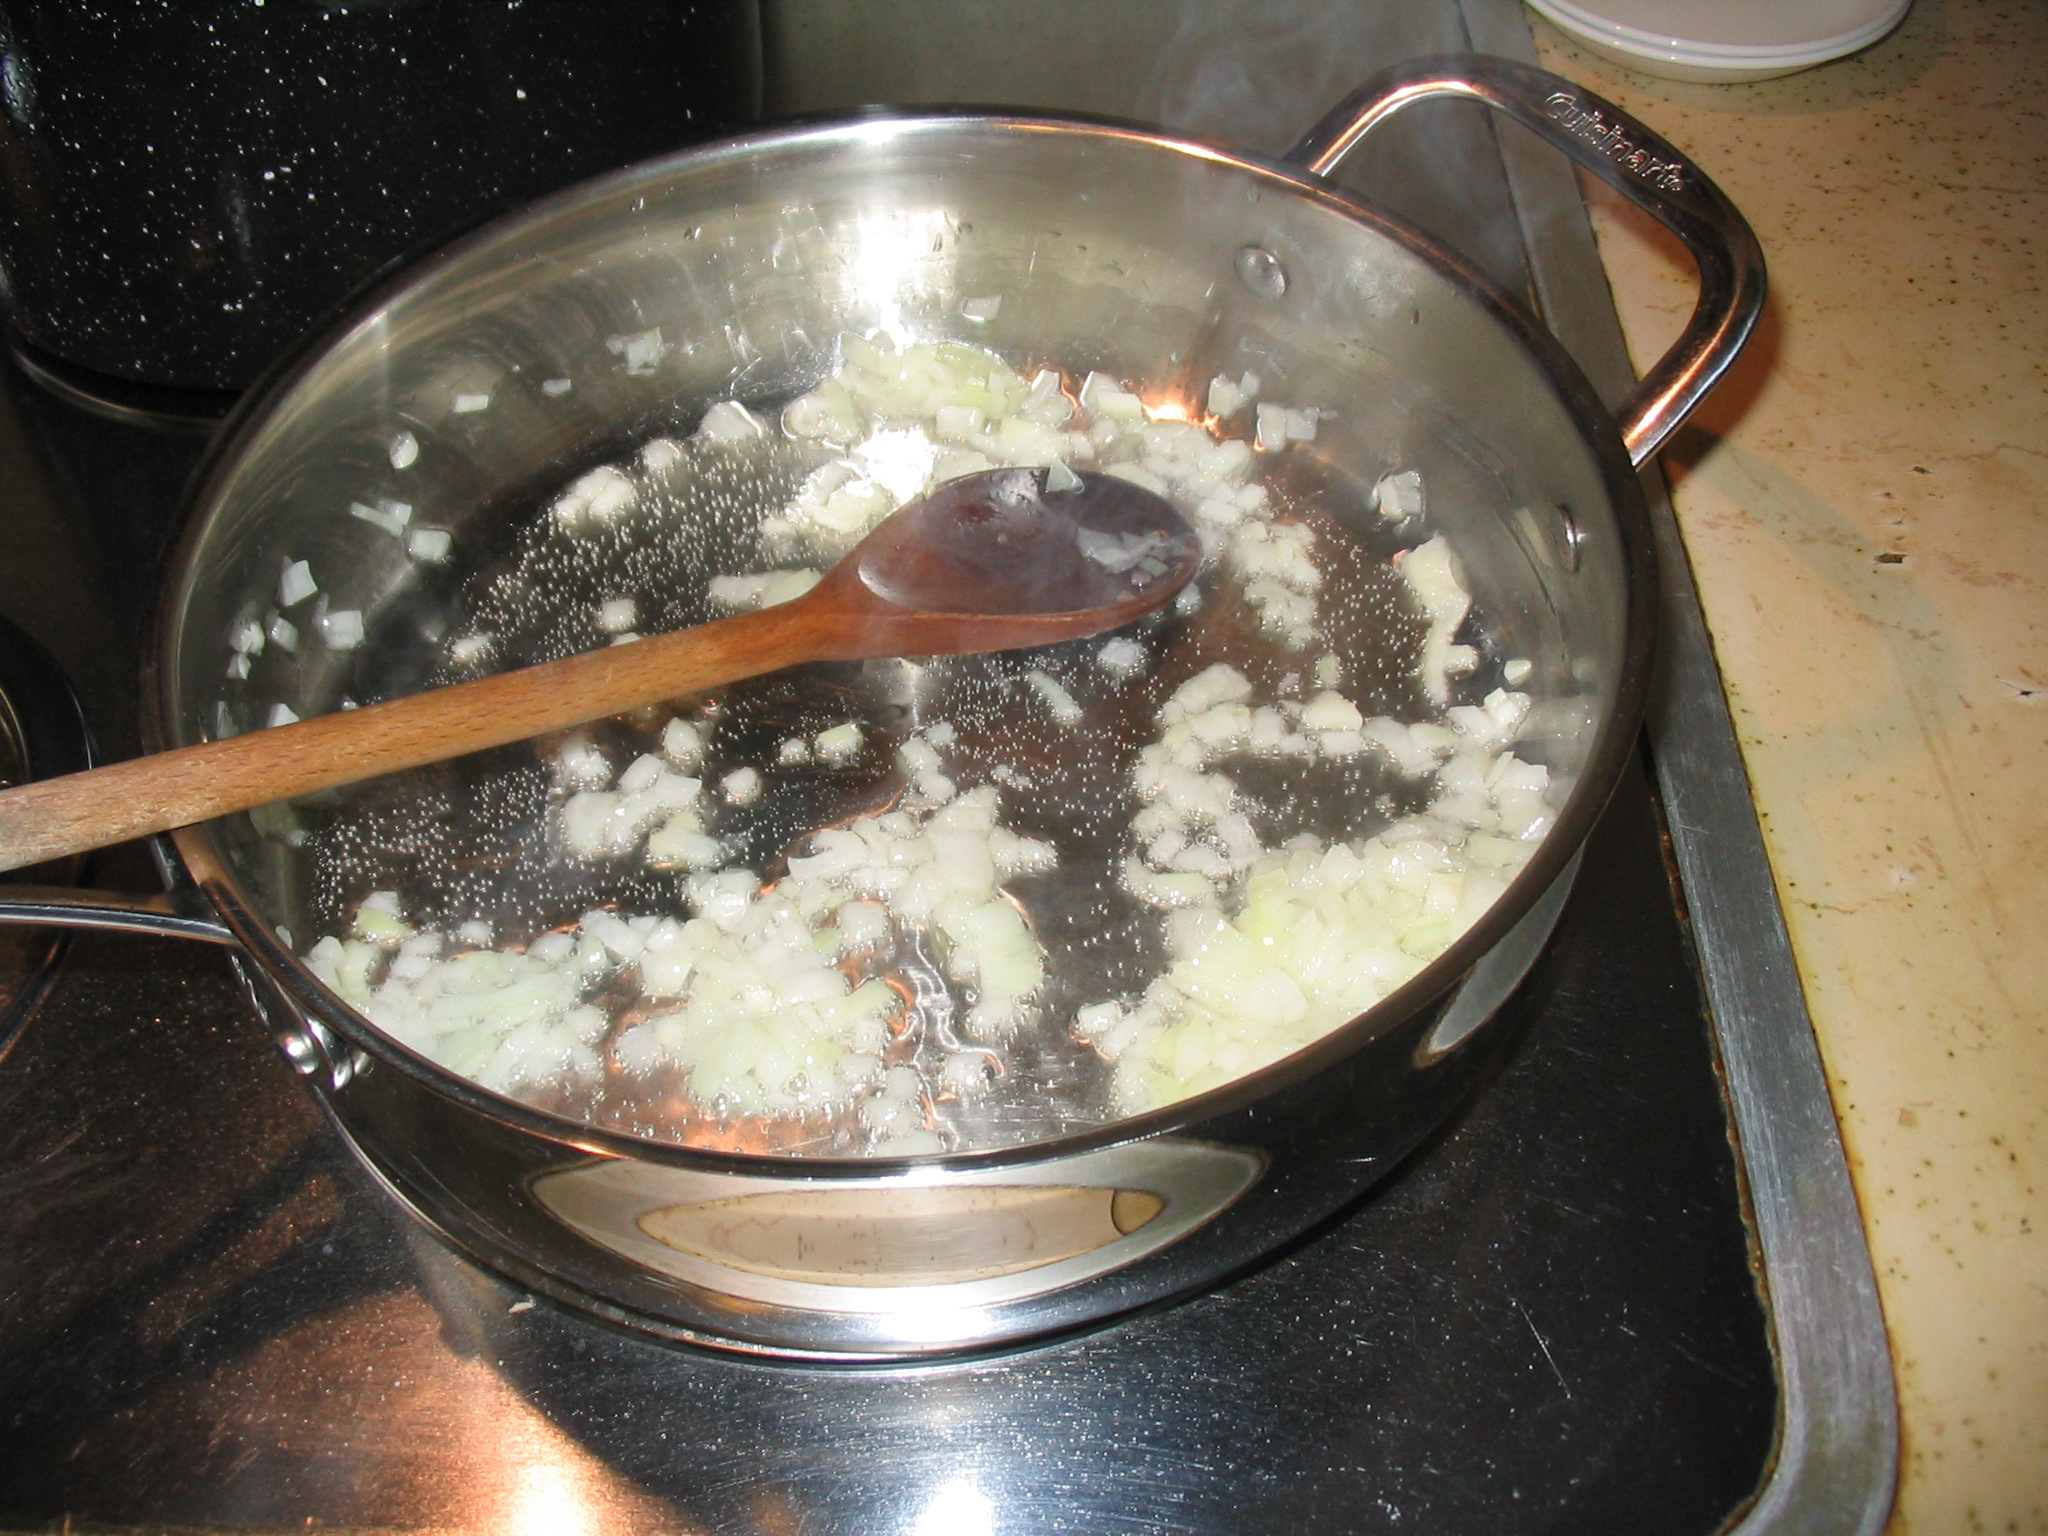 2. In a large sauté pan or skillet, heat 3 tablespoons of the oil over medium heat. If you are using either onion or ham, add them to the oil, stirring often. The onion should be soft and translucent, and the ham lightly colored. Probably 5 to 10 minutes.
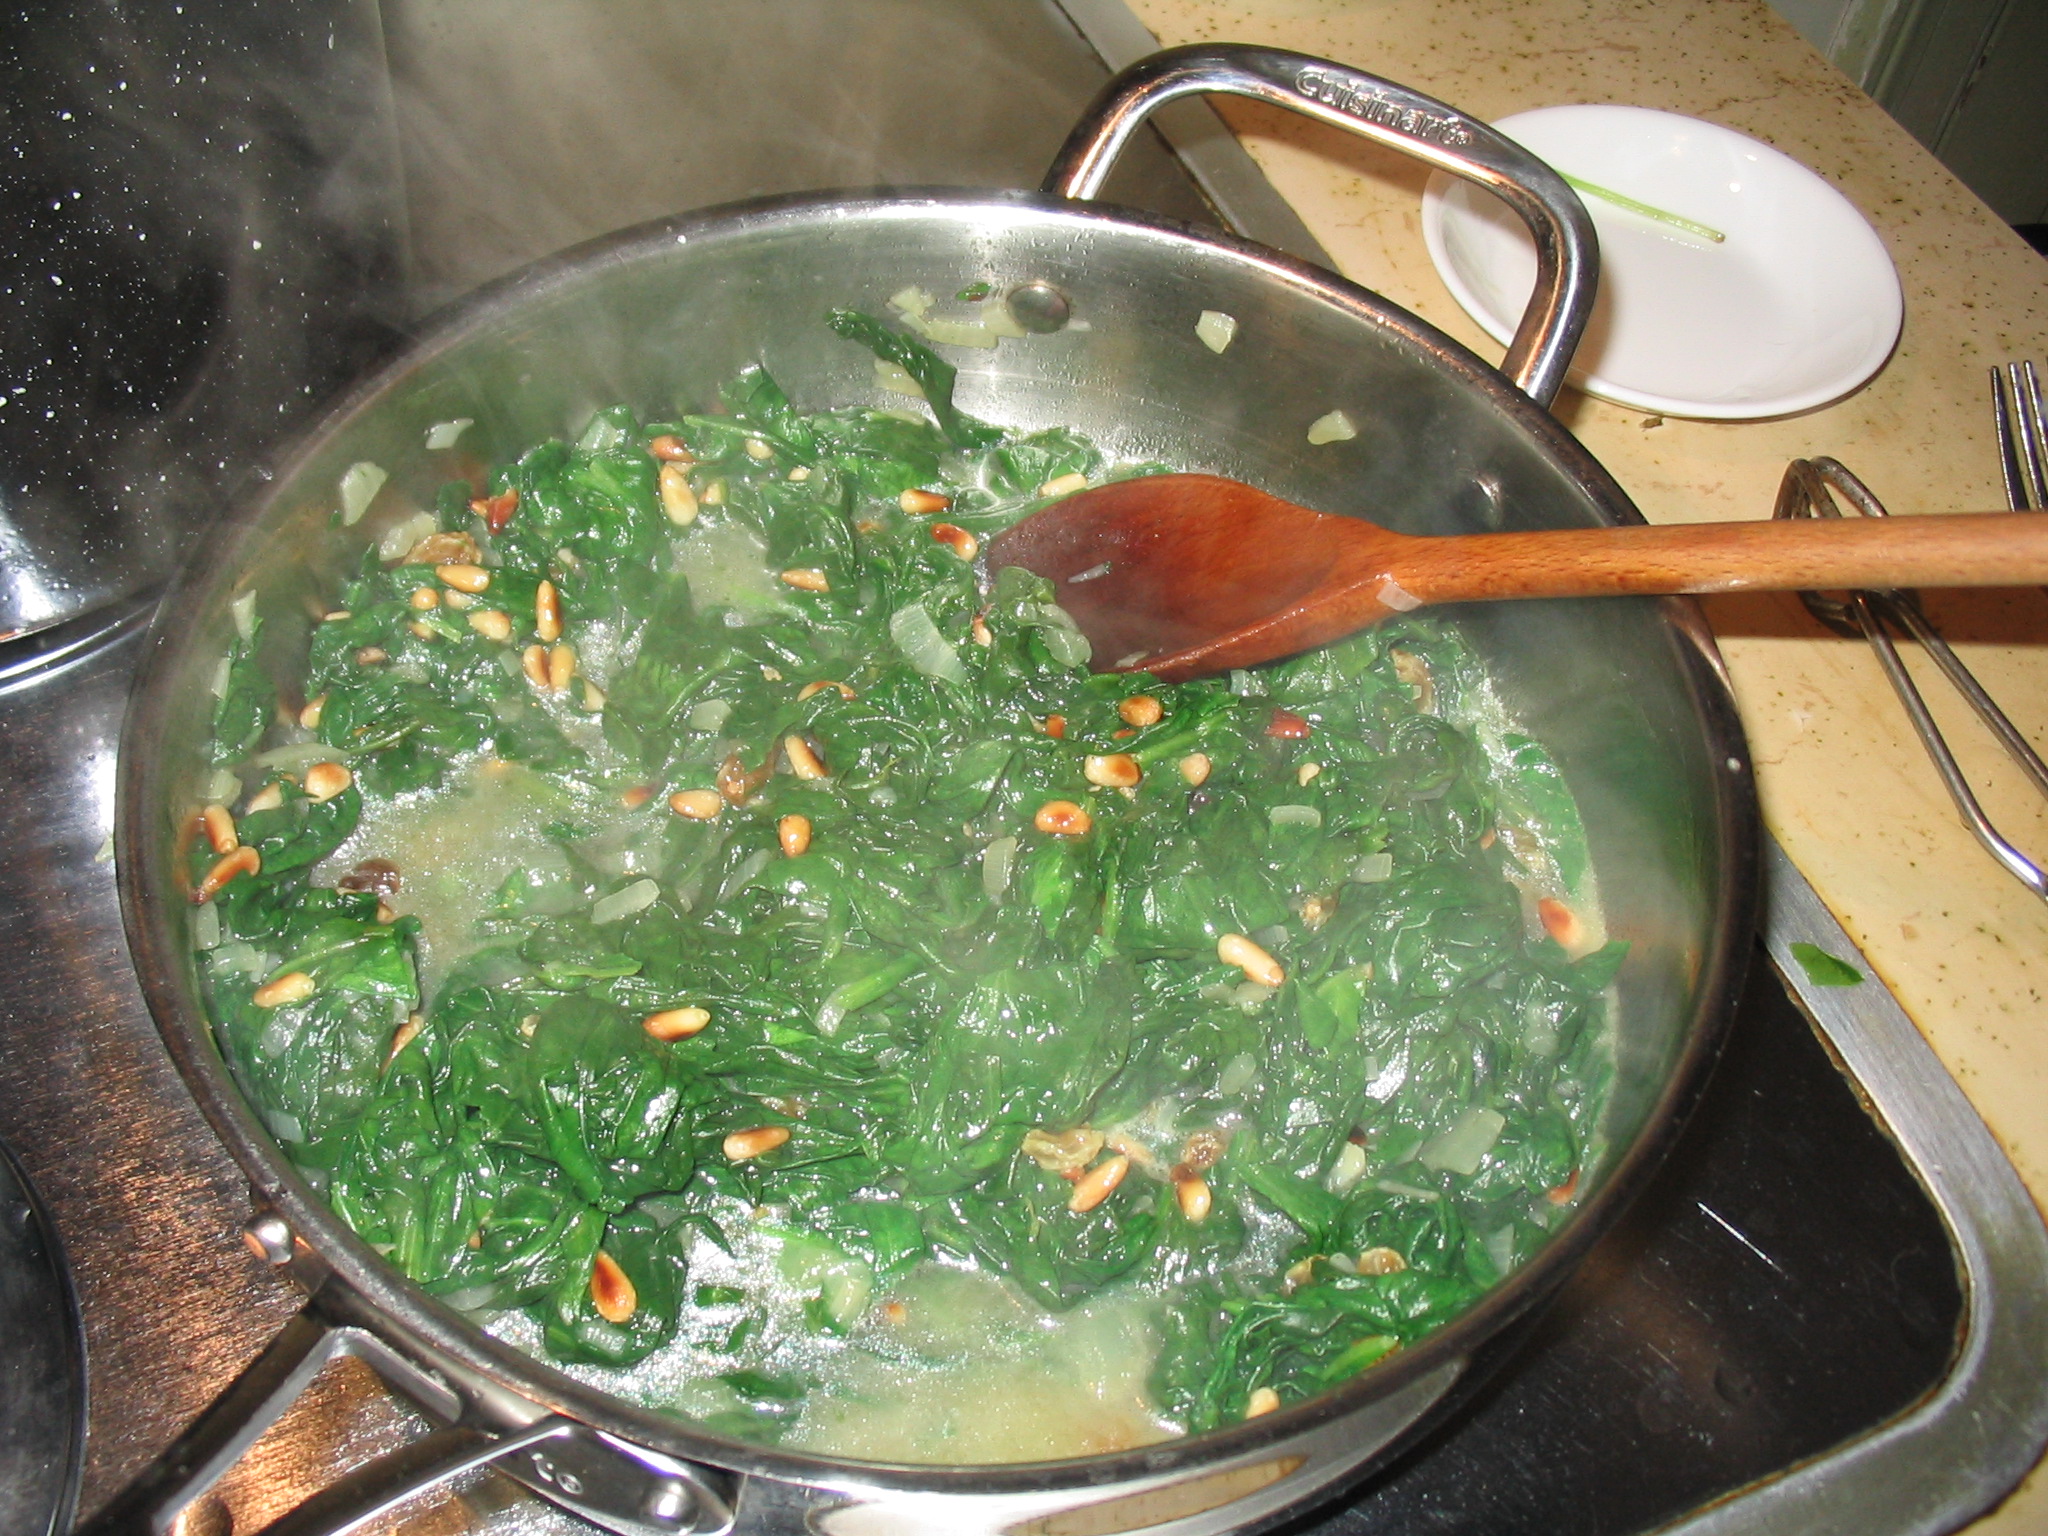 3. Add the spinach (with a little of the water still clinging to the leaves). Turn and stir constantly with tongs, until the spinach is wilted and shimmering with oil, about 3 to 5 minutes.
4. Drain the raisins and add to the pan along with the pine nuts. Stir well and season with salt and pepper. Transfer to a serving dish and serve warm.
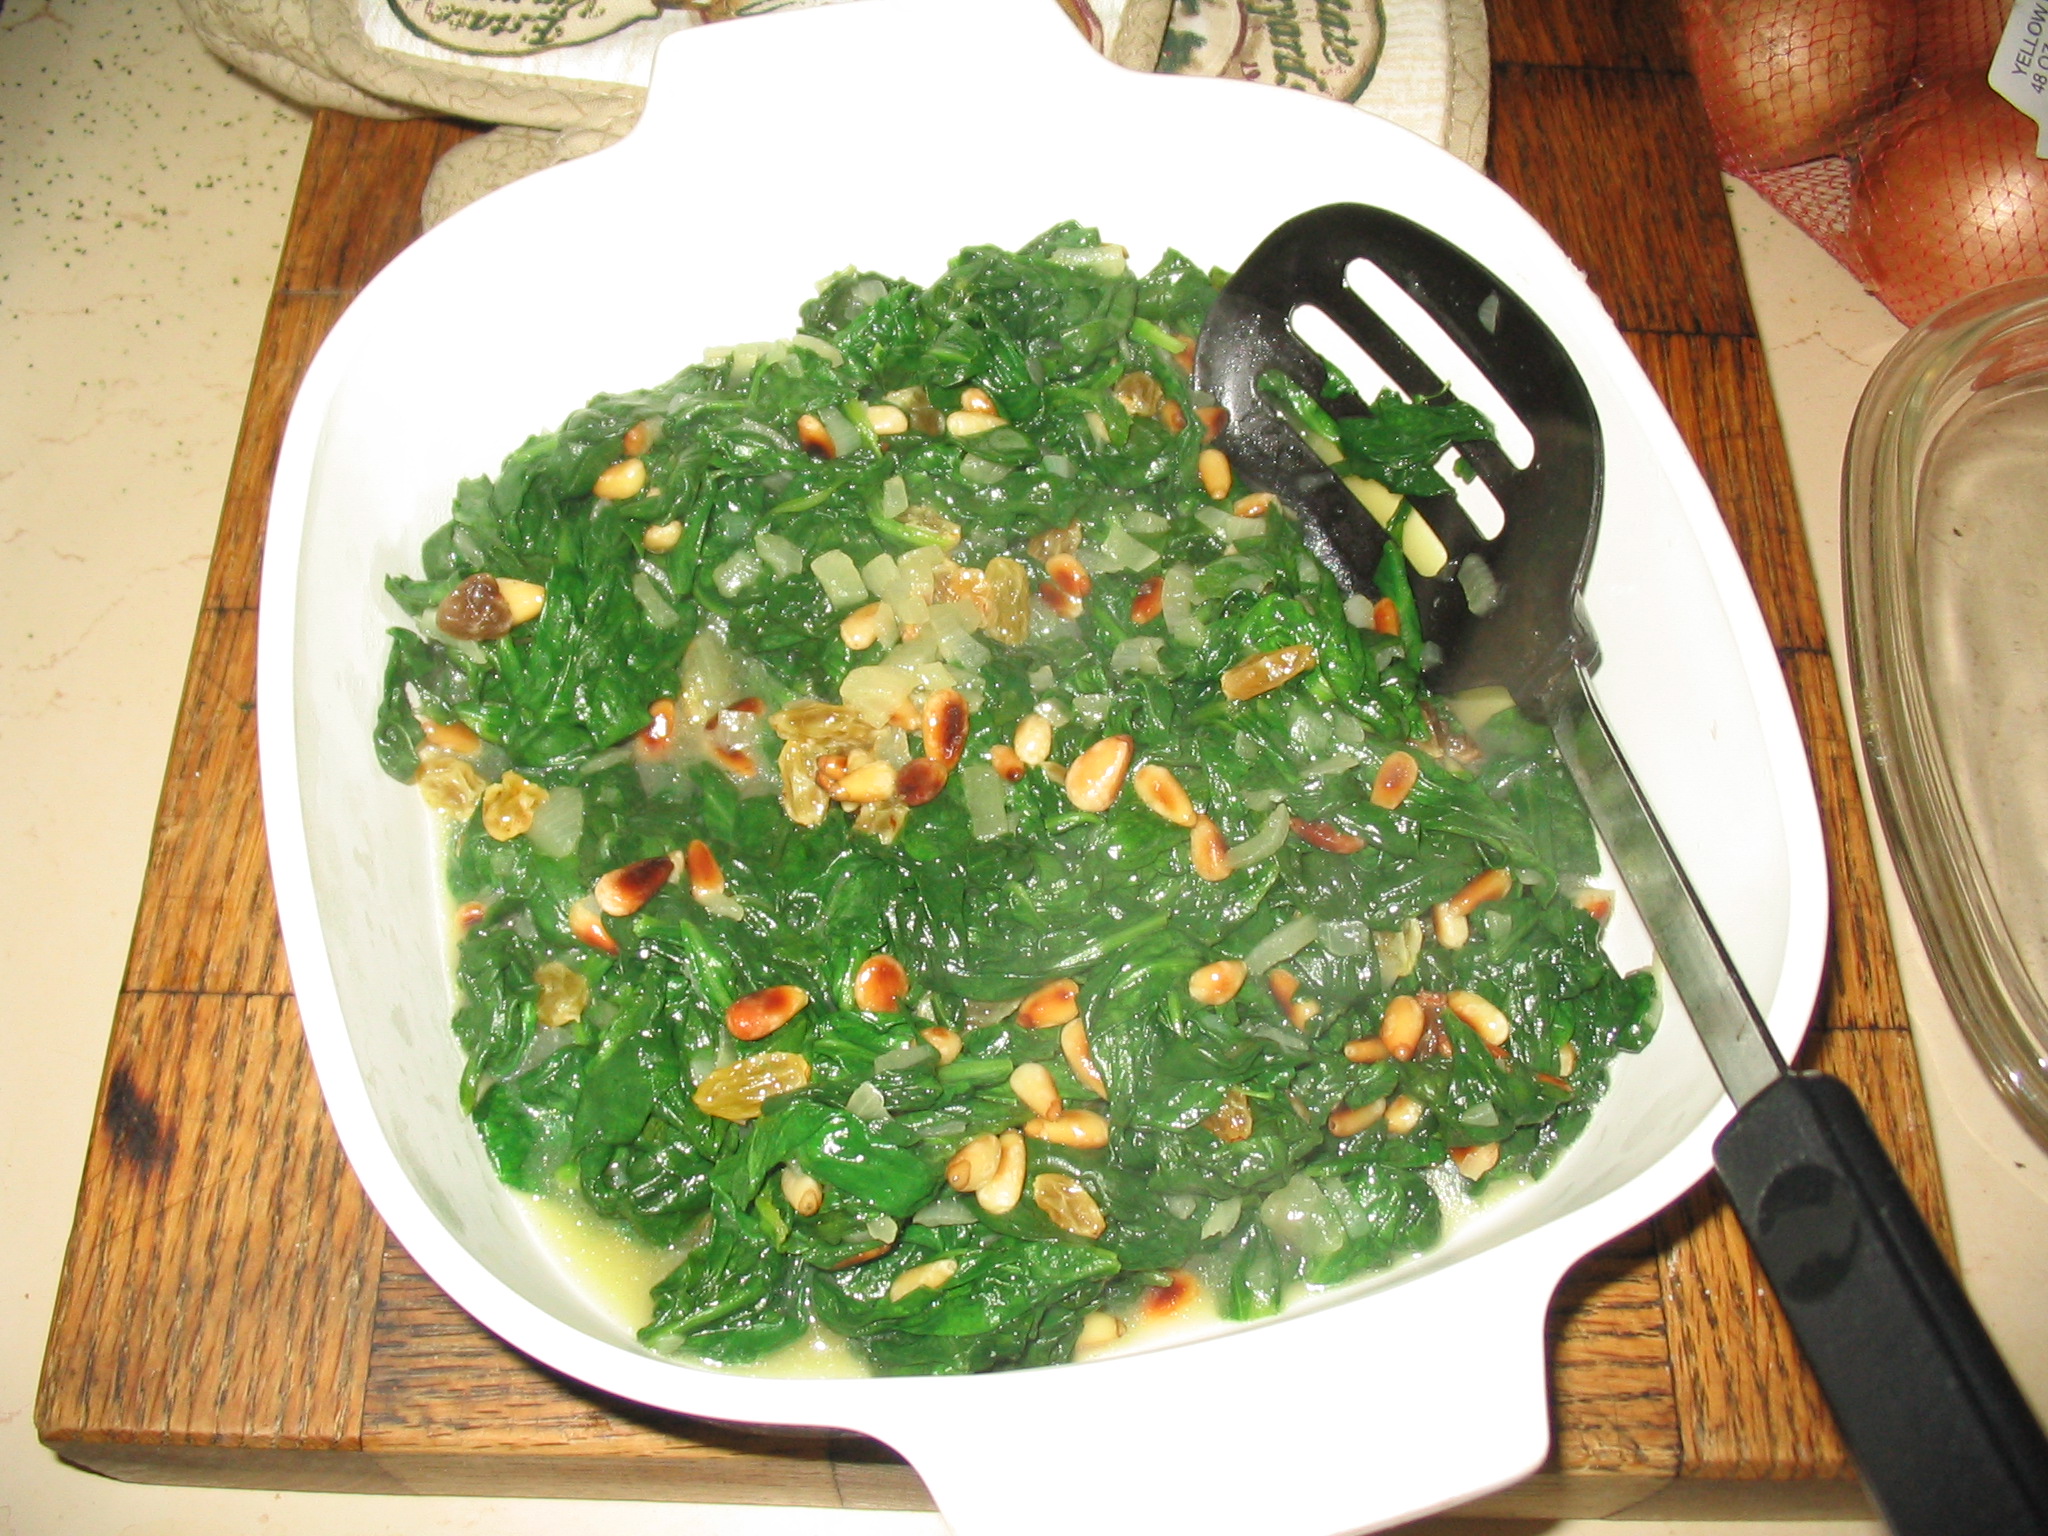 The olive oil, raisins, and pine nuts take all the bitterness from the spinach and leave it with a rich flavor in addition to giving the dish a nice texture. It was positively delicious, and this from a person who hates eating vegetables. I served the spinach with raisins and pine nuts with roast pork and red potatoes, but the dish would really complement any meat.
BIO: T. Frohock has turned a love of dark fantasy and horror into tales of deliciously creepy fiction. Her other publications include everything from novelettes to short stories. She is also the author of the novel, Miserere: An Autumn Tale. Her newest series, Los Nefilim, is coming from Harper Voyager Impulse and debuts in June 2015 with the novella, In Midnight’s Silence.
T. lives in North Carolina where she has long been accused of telling stories, which is a southern colloquialism for lying.
In Midnight’s Silence (Los Nefilim: Part I): 99 cents everywhere
Amazon
More about In Midnight’s Silence
The fate of mankind has nothing to do with mankind …
Born of an angel and a daimon, Diago Alvarez is a singular being in a country torn by a looming civil war and the spiritual struggle between the forces of angels and daimons. With allegiance to no one but his partner Miquel, he is content to simply live in Barcelona, caring only for the man he loves and the music he makes. Yet, neither side is satisfied to let him lead this domesticated life and, knowing they can’t get to him directly, they do the one thing he’s always feared.
They go after Miquel.
Now, in order to save his lover’s life, he is forced by an angel to perform a gruesome task: feed a child to the daimon Moloch in exchange for a coin that will limit the extent of the world’s next war. The mission is fraught with danger, the time he has to accomplish it is limited…and the child he is to sacrifice is the son Diago never knew existed.
A lyrical tale in a world of music and magic, T. Frohock’s IN MIDNIGHT’S SILENCE shows the lengths a man will go to save the people he loves, and the sides he’ll choose when the sidelines are no longer an option.
Read More
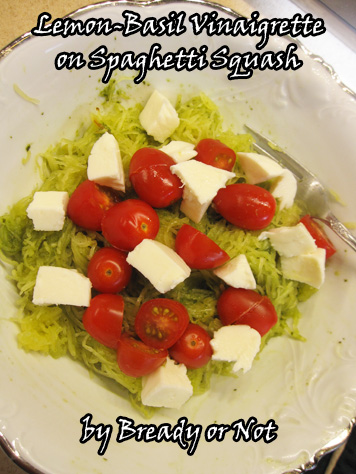
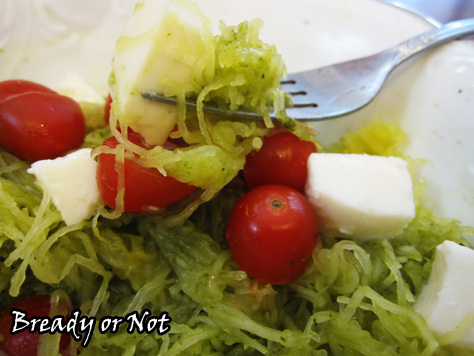
Bready or Not: Lemon-Basil Vinaigrette with Spaghetti Squash
It’s getting hot (ugh) but that also means it’s time for light, fresh salads and pasta dishes. Today that means two recipes: lemon-basil vinaigrette and an easy technique to make spaghetti squash in the microwave.
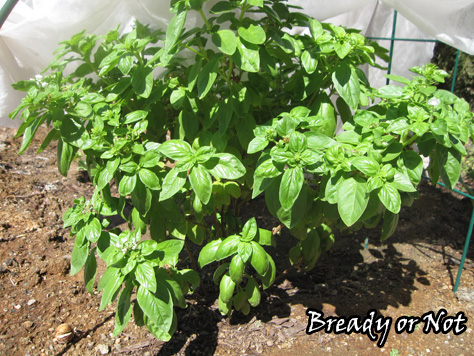
Last summer I planted some basil. The basil apparently really liked the Arizona heat, and it grew huge and I had to keep making pesto and figure out other recipes to utilize it.
This quick dressing became a favorite because it made a reasonably-sized amount and was great with both spaghetti squash and salads. This would be great tossed with any pasta, too.
The pictures I have here show that I used it to make a modified caprese salad. I heated up my squash, mixed in the vinaigrette, heated it some more, and then topped it with fresh mozzarella and cherry tomatoes. All kinds of mix-ins would be great with this dressing.
If you don’t have fresh basil handy, I bet this would be great with some jarred pesto, too.
Vinaigrette modified from My Recipes.

Bready or Not: Lemon-Basil Vinaigrette
Ingredients
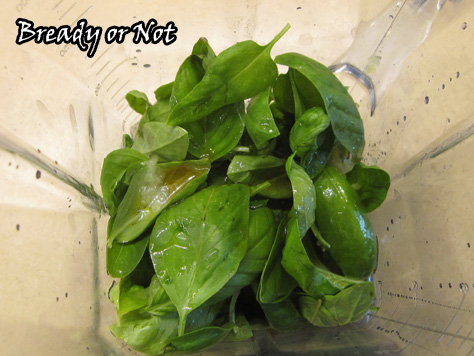
- 1 cup fresh basil leaves firmly packed
- 1/4 cup extra virgin olive oil
- 1 Tablespoon champagne vinegar or white wine vinegar
- 1 Tablespoon lemon juice
- 1 teaspoon honey
- 1 garlic clove minced
Instructions
- Place all ingredients in food processor or blender and pulse a few seconds, until blended. Store in the fridge and use on pasta, spaghetti squash, sandwiches, or salads.
- OM NOM NOM!

Bready or Not: Easy Microwave Spaghetti Squash
Ingredients
- 2 - 3 lb spaghetti squash
Instructions
- Wash and dry the squash. Very carefully stab with a knife to penetrate the surface every few inches.
- Place the squash on a microwave safe plate and cook in microwave on normal heat for 7-9 minutes, depending on size. Remove from microwave--the plate will be hot--and set on counter to cool at least twenty minutes.
- Use a large knife to cut the spaghetti squash lengthwise. Be cautious of escaping steam. Let the opened squash sit out a while more to cool.
- Use a spoon to scoop out the seeds, then use a fork to shred the squash itself. Store in fridge up to five days. Use in various dishes as a pasta substitute and heat up the squash in the oven or microwave.
- OM NOM NOM!

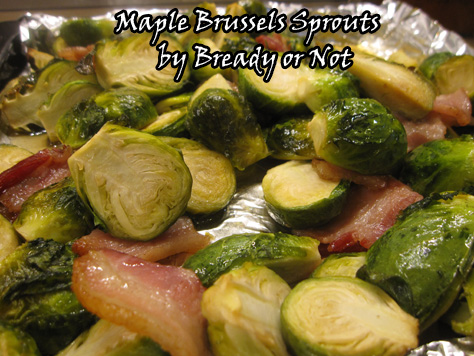
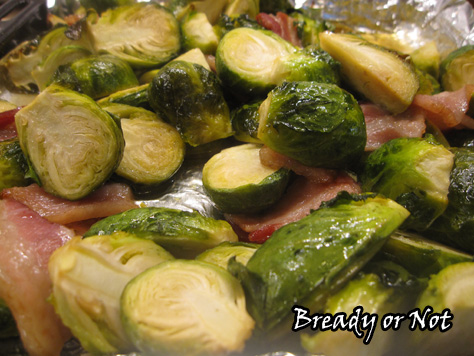
Bready or Not: Maple Brussels Sprouts
I’m here to convert you to the goodness of Brussels sprouts. Also known as: maple syrup makes everything better.
If you’re like me and a lot of other folks, you have scarring childhood memories of Brussels sprouts (or as I remember them, nasty mini cabbage-like things). My mom, bless her heart, boiled them. The result was not delicious.
It was only last year I decided to make my own Brussels sprouts. For a few years, I had noticed recipes on Pinterest that made the roasted version look delicious. Then I ate some at a nice restaurant and realized, “I can do this myself for a whole lot cheaper.”
The maple syrup doesn’t make these sugary sweet, but the sweetness is definitely there. It makes these the perfect complement to all sorts of savory, salty meats. Leftovers are also fabulous cold out of the fridge or chopped into a sweet salad.
On that note, you can also use this maple vinaigrette as a salad dressing. Just increase the amounts in proportion (say, 1/2 cup each of olive oil and maple syrup, and 1/4 cup of apple cider vinegar) and store the leftovers in the fridge. Use it on mixed greens, slaws, etc.
Maple. Best stuff ever.

Bready or Not: Maple Brussels Sprouts with Maple Vinaigrette Dressing/Marinade
Ingredients
- 1 lb Brussels sprouts
- 2 Tb olive oil or avocado oil
- 2 Tb pure maple syrup
- 1 Tb apple cider vinegar
- salt
- 2 - 3 slices bacon optional, chopped
Instructions
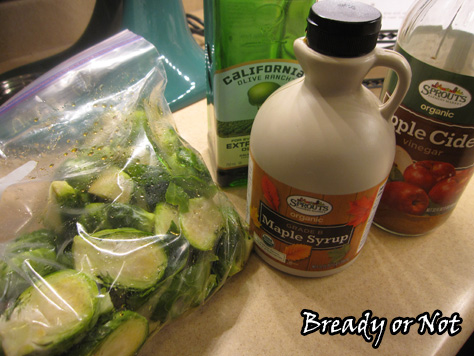
- Prepare the Brussels sprouts. Remove any damaged leaves and trim the stem to remove any browning, then slice the sprouts into quarters or halves depending on their size. Place them in a gallon-sized Ziplock-type bag. (If you want to add bacon, add it to bag.)
- Add the oil, maple syrup, and apple cider vinegar to the bag. Seal the bag and give everything a good jostle and shake. You can bake right away or set the bag in the fridge for several hours. If you let it marinate, turn the bag every so often.
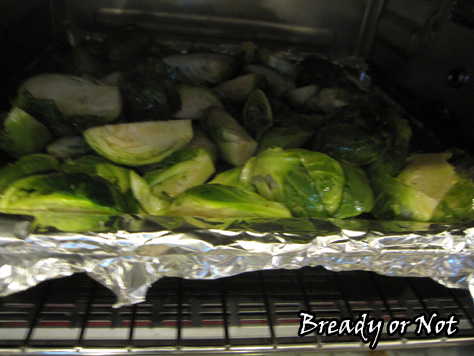
- Preheat oven to 425-degrees. Set out a rimmed cookie sheet; for easy cleaning, line it with aluminum foil. Pour the Brussels sprouts onto the sheet and make them as even as possible. Add some salt.
- Bake for 15 minutes, turn and stir sprouts, then roast for another 10 or 15 minutes until they are firm yet tender.
- OM NOM NOM!
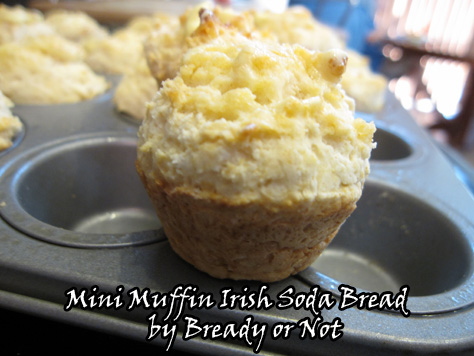
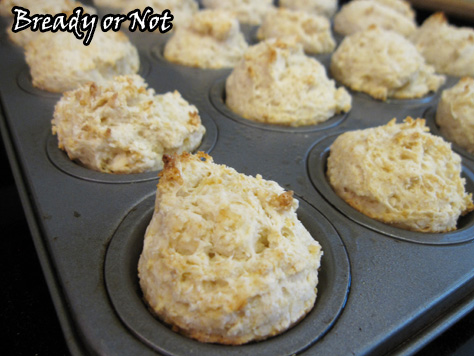
Bready or Not: Mini Muffin Irish Soda Bread
Irish soda bread is traditionally a big round. I took a shrink ray to it.
Here’s the problem: standard recipes make way too much bread for the two of us to eat. I halved the recipe a few years ago, and that worked out better but it was still a lot. I got to thinking, what if I made it in a form that was a lot easier for my husband to take to work?
I searched online, and to my surprise, no one else had made Irish soda bread like that. Huh. So I resolved to try it, using a halved version of the same Irish soda bread recipe I posted back in 2012.
It turned out FANTASTIC. The bread cooked up in only ten minutes. It was already portioned out so I didn’t go bread crazy.
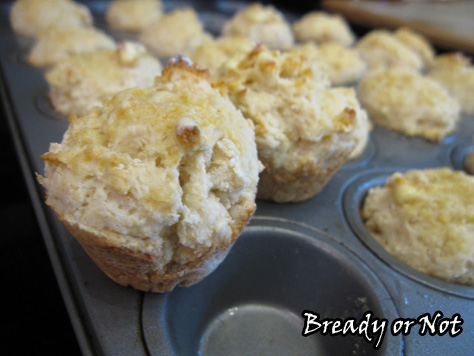
My husband happily took the leftovers in his work lunches–plus, the mini bread froze and thawed and tasted just as good weeks later. This recipe produces very soft, tender soda bread–not dense like some recipes I’ve tried.
This is the only way I’ll make Irish soda bread from here on. If I need to feed more people, I’ll just use the old, full version of the recipe and pull out another mini muffin pan.
Be sure to come back next week when I feature my favorite corned beef recipe–cooked in the crock pot!

Bready or Not: Mini Muffin Irish Soda Bread
Ingredients
- 2 cups all-purpose flour don't overfill
- 2 Tb cornstarch
- 1 Tb white sugar
- 3/4 ts baking soda
- 3/4 ts cream of tartar
- 3/4 ts kosher salt
- 2 Tb butter
- 3/4 cup buttermilk
- 1 Tb butter melted, for tops afterward (optional)
Instructions
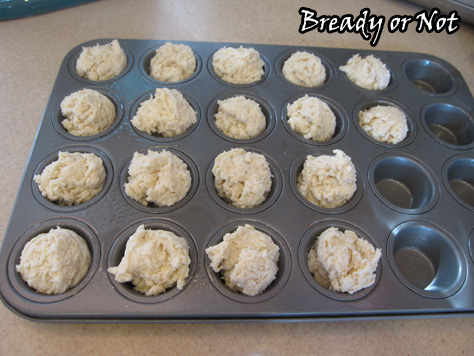
- Preheat oven to 385-degrees. Prepare mini muffin pan by applying nonstick spray in each well, though not all will be filled.
- Whisk together all of the dry ingredients. Work the butter into mixture with a pastry blender or your fingertips until it resembles coarse crumbs; just as with making pie crust, you want those bits of butter in there.
- Add the buttermilk and stir until just combined. Knead in the bowl until the dough just starts to come together and is still craggy and bumpy, adding more buttermilk if necessary. Don't over-knead or the bread will be tough and dense.
- Use a tablespoon scoop or spoon to evenly dole out dough into the pan. Expect about eighteen mini muffins.
- Bake for ten minutes. Use the toothpick test to check middle ones for doneness. Melt the remaining tablespoon of butter and brush it on the tops of the little rounds.
Leftovers freeze well, and are the perfect size to fit in lunches.
OM NOM NOM!
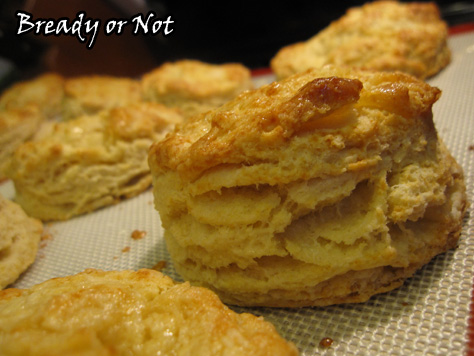
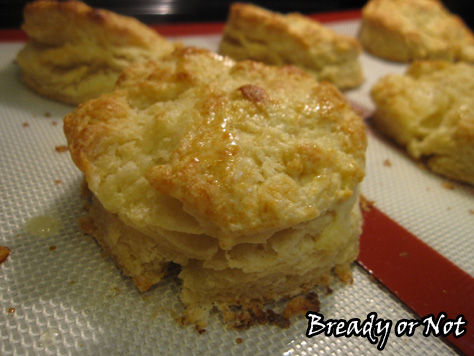
Bready or Not: Buttermilk Biscuits
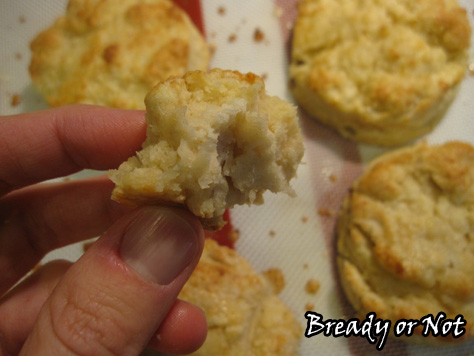
I failed at buttermilk biscuits. For years. This grieved me. This recipe, finally, is the one that has repeatedly produced lofty, flaky, perfect biscuits.

This is an important heritage thing. My dad is from Alabama. He is of the firm belief that every meal should come with a side of bread, and buttermilk biscuits are about as good as it gets.
My husband’s family isn’t much different. Grandpa and Grandma Cato are Arkansas born and bred. We go to visit them, and we are fed an “Arkansas breakfast.” That means enough food to go out into the woods and chop down trees all day and not be hungry until dusk. That breakfast always, always, always includes buttermilk biscuits with sausage gravy.
Biscuits. Serious business.
I found this recipe from Bakergirl and have modified it slightly; she in turn got it from Bobby Flay. I wish I could hug this recipe. You have no idea how pleased I am to have a biscuit recipe that works.
A few notes on this:
– I do homemade sour milk for the buttermilk by mixing a tablespoon of lemon juice in with milk (I’ve also done a mix with half & half) and letting it curdle for 15 minutes before using it.
– the recipe also works just fine if you happen to have buttermilk powder.
– it produces more than a single cookie sheet of biscuits.
– they are fabulous to bake and the freeze. It’s always nice to have some stashed in the freezer!

Bready or Not: Buttermilk Biscuits
Ingredients
- 4 cups all-purpose flour
- 4 teaspoons baking powder
- 1 teaspoon baking soda
- 1 teaspoon salt
- 12 Tablespoons unsalted butter cold, cut into cubes
- 1 1/2 cups cold buttermilk or substitute sour milk
On top:
- 1/4 cup milk brush on tops before baking
- 2 Tablespoons butter melted, to brush on tops after baking
Instructions
- Preheat oven to 450-degrees. Prepare baking sheets by lightly greasing them or using parchment or baking mats.
- Combine the dry ingredients: flour, baking powder, baking soda, and salt. Gradually cut the butter into the flour mix, using a pastry blender or forks until it resembles coarse meal.
- Add the buttermilk and combine until it just comes together. Don't overwork it! The butter needs to stay in small lumps; that creates the flaky layers.
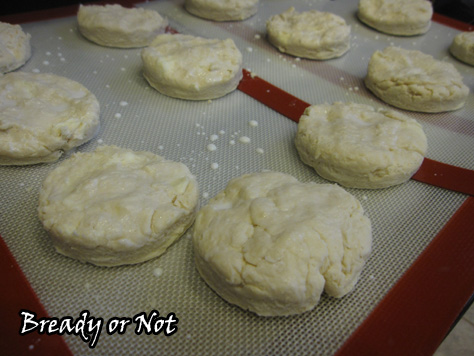
- Lightly flour about a square foot of counter. Press the dough out to mostly fill the space, with the dough still about 3/4-inch thick. Use a 3-inch round biscuit cutter to punch out shapes and place on baking sheets. Brush a little bit of milk on the tops of the biscuits.
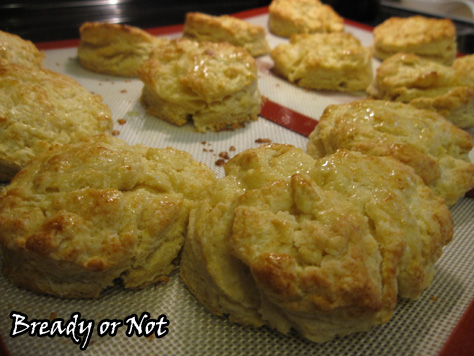
- Bake for 12 to 15 minutes or until they turn golden brown. Remove from oven and immediately brush melted butter on the tops.
OM NOM NOM!
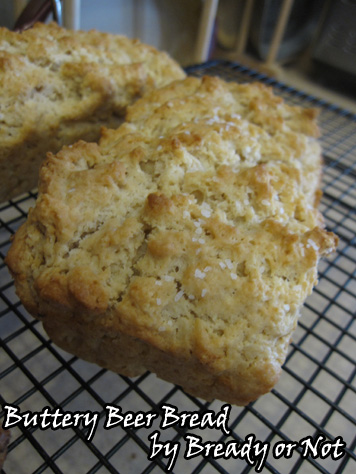
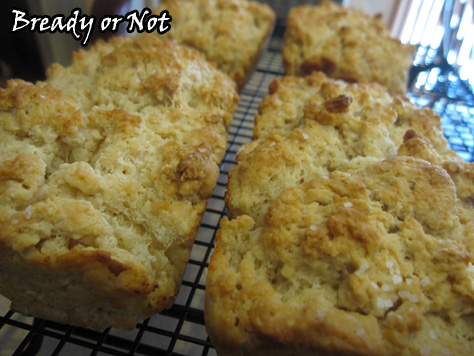
Bready or Not: Buttery Beer Bread
My husband loves beer. He recently decided to start collecting beer growlers from small breweries. I do not like beer. Therefore, he ends up with a sizable amount of artisan beer that needs to be consumed in a short amount of time.
“And this is a problem… how?” he asked.
“Of course. Moderation and all.”
“What? What do you think I could do with beer other than drink it?“
“I could make beer bread!”

He gave me one of those patented husband looks that says you would suggest I use this precious elixir for bread. But that’s exactly what I’ve done twice now, and you know what? He thinks it’s a pretty awesome thing because he loves bread, too.
I have only made this using my Pampered Chef mini loaf pan. I love the size of those loaves! One is perfect for a meal or two, and they freeze fabulously. I just wrap them individually in plastic wrap, defrost in the breadbox, and then warm them with some butter.
My breadbox gets a lot of use. [There’s a joke there that a few select people will get. The rest of you, just nod.]
Recipe modified from Veronica’s Buttery Beer Bread at Jenna’s Everything Blog.
Bready or Not: Buttery Beer Bread
Ingredients
- 3 cups all-purpose flour
- 1/4 cup white sugar
- 1 Tb baking powder
- 1 tsp salt
- 12 oz beer
- 1/4 - 1/2 cup unsalted butter 1/2 stick to 1 stick, melted (make as buttery as desired)
- kosher salt or pretzel salt
Instructions
- Preheat the oven to 375-degrees. Prepare your big loaf pan or mini loaf pans by buttering lightly on the bottom (the sides will be well-buttered later on).
- Sift together flour, salt, baking powder, and sugar. Stir in the beer. It may be sticky and need to be incorporated by greased hands.
- Drop the dough into pan(s) and even out the top as much as possible. Melt desired amount of butter and pour over dough.
- Using four mini loaf pans, it will bake for 30-35 minutes. The original recipe stated that a full-size bread pan needs to bake for an hour. Let it cool in the pan for about five minutes, and then because of all the butter, the bread should pop right out.
- OM NOM NOM!
