


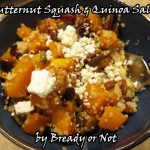
Bready or Not: Butternut Squash and Quinoa Salad
Bready or Not has featured a whole lot of sweets in recent weeks. Let’s switch to something delicious and healthy instead: Butternut Squash and Quinoa Salad.
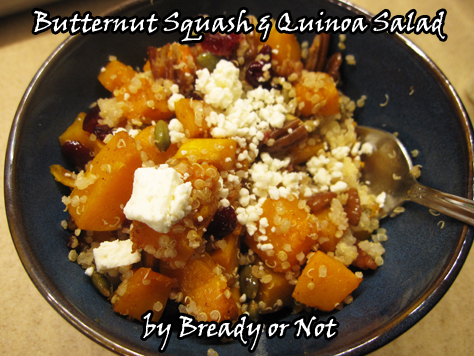
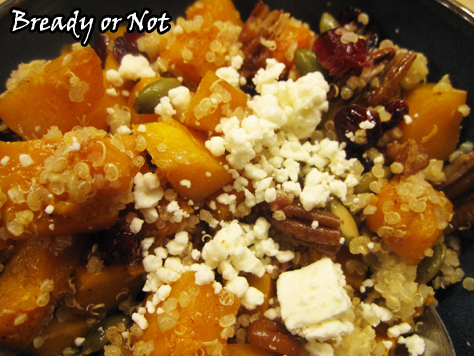
This still has a little bit of sweetness going on. Butternut squash is naturally awesome that way, and a sprinkling of cranberries adds some extra oomph. Add some pecans for crunch and feta because CHEESE, and this creates a bowl of happiness. The quinoa adds protein and kinda enjoys the ride along with all the other flavors.
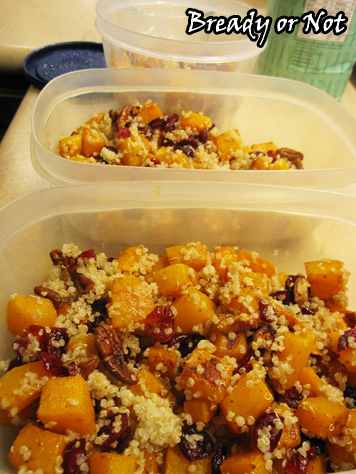
I cobbled this together from several other recipes. I wanted something that I could invest some time in and then use as a quick-fix dinner for several more days. I parcel it into three or four containers, depending on the size of the squash, and my meals are set! Or, you could use this as a gluten-free main dish or side dish to feed a group.
I can offer a few useful tips, too. I cook quinoa in my Zojirushi rice cooker. One cup of uncooked quinoa makes a LOT once its cooked, more than my salad recipe requires, but cooked quinoa keeps well in the fridge and can also be frozen and thawed weeks later without any issue.
If you’re intimidated by cutting butternut squash, there is a safe and easy way to do it!
Next week’s Bready or Not officially kicks off my October-November tradition of pumpkin and autumn-themed recipes! Time to bust out the stretchy pants.
Bready or Not: Butternut Squash and Quinoa Salad
Ingredients
- 2 1/2 - 3 1/2 pounds butternut squash
- olive oil or avocado oil
- sprinkle pumpkin pie spice
- 1 cup cooked quinoa
- 1/2 cup dried cranberries
- 1/2 cup pecans chopped
- feta cheese
Instructions
- Preheat the oven at 425-F.
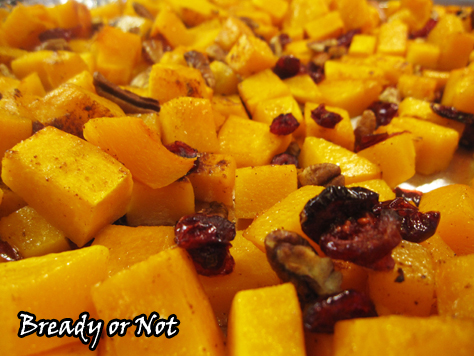
- Line a rimmed cookie sheet with aluminum foil. Spread out the chopped squash and drizzle with oil. Sprinkle spices of choice and some salt. Roast squash for 20 minutes.
- While the squash is roasting, measure out the cranberries and place in a small bowl. Cover the cranberries with water and let them soak. Measure out the pecans.
- When the 20 minutes is up, toss the squash in the pan. Drain the water from the cranberries, discarding water. Add the plumped cranberries and pecans to the squash, and season more, if desired. Cook another 10 minutes or so, until butternut squash is fork tender with roasted coloration.
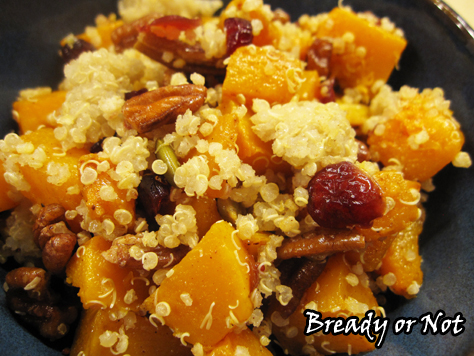
- Transfer the pan's contents to a large bowl. Gently stir in the quinoa. Serve hot or stash in fridge for later, and heat with microwave. Add sprinkle of feta just before serving.
- OM NOM NOM!
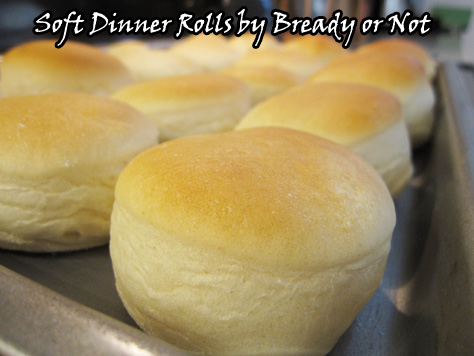
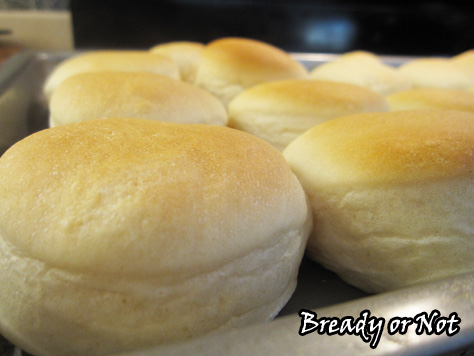
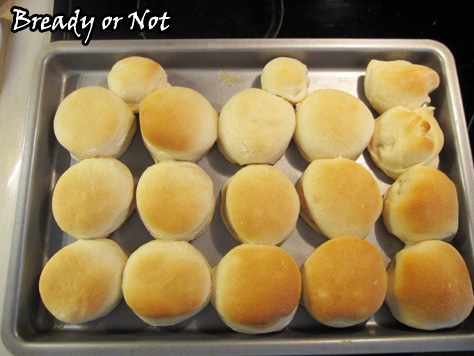
Bready or Not: Soft Dinner Rolls
Back when I first started Bready or Not in 2011, one of my first recipes was for Soft Dinner Rolls. I’m featuring it again today because it’s still a family favorite, and one I make regularly.
I used to be very intimidated by working with yeast. Would the dough rise? How would I know when it was ready? I used box mixes for a while and built up my confidence to handle the stuff from-scratch.
These soft rolls have never failed me. Other doughs are persnickety; this dough is not. The result is soft, and it bakes up into soft, luscious rolls.
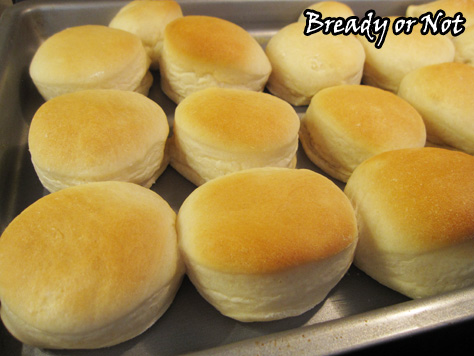
These are the rolls I make every year for Thanksgiving and Christmas. I can make them weeks in advance. They thaw fast. They keep for as long as six days in a sealed bag. Most importantly, they reheat and taste as fresh as ever (and can even be reheated another time, too).
If you’re shy about yeast rolls, give these a try! If you’ve already mastered yeast bread, add these to your repertoire–they are worth making again and again.
On the subject of yeast, the only kind I use is SAF Instant Yeast. I store it in a sealed plastic tub in the freezer; the yeast granules don’t freeze, but the cold preserves the yeast.


Bready or Not: Soft Dinner Rolls
Ingredients
- 1 cup warm water 110 degrees (temperature especially important if mixing by hand)
- 1/4 cup vegetable oil
- 2 Tablespoons white sugar
- 3 cups bread flour
- 1 teaspoon kosher salt
- 2 1/4 teaspoons instant yeast or 1 packet bread machine yeast
Instructions
If making by hand
- Mix all ingredients together and knead until soft. Place the dough in a bowl and lightly cover with plastic wrap. Let dough rise 45 minutes to 1 hour; knead down again. Let rise another 45 minutes to 1 hour.
If making in a bread machine
- Add ingredients in the order specified. That often means the liquids first. Set the machine on dough cycle and start; this should run for about 2 hours.
- Prepare a cookie sheet or jelly roll pan by greasing lightly with butter. When the dough is done, lightly flour a mat or flat surface. Gently flatten the dough with hands. It's so soft, a rolling pin isn't necessary. Use a biscuit cutter or other round shape to cut out rolls. Place them spaced out a bit on the pan; it should produce 12 to 15 rolls, depending on the cutter. Lightly cover pan with plastic wrap and let it sit for an hour, or until rolls have doubled in size.
- Preheat oven at 350-degrees. Bake the rolls for 10 to 15 minutes, watching them for desired brownness. Let cool a few minutes before serving.
- Completely cooled rolls can be frozen in gallon freezer bags for several months. Sealed rolls will keep well at room temperature for at least 6 days.
- OM NOM NOM!
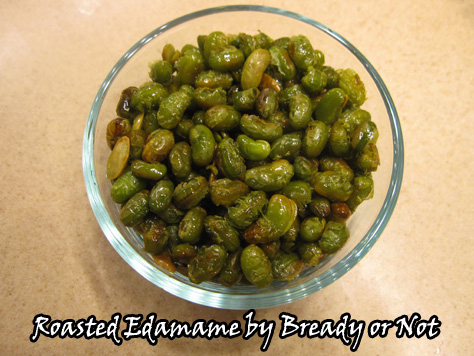
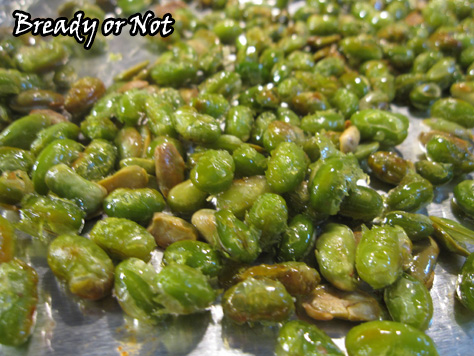
Bready or Not: Roasted Edamame
Roast your own edamame to make a delicious protein addition for salads, noodle dishes, or sandwiches–or as a healthy snack by itself!
Dry edamame is expensive in stores, often sold in small bags. My local Sprouts carried dry edamame in their bin section for an awesome price and I bought it often, but then they remodeled last year and the edamame vanished. Sigh.
So I decided, heck, I’d make my own!

A pound bag of frozen edamame is $2-4 in stores. It takes some planning and minimal work to roast it, and you can make it as crunchy as you like. I like to keep the beans a little chewy.
I do a lot of sweets on here, but this is the kind of food I like to do for myself as a treat. Om nom nom!
Modified from Bams Kitchen.

Bready or Not: Roasted Edamame
Ingredients
- 16 ounces shelled edamame 1 bag, frozen
- olive oil or avocado oil
- sea salt
- pepper
Instructions
- Take the sealed edamame bag out of the freezer and set it on a plate in the fridge to defrost overnight.
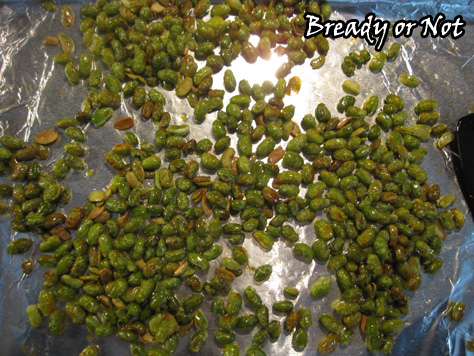
- Next day, open up the bag and place the shelled beans in a colander. Rinse and sort through to make sure they are thawed. Set out towels and let the edamame sit out to dry in a single layer; blot the top with another towel. The beans should be completely dry before roasting.
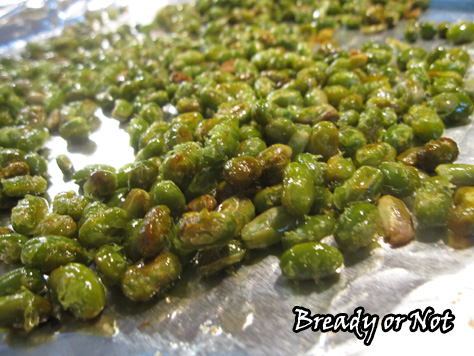
- Preheat oven at 375-degrees. Prepare a rimmed baking sheet with aluminum foil. Place your edamame on the sheet. Drizzle with oil and stir them for complete coverage. Add a sprinkling of salt and pepper.
- Bake for 40 to 50 minutes, with breaks about every 15 minutes to stir the edamame. The longer they cook, the crispier and browner they get, so bake to preferred taste!
- Eat right away, or store in a sealed container in the fridge. Roasted edamame is great as a snack, or in all sorts of dishes!
- OM NOM NOM!
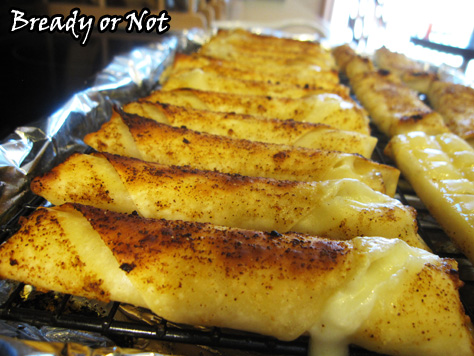
Bready or Not: Chili Lime Mozzarella Sticks
Hot, melted cheese is one of the finest things in life. Add some flavor oomph and you have the perfect yumminess to stuff in your face.
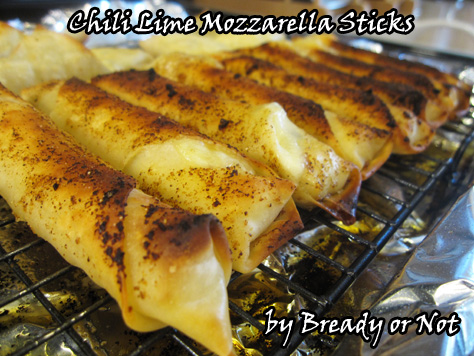
The concept is simple: freeze cheese sticks. Wrap them in egg roll wrappers. Apply seasoning. Bake. Devour.
To boost this to another level, I recommend jalapeno mozzarella sticks. I was a little worried they might be too hot, but it turned out the flavor was very mild. DO NOT BE AFRAID OF THE CHEESE STICK.
The wrapping process is pretty easy. It gives directions on the back of the egg roll wrap package. However, don’t be like me and forget to brush water on the edges. (I think that’s why my wrappers leaked cheese. This can be categorized as a fantastic problem, because I then had to eat puddles of seasoned cheese off the aluminum foil. Darn.)
Modified from Carlsbad Cravings. First posted by me at the Holy Taco Church.

Bready or Not: Chili Lime Mozzarella Sticks
Ingredients
- 24 mozzarella sticks regular or jalapeno
- 20 egg roll wrappers 21-22 come in a pack; count wrappers and perhaps double up on a cheese stick or two
- 1/4 cup water
Chili Lime Olive Oil
- 1 Tablespoon lime juice
- 1/4 cup olive oil
- 1/2 teaspoon chili powder
- 1/2 teaspoon ground cumin
- 1/4 teaspoon onion powder or onion flakes
- 1/2 teaspoon garlic powder
- 1/2 teaspoon kosher salt or sea salt
- 1/4 teaspoon pepper
Instructions
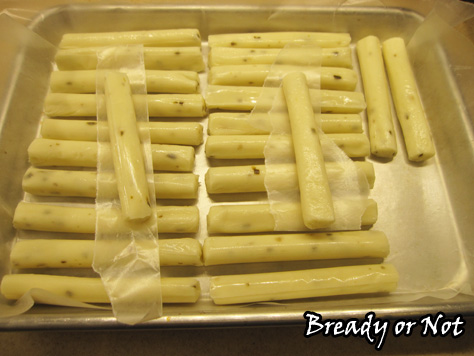
- Unwrap mozzarella sticks and freeze for 1-2 hours. Do this on wax paper so they don't stick.
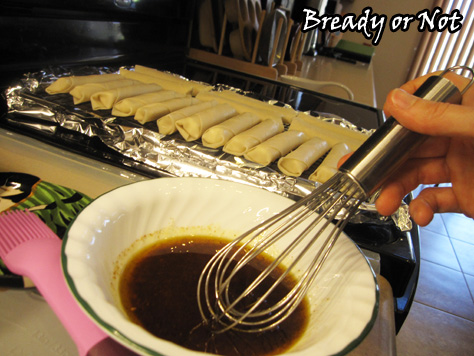
- Whisk together the chili lime olive oil ingredients in a small bowl while the oven preheats to 400 degrees.
- Wrap your sticks. Follow the directions on the package or you can Google it. Be gentle so you don't tear the thin pastry, and do remember to brush water on the edges so that it seals. Note that you likely won't have 24 wrappers in the pack, so count them and be prepared to eat some naked cheese or do some double-wrapped versions.
- Place the wrapped cheese on a baking rack placed on a foil-lined baking sheet. Stir the seasonings again (the spices will settle) and then brush the oil all over the cheese sticks. Use up all that good stuff.
- Bake for 15 minutes at 400-degrees. Adjust the rack and broil for 3-5 minutes, or until golden, then flip them to broil the other side.
- Eat up! They are amazing fresh--dip them in the oil in the pan. Serve with salsa or guac. Also, these things are amazing cold out of the fridge, if you happen to have any leftover.
- OM NOM NOM!
Bready or Not: Homemade Tortilla Chips
When you make tacos, do you ever use up all of the tortillas? I sure don’t. There always end up being half a pack wallowing in the fridge. They come in handy for quick-fix quesadillas, but here’s another quick-fix for those leftovers: homemade tortilla chips!

I think corn tortillas are the best way to go here, but feel free to try this with flour. I just think they’d get too hard. I like corn because there’s more chewiness. Also, this can totally be gluten-free, if you need that kinda thing.
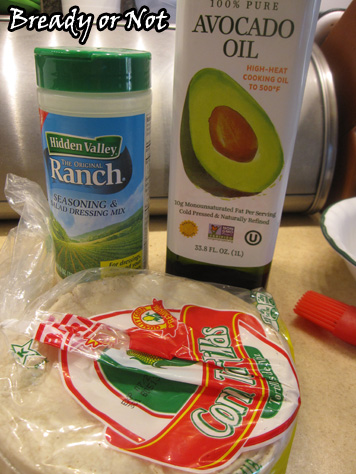
Choose how you wish to equip your chips. I went with ranch mix. If you use a packet, you won’t need that much out of it. You could likewise use taco seasoning, sea salt and pepper, cayenne, whatever. Heck, make this dessert with cinnamon and sugar and dip up some ice cream!
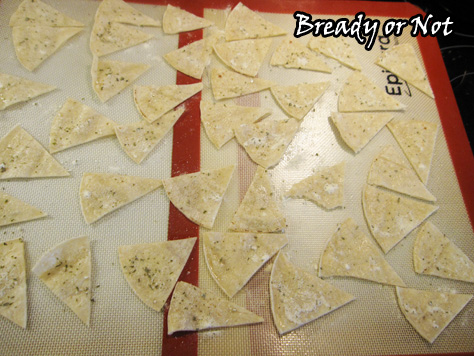
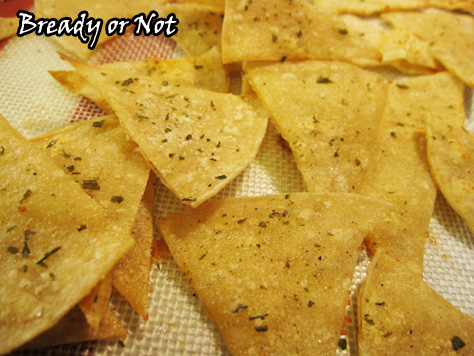
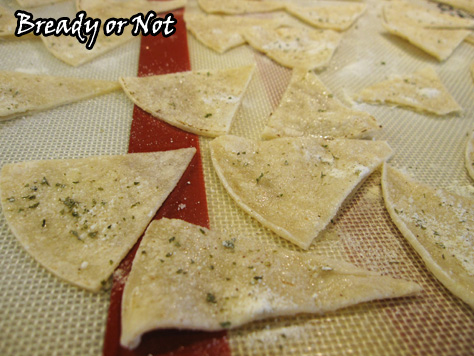
The technique is simple. Slice up your tortillas. A pizza cutter makes this easy. Brush oil on both sides of the wedges. Season. Bake a short time.
Do keep a close eye on the oven so you don’t overbake these! That would be a tragedy.
The batch shown here, I baked for 15 minutes. The resulting chips were crisp yet still somewhat chewy and fresh. Find your sweet spot for the texture you want.
Modified from DIY Ranch Tortilla Chips at Make the Best of Everything. Originally posted at the Holy Taco Church.

Bready or Not: Homemade Tortilla Chips
Ingredients
- corn tortillas
- oil olive oil, avocado oil, canola, etc
- ranch dressing mix or other seasoning like taco mix, Italian, etc
Instructions
- Preheat oven to 350-degrees. Prep a large baking sheet with silicone mats or parchment paper. You can likely only fit 5 or 6 tortilla's worth of chips on a sheet.
- Use a pizza cutter to slice your chips to desired size; they will shrink some as they bake. Brush a small amount of oil onto both sides of the wedges. Season them as much as you want; it's probably not necessary to do both sides. Use your fingers to smooth out any clumps.
- Bake chips for 12 minutes then monitor them closely for desired crispness. Stay close to the oven--these are thin, remember, so they can quickly overcook!
- Eat promptly or store chips in a sealed container.
- OM NOM NOM!
Bready or Not: Legendary Macaroni and Cheese
I needed a make-ahead macaroni and cheese recipe. I already have several other reliable ones like Civil War Macaroni and Cheese and the Pioneer Woman’s recipe, but I didn’t need to babysit boiling milk or dirty a score of pots and pans as I was enjoying company over for a visit.

I have had John Legend’s recipe saved on Pinterest for years. I watched a video of him cooking the recipe with Martha Stewart and read tips from other cooks. I decided to halve the recipe, since this was a side for four people, and otherwise tweak things.
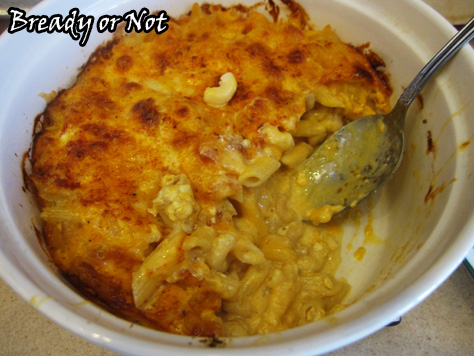
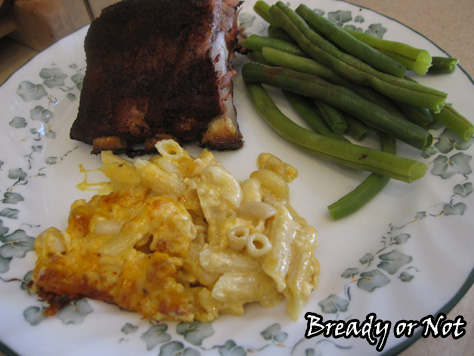
I did the bulk of the recipe in the morning. When it was time to start supper, all I had to do was heat the oven and add the paprika and bread crumbs. It baked up into an oozing, cheesy mass. Everyone raved over it. There were no leftovers.
My other mac and cheese recipes are great but this is the one I’ll keep handy for holidays or when company is coming. Tastiness and convenience? Heck yeah!
Halved and modified from John Legend’s Macaroni and Cheese, as featured on Martha Stewart.
Bready or Not: Legendary Macaroni and Cheese
Ingredients
- 2 Tablespoons unsalted butter plus more for baking dish
- 1 1/2 cups elbow macaroni
- 1 can evaporated milk
- 1 large egg
- 3/4 teaspoon seasoning salt
- 1/2 teaspoon garlic powder
- 1/2 teaspoon salt
- 1/4 teaspoon pepper
- 12 ounces sharp cheddar cheese or a mix of cheddars, shredded
- sprinkle paprika
- bread crumbs
Instructions
- If you plan to bake this right away, preheat oven to 375-degrees. Butter or spray a 9x9 baking dish.
- Bring a large pot of water to a boil and add salt and macaroni. Cook until al dente. Drain the water and return the macaroni to the pot. Add butter and stir until it has melted.
- In a medium bowl, whisk together evaporated milk and egg. Add seasoned salt, garlic powder, salt, and pepper.
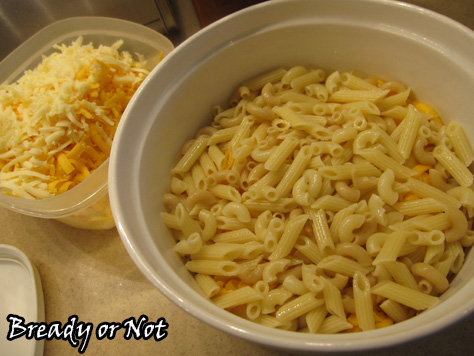
- Place about 1/3 of the macaroni in an even layer in the bottom of prepared baking dish. This should be just enough to cover the bottom. Cover with 1/3 of the cheese. Repeat twice more with remaining macaroni and cheese.
- Pour the milk and seasonings mixture evenly over the contents of the baking dish. At this point, you can stash the dish in the fridge overnight or during the day until it's meal time.
- When you're ready to bake, make sure the oven is preheated. Sprinkle the top of the macaroni with paprika and bread crumbs.
- Bake until top layer is lightly browned, 25 to 30 minutes; note that if the dish is cold, bake time will likely need to be extended to closer to 40 minutes. Let stand 10 minutes before serving.
- OM NOM NOM!
Read More
