Bready or Not: Honey Oat Pie with a Cinnamon Pie Crust
This is a pie like none I have made before: like a gigantic chewy oatmeal cookie with a spiced crust, embodied with a refreshing zing of whiskey.
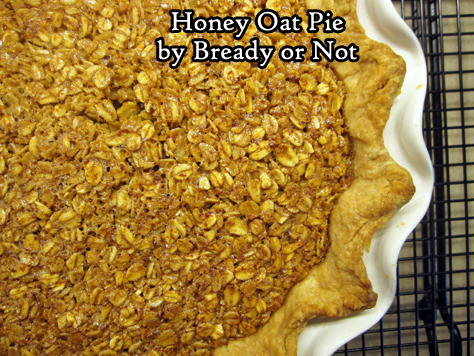
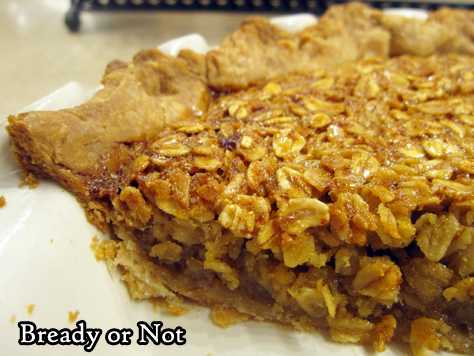
This Honey Oat Pie in a Cinnamon Pie Crust will blow your mind in the best of ways. Texture wise, it is moist and chewy without being soggy (be sure to use old-fashioned/rolled oats!).
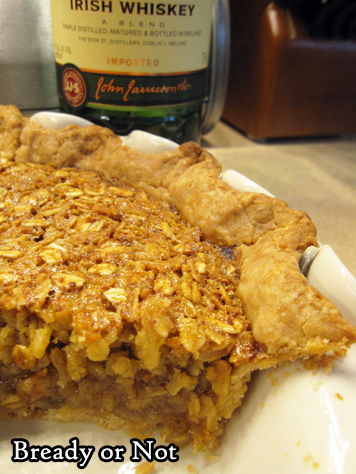
Flavor-wise, you taste the toasted oats, a wonderful mix of warm spices, and the freshness of the whiskey. There’s only a tablespoon and a half in there but the flavor of the whiskey still comes through.
I used Jameson Irish Whiskey, in keeping with the origins of the original version of the recipe: the July/August issue of Bake from Scratch Magazine, my favorite food magazine these days.

I imagine you can omit the whiskey from the recipe without it being detrimental to the taste or texture, but I haven’t tried that myself.
This is a great pie to have for breakfast (the alcohol’s effect burns off in baking), or snack, or dessert.
Bready or Not: Cinnamon Pie Crust
Equipment
- food processor
- pie plate
- plastic wrap
Ingredients
- 1 1/2 cups all-purpose flour
- 1 1/2 Tablespoons white sugar
- 1 teaspoon kosher salt
- 1 1/2 teaspoons ground cinnamon
- 1/2 cup unsalted butter 1 stick, cold, cut into chunks
- 3 Tablespoons ice water plus more if needed
Instructions
- In a large food processor, pulse together the flour, sugar, salt, and cinnamon. Add the butter pieces. Pulse until they are almond-sized, then add the ice water. Pulse until mixture can form a ball, adding a touch more water if needed to make it cohesive.
- Turn out dough onto a lightly floured surface. Gently knead to shape into a disk. Tightly encase in plastic wrap and let chill in fridge for at least an hour, or up to a few days. Dough can also be frozen for up to two months.
OM NOM NOM!
Bready or Not: Honey Oat Pie
Equipment
- pie plate
- parchment paper
- pie weights
Ingredients
- single-layer pie crust
- 1 1/3 cups old-fashioned oats also called rolled oats
- 2/3 cup brown sugar packed
- 1 1/4 teaspoons kosher salt
- 1/4 teaspoon ground ginger
- 1/8 teaspoon ground nutmeg
- 1/2 cup light corn syrup
- 6 Tablespoons unsalted butter melted
- 1/3 cup honey
- 1 1/2 Tablespoons Irish whiskey such as Jameson
- 2 teaspoons vanilla extract
- 4 large eggs room temperature
Instructions
- Preheat oven at 400-degrees
Prepare pie crust
- Let pie dough soften at room temperature for 10 to 15 minutes. Lightly flour a surface and roll out dough to a 12-inch circle and transfer it to a 9-inch pie plate. Press into plate to shape, crimping edges as desired. Freeze crust until firm, about 15 minutes.
- Drape a large piece of parchment paper over pie crust. Fill to the top with pie weights.
- Bake crust until edges are turning golden, about 10 to 15 minutes. Carefully remove weights and parchment paper.
- Bake crust an additional 10 minutes to set. Cover the edges with foil if it is getting brown too quickly. Set aside on rack to cool while the filling is assembled.
Prepare filling
- Reduce oven temperature to 350-degrees.
- Line a rimmed baking pan with parchment paper. Place oats in pan.
- Bake them until they are lightly toasted, about 10 minutes, giving them a stir or two during. Set them aside to cool.
- Lower oven temperature again, this time to 325-degrees. Move the oven rack to the lower third of the oven.
- In a big bowl, mix together the brown sugar, salt, ginger, and nutmeg. Add the corn syrup, melted butter, honey, whiskey and vanilla, making sure to scrape the bottom of the bowl. Add eggs one at a time, stirring well after each addition, and end by incorporating the oats until they are coated. Pour everything into the parbaked crust.
- Bake until the filling is set and slightly puffed, about 40 minutes. Check on the pie about halfway and cover the edges the foil if they are getting too brown. The done pie will register at 200-degrees if checked with an instant thermometer.
- Let pie cool completely on rack before slicing in. Store covered by foil in the fridge or at room temperature. Keeps for several days.
OM NOM NOM!
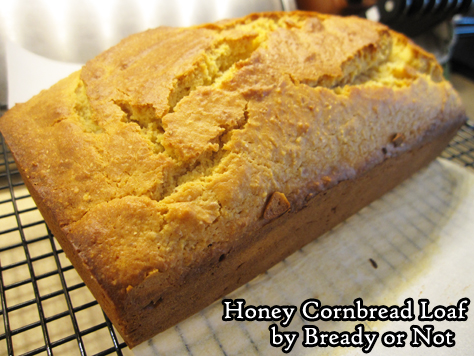
Bready or Not Original: Honey Cornbread Loaf
Cornbread is good ol’ basic American comfort food, perfect to warm up bellies at this time of year.
Sometimes, though, you don’t want a huge batch of cornbread. Just enough for a meal or two, maybe. That’s where this recipe comes in.
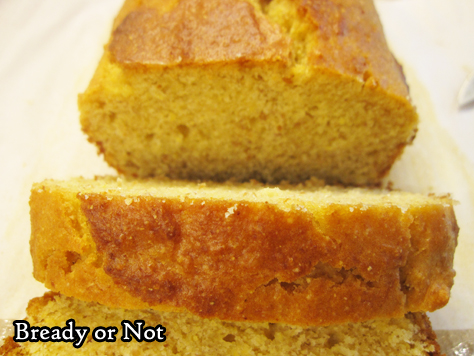
It makes a 9×5 loaf pan of delicious cornbread. Leftovers keep well wrapped up at room temperature, and the bread can also be frozen to eat later.
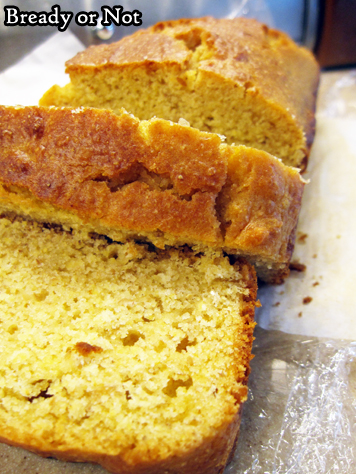
This cornbread is soft with a strong cornbread flavor highlighted with a touch of sweetness. Heat it up, add some butter, and you’re set.
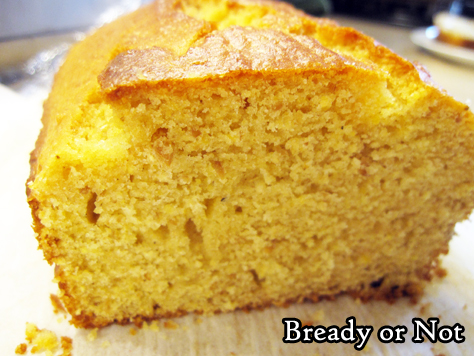
Eat it by itself for a warming snack. Make it to go along with chili or soup or a roast. However you eat it, it’ll be yummy.
Bready or Not Original: Honey Cornbread Loaf
Equipment
- 9x5x3 loaf pan
Ingredients
- 1 1/2 cups cornmeal
- 1/4 cup all-purpose flour
- 1/4 cup golden flax meal
- 1 1/2 teaspoons baking powder
- 1/2 teaspoon salt
- 1/2 cup vegetable oil
- 1/2 cup sour cream or substitute plain yogurt or crème fraiche
- 1/4 cup honey
- 2 large eggs room temperature
Instructions
- Preheat oven at 350-degrees. Line a 9×5-3 loaf pan with a parchment paper sling along the long side, with enough paper sticking up on each side to grip it.
- In a medium bowl, stir together cornmeal, flour, flaxseed meal, baking powder, and salt.
- In a big bowl, beat together oil, sour cream, honey, and eggs. Add in the dry ingredients until just mixed. Pour batter into the pan.
- Bake for 30 to 35 minutes, until the middle passes the toothpick test. Let cool at least 10 minutes before using paper sling to set cornbread on cutting board.
- Cornbread keeps well for days well-wrapped at room temperature. It can also be frozen for later enjoyment.
OM NOM NOM!
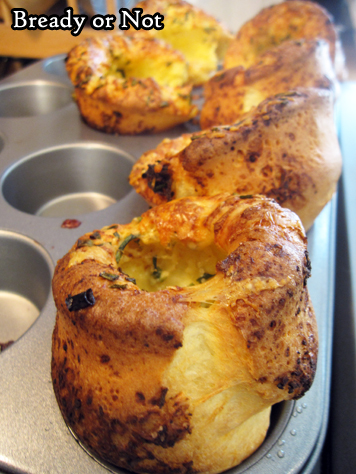
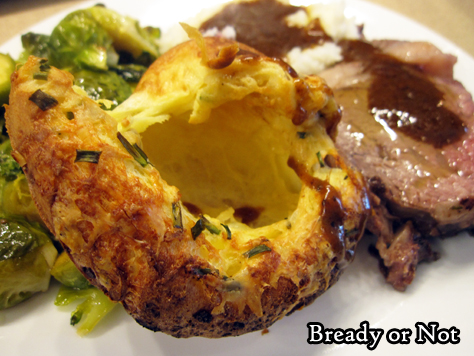
Bready or Not: Cheese and Chives Yorkshire Puddings (Small Batch)
Yorkshire puddings are what many Americans also know of as popovers–light, airy, crisp sponges perfect to eat with a roast and gravy!
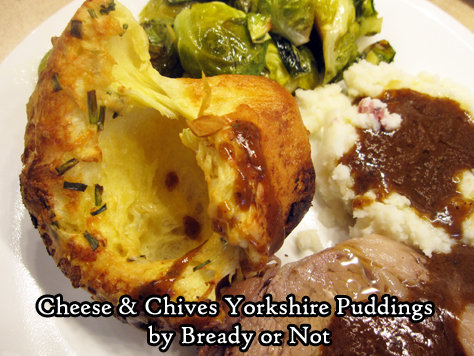
This recipe is for a small batch of puds. Since they are so airy (if they rise right), the six puddings of this recipe are perfect for two or three people.

Cheese makes everything better, of course. I used Dubliner Irish Cheddar, as it is available at my nearest Costcos for a good price.
Use a good quality cheddar here to really take these puddings to the next level.
Modified from Bake from Scratch Magazine.
Bready or Not: Cheese and Chives Yorkshire Puddings (Small Batch)
Equipment
- metal muffin pan
- blender
Ingredients
- 3/4 cup milk or half & half
- 2 large eggs room temperature
- 3 Tablespoons unsalted butter melted, divided
- 3/4 cup all-purpose flour
- 1/2 teaspoon kosher salt
- 1/4 cup quality cheddar cheese (25 grams), freshly grated
- 1 1/2 Tablespoons fresh chives chopped, plus more for garnish
Instructions
- Preheat oven at 425-degrees.
- In the container of a blender, place milk, eggs, 1 tablespoon melted butter, flour, and salt; process just until smooth. Let rest for 10 minutes.
- In a small bowl, toss together grated cheese and chives.
- Place a 12-cup muffin pan in oven for 5 minutes to preheat.
- Remove muffin pan from oven, and quickly spoon the remaining 2 tablespoons melted butter into the 6 muffin cups that are being used. Return pan to oven for 2 minutes.
- Remove pan from oven. Working fast, spoon or pour batter into buttered muffin cups, dividing as evenly as possible. Top each with a spoonful of cheese mixture.
- Bake until puffed and golden brown, 15 to 18 minutes. Garnish with more chives, if desired. Serve immediately. Yorkshires are best fresh as they deflate after baking.
OM NOM NOM!
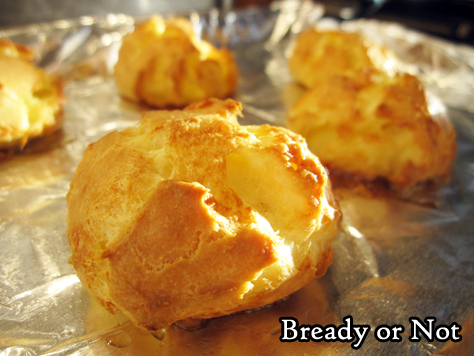
Bready or Not: Gougeres (French Cheese Puffs)
Eat your cheese in delicious, airy form in Gougeres, aka French cheese puffs!
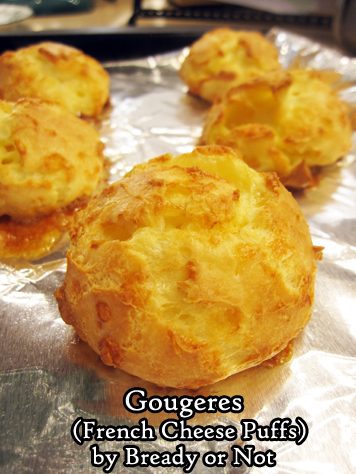
This is a savory version of pate a choux, the dough used for cream puffs and eclairs. In this case, though, you fold in a generous amount of grated cheese.
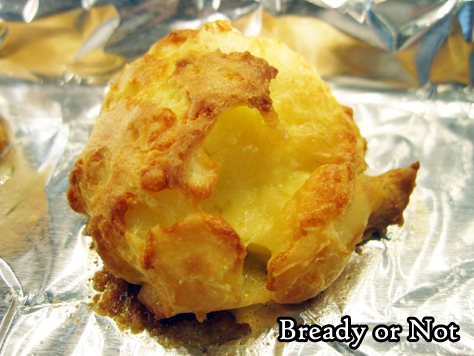
What kind of cheese? Go for ones that grate and melt. Traditional choices would include Gruyere or Comte, or be a rebel like me and use English cheddar. (Scandalous, I know.)
I modified this recipe from Dorie Greenspan’s version in her lovely tome Around My French Table. I felt like I learned something new every time I baked up a serving of these puffs, and I wanted to include all that info to prevent people from repeating my mistakes.
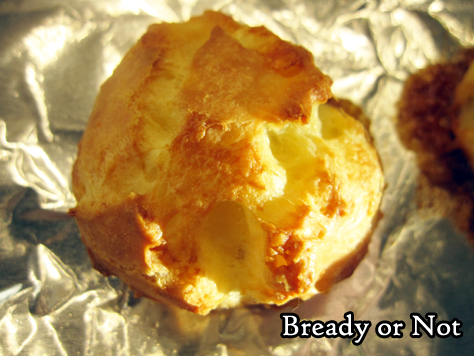
Such as, see the aluminum foil in these pictures? Don’t use that. Do parchment instead. I didn’t take pictures of how I mangled these gougeres, which were hopelessly stuck to the foil despite a spray of Pam.

The recipe results in about 30 puffs. These things keep well, unbaked and frozen, but only for about a month. After that, the puff declines and an eggy taste is more pronounced.
Bready or Not: Gougeres (French Cheese Puffs)
Equipment
- baking sheets
- parchment paper
- tablespoon scoop
- mixer
Ingredients
- 1/2 cup whole milk or half & half
- 1/2 cup water
- 8 Tablespoons unsalted butter (1 stick) cut into 4 pieces
- 1/2 teaspoon salt
- 1 cup all-purpose four
- 5 large eggs room temperature
- 1 1/2 cups coarsely-grated cheese (6 ounces) such as Gruyere, Comte, Emmenthal, or cheddar
Instructions
- If baking now, position racks in oven to be at the top and bottom. Preheat oven at 425-degrees. Line two large baking sheets with baking mats or parchment paper; do not use aluminum foil.
- If preparing the gougeres now, with plans to freeze and bake later, line a pan with waxed paper and clear some space in the freezer so the puffs can set.
- Place milk, water, butter, and salt in a medium saucepan. Bring to a fast boil. Add flour all at once, then lower heat. Promptly start stirring batter with a wooden spoon or sturdy whisk. The dough will come together, but keep stirring with vigor for another couple minutes until the dough is very smooth and looks dryer.
- Drop the dough into the big bowl of a stand-mixer or a bowl where a hand mixer can be used. (Or, if mixing by hand, be ready for an arm work-out.) Let the dough set for a couple minutes, then add the eggs one by one. Beat, beat, beat that batter, fully incorporating each egg before adding the next. If it separates, that's okay--keep beating it! It needs to reach a stage where it is thick and shiny. Beat in the grated cheese.
- The batter must be immediately doled out onto pans to either bake or freeze. Use a tablespoon or tablespoon-sized scoop to measure out the batter; if baking, space out about two inches apart.
- Slide baking sheets into oven. Immediately lower temperature to 375-degrees. Bake for 12 minutes, then rotate pans from front to back, top to bottom. Continue baking another 12 to 15 minutes, until gougeres are golden and firm. Note that they will not puff until the end of the bake. Serve promptly.
- If freezing some or all of the gougeres, freeze on waxed paper, then place in a freezer bag or lidded container. Bake straight from the freezer--do not thaw them! Place on parchment or a greased surface to cook, with gougeres in a central location in the oven. Eat frozen gougeres within a month, as they will otherwise taste increasingly eggy and have less rise.
OM NOM NOM!
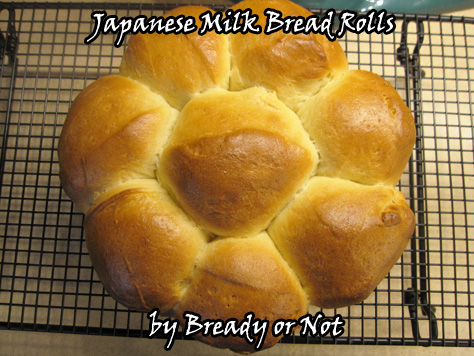
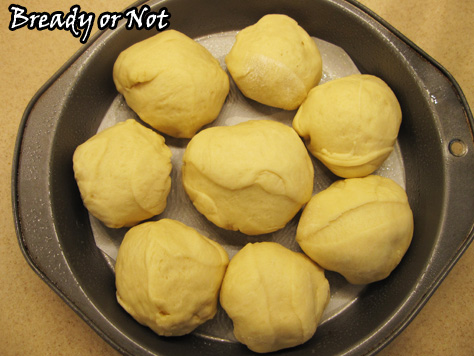
Bready or Not: Japanese Milk Bread Rolls
This recipe for Hokkaido-style milk bread rolls makes 8 delicious soft, airy, amazing rolls.
I couldn’t help but be intrigued when I saw this recipe featured in a King Arthur Flour catalog. It relates to the cultural fusion that plays a major role in my latest book, Breath of Earth.
See, yeast breads in Japan were a real life kind of steampunk innovation. European bakeries began to open in major Japanese cities in the 1800s, but they didn’t become more popular until later in the century when bakers began to fuse more Japanese flavors like adzuki paste into rolls. These kinds of sweet bread (kashi-pan) play a small yet vital role in my next book, Call of Fire.
This particular roll isn’t sweet unless you add some jam on your own. These are more of a combination between a standard dinner roll and an egg-based bread like challah.
I usually don’t make breads that involve a pre-ferment stage, but I was pleased with how easy this was to make. I had the dough mix and rise in my bread machine, but you can mix this by whatever method you choose.
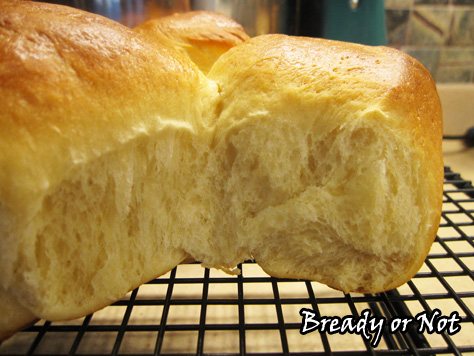
This is modified from the recipe at King Arthur Flour. They note there that this can also be made in loaf form. I also have my own recipe for doing a full loaf of Japanese-style Milk Bread (Shokupan). This is my usual load bread that I make about twice a week.
I can tell you, my husband wouldn’t mind if I made these rolls a lot more frequently as well.

Bready or Not: Japanese Milk Bread Rolls
Ingredients
Tangzhong (starter)
- 3 Tablespoons water
- 3 Tablespoons whole milk or half & half
- 2 Tablespoons bread flour
Dough
- 2 1/2 cups bread flour
- 2 Tablespoons nonfat dry milk
- 1/4 cup white sugar
- 1 teaspoon salt
- 1 Tablespoon instant yeast
- 1/2 cup whole milk or half & half
- 1 large egg
- 1/4 cup unsalted butter 4 Tablespoons, melted
- 1 egg optional, or extra milk to use as a wash
Instructions
To make the tangzhong:
- Combine the starter ingredients in a small saucepan on low heat. Whisk until no lumps remain and continue to beat until it's thick and the whisk leaves no lines across the bottom of the pan; this takes 3 to 5 minutes. Pour it into a cup and set it aside to cool to room temperature.
To make the dough:
- Combine the remaining dough ingredients and add the tangzhong. Continue to knead by hand, mixer, or bread machine until a smooth, elastic dough forms. Add more milk or flour if necessary to achieve the right texture.
- Shape the dough into a ball and set it in a lightly greased covered bowl for about 60 to 90 minutes. It should be puffy, not necessarily doubled in size.
- Prepare a small cake pan by lining the bottom with a cut round of parchment paper. Use nonstick spray on the base of the pan so the parchment stays in place, then spray the top of the paper and the sides of the pan.
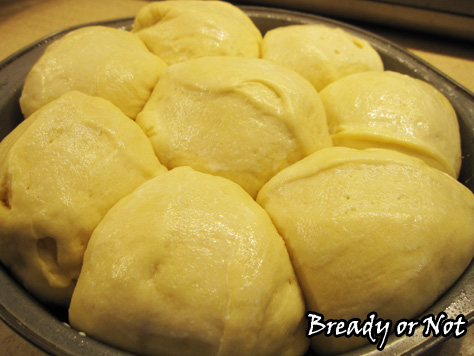
- Gently deflate the dough and divide it into 8 equal pieces. Shape each piece into a ball and place them in the pan. Cover it with plastic wrap and let the rolls rest for 30 minutes to an hour; keep an eye on them in case they rise fast!
- Preheat the oven at 350-degrees. Gently brush the rolls with milk or an egg wash (1 egg beaten with 1 Tablespoon water).
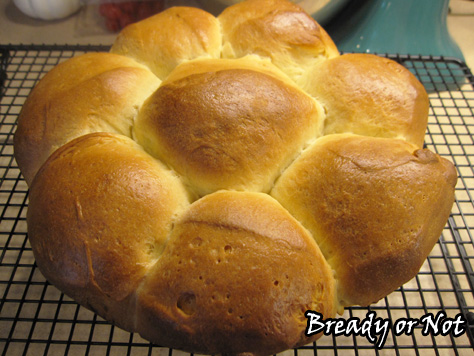
- Bake the rolls for 25 to 30 minutes, until they are golden brown on top. To check for doneness, use a digital thermometer inserted into the center of the middle roll to see if it is at least 190°F. If the rolls must cook longer, cover them with foil if they are very brown.
- Remove rolls from the oven. Let them cool in the pan for 10 minutes, then transfer them to a rack to cool completely.
- OM NOM NOM!
Read More
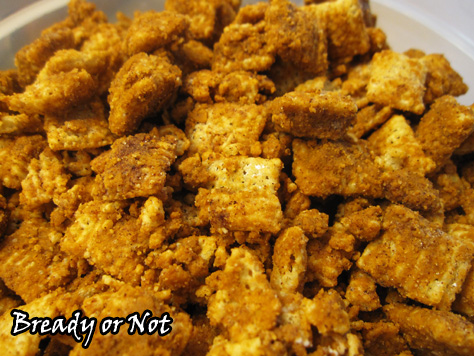
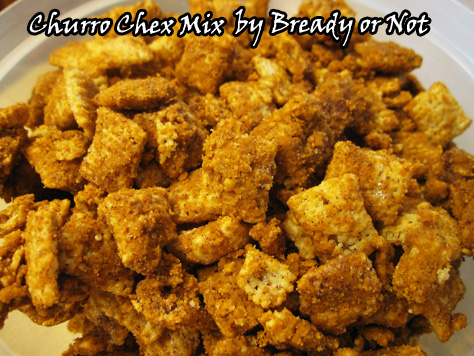
Bready or Not: Churro Chex Mix
Churro Chex Mix is addictive. It is dangerous. It might cause a sugar high that keeps you awake for a full day.
This stuff has made the rounds on lots of food blogs. I looked at about five different recipes, read the comments for more tips, and threw together my own version. I was concerned that some of the recipes featured a lot of Chex that looked, well, naked.
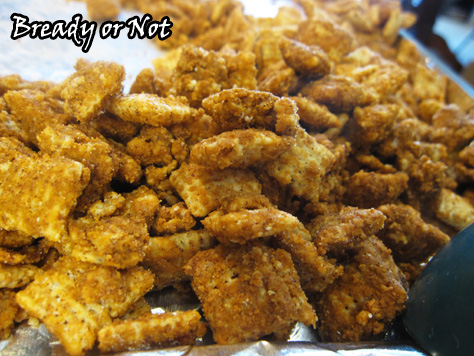
I wanted my mix to be slathered in happy sugar and cinnamon. I soon discovered that the pale pieces still have a lot of sugary-ness. It’s just invisible. Subtle. Ninja-like.
Note that Nestle cinnamon chips melt in a very thick way. It might be necessary to add a lot more butter (because these things weren’t unhealthy enough already) to make it easier to stir the melted goop into the cereal.
Also, depending on the ingredients you use, this can be served-up gluten free! Heck, you could even use Cinnamon Chex or the Cascadian Farms cinnamon cereal and just decrease the amount of added cinnamon.
Just be warned: this makes a LOT. Be ready to share it with a lot of friends!

Bready or Not: Churro Chex Mix
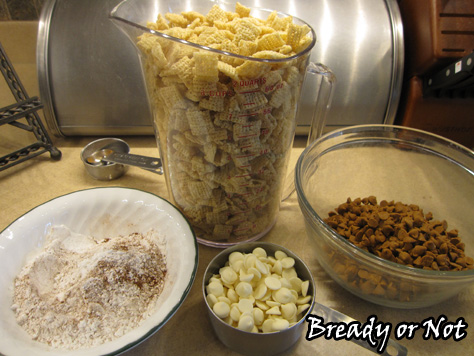
Ingredients
- 9 cups Rice Chex cereal about 1 cup less than full regular box
- 1/4 - 1/2 cup unsalted butter
- 1 bag cinnamon chips
- 1 cup white chocolate chips
- 1/2 cup confectioners' sugar
- 1/4 cup white sugar
- 3 tsp ground cinnamon
Instructions
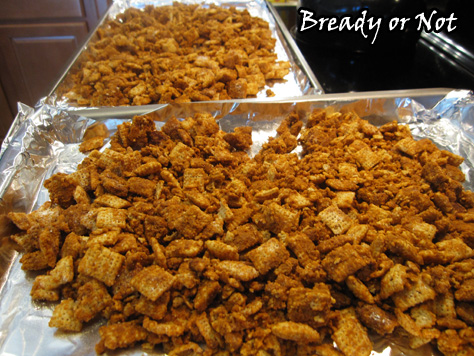
- Pour Chex cereal into a ginormous bowl. Combine sugars and cinnamon in small bowl so that it's ready to go. Also set out a few large rimmed cookie sheets; line them with aluminum foil for easy clean up.
- In a microwavable bowl, melt the 1/4 cup butter, cinnamon chips, and white chocolate chips. Heat for 30 seconds, stir, then 30 seconds, then stir, continuing in small careful bursts until the chips smooth out. Be careful: the chocolate burns fast! Nestle-brand cinnamon chips tend to melt extra thick, so add another 1/4 cup butter (or more) if needed to make it more fluid.
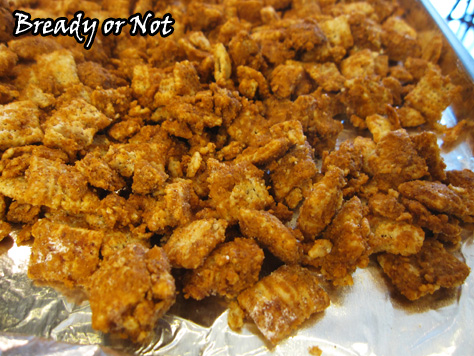
- Pour some melted mix over the cereal. Stir. Add more melted goop. Sprinkle in some sugar mix. Stir. Keep adding more melted mix and sugar mix until it's all gone and things are mostly covered. (Note: it's okay if some Chex still looks kinda naked, because it's still likely covered in sugar!)
- Shift the Chex out onto the cookie sheets and spread it out so it's not too chunky. Let set an hour or so, then throw it in a sealable bag or a few big plastic containers.
- OM NOM NOM!