Bready or Not Guest: Author Pat Esden with Popovers
I’m happy to welcome Pat Esden to Bready or Not! Her novel A Hold On Me comes out in February from Kensington. I have never tried popovers (shocking, I know!) and her recipe for them looks fantastic.
 My novel A HOLD ON ME is a new adult paranormal tale of love and revenge. The main character, Annie, grew up dealing antiques and traveling with her father. When he’s diagnosed with dementia, she’s forced to return to her estranged family’s estate in Maine.
One of the few people on the estate she sees as a potential ally is Laura, an employee whose main job is to produce a seemingly endless supply of comfort foods. Laura lived on the estate as a child. She went away in her teens and returned a few years later with a young son in her arms. What happened to her in those years is a mystery. But, now—almost twenty years later–Annie shouldn’t mistake where Laura’s allegiance lies. This cook may be known for her strawberry jam and popovers, but she also knows her way around the darker side of the kitchen’s garden.
LAURA’S SKYSCRAPING POPOVERS:
INGREDIENTS
4 eggs
1 cup milk
1 cup white flour
1 teaspoon salt
2 tablespoons melted butter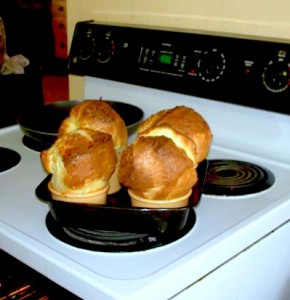
Position oven rack in lower part of oven. Preheat oven to 400 degrees.
Heavily grease popover pan cups with butter (I use 4 ceramic custard cups for this recipe or a traditional six cup cast iron popover pan) Just BEFORE filling cups with batter, preheat them in oven until sizzling hot.
BATTER
Whisk eggs and milk together
Add flour, salt, and melted butter
Whisk lightly (batter will be lumpy). Let batter sit for 5 minutes, then whisk lightly again. Repeat letting batter sit and whisking lightly until white flour lumps disappear. This process of whisking lightly and letting the flour be absorbed into the batter slowly is the key to extra-tall popovers.
Fill pre-heated popover cups ½ way with batter.
Bake for 45 minutes without opening oven.
Eat right away. Popovers shrink quickly. A hole poked in the top of the popover to vent the steam will slow the shrinking, but not for long.
LAURA’S RECIPE IDEA BOARD ON PINTEREST
A HOLD ON ME (Dark Heart Book #1) by Pat Esden
Kensington Books
Release date: February 23
She never wanted to return.
He wants nothing more than for her to leave.
But the fire between them is as strong as the past that haunts them.Annie Freemont grew up on the road, immersed in the romance of rare things, cultivating an eye for artifacts and a spirit for bargaining. It’s a freewheeling life she loves and plans to continue—until her dad is diagnosed with dementia. His illness forces them to return to Moonhill, their ancestral home on the coast of Maine—and to the family they left behind fifteen years ago, after Annie’s mother died in a suspicious accident.
Once at Moonhill, Annie is shocked when her aunt separates her from her father. The next time Annie sees him, he’s a bizarre, violent shadow of his former self. Confused, she turns to an unlikely ally for support—Chase, the dangerously seductive young groundskeeper. With his dark good looks and powerful presence, Chase has an air of mystery that Annie is irresistibly drawn to. But she also senses that behind his penetrating eyes are secrets she can’t even begin to imagine. Secrets that hold the key to the past, to Annie’s own longings—and to all of their futures. Now, to unlock them, she’ll have to face her greatest fears and embrace her legacy…
Add A HOLD ON ME on Goodreads
PRE-ORDER NOW!
PAT ESDEN would love to say she spent her childhood in intellectual pursuits. The truth is she was fonder of exploring abandoned houses and old cemeteries. When not out on her own adventures, she can be found in her northern Vermont home writing stories about brave, smart women and the men who capture their hearts. An antique-dealing florist by trade, she’s also a member of Science Fiction & Fantasy Writers of America, Romance Writers of America, and the League of Vermont Writers. Her short stories have appeared in a number of publications, including Orson Scott Card’s Intergalactic Medicine Show, the Mythopoeic Society’s Mythic Circle literary magazine, and George H. Scither’s anthology Cat Tales.
Read MoreBready or Not: Lemon Loaf Cake
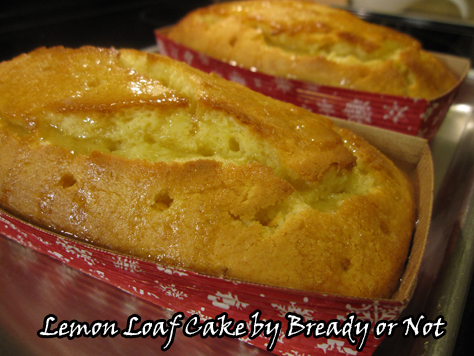
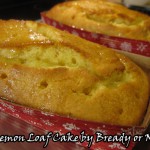
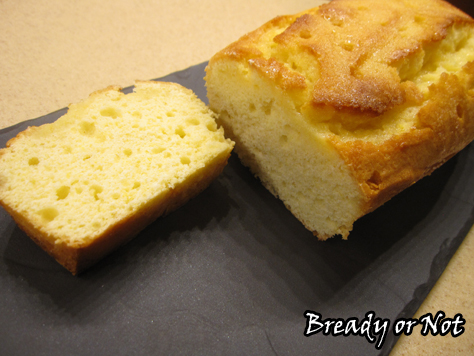
Let’s finish up CAKE MONTH with something that’s bright, fresh, and perfect for summer!
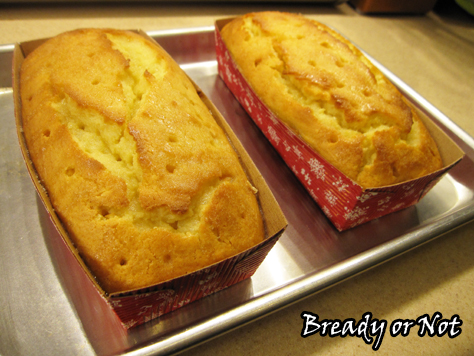
I modified this King Arthur Flour lemon cake and made it in two gift-size pans, as one was indeed given as a gift to dear family friends who came for a visit. My husband pretty well inhaled the loaf that we kept.
Like last week’s chocolate cream cheese cake, this is the kind of cake that isn’t heavy duty on sweet. It’s really perfect for breakfast, brunch, or dessert. Eat it by itself or pair a slice with fruit, ice cream, or whatever else sounds good.
I made this using sour cream, though the original recipe suggested yogurt or buttermilk. I bet this would be amazing with lemon yogurt. MORE LEMONY GOODNESS!
Modified from King Arthur Flour’s Lemon Bread.
Bready or Not: Lemon Loaf Cake
Ingredients
Cake
- 6 tablespoons unsalted butter
- 1 cup white sugar
- 2 large eggs room temperature
- 2 lemons zested and juiced
- 1/4 cup lemon juice
- 3/4 cup sour cream or yogurt or buttermilk
- 1/2 teaspoon lemon extract
- 2 cups all-purpose flour
- 1 teaspoon baking powder
- 1/2 teaspoon salt
Glaze
- 1/4 cup lemon juice
- 1/2 cup white sugar
Instructions
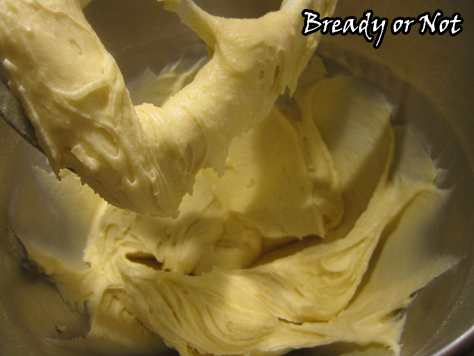
- For the cake: Preheat the oven at 350-degrees. Cream together the butter and sugar till thoroughly combined, followed by the eggs.
- In a small bowl, mix the sour cream, yogurt or buttermilk with the lemon juice, lemon extract, and zest, and set aside.
- In a third bowl, prepare the flour, baking powder, and salt.
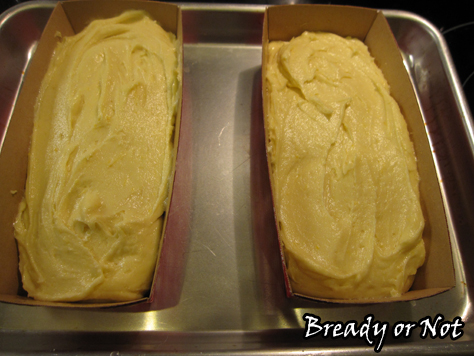
- Slowly add the second and third bowls into the butter mixture until everything is together.
- Prepare your pan(s) by applying nonstick spray. Spoon the batter inside. If using a standard bread pan, bake for about 50 minutes; if using two 7x2 paper pans, bake for 30-35 minutes. If using in smaller bread pans, adjust time accordingly. Use the toothpick test to check for doneness.
- Remove the cake from the oven, and deeply poke it all over with a chop stick or fork.
- For the glaze: Right before the cake is done, whisk together the glaze ingredients and stir until the sugar is dissolved. While the cake is hot, slowly drizzle the glaze over it, stopping often to let it to soak in.
- If you're using regular bread pan(s), let the cake cool in the pan another 15 minutes and then remove the loaf to let it cool completely.
- Let cake cool completely before slicing. Wrap it with plastic wrap and store in the fridge or at room temperature. Will keep for at least 3 days.
- OM NOM NOM!
Read More
Bready or Not: Mini Muffin Irish Soda Bread
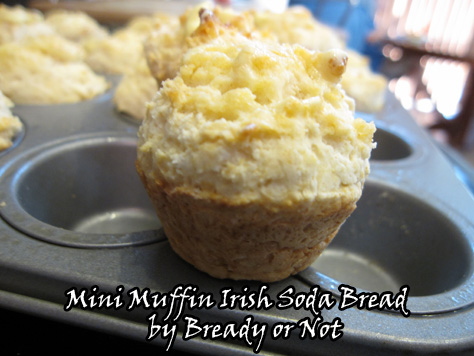
Irish soda bread is traditionally a big round. I took a shrink ray to it.
Here’s the problem: standard recipes make way too much bread for the two of us to eat. I halved the recipe a few years ago, and that worked out better but it was still a lot. I got to thinking, what if I made it in a form that was a lot easier for my husband to take to work?
I searched online, and to my surprise, no one else had made Irish soda bread like that. Huh. So I resolved to try it, using a halved version of the same Irish soda bread recipe I posted back in 2012.
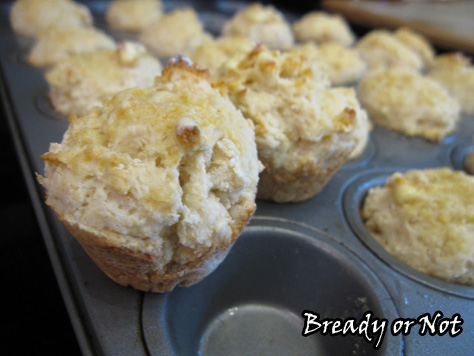
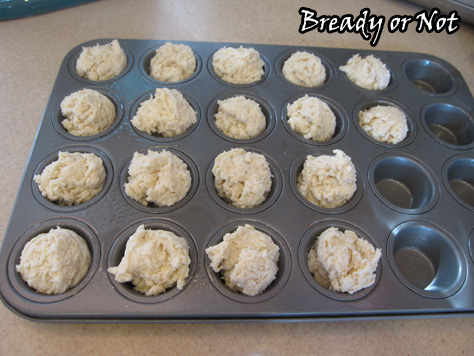
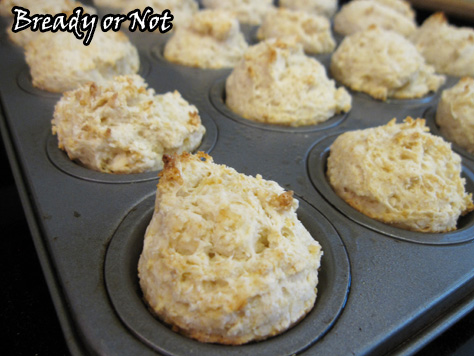
It turned out FANTASTIC. The bread cooked up in only ten minutes. It was already portioned out so I didn’t go bread crazy.
My husband happily took the leftovers in his work lunches–plus, the mini bread froze and thawed and tasted just as good weeks later. This recipe produces very soft, tender soda bread–not dense like some recipes I’ve tried.
This is the only way I’ll make Irish soda bread from here on. If I need to feed more people, I’ll just use the old, full version of the recipe and pull out another mini muffin pan.
Be sure to come back next week when I feature my favorite corned beef recipe–cooked in the crock pot!
Bready or Not: Mini Muffin Irish Soda Bread
Ingredients
- 2 cups all-purpose flour don't overfill
- 2 Tb cornstarch
- 1 Tb white sugar
- 3/4 ts baking soda
- 3/4 ts cream of tartar
- 3/4 ts kosher salt
- 2 Tb butter
- 3/4 cup buttermilk
- 1 Tb butter melted, for tops afterward (optional)
Instructions
- Preheat oven to 385-degrees. Prepare mini muffin pan by applying nonstick spray in each well, though not all will be filled.
- Whisk together all of the dry ingredients. Work the butter into mixture with a pastry blender or your fingertips until it resembles coarse crumbs; just as with making pie crust, you want those bits of butter in there.
- Add the buttermilk and stir until just combined. Knead in the bowl until the dough just starts to come together and is still craggy and bumpy, adding more buttermilk if necessary. Don't over-knead or the bread will be tough and dense.
- Use a tablespoon scoop or spoon to evenly dole out dough into the pan. Expect about eighteen mini muffins.
- Bake for ten minutes. Use the toothpick test to check middle ones for doneness. Melt the remaining tablespoon of butter and brush it on the tops of the little rounds.
Leftovers freeze well, and are the perfect size to fit in lunches.
OM NOM NOM!
Read More
Bready or Not: (Pumpkin) Bread Pudding
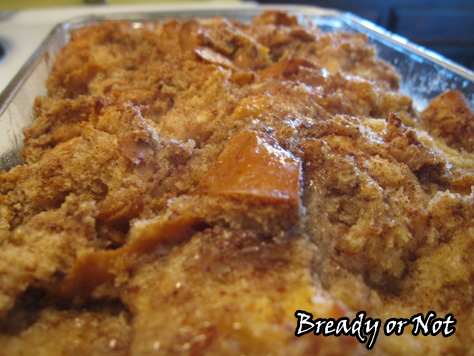
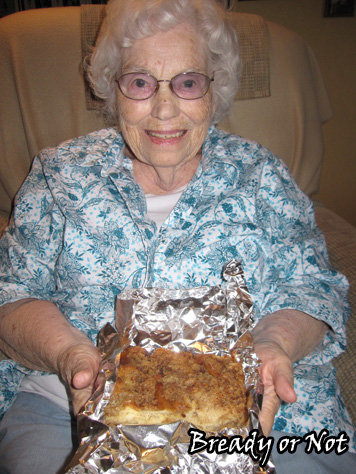
When I visited home for the week of the 4th of July, I wanted to make something special for my 90-year-old grandma. Like me, her favorite dessert in the world is bread pudding. Therefore, I set out to make her the best possible bread pudding.
Complication: her diet is pretty restrictive these days. She can’t eat most fruits. Nor does she need super-sweet toppings that will mess with her blood sugar.
I found a recipe at Will Cook For Smiles that fulfilled a lot of my needs. It produced a small batch. It included pumpkin puree, but in a small amount that I figured could be omitted without destroying the recipe. I could switch in almond milk for my own taste-testing comfort.
I also loved that the base recipe used King’s Hawaiian Rolls, which are pretty much the only type of store-bought bread I will still eat. It’s awesome. However, because I was going to be in my hometown, that presented another option. Central California has a large Portuguese community, and there’s an amazing Portuguese bakery less than a mile from my parents’ house. Their sweet bread is one of the most divine things on the planet.
I took my trusty kitchen scale to California so I could measure exactly 12 ounces of sweet bread, the equivalent of a pack of Hawaiian rolls. That ended up being about 2/3 of a loaf.
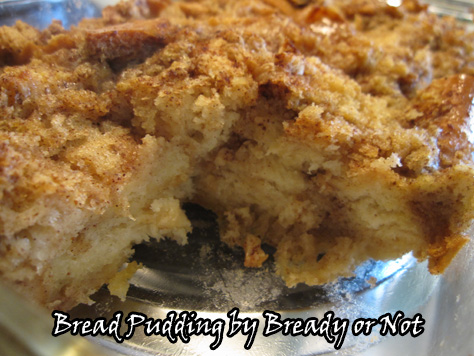
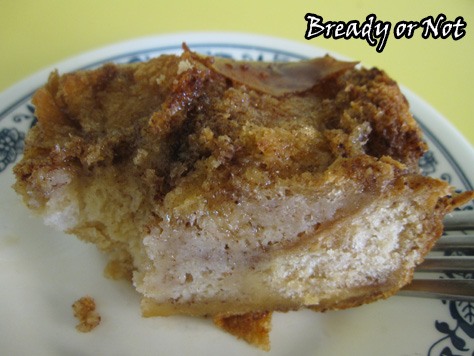
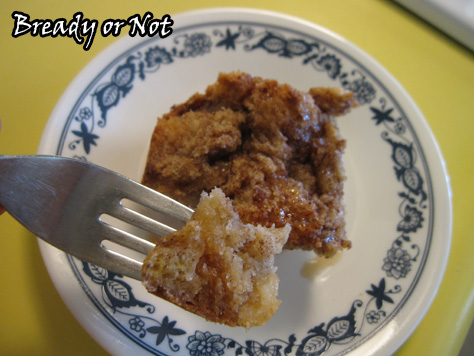
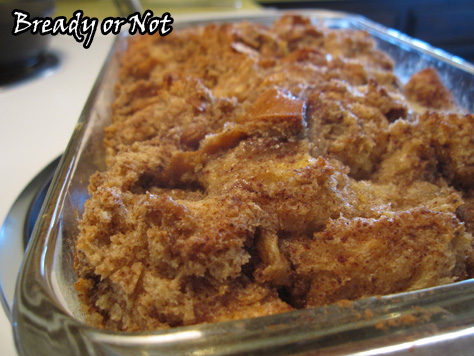
I prepared the bread pudding, tucked it in the fridge, then baked it after lunch. It cooked in exactly 45 minutes. We let it cool awhile before we dug in. I thought it was just about perfect with a drizzle of maple syrup over the top. It was surprisingly light and spongy–not heavy at all like some bread puddings.
However, the most important thing was my grandma’s reaction. She declared this to be the best bread pudding she had ever had, and she’s tried quite a few bread puddings in her day. Grandma was thrilled to have this as a dessert and breakfast for a few days, and said it was even better cold straight from the fridge.
I declare this recipe a win.
Bready or Not: (Pumpkin) Bread Pudding
Ingredients
- 1 1/2 cups milk almond milk works
- 1/4 cup butter melted
- 2 eggs room temperature
- 1/2 cup brown sugar packed
- 1 1/2 tsp cinnamon
- 1/4 tsp nutmeg
- 1/2 cup pumpkin puree optional
- 1 tsp vanilla
- 12 ounces sweet bread such as a pack of King's Hawaiian Rolls or partial loaf of Portuguese sweet bread
Instructions
- The day before, set the bread out to go stale, if desired. For a chewier result, use fresh bread.
- Preheat the oven at 350-degrees (if you're baking this promptly). Grease an 8x8 casserole dish. Cut the 12 ounces of bread into chunks. Melt the butter.
- In a medium bowl, combine the milk, eggs, butter, brown sugar, cinnamon, nutmeg, pumpkin puree (if using) and vanilla. Whisk until all ingredients are combined.
- Spread the bread evenly within the dish. Pour the milk mixture over it. Press the bread in lightly to make sure nothing is dry. (If you're making this ahead of time, cover with foil and set in fridge for several hours.)
- Bake for 45-55 minutes, until the knife inserted in the center comes out clean.
Serve hot, at room temperature, or straight from the fridge! Top with maple or agave syrup, nuts, whipped cream, caramel sauce, or fruit or nut butter. Anything is good. Plus, leftovers can be chopped into serving-size squares and frozen.
OM NOM NOM!
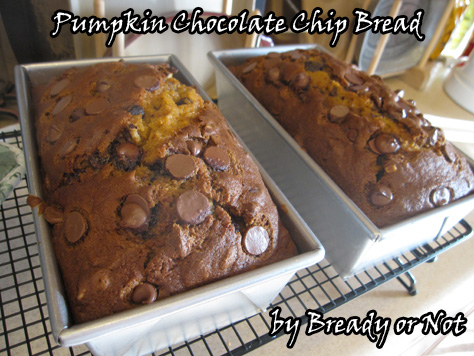
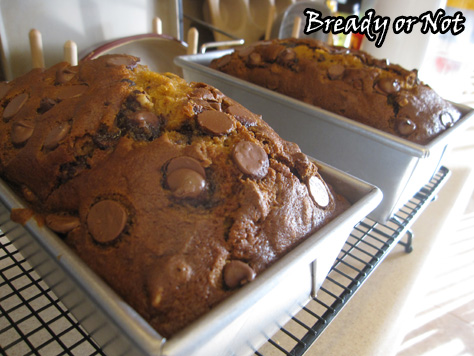
Bready or Not: Pumpkin Chocolate Chip Bread (2 Loaves)
I declare this recipe to be just about perfect. Oh yeah, it tastes good, too.
I love recipes that use up a full can of pumpkin. It makes things tidy. No worries about measuring it or stashing a bag in the freezer. Even more, this recipe makes TWO loaves of bread. Serve one, save the rest for later! Or serve them both. These things are easy to eat. They might go fast.
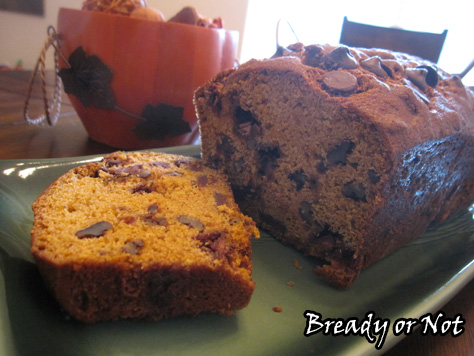
Why, you ask? The bread ends up tender and delicious. Kept chilled in the fridge, it doesn’t get horribly tacky as some pumpkin baked goods do.
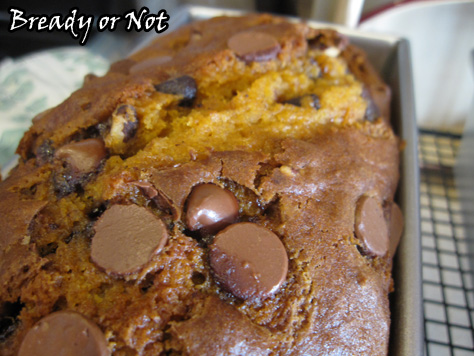
I made this using shortening instead of oil, chopped pecans for the nuts, and Ghirardelli milk chocolate chips, but the recipe has a good bit of flexibility. You could even do one loaf plain, the other loaded!
As for me, I looooooove Ghirardelli milk chocolate chips. They are big and luscious, plus I love supporting a California company.
I found this recipe in my King Arthur Flour Baker’s Companion Cookbook but it is also shown on their website as Easy Pumpkin Bread. Take a look at that star rating! I’m not the only one to fall in love with this recipe.
Bready or Not: Pumpkin Chocolate Chip Bread (2 Loaves)
Ingredients
- 1 cup vegetable oil or 2/3 cup shortening
- 2 2/3 cups white sugar
- 4 large eggs room temperature
- 15 ounce pumpkin puree not pumpkin pie filling
- 2/3 cup water
- 3 1/3 cups all-purpose flour
- 1/2 teaspoon baking powder
- 2 teaspoons baking soda
- 1 1/2 teaspoons salt
- 1 teaspoon nutmeg
- 1 teaspoon vanilla extract
- 1 cup chopped walnuts or pecans optional
- 1 1/2 cups chocolate chips could also substitute chopped candied ginger, golden raisins, cranberries, etc
Instructions
- Preheat oven to 350°F. Grease two 9x5 loaf pans.
- In a large bowl, beat together the oil/shortening, sugar, eggs, pumpkin, and water.
- Add the flour, baking powder, baking soda, salt, nutmeg, and vanilla, stirring to combine. Mix in the chips and nuts, or whatever add-ins you choose.
- Spoon batter into the prepared pans.
- Bake the bread for 60 to 80 minutes, or until a cake tester or toothpick inserted in the center of the loaf comes out clean.
- Remove the bread from the oven, and cool it on a rack. When it's completely cool, use a knife to loosen the loaves and plop them out. Wrap bread in plastic wrap and store it overnight before serving.
OM NOM NOM!
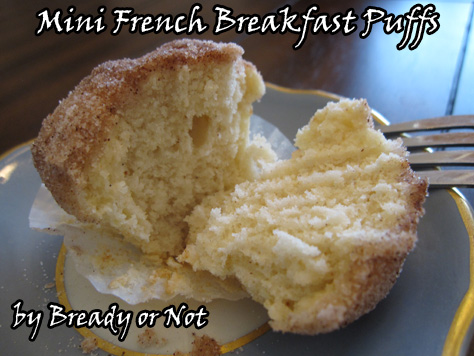
Bready or Not: Mini French Breakfast Puffs
Every so often, I like to mention how much I love the Pioneer Woman. I own all three of her cookbooks. I’ve followed her online for years and printed out many of her recipes. I’m also an enthusiastic watcher of her television show.
The original of this recipe was featured on her show a while back. The breakfast puffs reminded me greatly of a “mini muffin pan donut” recipe I tried a few years ago. It was one of those recipes that’s really good fresh, but goes stale by the next day. Since Ree Drummond emphasized that her version stayed good and was excellent to freeze as well, I figured I needed to give her variation a try.
This being me, though, I still had that old recipe on my mind. I modified her recipe to amp up the spice, cut down the coating (it made way too much!), and adjusted everything for a mini muffin pan.
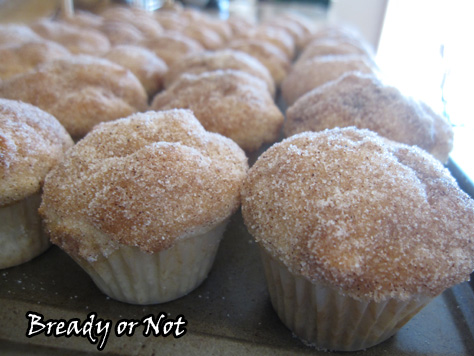
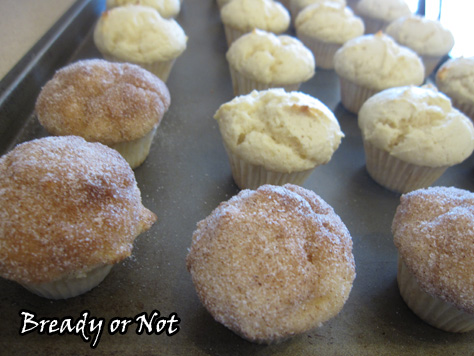
This created puffs that were much more friendly for my husband to take to work and share with a lot of co-workers… and for me to try one without having to eat an entire big honkin’ muffin.
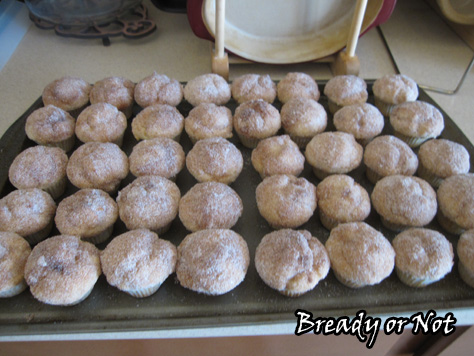
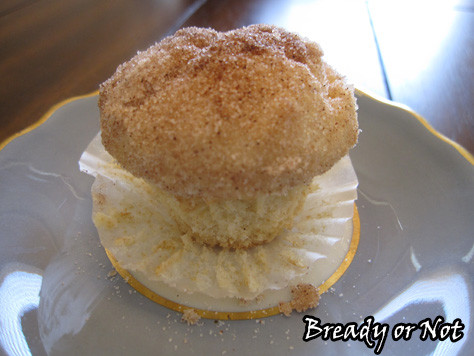
In mini size, this makes about 40. They rose beautifully, with the texture light and cakey. Unlike the old recipe, they were just as tasty the next day, and as promised, they froze and thawed wonderfully!
The perfect bite-sized breakfast muffin. Betcha can’t eat just one.
Modified from the original French Breakfast Puffs by Ree Drummond.
Bready or Not: Mini French Breakfast Puffs
Ingredients
Ingredients
- 3 cups all-purpose flour
- 3 teaspoons baking powder
- 1 teaspoon salt
- 1 teaspoon ground nutmeg
- 1 cup white sugar
- 2/3 cup shortening
- 2 eggs room temperature
- 1 cup whole milk almond milk works
Coating
- 1/2 cup unsalted butter
- 1/2 cup white sugar
- 2 teaspoons ground cinnamon
Instructions
- Preheat the oven to 350-degrees F. Prepare the mini muffin pan by using liners (highly recommend the liners) or spray thoroughly with non-stick coating.
- Stir together the flour, baking powder, salt and nutmeg. Set aside.
- In a different large bowl, cream together the sugar and shortening. Add the eggs and mix again. Measure the milk. Alternate adding the dry ingredients and milk into the sugar mix until everything is just combined.
- Use a tablespoon scoop or spoon to dollop batter into each cup. It should be about 2/3 full. Bake until golden, 14-18 minutes. Remove the muffins from the pan and set aside as you ready the next batch.
- While that's baking, start the coating. Melt the butter in a microwave-safe bowl. Combine the sugar and cinnamon in another bowl.
- Dip the warm muffin tops in the butter and then in the cinnamon-sugar mixture.


