Bready or Not: Blueberry Muffin Breakfast Truffles
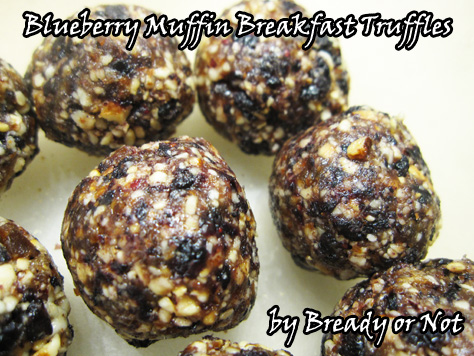
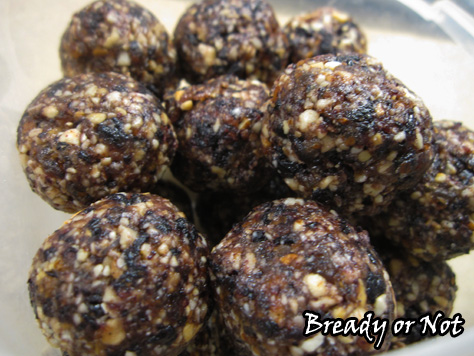
Gluten-free. Basic, wholesome, raw ingredients. No added sugar. No baking involved. Tastes like a mini blueberry muffin. Oh yeah.
I have posted about breakfast energy truffles before. This is a distinct variation because of the use of dried blueberries. Mind you, those can be an expensive ingredient, but you only need 1/2 cup for the recipe. I thought the blueberry flavor might be overwhelming, but the addition of a little lemon juice does a lot to mellow it.
These are super-easy to make in a food processor or high-powered blender (though for the latter, you might need to blend this in smaller batches). It just takes a few minutes to make these truffles.
Store them in the fridge for upward of a week or two. They are perfect for a breakfast or snack!
Modified from Blueberry Muffin Energy Balls at The Healthy Maven.
Bready or Not: Blueberry Muffin Breakfast Truffles
Ingredients
- 1/2 cup cashews
- 1/2 cup almonds or use other combination of nuts to equal 1 cup
- 1/2 cup dates diced
- 1/2 cup dried blueberries
- 3/4 teaspoon vanilla extract
- 1 Tb lemon juice
- dash salt
Instructions
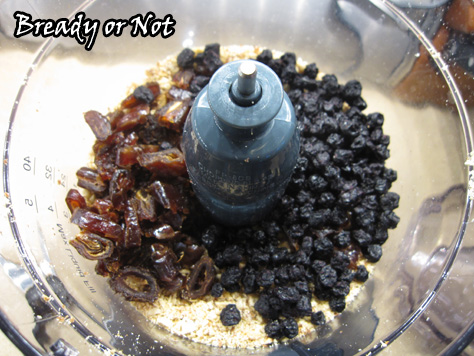
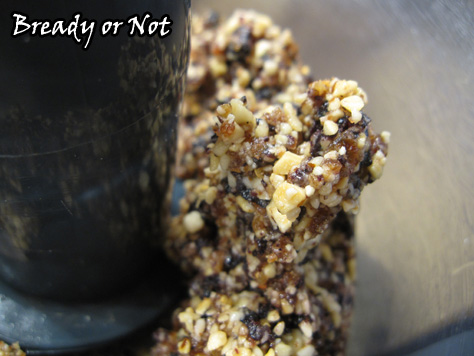
- Add nuts to food processor. Pulse until they are in pieces. Add the dates and dried blueberries, and process until they are in tiny pieces and starting to stick together
- Add the lemon juice, vanilla extract, and salt. Blend everything until it forms a big sticky ball.
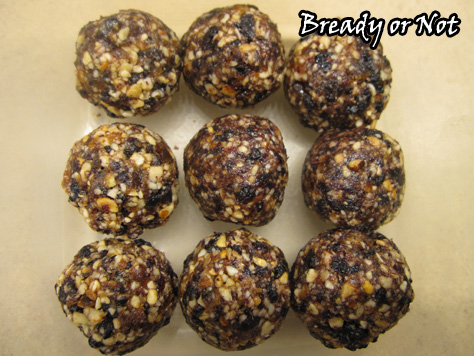
- Use a teaspoon or tablespoon scoop to form balls. You might need to stir the mix as you go, as the lemon juice tends to lurk at the bottom. Use your hands to compress each ball. Store in a sealed container in the fridge for up to two weeks, or freeze between layers of wax paper.
- OM NOM NOM!
Read More
Bready or Not: Healthy No-Bake Maple Breakfast Cookies
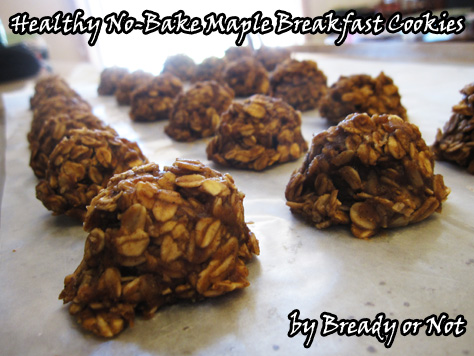
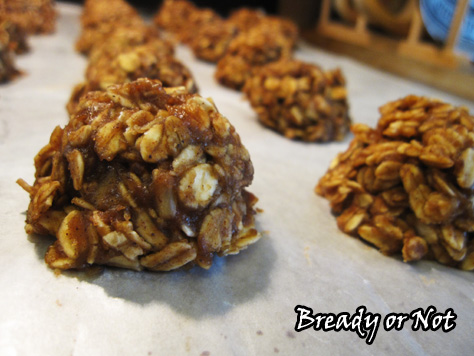
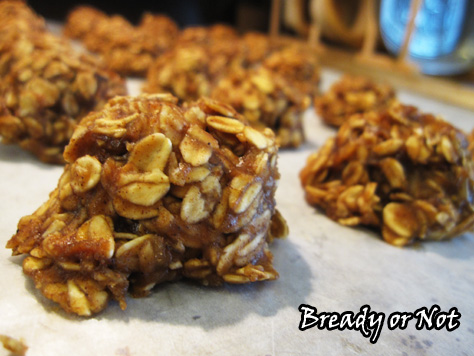
Happy New Year! Let’s make a healthy start. It’s no secret I love maple. This particular recipe has been a huge breakfast favorite of mine for the past six months, along with my other Healthy Breakfast Cookies.
These have another advantage, too… other than stronger maple flavor. They are fast to prepare. Even with my slow stovetop, I can whip these up and have them cooling in about 20 minutes.
Plus, these are fantastic to make and freeze! Since I eat three for breakfast, that means I can have a week’s worth of breakfast stashed away for now or later.
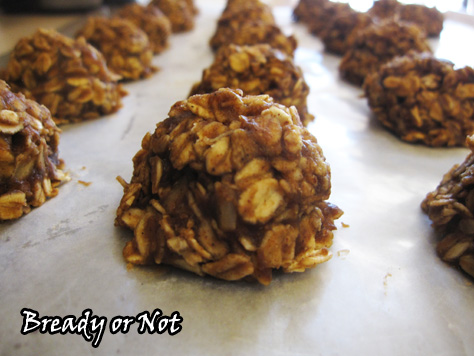
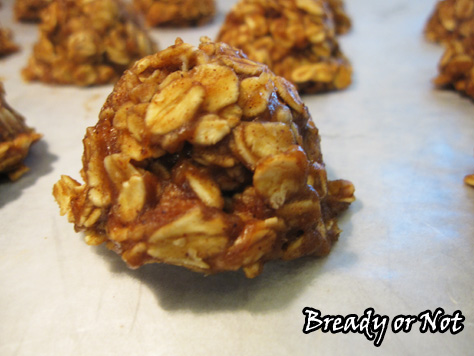
These are similar to the Maple Nut Butter No-Bakes I posted a while back, but this breakfast version is a heck of a lot healthier. No sugar. No butter. I like the taste more, too. It has a great, mild maple and nut butter flavor to it, and the oats soak just enough so that the cookies are perfectly chewy.
Customize these all kinds of ways, too. Use apple butter, pumpkin butter, etc. I’ve made them with cashew butter and almond butter, and combinations thereof. You could certainly use other kinds of milk, too, but I stick with unsweetened vanilla almond milk.
Greatly modified from Cookin’ Canuck.
Bready or Not: Healthy No-Bake Maple Breakfast Cookies
Ingredients
- 2 1/2 cups old-fashioned rolled oats
- 1 tsp vanilla extract
- 1/2 - 1 tsp maple flavor to preference
- 1/2 cup apple butter or other fruit butter
- 1/2 cup + 2 Tb almond milk
- 1/2 cup almond butter or other nut butter
- 1/4 cup + 2 Tb pure maple syrup
- sprinkle salt
- 1/2 cup pepitas or other seeds/nuts, optional
Instructions
- Measure out the oats and the two extracts, keeping them separate, and have ready near the stove. Prepare a large baking sheet with full coverage of wax paper.
- In a medium saucepan, mix together the apple butter, almond milk, maple syrup, and salt. Heat on medium, stirring often.
- After about ten minutes, the mixture will thicken; cook it at that level for another minute or two. If you have a candy thermometer, this thickening starts at about 180-degrees; that few minutes will take it to 200-degrees, and make sure it gets no hotter than that. Remove the pot from heat.
- Stir in the oats followed by the two extracts. Add pepitas or nuts, if desired. Stir until everything is covered.
- Use a tablespoon scoop to dole out cookies onto the prepared wax paper. This will be about 20 cookies or about 29 if seeds/nuts are added. Once they are all scooped, use your fingers to gently press in stray oats.
- Let cool for about 30 minutes. They can be kept sealed at room temperature but taste even better from the fridge; store between layers of wax paper. They can also be frozen.
- OM NOM NOM!
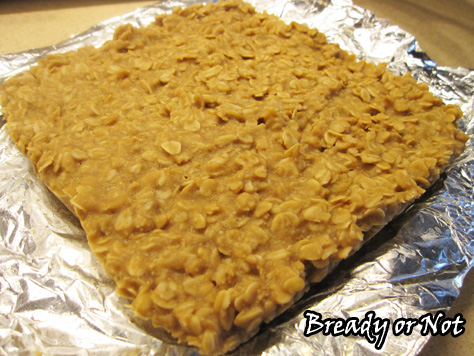
Bready or Not: Maple Nut Butter No-Bakes
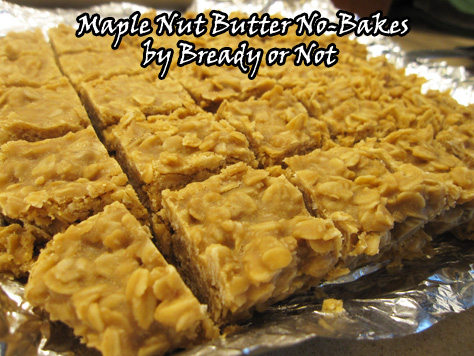
When you need maple goodness whipped up quickly with no baking involved, here’s your go-to recipe: Maple Nut Butter No-Bakes.
I had PB & Co Mighty Maple Peanut Butter, so I went with that to add some maple oomph. You can use various nut butters here, but avoid the natural kind where the oil separates. That would make these too dry and probably make it turn out weird.
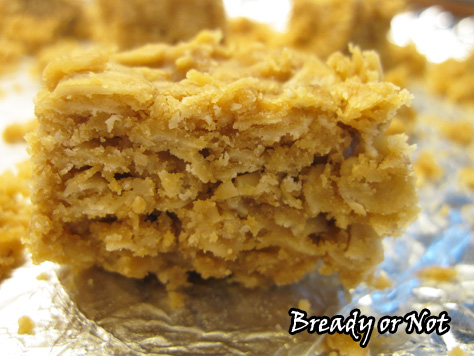
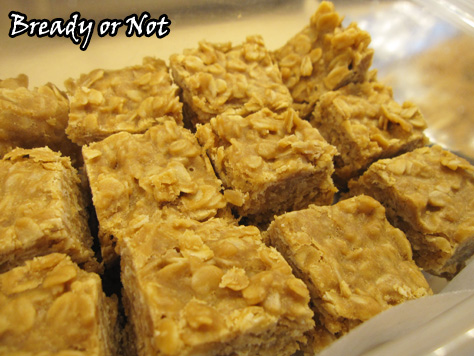
I made these because I needed to create goodies on a quick timeline, so I put them in the fridge straight away, chilled them for an hour and a half, then sliced them. The bars crumbled some, I think because I didn’t chill them long enough. They were still mostly intact, though, and tasted fabulous.
Therefore, I highly recommend these get to cool down at room temp and then have a few more hours in the fridge, just to solidify things and make the end result a little prettier.
The taste is what matters most, though. If you love maple, you must make these bars. It’s maple candy. Sweet, chewy, maple candy. With autumn nigh, these are perfect to whip out for any of the forthcoming holidays!
Modified from Maple Almond No-Bakes at Lovely Little Kitchen.
Bready or Not: Maple Nut Butter No-Bakes
Ingredients
- 1/2 cup unsalted butter 1 stick
- 1 1/2 cups white sugar
- 1 cup almond butter or peanut butter; not natural, it's too dry
- 1/4 cup milk almond milk works
- 1/2 teaspoon maple flavor
- 3 cups old fashioned rolled oats
Instructions
- Prepare an 8x8 or 9x9-inch baking dish by lining it with foil or parchment paper then greasing it. Measure out the maple flavor and oats so they are ready to add quickly.
- In a medium pan, bring the butter, sugar, almond butter, and milk to a boil over medium high heat. Stir frequently. Bring the mix to a full boil for one minute, stirring constantly, and then removed from the heat and stir in maple extract. Immediately add the oats and stir thoroughly to coat everything.
- Glop the mixture into the baking dish. Cool at room temperature and then chill in fridge for several hours until it is firm.
- Use the foil or parchment to lift out the bars for easy cutting. Best served chilled.
- OM NOM NOM!
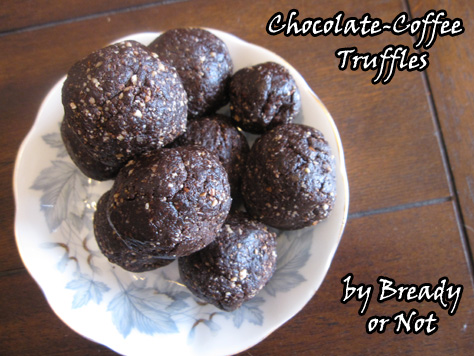
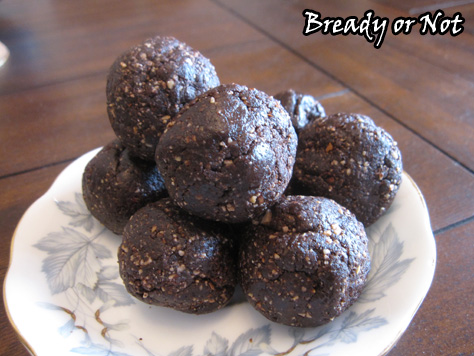
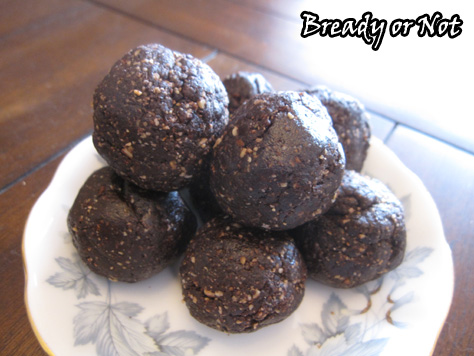
Bready or Not: Chocolate-Coffee Truffles
Start the day off right with breakfast truffles packed with coffee and cocoa!
Sure, they might not be the most photogenic of items, but they are delicious and they pack a caffeine wallop. These are also gluten-free with no added sugar.
The dates act as the source of sweetness and as the binding agent. Almonds are loaded with all kinds of healthy goodness. Everything about these screams “HEALTHY!”
Trust me. They might not look pretty, but they’re tasty.
Modified from Relish Magazine.
Bready or Not: Chocolate-Coffee Truffles
Ingredients
- 1 cup chopped Medjool dates about 15 dates
- 1/2 cup almonds raw or roasted
- 1/4 cup unsweetened cocoa powder
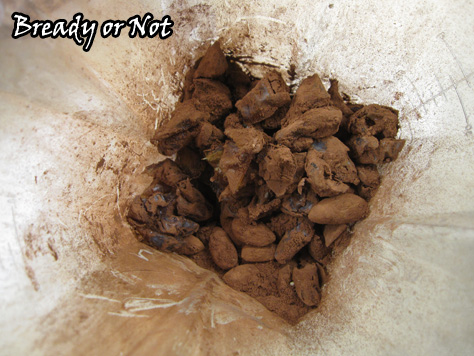
- 2 Tablespoons ground coffee
- 1 Tablespoon chia seeds or wheat germ or flax seeds
- pinch salt
Instructions
- Combine all the ingredients in a food processor or high-powered blender. It might need to be blended in batches.
- Pulse until the almonds are in very small pieces. If the mixture isn't cohesive, add a teaspoon of water and blend again. Add more water if needed. The mash should hold together when pressed but not be wet.
- Use a spoon or scoop to form the mix into truffles. Makes about 9 tablespoon-sized.
- OM NOM NOM!
Read More
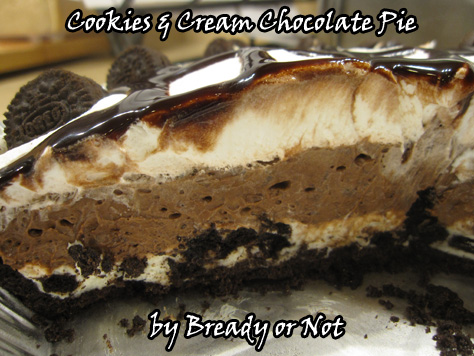
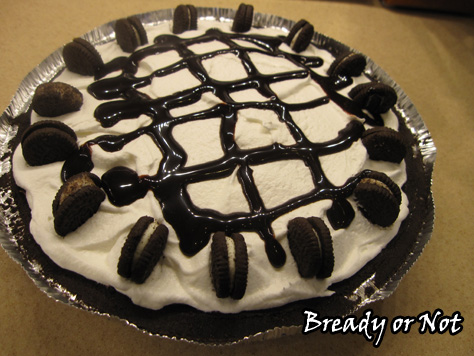
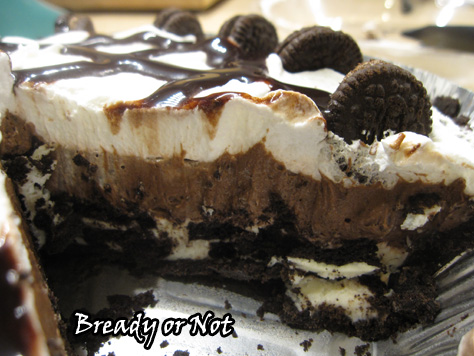
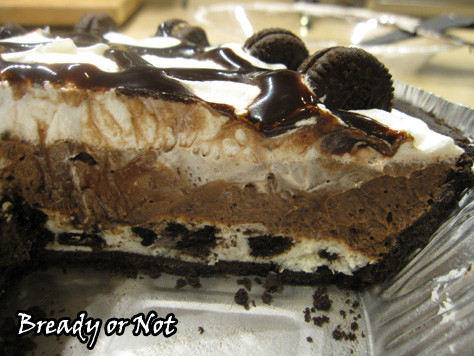
Bready or Not: Cookies and Cream Chocolate Pie
Here’s a no-bake, super-easy pudding pie that perfect for summer.
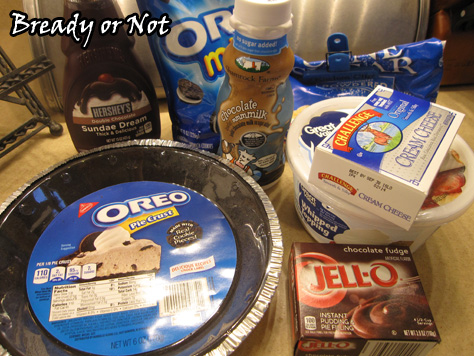
You can go hardcore with this and make your Oreo crust from scratch. Me? I’ve done that before, but honestly, I prefer the store version for both taste and ease of use.
The chocolate flavor here is great because it’s neither weak nor strong. If you want to amp it up, heck, that’s easy to do with more chocolate topping. When I made this for my folks, my brother thought it was even better with dulce de leche added to individual slices. It made it taste kinda like a Twix with that caramel-chocolate thing going.
I used mini Oreos for everything in this recipe. They chop up easily to throw in and I can often get them on sale for about a buck. Plus, my son loves eating the leftovers!
This is the perfect pie for a potluck or to stash in the fridge to slice up and cool off on a hot summer day.
Modified from Inside Bru Crew Life.
Bready or Not: Cookies and Cream Chocolate Pie
Ingredients
- 1 Oreo pie shell store bought or homemade
- 4 ounces cream cheese softened; half a box
- 1/3 cup confectioners' sugar
- 3 cups Cool Whip divided
- 2/3 cup Oreo cookie chunks
- 3.9 ounce instant chocolate fudge pudding mix
- 1 cup chocolate milk
- 10 - 15 mini Oreo cookies
- hot fudge squirt bottle or dulce de leche topping, optional
Instructions
- Set out the Oreo crumb pie shell so it is ready to be filled.
- Beat the cream cheese and powdered sugar together and fold in about 1/2 cup of Cool Whip. Stir in the Oreo chunks. Spread everything in the bottom of the crust.
- Using the same bowl or a new one, whisk together the pudding mix and chocolate milk. Fold in 1 cup of Cool Whip. Spread this as your second layer.
- Top off the pie with the remaining Cool Whip. Add mini Oreos around the edge or even crumble some for the top, if you wish. If you have squirt bottles of chocolate or dulce de leche, add some swirls or cross-hatching to the top.
- Chill pie at least two hours before serving. Keep refrigerated thereafter.
- OM NOM NOM!
Read More
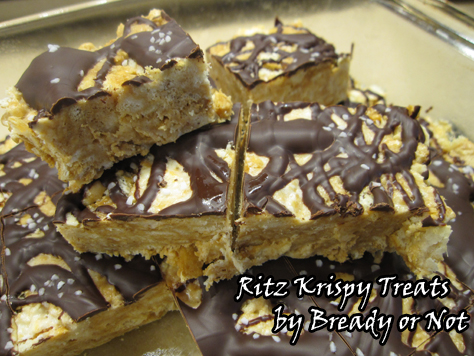
Bready or Not: Ritz Krispy Treats
It’s summer. Time to bust out the non-baked goodies!
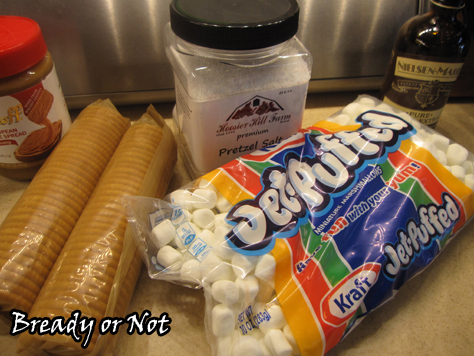
If you’re like me, you open up a box of Ritz crackers for some occasion and then it ends up squatting on a pantry shelf for a while. The good news is that just about anything is good if it’s pulverized and mixed with melted marshmallows. Who knew?!
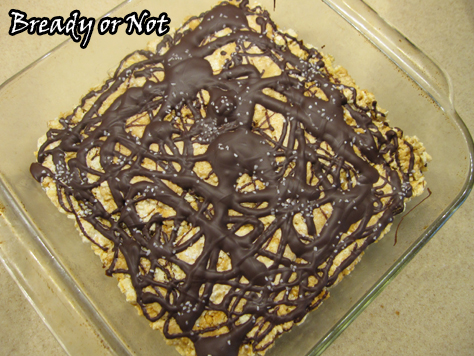
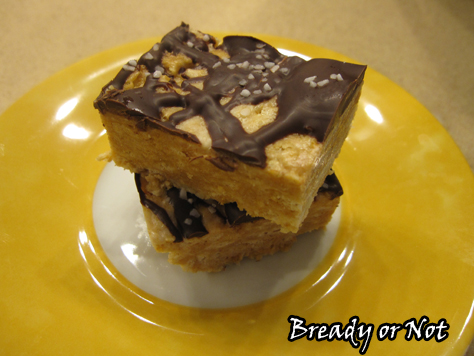
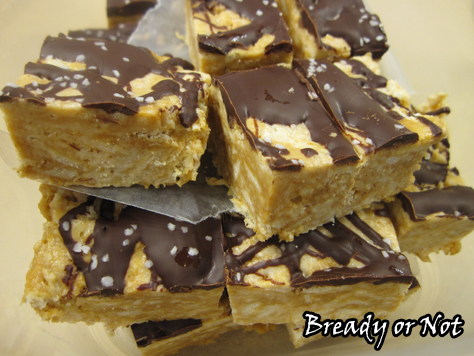
These are especially good because you get that whole salty/sweet combination. A drizzle of chocolate and a touch of large grain salt really adds oomph.
This does produce a thin layer in a small casserole pan. If you want thick bars, double the recipe!
I think this would also work really well with Ritz Sandwich Crackers with Peanut Butter, with peanut butter added instead of Biscoff. You could also use Club or other kinds of crackers. There are a ton of options!
Bready or Not: Ritz Krispy Treats
Ingredients
- 3 Tablespoons unsalted butter
- 4 cups mini marshmallows 1 bag
- 1/2 teaspoon vanilla extract
- 1/2 cup Biscoff spread or nut butter
- 2 sleeves Ritz crackers crushed (makes 3 cups)
optional:
- 1/4 cup chocolate chips to melt and drizzle
- pretzel salt or kosher salt
Instructions
- Prepare everything for quick mixing. Crush the crackers and measure the vanilla and Biscoff (or nut butter). Grease an 8x8 or 9x9 casserole pan.
- In microwave or on stovetop, melt butter in a large bowl or pan. Add marshmallows and continue to heat on low; in microwave, heat for 25 seconds, stir, 25 more seconds, stir, until everything blends together.
- Add the vanilla extract and Biscoff, then the crumbs. Stir until everything is well blended. Glop it into the prepared pan. Use a piece of wax paper and a glass or firm spatula to compress everything.
- To add some topping for oomph, melt the chocolate and drizzle it over the treats. Immediately sprinkle some salt over it all.
- Let set for an hour or so, until firm. Cut into small squares.
- OM NOM NOM!
Read More


