Bready or Not Original: No Bake Chocolate Almond Oatmeal Bars [Gluten Free]
I’m here to set you up with a breakfast or snack bar that is delicious and mostly healthy. Plus, these No Bake Chocolate Almond Bars can be tweaked for several dietary needs!
If you need gluten-free, use GF rolled oats. If you need dairy-free, use different chocolate chips. If you have nut allergies… well, you could probably use all-purpose flour and a different nut butter or even Biscoff spread, but I haven’t tested that mod myself.
Though I did test this recipe. A lot. Because it kept coming out tasty, but still a bit off.
The first try, I used milk chocolate chips, which is always my preference in cookies. To my surprise, I found the end result to be too sweet.
The second try, I became quite frustrated when pressing the base layer into the pan. It was a big sticky mess.
Therefore, by the third try, I knew what to do. Use semisweet chips. Chill the oat mixture from the time it is mixed. I also found that these bars were fantastic to freeze; just use waxed paper between the stacked bars.
Bready or Not Original: No Bake Chocolate Almond Oatmeal Bars [Gluten Free]
Ingredients
Crust
- 3 cups old fashioned oats
- 1/2 cup almond flour
- 3 Tablespoons coconut oil melted
- 1/2 cup + 2 Tablespoons pure maple syrup
- 3/4 cup almond butter
- 1/2 teaspoon ground cinnamon
- 1 teaspoon vanilla extract
Filling
- 3/4 cup dark chocolate chips or semisweet
- 1/4 cup almond butter
Instructions
- In a large bowl, mix together all of the crust ingredients. The mixture should be sticky and clump together. If it's not cohesive, add more almond butter; if it's too wet, add some more oats and/or almond flour. Chill bowl in fridge for an least an hour.
- Line an 8x8 or 9x9-inch pan with aluminum foil and apply nonstick spray.
- Press half of the crust mix evenly into the bottom of the pan. A piece of waxed paper or parchment and a heavy glass make it easier to compress as much as possible. Place pan and bowl in fridge for another 30 minutes.
- In the microwave or in a pan on the stovetop, melt together the chocolate chips and remaining almond butter. When they become creamy and smooth, remove from heat. Pour the chocolate to completely cover the oat layer. Chill for another hour.
- Dollop the remaining oat mixture atop the hardened chocolate. Again, compress contents into pan as much as possible. Chill another 30 minutes.
- Use the foil to lift contents onto a cutting board. Slice. Keep bars for up to 3 weeks in the fridge, in a sealed container with waxed paper between the layers, or freeze for up to a month.
- OM NOM NOM!
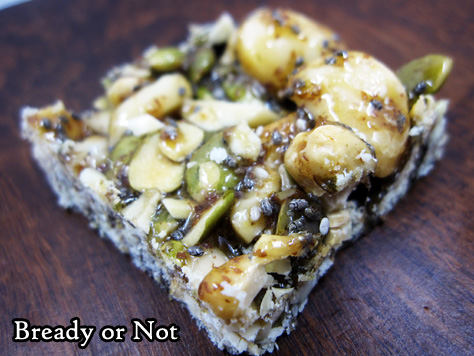
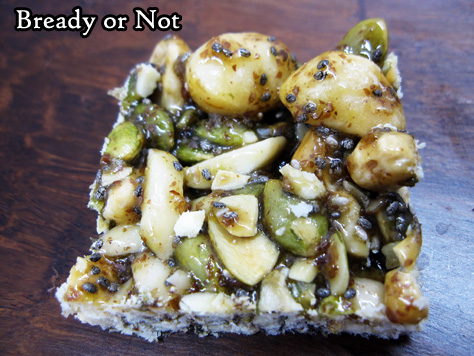
Bready or Not Original: Nutty Bites
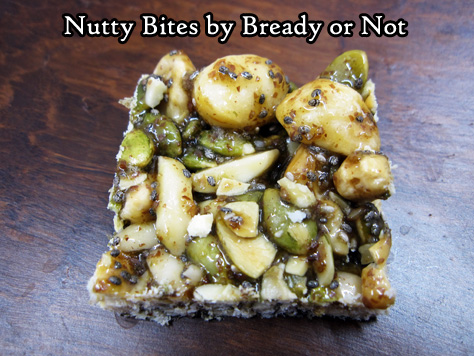
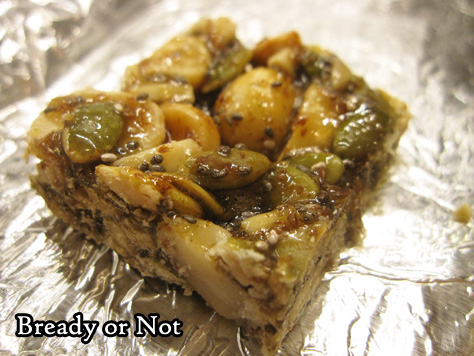
I present to you my recipe for Nutty Bites. These are a fantastic snack or breakfast.
Plus, they are super-healthy, loaded with nuts and seeds, totally gluten-free, with honey as the sweetener and binding agent.
This is an easy recipe to customize, too. Keep the amounts of nuts and seeds the same, but switch in peanuts, hazelnuts, walnuts, wheat germ, sunflower kernels… whatever you like!
You can toast the nuts first, if you choose. I actually preferred it untoasted. Do note that some smaller add-ins like pepitas can burn quickly, and burned pepitas don’t taste that great. (Voice of experience here.)
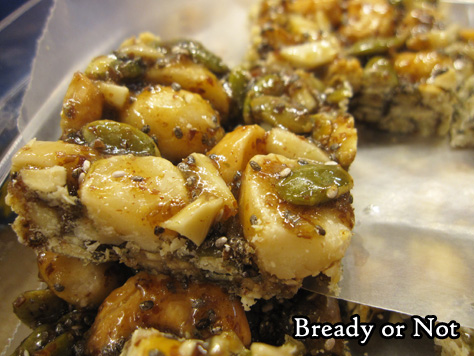
I can report that these keep well in the freezer for at least a month, too. Just make sure to have something like waxed paper between the layers–and even then, in a few spots with heavy honey, the bars might stick.
Oh, and did I mention that this is entirely made on stovetop? No need to heat up the house by turning on the oven! Whip out your candy thermometer and you’ll have Nutty Bites ready in no time flat.
Bready or Not Original: Nutty Bites
Ingredients
- 1/2 cup macadamia nuts
- 1/2 cup pecans
- 1/2 cup almonds
- 1/2 cup pepitas
- 1/4 cup chia seeds
- 1/4 cup ground flaxseed
- 3/4 cup honey
- 1/4 cup water
- sprinkle salt
Instructions
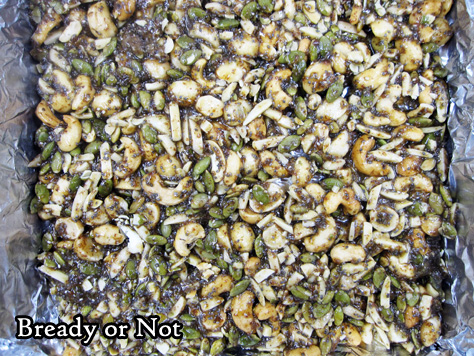
- Mix the nuts and seeds together in a large glass or metal bowl. Prepare an 8x8 pan with parchment paper or aluminum foil, and grease well.
- Heat the honey and water in a medium saucepan on medium-high. Use a candy thermometer to track the temperature as it rises to 275-degrees (soft crack stage). Stay close to the pan at all times! Once the honey starts boiling, it will bubble excessively, so keep stirring and use great caution.
- As soon as it reaches 275-degrees, pour the honey mix over the nuts and seeds. Stir to coat. It will harden quickly, so move fast! Pour everything into the ready pan and press out evenly.
- Let set out for an hour. Use a knife or bench knife to chop into squares. Store at room temperature in a sealed container between wax paper layers; they can also be frozen.
- OM NOM NOM!
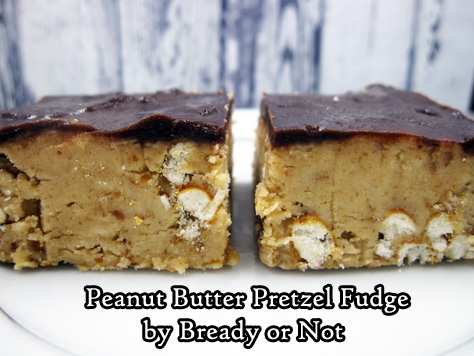
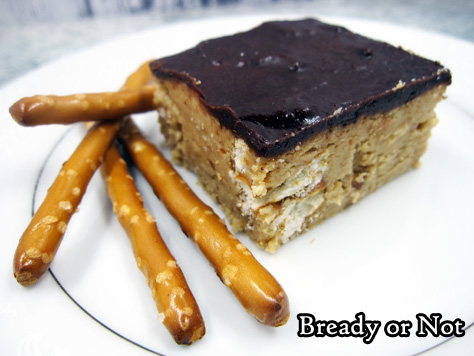
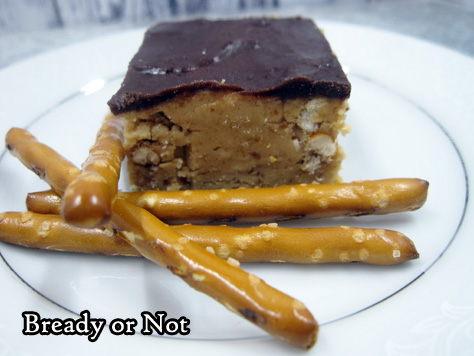
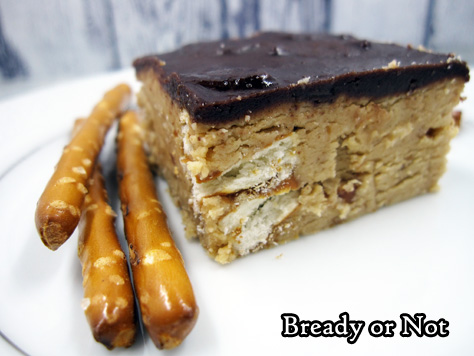
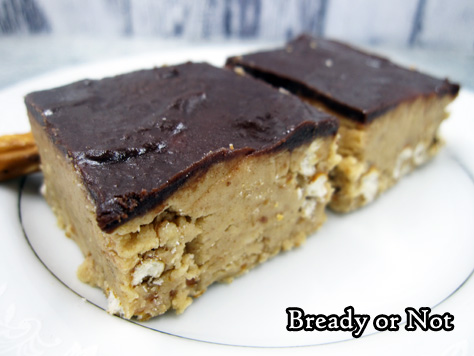
Bready or Not: No-Bake Peanut Butter Pretzel Fudge
These easy-to-make No-Bake Peanut Butter Pretzel Fudge pieces are basically like homemade candy bar bites.
They are a fantastic combination of savory, salty, sweet, and crunchy. They have it all going on.
Plus, you don’t even have to turn on the oven–just a food processor, microwave, and maybe a stand mixer. The fridge does all the lengthy work.
These went over so well at my husband’s work that a guy immediately logged onto my website via his phone to try to find the recipe. Uh, sorry, dude. There is quite a lead time between the initial baking/making and the online post.
However, by his enthusiasm, maybe he’ll find this post is worth the long wait.
Modified from America’s Test Kitchen, Christmas Cookies 2013.
Bready or Not: No-Bake Peanut Butter Pretzel Fudge
Ingredients
Fudge:
- 5 ounces thin pretzel sticks 2 cups, divided, broken into pieces
- 12 Tablespoons unsalted butter melted
- 1 1/2 cups creamy peanut butter
- 1 teaspoon vanilla extract
- 1/4 teaspoon salt
- 3 cups confectioners' sugar
Chocolate Ganache:
- 3 Tablespoons unsalted butter
- 3 1/2 ounces bittersweet chocolate chips or semi-sweet chocolate chips
- 1 Tablespoon light corn syrup
Instructions
- Line an 8x8 or 9x9-inch pan with aluminum foil and apply nonstick spray.
- In a food processor, process 1 cup of broken pretzels until finely ground. Stir together the pretzel crumbs and melted butter in a large mixing bowl and let sit to cool a few minutes.
- Add peanut butter, vanilla extract, and salt to the butter mixture, and mix until the peanut butter is smooth. Slowly mix in the confectioners' sugar until it all comes together. Add the additional 1 cup of pretzel sticks and stir to combine.
- Transfer the mix to the prepared pan and spread into an even layer. Cover surface directly with plastic wrap or waxed paper and smooth out more, then stash in fridge for 30 minutes.
- Microwave the three ganache ingredients at 50% power, stirring often, until melted and smooth. This will total about 1 minute or so. Let cool slightly.
- Remove plastic cover from atop the fudge and use an uneven spatula to spread ganache on top.
- Chill pan for about 4 hours. Use the foil sling to lift contents from pan and onto a cutting board to parcel into bars.
- Keeps well in fridge for days in a sealed container.
- OM NOM NOM!
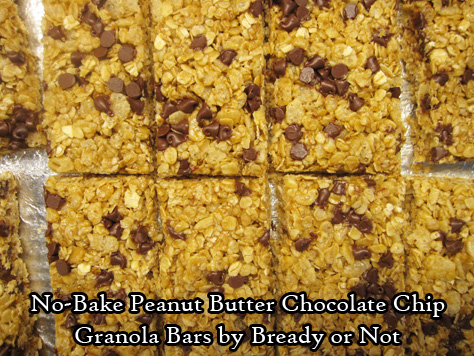
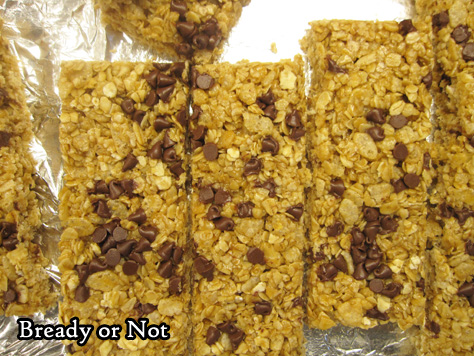
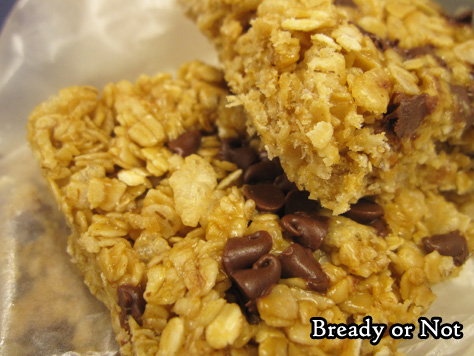
Bready or Not: No-Bake Peanut Butter Chocolate Chip Granola Bars
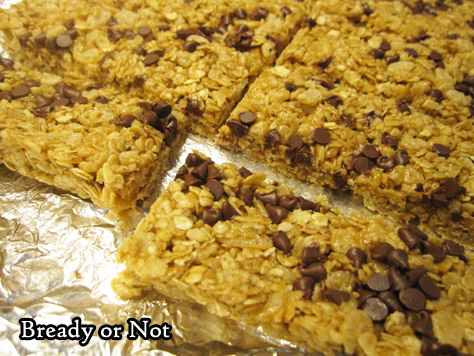
Homemade granola bars! These things are delicious and great for breakfast or snacks, for kids or adults.
Making these requires some brief time at the stove. This is a great recipe to get kids or grandkids involved, as they can help measure the dry ingredients and help to stir.
Do note that these bars won’t be quite as firm as the store-bought stuff, so keep that in mind if you’re transporting them around.
However, they taste a lot better than the store stuff. They taste FRESH. And peanut butter-chocolatey. Plus, they can be even more chocolatey if you use Nutella instead of peanut butter.
Speaking of chocolate, for Valentine’s Day next Wednesday, gird yourself (i.e. bust out the stretchy pants) in preparation of a Chewy Brownie recipe!
Bready or Not: No-Bake Peanut Butter Chocolate Chip Granola Bars
Ingredients
- 2 cups quick oats
- 1 cup puffed rice cereal like Rice Krispies
- 1/4 cup peanut butter creamy or crunchy
- 1 teaspoon vanilla extract
- 2 Tablespoons coconut oil
- 1/4 cup honey
- 1/4 cup light brown sugar packed
- 2 Tablespoons mini chocolate chips
Instructions
- Line an 8x8 or 9x9 baking pan with aluminum foil and apply nonstick spray.
- In a big bowl, stir together the oats and cereal. Set that aside. Measure out the peanut butter and vanilla extract and set near stove.
- Place the coconut oil, honey, and brown sugar in a small saucepan. Cook on medium heat, stirring often, as sugar dissolves, and continue to heat until it just starts boiling. Remove pot from burner. Quickly add the peanut butter and vanilla, and stir until everything is incorporated.
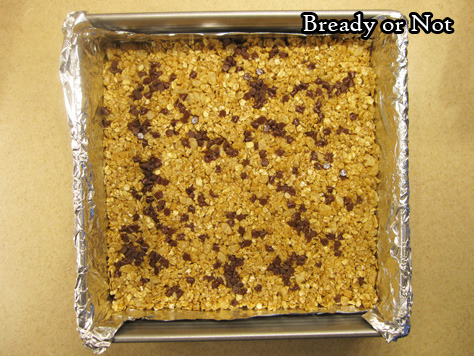
- Pour the hot mix into the bowl with the oats and cereal. Stir until everything is coated, then pour into the prepared pan. Use a spatula to press down evenly. Sprinkle mini chocolate chips over the top. To compress the granola even more, line waxed paper over the pan, then use the bottom of a glass or other flat, heavy implement to press down.
- Allow pan to set for several hours. Slice into bars. Pack up individually with plastic wrap or keep in a sealed container with plastic wrap or waxed paper between layers. At room temperature, keeps well for up to a week; bars can also be frozen.
- OM NOM NOM!
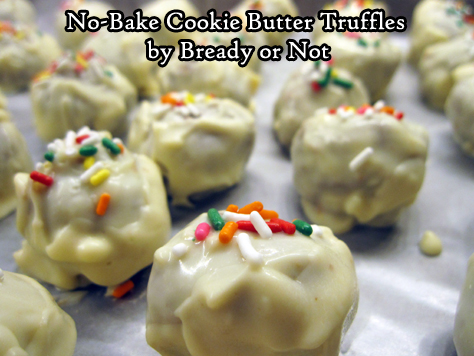
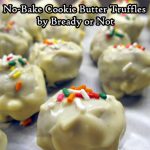
Bready or Not: No-Bake Cookie Butter Truffles
We’ll finish off the year with a sinfully sweet treat that acts in stark contrast to those diet ads already clogging the TV: No-Bake Cookie Butter Truffles.
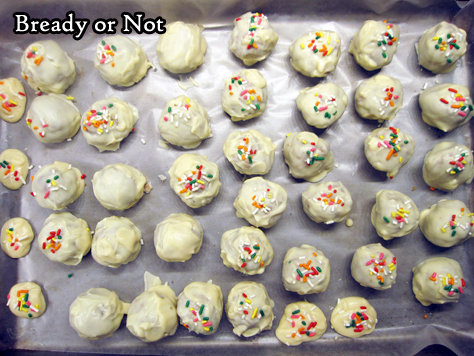
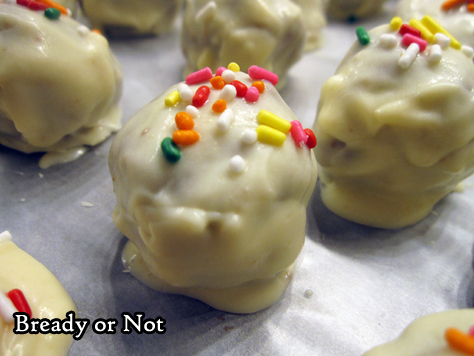
I’ll be honest. I hate making truffles. No matter how many times I do it, or what equipment or chocolate I use, they never end up “pretty” like on other food blogs.
But heck, I’m posting pics and this recipe anyway, because these things are DELICIOUS.
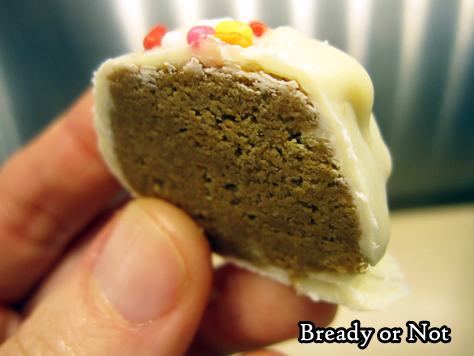
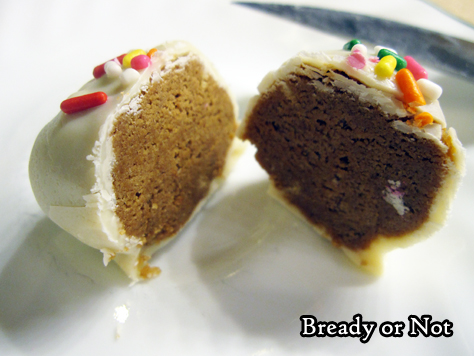
White chocolate (with a touch of oil) is used to coat balls made of crushed graham crackers and cookie butter. Those are the ingredients. It’s that easy.
It’s also that good. You see those ingredients, you know exactly how this will taste.
Cookie butter has gone mainstream at this point. Speculoos and Biscoff are the traditional options, but Walmart is even carrying their own brand now! If you haven’t tried cookie butter yet… I’m sorry/not sorry about the joy I am introducing to your life.
Modified from No-Bake Speculoos Truffle Cookies in Foot Network Magazine, December 2015.
Bready or Not: No-Bake Cookie Butter Truffles
Ingredients
- 9 graham crackers 1 sleeve, about 8 ounces
- 1 1/3 cup creamy cookie butter spread
- 11 ounces white chocolate chips 1 bag
- 1 Tablespoon coconut oil or vegetable shortening
- nonpareils or sprinkles for decoration
Instructions
- Line a baking sheet with wax paper. Pulse the graham crackers in a food processor until finely ground but not powdery. Add the cookie butter and pulse the two together, scraping down the sides as needed. If the mix isn't cohesive, add a touch more cookie butter.
- Use a teaspoon scoop or spoon to form 1-inch balls. Arrange them on the cookie sheet and cover with plastic wrap. Let them set in fridge at least one hour or overnight.
- Melt the white chocolate chips and coconut oil by your preferred method, on stove top, a stand-alone melter, or microwave; note that white chocolate burns quickly, so take care!
- One at a time, drop cookie butter balls into the chocolate and flip to coat. Allow excess chocolate to drip off before returning the truffle to the wax paper sheet. Continue to coat truffles, warming chocolate as necessary. Decorate truffles with nonpareils or sprinkles.
- Let set in fridge at least 30 minutes, then transfer to a lidded container. Store in fridge. Truffles will keep at least a week.
- Recipe makes about 35 teaspoon-sized balls.
- OM NOM NOM!
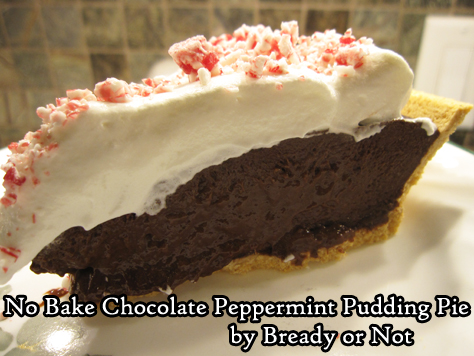
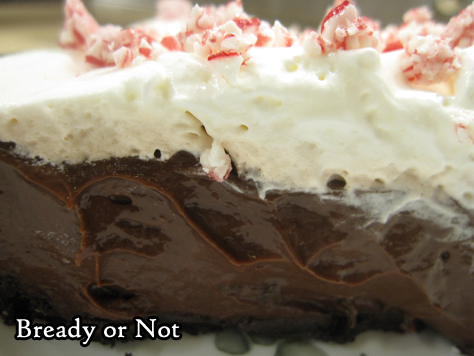
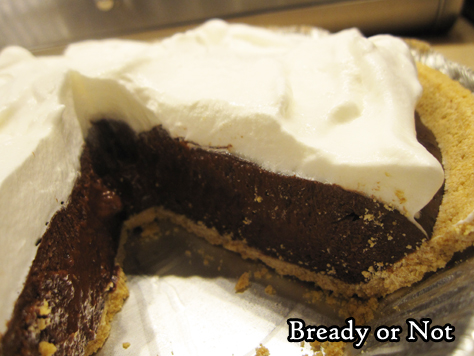
Bready or Not Original: No Bake Chocolate Peppermint Pudding Pie
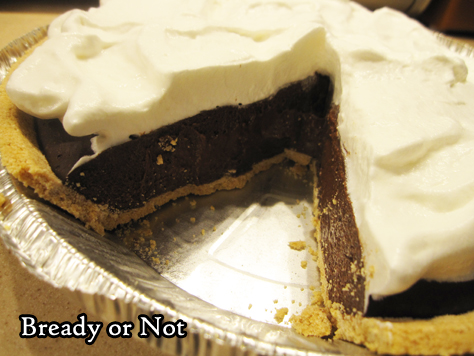
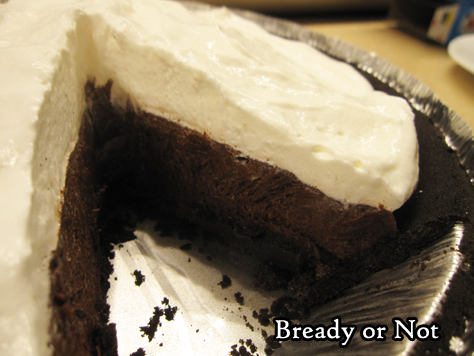
If you need a dessert that is no bake and no fuss, here’s a pie recipe to come to the rescue: No Bake Chocolate Peppermint Pudding Pie!
This is chocolatey. Minty. Smooth. All the things.
The filling works with either graham cracker or Oreo crusts. You can’t go wrong with either, honestly.
There is something liberating about a good no-bake pie at this time of year. Oven space is at a premium–as is time. This pie comes together in about 15 minutes or so, depending on the speed of your burners.
Bready or Not Original: No Bake Chocolate Peppermint Pudding Pie
Ingredients
- 1 graham cracker crust or Oreo pie crust
- 2 boxes chocolate fudge pudding (NOT instant) or other chocolate pudding; 1.3-ounce
- 3 Tb cocoa powder sifted
- 1 teaspoon white sugar
- 2 1/2 cups milk
- 1 Tb vanilla extract
- 2 teaspoons peppermint extract
- 1 Tb butter
- 4 ounces Cool Whip about half small container
- crushed peppermints optional
Instructions
- Set out the crust so that it's ready.
- In a large saucepan at low heat, whisk together the two packs of chocolate pudding along with the cocoa powder, sugar, milk, and both extracts. Stir until it becomes smooth and thick, about 5 to 10 minutes.
- Turn off the heat and add the pat of butter, whisking until the pudding is silky. Pour everything into the pie crust.
- Allow to cool for a few minutes, then place it in fridge to set overnight (or place in freezer for a few hours, then set in fridge to thaw a few hours more).
- Cover the top with Cool Whip. Adorn individual pieces with peppermint bits, if desired.
- OM NOM NOM!
Read More


![Bready or Not Original: No Bake Chocolate Almond Oatmeal Bars [Gluten Free]](https://www.bethcato.com/blog/wp-content/uploads/2018/11/No-Bake-Choc-Almond-Breakfast-Bars5_sm.jpg)
![Bready or Not Original: No Bake Chocolate Almond Oatmeal Bars [Gluten Free]](https://www.bethcato.com/blog/wp-content/uploads/2018/11/No-Bake-Choc-Almond-Breakfast-Bars1_sm.jpg)
![Bready or Not Original: No Bake Chocolate Almond Oatmeal Bars [Gluten Free]](https://www.bethcato.com/blog/wp-content/uploads/2018/11/No-Bake-Choc-Almond-Breakfast-Bars8_sm.jpg)
![Bready or Not Original: No Bake Chocolate Almond Oatmeal Bars [Gluten Free]](https://www.bethcato.com/blog/wp-content/uploads/2018/11/No-Bake-Choc-Almond-Breakfast-Bars13_sm.jpg)
![Bready or Not Original: No Bake Chocolate Almond Oatmeal Bars [Gluten Free]](https://www.bethcato.com/blog/wp-content/uploads/2018/11/No-Bake-Choc-Almond-Breakfast-Bars6_sm.jpg)
![Bready or Not Original: No Bake Chocolate Almond Oatmeal Bars [Gluten Free]](https://www.bethcato.com/blog/wp-content/uploads/2018/11/No-Bake-Choc-Almond-Breakfast-Bars5_sm-150x150.jpg)
