Bready or Not Original: White Chocolate-Peppermint Bark Cookies
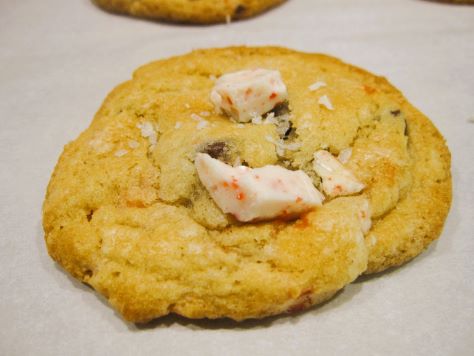
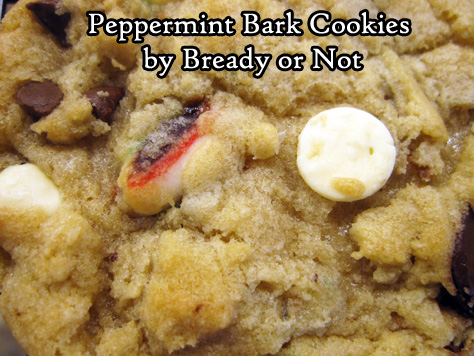
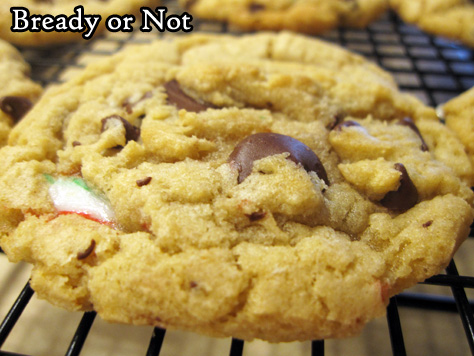
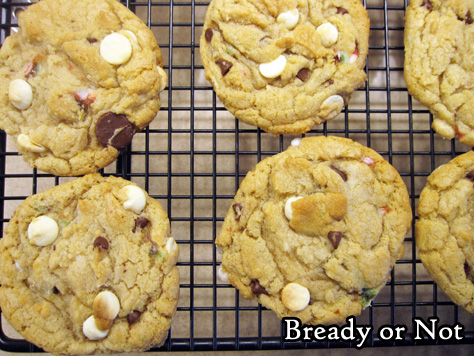
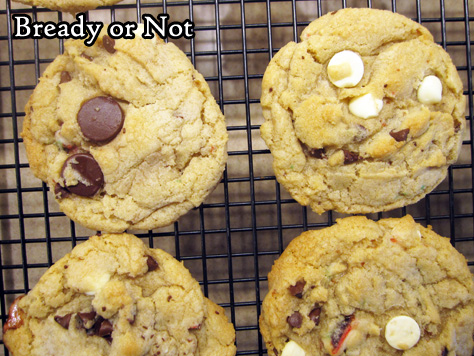
Last week, I posted a Peppermint Bark Cookies recipe modified from Bake from Scratch Magazine. This week, I share a reworked version of the White Chocolate Macadamia Nut Cookies I’ve made for about two decades. This White Chocolate-Peppermint Bark Cookies recipe includes white chocolate melted into the dough, resulting in a smooth, sweet cookie that gets only better with the addition of peppermint bark.
A whole bag of white chocolate chips is included in this recipe. A cup is melted for the dough; the rest is added as chips, right along with the coarsely chopped peppermint bark.
These cookies are incredible. I preferred them over last week’s take, though both are excellent.
Modified from Bready or Not: White Chocolate Macadamia Nut Cookies.
Bready or Not Original: White Chocolate-Peppermint Bark Cookies
Equipment
- microwave-safe small bowl
- cookie scoop or spoon
Ingredients
- 10 ounces white chocolate chips divided
- 2/3 cup white sugar
- 11 Tablespoons unsalted butter room temperature
- 1 teaspoon vanilla extract
- 1/2 teaspoon peppermint extract
- 2 large eggs room temperature
- 2 1/2 cups all-purpose flour
- 1 teaspoon baking soda
- 1 teaspoon cream of tartar
- 2 cups peppermint bark coarsely chopped, divided (about 12 ounces)
Instructions
- Preheat oven to 325 degrees. Place 1 cup of white chocolate chips in a microwave safe bowl. Microwave on 50% power in short increments, 20-25 seconds, and stop to stir between passes until the chips blend smoothly; take care, as it can burn fast! Set aside to cool.
- In a large mixing bowl, beat together the sugar, butter, vanilla, and eggs until they are creamy. Mix in the melted chips. Stir in flour, baking soda, and cream of tartar. Fold in the remaining chips and 1 cup of peppermint bark.
- Use a tablespoon cookie scoop or spoon to place dough in rounded lumps on cookie sheet. Using the reserved stash of peppermint bark, press a few pieces onto the top of each dough ball. Bake 10 to 12 minutes, until the tops just begin to turn light golden brown. Immediately add a few more pieces of peppermint bark onto the top of each cookie. Cool on the sheet for several minutes, then move to a rack to set for about 3 hours; this process can be speeded up by briefly placing cookies in the fridge.
- Store in a sealed container at room temperature. Best eaten within 5 days.
OM NOM NOM!
Bready or Not: Peppermint Bark Cookies
This Peppermint Bark Cookies recipe, modified from a holiday Bake from Scratch issue, is the first in a small series of such experiments.
One thing I’ll say straight up: peppermint bark can be expensive, and this recipe will look much prettier with nicer bark. I used cheap Palmer Peppermint Bark from Dollar Tree for this recipe, and it doesn’t look as nice as my other experiments.
That said, the cheap stuff can still make tasty cookies. These morsels are soft, chewy, and loaded with chocolate and peppermint flavor. They make for a great holiday treat. If you want to make them year-round, stock up on peppermint bark while you can get it–if you’re lucky, score some on clearance right after Christmas.
Bready or Not: Peppermint Bark Cookies
Equipment
- plastic wrap
- parchment paper
- large cookie scoop
Ingredients
- 1 cup unsalted butter (2 sticks) softened
- 3/4 cup white sugar
- 3/4 cup brown sugar packed
- 2 large eggs room temperature
- 2 teaspoons vanilla extract
- 2 3/4 cups all-purpose flour
- 1 teaspoon baking powder
- 1 teaspoon kosher salt
- 3/4 teaspoon baking soda
- 10 ounces peppermint bark chopped, divided
- 1 cup semisweet chocolate chips
- flaked sea salt for topping optional
Instructions
- In a large bowl, beat together butter and sugars until they are light and fluffy. Add the eggs one at a time, followed by the vanilla.
- In another bowl, combined the flour, baking powder, kosher salt, and baking soda. Gradually add the dry ingredients into the wet, beating until just combined. Measure out 1 cup of the peppermint bark and add that to the dough, folding it in. Add the chocolate chips and fold in.
- Wrap dough in plastic wrap and stash in the fridge for at least 2 hours, or up to 3 days.
- Preheat oven at 375 degrees. Place parchment paper on a baking sheet.
- Use cookie scoop to dole out dough, spaced out, on cookie sheet.
- Bake for 10 to 12 minutes, until cookies are set and turning golden brown. Immediately press a piece or two of the reserved peppermint bark onto each round. Add a small pinch of flaked sea salt to each, if desired. Let set until bark pieces solidify, then transfer to a cooling rack.
- Store cookies in a sealed container up to 4 days.
OM NOM NOM!
Bready or Not: Peppermint Truffle Bars
These Peppermint Truffle Bars are loaded with peppermint flavor, perfect for the holiday season or year-round!
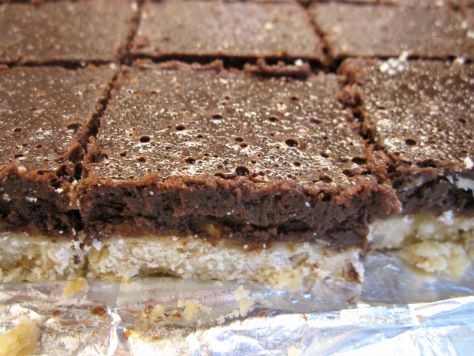
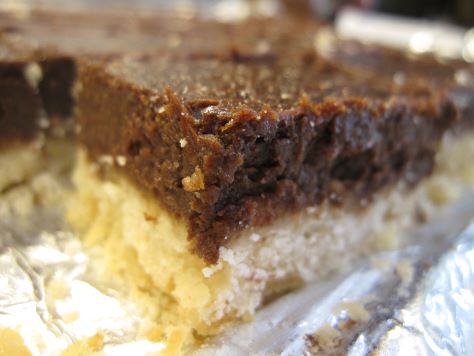
If you like chocolate peppermint (or know someone who does), this is the recipe for you. A shortbread base is topped with a dense layer of soft chocolaty goodness infused with peppermint extract.
As with many chocolate recipes, this one has a deeper flavor if you make it a day ahead. Build that info your baking plans.
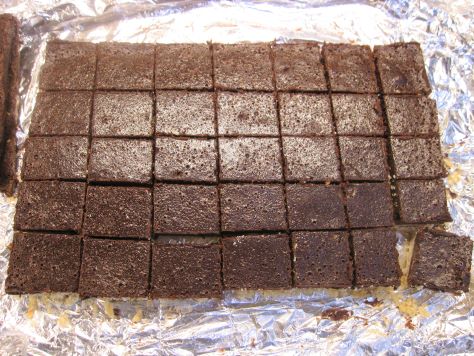
To make for neat bars, I cut off the edges. These are not to be wasted, of course–set them aside for select people to enjoy, and present the neatly-edged bars to a more discriminating audience.
Modified from Best Holiday Recipes from Taste of Home 2011.
Bready or Not: Peppermint Truffle Bars
Equipment
- 9×13 pan
- nonstick spray
- wax paper
- heavy glass
Ingredients
Bottom crust
- 3/4 cup unsalted butter cold and cubed (1 1/2 sticks butter)
- 1 1/2 cups all-purpose flour
- 3/4 cup confectioners’ sugar
- 1/4 teaspoon salt
- 1/2 teaspoon vanilla extract
Chocolate layer
- 16 ounces semisweet chocolate chips or chopped chocolate
- 3/4 cup milk or half & half
- 1/2 cup unsalted butter cubed
- 4 large eggs room temperature
- 2/3 cup white sugar
- 1 teaspoon peppermint extract
Instructions
- Line a 13×9 baking pan with foil and apply nonstick spray. Preheat oven at 325-degrees.
- In a large bowl, combine the flour, confectioners’ sugar, and salt. Add vanilla. Dice in the butter. Mix ingredients until the butter resembles fine crumbs. Distribute into prepared pan. Use a piece of waxed paper and a heavy glass to compress the dough into a firm layer.
- Bake for 20 to 25 minutes, until the edges are lightly brown. In the meantime, start mixing the top layer.
- In a large pot, combine the semisweet chocolate, milk, and butter and cook on low heat until the mixture is smooth. Remove from heat and let cool for a bit.
- In a large bowl, beat eggs and white sugar until it is smooth and thick. Add the peppermint extract and the chocolate mixture. Beat until incorporated and smooth. Pour over the bottom crust.
- Bake for 30 to 35 minutes until the middle is set and passes the toothpick test. Cool in pan on a rack, then place in fridge to set for several hours or overnight.
- Use foil to lift contents onto a cutting board. Slice into bars. Store in sealed container or individually wrapped in the fridge.
OM NOM NOM!
Bready or Not: Peppermint Bark Cookies
These incredible Peppermint Bark cookies really do taste like peppermint bark, but in chewy, beautiful cookie form!
These cookies even look holiday-colorful due to the bits of crushed candy cane throughout. I used a Hershey’s Chocolate Mint Candy Cane, but many varieties of candy cane would do. You could even mix it up with different colors and flavors!
I kept things easier by using chocolate chips, but this would be great with chopped chocolate, too, for different textures and flavors. Peppermint Bark itself comes in different variants, after all!
These cookies would be fantastic for a holiday cookie exchange, or to serve at a gathering. Or, if you’re cheap like me, bake them later on in January using candy canes scored on clearance!
Modified from Bake from Scratch Magazine Holiday Cookies 2019.
Bready or Not: Peppermint Bark Cookies
Equipment
- tablespoon scoop
- parchment paper
Ingredients
- 1 1/2 cups light brown sugar packed
- 1 cup unsalted butter 2 sticks, melted
- 1/2 cup white sugar
- 2 large eggs room temperature
- 1 teaspoon vanilla extract
- 1 teaspoon peppermint extract
- 3 1/2 cups all-purpose flour
- 1 teaspoon baking soda
- 1 teaspoon fine sea salt
- 4 ounces white chocolate chips
- 4 ounces dark chocolate chips
- 4 peppermint candy canes crushed
Instructions
- In a mixer, beat brown sugar, butter, and white sugar until combined. Add eggs one at a time followed by the extracts.
- In a separate bowl, stir together flour, baking soda, and sea salt. Gradually add the dry ingredients into the butter mixture. Fold in the two chocolates and candy cane bits. Cover top of dough with plastic wrap and chill it for 15 minutes.
- Preheat oven at 350-degrees. Line a large baking sheet with parchment paper.
- Use a tablespoon scoop to parcel out dough, spaced out, on baking sheet. Bake for 10 to 12 minutes, until cookies are set and just turning golden. Keep on sheet for a few minutes then transfer to a cooling rack.
- Store cookies in seal containers at room temperature. Keeps for at least 3 days.
OM NOM NOM!
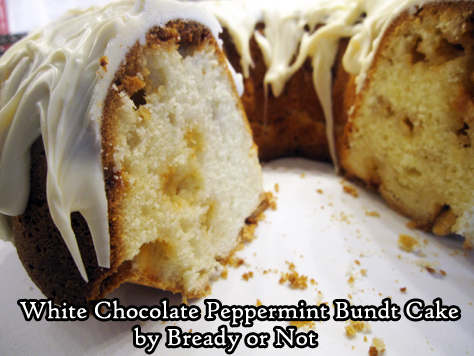
Bready or Not: White Chocolate Peppermint Bundt Cake
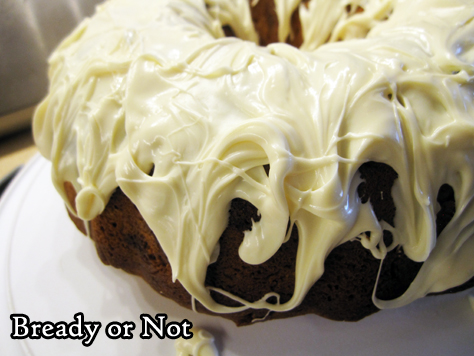
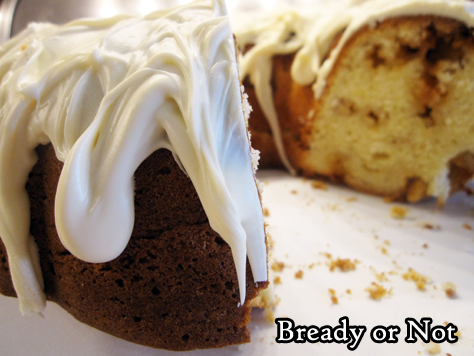
This White Chocolate Peppermint Bundt Cake features a light, refreshing peppermint flavor and a lot of white chocolate. Seriously, it’s a snow-capped mountain of a cake.
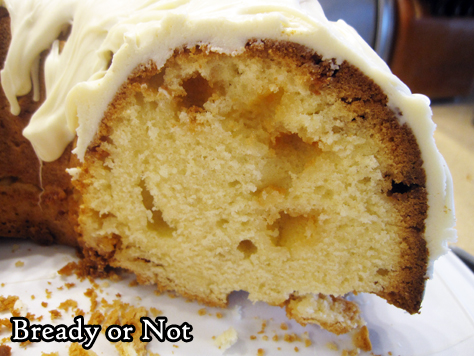
Don’t look for health food here. This thing is sweet. Lush. The middle is moist and dense, with a base (the former top) wonderfully crunchy in contrast.
White chocolate is melted into the batter, with chips also mixed in. See the golden dapples throughout the crumb? Those are the chips. They are like sweet explosions in the mouth.
And yes, there’s that snow cap: a thick blanket of melted-down chocolate wafers. It ends up firm, but ready to melt again once it meets the warmth of a mouth. It’s perfect along with that tender cake.
This will be great for any December gathering, but it’s so delicious, you’ll want to make it year-long!
Bready or Not: White Chocolate Peppermint Bundt Cake
Equipment
- 10-cup bundt cake
- nonstick spray with flour
- microwave-safe bowls
Ingredients
Cake:
- 3/4 cup unsalted butter 1 and a half sticks, softened
- 1 1/2 cups white sugar
- 3 large eggs room temperature
- 2 teaspoons vanilla extract
- 1/2 teaspoon peppermint extract
- 3 cups all-purpose flour
- 1 1/2 teaspoons baking powder
- 1/2 teaspoon kosher salt
- 1/2 cup half & half or milk
- 8 ounces white chocolate chips divided
- 1/2 cup sour cream
Topping:
- 8- ounces white chocolate melting wafers melted
- 5 peppermint candies crushed, optional
Instructions
- Preheat oven at 325-degrees. Apply nonstick spray with flour to coat the interior of the bundt pan.
- In a big bowl, beat the butter and sugar until fluffy. Add eggs one at a time, followed by the extracts.
- In a separate bowl, stir together flour, baking powder, and salt. Gradually mix the dry ingredients into the big bowl alternatively with the half & half, beating until they are just combined.
- In a microwave-safe bowl, heat 2 ounces of white chocolate chips in 30 second bursts, stirring well between each zap, until it’s melted and smooth; keep an eye on the white chocolate, as it can burn fast! Add the melted chocolate into the cake batter. Follow that with the sour cream and the remaining white chocolate chips. Pour batter into the prepared pan.
- Bake for about 1 hour 15 minutes; the middle should pass the toothpick test. If it’s getting overly brown near the end, cover the top with foil.
- Let cake cool in pan for 20 minutes, then upend onto a cooling rack. Cool completely, speeding process in fridge if desired.
- Melt chocolate wafers in microwave or on stovetop. Drizzle atop cake to form a thick snowcap. If desired, top with peppermints.
OM NOM NOM!
Bready or Not Original: Thin Mint Cake
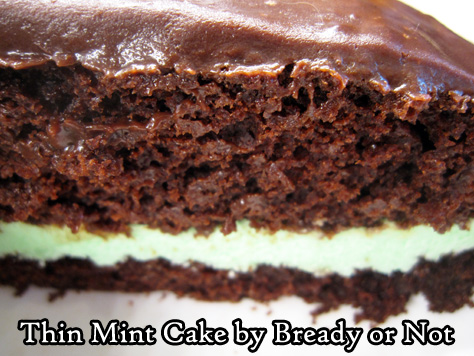
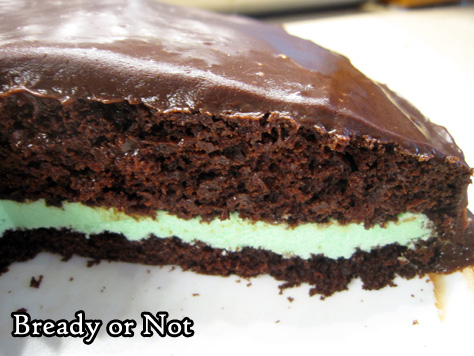
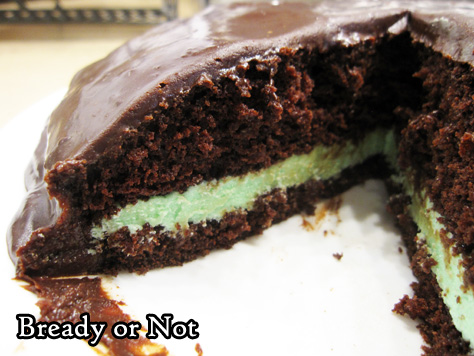
Oh hey, it’s time for cake. A Thin Mint Cake that is neither too big or too small, something that keeps well stashed in the fridge, and looks as amazing as it tastes.
If you love chocolate and mint, this is the cake for you. The cake is loaded with chocolate flavor, and a ganache adds a shiny finishing touch.
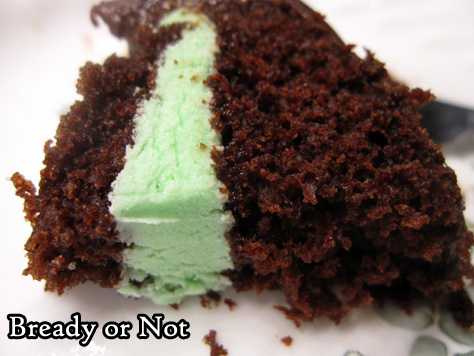
The middle layer of the cake is essentially a peppermint or mint-flavored buttercream. Sweet but not too sweet, it gives good contrast to balance the prevalent chocolate flavor.
I used this cake to try out a technique I’ve only read about and seen on TV before–I used four toothpicks to measure the halfway point on the sides of the cake, then tugged a piece of floss to cut the cake evenly in half! It worked out well.
Of course, you can still use a knife to cut through. The toothpicks will still be a helpful guide.
This is an ideal birthday or special occasion cake for a small group!
Greatly modified from Eating Well Magazine May 2020.
Bready or Not Original: Thin Mint Cake
Equipment
- 9-inch cake pan
- ruler
- toothpicks
- unwaxed floss
- parchment paper
Ingredients
Cake
- 1 cup all-purpose flour
- 1/2 cup white whole-wheat flour
- 3/4 cup white sugar
- 1/4 cup unsweetened cocoa powder sifted
- 1 teaspoon baking soda
- 1/2 teaspoon salt
- 1 cup water
- 1/3 cup canola oil
- 1 Tablespoon apple cider vinegar or other cider vinegar
- 1/2 teaspoon almond extract
- 1/2 teaspoon vanilla extract
Mint Filling
- 1/2 cup unsalted butter (1 stick), room temperature
- 1 1/2 cups confectioners' sugar sifted, more as needed for consistency
- 1/4 teaspoon peppermint extract or mint extract
- 1/4 teaspoon vanilla extract
- 1/4 teaspoon salt
- 1-2 drops green food coloring
- 2 Tablespoons half and half or milk
Glaze
- 1/2 cup half and half
- 1 1/4 cups semisweet chocolate chips
- pinch salt
Instructions
To prepare the cake
- Preheat an oven at 350-degrees. Cut a piece of parchment paper to fit inside a 9-inch cake pan. Apply nonstick spray inside pan, place parchment inside, and spray it again.
- Stir together all-purpose flour, white whole wheat flour, sugar, cocoa, baking soda, and salt.
- In another bowl, whisk together water, oil, vinegar, and both extracts. Gradually mix the wet ingredients into the dry until the batter is smooth. Pour into the prepared pan. Tap and thump it gently on the counter to knock out as many bubbles as possible.
- Bake 25 to 30 minutes, until a toothpick in the middle emerges with few crumbs attached. Let the pan cool on a rack for 10 minutes, then invert cake onto the rack to cool completely.
Make the filling
- Beat the butter until it is creamy and light. Add the confectioners' sugar, 1/2 cup at a time, to fully incorporate; if the mixture is still too soft and loose, add more sugar. Add mint and vanilla extract, followed by the salt. Add a few drops of food coloring to achieve the desired tint. Add the half and half and beat to make the filling fluffy and light.
Slice the cake and fill
- Stick a toothpick into the halfway point at each side of the cake; four toothpick markers work well. Use a knife to barely slice into the cake above each toothpick. Continue to use a long-bladed knife to slice all the way through, or use a long piece of unwaxed floss with the toothpicks as a guide to divide the cake evenly in half.
- Place the base of the cake on a serving plate. Spread the filling over the cake. Place the top of the cake over it, cut side down.
Make the glaze
- Microwave the half & half in a microwave-safe bowl for about a minute, until hot. Stir in the chocolate chips and salt. Stir, stir, stir until the chocolate is smooth and glossy. Let cool about 5 minutes to thicken, then slowly pour and spread glaze over the cake. Let sit at room temperature or in fridge to set, then slice in and enjoy!
- Store cake in fridge. Exposed sides of the cake will dry out more, but it will still be tasty. Keeps for at least 4 days.


