Bready or Not: Maple Brussels Sprouts
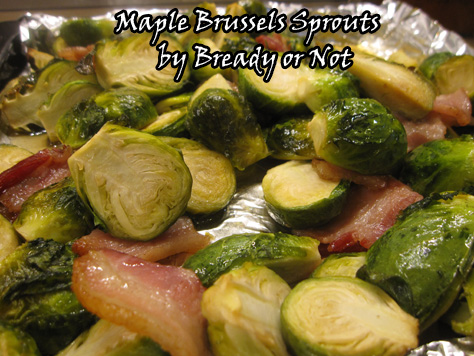
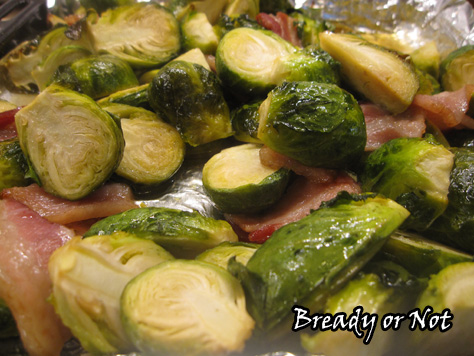
I’m here to convert you to the goodness of Brussels sprouts. Also known as: maple syrup makes everything better.
If you’re like me and a lot of other folks, you have scarring childhood memories of Brussels sprouts (or as I remember them, nasty mini cabbage-like things). My mom, bless her heart, boiled them. The result was not delicious.
It was only last year I decided to make my own Brussels sprouts. For a few years, I had noticed recipes on Pinterest that made the roasted version look delicious. Then I ate some at a nice restaurant and realized, “I can do this myself for a whole lot cheaper.”
The maple syrup doesn’t make these sugary sweet, but the sweetness is definitely there. It makes these the perfect complement to all sorts of savory, salty meats. Leftovers are also fabulous cold out of the fridge or chopped into a sweet salad.
On that note, you can also use this maple vinaigrette as a salad dressing. Just increase the amounts in proportion (say, 1/2 cup each of olive oil and maple syrup, and 1/4 cup of apple cider vinegar) and store the leftovers in the fridge. Use it on mixed greens, slaws, etc.
Maple. Best stuff ever.
Bready or Not: Maple Brussels Sprouts with Maple Vinaigrette Dressing/Marinade
Ingredients
- 1 lb Brussels sprouts
- 2 Tb olive oil or avocado oil
- 2 Tb pure maple syrup
- 1 Tb apple cider vinegar
- salt
- 2 - 3 slices bacon optional, chopped
Instructions
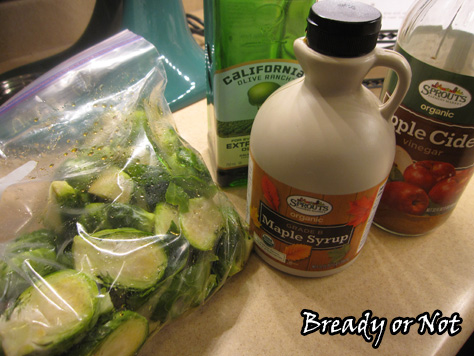
- Prepare the Brussels sprouts. Remove any damaged leaves and trim the stem to remove any browning, then slice the sprouts into quarters or halves depending on their size. Place them in a gallon-sized Ziplock-type bag. (If you want to add bacon, add it to bag.)
- Add the oil, maple syrup, and apple cider vinegar to the bag. Seal the bag and give everything a good jostle and shake. You can bake right away or set the bag in the fridge for several hours. If you let it marinate, turn the bag every so often.
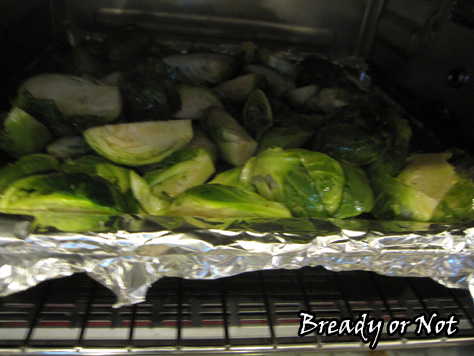
- Preheat oven to 425-degrees. Set out a rimmed cookie sheet; for easy cleaning, line it with aluminum foil. Pour the Brussels sprouts onto the sheet and make them as even as possible. Add some salt.
- Bake for 15 minutes, turn and stir sprouts, then roast for another 10 or 15 minutes until they are firm yet tender.
- OM NOM NOM!
Read More
Bready or Not: Maple Pecan Pepitas Cookies
Maple, maple, maple. I love maple. It’s only right to transition with a cookie that is perfectly fall or Christmas–both its flavor and appearance.
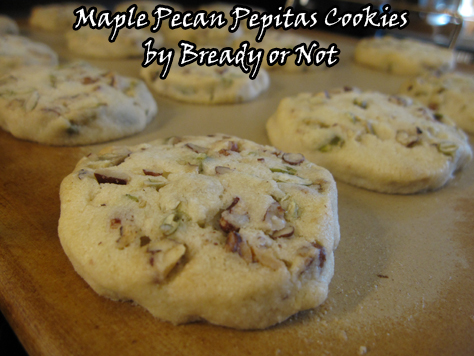
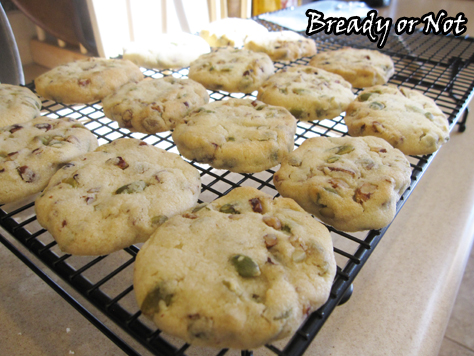
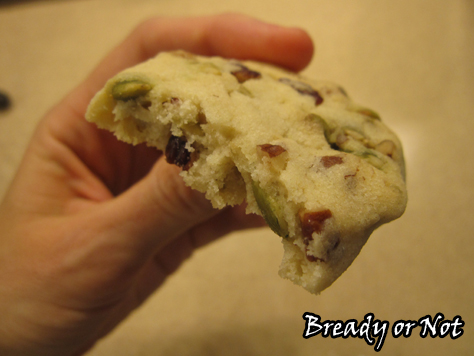
Have you ever had Pecan Sandies from the grocery store? These are kinda like that, but better. They boast a strong, clean maple flavor. I loved the combination of pecan bits and pepitas (shelled pumpkin seeds); they both crunch, but in different ways.
Plus, look at the red and green colors! Perfect!
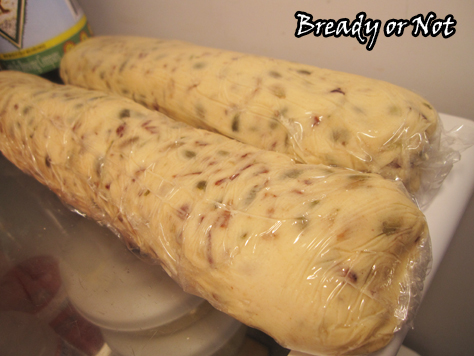
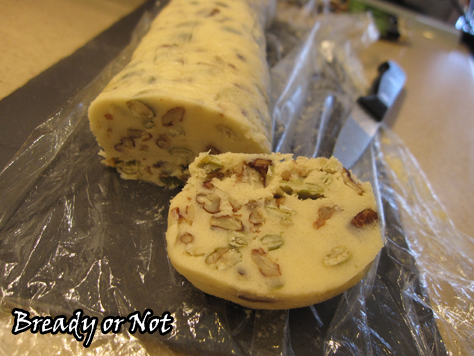
These are fridge cookies. That means you roll them into logs, like so, then keep them in the fridge for a day or two, or freeze them.
When it’s time to bake them, just slice. Sometimes the dough crumbles a bit because of the nuts. That’s okay. Just mush it together again.
As shortbread-style cookies, these will also keep exceptionally well–days, and probably for over a week, if you can make them last that long. I’d bet they are great for mailing as gifts, too.
The gift of maple-flavored things is the gift of happiness and love.
Recipe modified from Jo Ann Kurtz’s Maple Pecan Refrigerator Cookies recipe, as featured in Relish Magazine (December 9th 2012).
Bready or Not: Maple Pecan Pepitas Cookies
Ingredients
- 1 cup unsalted butter room temperature
- 1/2 cup white sugar
- 3 Tb real maple syrup
- 1 large egg yolk
- 3/4 teaspoon maple flavor
- 1/2 teaspoon vanilla extract
- 2 cups all-purpose flour
- 3/4 cup chopped pecans
- 3/4 cup pepitas
Instructions
- Beat the butter for several minutes, until creamy. Slowly add the sugar. Add syrup, egg yolk, and extracts. Stir in the flour and nuts.
- Divide dough in half. On plastic wrap, shape the dough into long log shapes about 1 1/2 inches or so high. Completely wrap the logs and stash in fridge until firm, at least two hours. They can also be frozen.
- Preheat oven to 350-degrees.
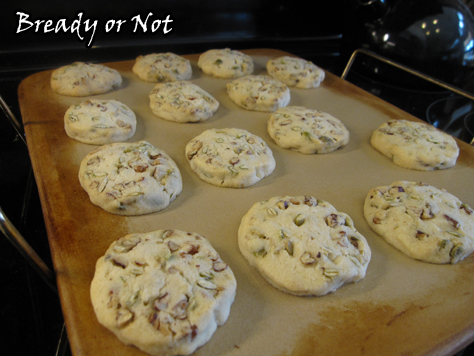
- Slice logs into 1/2 inch thick rounds and set on parchment papered or greased baking sheet. Bake for 18-20 minutes, until cookies are set and just barely tinted with color.
- OM NOM NOM.
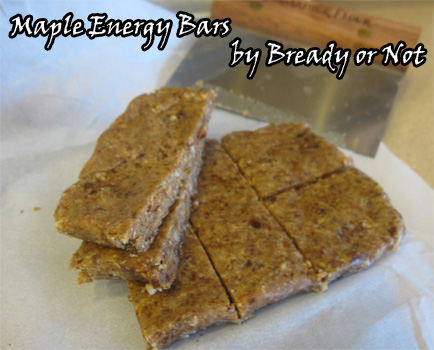
Bready or Not: Maple Energy Bars and Bites
Confession: I’m classifying this as a fall recipe because of the maple, but I make these all year long.
I know, I know. If you’ve been following me for any length of time, you know how I love maple. I like to make my own breakfast food, too.
Larabars are found in the energy bar section of retailers. They are delicious but are also awfully expensive–if you’re lucky, you might get a bar for a buck on sale. Me? I’m cheap. I make my own versions. I have a chocolate chip cookie dough recipe that I really need to share at some point, but today is about the maple variety that I created on my own.
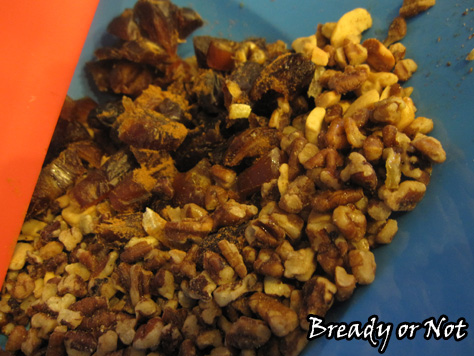
To make any homemade Larabar facsimile, you really need two base ingredients: dates and nuts. You switch out the nuts to your taste or based on sales, then change out seasonings to make things fresh and tasty. With the maple flavor, I like using a combo of cashews and pecans, but I’ve also done all cashews. Feel free to do almonds, peanuts, or whatever else you have handy, or combine them all!
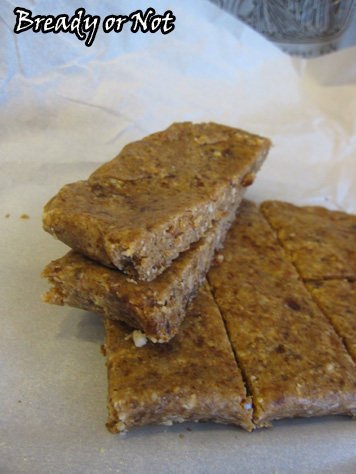
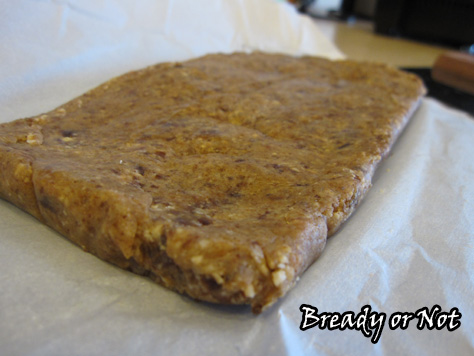
I usually make these into a ball shape using my tablespoon scoop, but this time around I made bars. They are a bit more photogenic, I think. And man, do they taste good.
Bready or Not: Maple Energy Bars and Bites
Ingredients
- 1 cup medjool dates chopped
- 1/2 cup cashews
- 1/2 cup pecans or combine other nuts to equal 1 cup
- 1-2 teaspoons candied ginger diced (optional, but tasty)
- sprinkle cinnamon
- 1/2-3/4 teaspoon maple flavor
- water if needed
Instructions
- In a bowl, combine all of the ingredients but the water. Pour 1/3 or 1/2 the mix into a high-powered food processor or blender. Pulse. Stir it with a spoon or spatula--it will be thick and gum up the machine. Pour the blended mix out, then add in more of the nut-date blend until everything is mostly blended. It's okay to have some chunks.
- Squeeze the mash between your fingers. If it doesn't want to stick together, dribble in water by 1/2 teaspoon until it's cohesive.
- You can shape them in two ways. Use a tablespoon scoop to form a ball, then compress them with your hands to tighten. Or, make bars. Place a sling of parchment paper in a bread pan. Pour the mash in. Compress as tightly as you can. Remove using the sling and cut to preferred size.
- Keep stored in covered dish or closed baggie in fridge. Makes about 9 tablespoon-sized balls or 7 bars. Will keep for upward of 2 weeks.
OM NOM NOM!
Fall Recipes
It’s pumpkin time! And squash and apple time! Plus, it’s legitimately maple time. Last year I gathered my past fall recipes. Now that my recipe content is split between BethCato.com and LiveJournal, I really wanted to post those recipes again. The list now includes the 2013 posts, too.
Mini Pumpkin Donuts with Maple Glaze
Pumpkin Snickerdoodles
Pumpkin-Molasses Freezer Pie with Ginger Snap Crust
Maple Spritz Cookies
Pumpkin Pie Bars
Maple Fudge Bites
Pumpkin Gnocchi
Pumpkin Poppers
Overnight Crock Pot Apple Butter
Butternut Squash & Chickpea Salad with Almond Butter Dressing
Pumpkin chocolate chip brownies
Pumpkin-applesauce bundt cake
Candy corn cookies
Halloween party bundt cake (cake mix)
Pumpkin pie
Pumpkin cranberry breakfast cookies
Pumpkin roll bars
Pumpkin spice smoothie
Also, on Pinterest I have a wide array of boards including a Bready or Not board and a pumpkin board where I try to list the amount of puree each recipe calls for. It probably won’t surprise you that I have a devoted space for maple recipes, too.
Read MoreBready or Not: Gluten-Free Pumpkin Cake
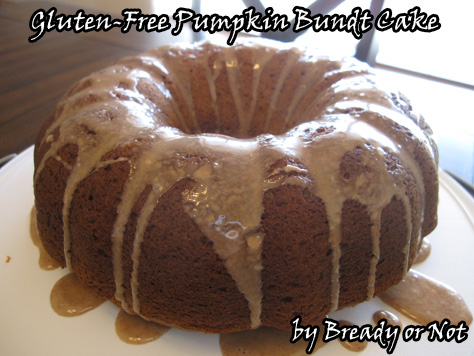
Let’s carry September’s Cake Month into October as I start the annual autumn theme of pumpkin, maple, and other seasonal flavors!
Most of the stuff I bake goes with my husband along to his work. Lo and behold, a few of his co-workers eat gluten-free. I hate for people to feel left out. Therefore, I try to mix in some GF goodies every so often.
Baking gluten-free can be rather intimidating. The stuff is expensive, and even worse, some of it tastes BAD. As in, scrub-out-your-mouth-with-a-toilet-brush bad. I also worried about cross-contamination. My kitchen is pretty much saturated in gluten.
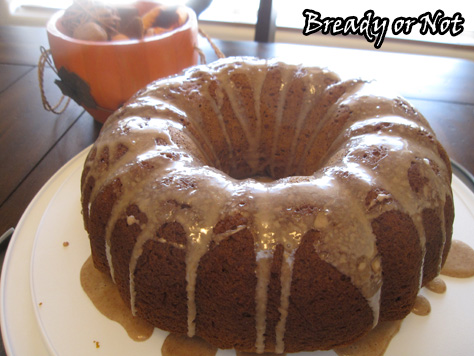
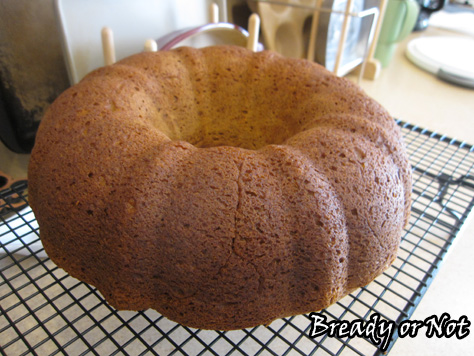
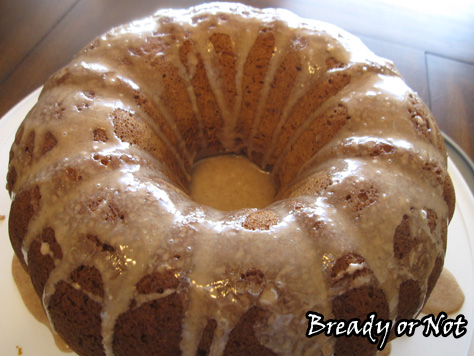
I prowled around for good pumpkin cake recipes and I found this one at King Arthur Flour. Their recipes are very reliable. I modified it slightly. I used a Bob’s Red Mill GF Vanilla Cake Mix here, as Bob’s mixes and flours are pretty darn good. I also used my own maple glaze, because, well, MAPLE!
The end result was an absolutely delicious cake. It tasted totally normal–no one would suspect it was gluten-free!
Modified from the recipe at King Arthur Flour, with my own glaze.
Bready or Not: Gluten-Free Pumpkin Cake
Ingredients
Cake ingredients:
- 5 large eggs room temperature
- 3 Tablespoons molasses
- 15 oz pumpkin purée
- 3/4 cup vegetable oil
- 1 gluten free cake mix yellow, vanilla, or white (recommend King Arthur or Bob's Red Mill)
- 1/2 cup cornstarch
- 1/4 teaspoon baking soda
- 1 Tablespoon pumpkin pie spice or substitute 2 teaspoons ground cinnamon, 1/2 teaspoon ground ginger, and 1/4 teaspoon ground cloves
Maple Glaze ingredients:
- 1 cup confectioners' sugar sifted
- 1/2 teaspoon cinnamon
- 1/4 teaspoon maple flavor
- 1 1/2 Tablespoons milk almond milk works!, more as needed
Instructions
- Preheat the oven to 325°F. Thoroughly grease a 10-cup Bundt pan.
- Whisk together the eggs, molasses, pumpkin purée, and oil. Set aside.
- In another big bowl, combine the cake mix, cornstarch, baking soda, and spice(s).
- Stir the wet and dry mixtures together until smooth and pour the batter into the prepared pan.
- Bake the cake for 60 to 65 minutes, until it passes the crumb test.
- Remove the cake from the oven, let it cool in the pan for 15 minutes, then turn it out of the pan to cool completely on a rack.
- Dust the cake with confectioners' sugar, or make the maple glaze. Combine the glaze ingredients, adding more sugar or milk for desired texture. Drizzle over cake.
OM NOM NOM!
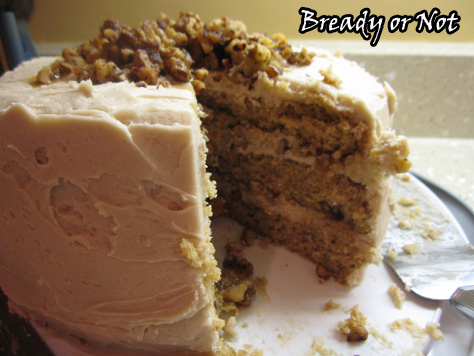
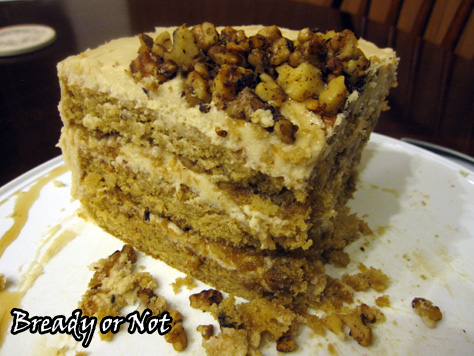
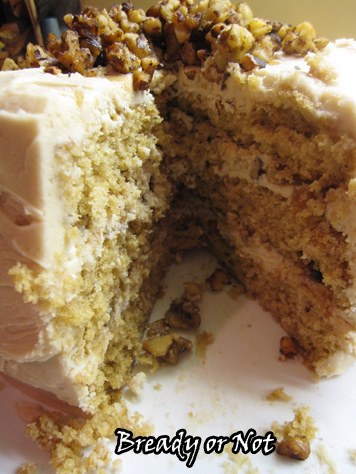
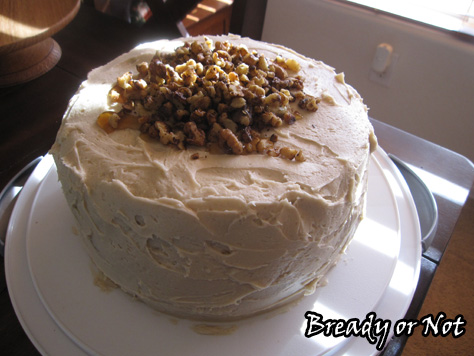
Bready or Not: Maple Walnut Cake
For the week leading into the release of The Clockwork Dagger, I am presenting the most awesome of cakes.
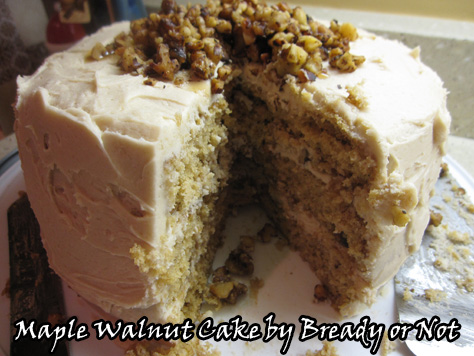
Three layers. Maple infused every which way. Oh yeah, baby.
My one fear was that sweetness of the cake would be overkill like the way Cadbury eggs are to me now. I’m often asked if a recipe can be modified to omit the nuts. In this case, no. The nuts–in taste and texture–do a lot here to balance out the sweetness. They prevent that overkill.
It shouldn’t come as a surprise to anyone that since I love maple, that delight has also worked its way into The Clockwork Dagger. Since the geography in my book is loosely modeled on Western Washington state, it’s only right that the country to the north is likewise based on Canada. Frengia is known for its maple production.
[Hrm. Maybe in a year when the sequel comes out, I should do a maple theme for Bready or Not. There’s an idea! Or maybe no one will notice because I do so much maple already…]
If you love maple as I do, this is your epic cake. Print this out. Make it now, or save it for the holidays. Just bake it up at some point.
Brace yourself for the maple-induced ecstasy.
Modified from Maple Walnut Cake at Taste of Home.
Bready or Not: Maple Walnut Cake
Ingredients
THE CAKE [NOT A LIE]
- 1/2 cup unsalted butter room temperature
- 1-1/2 cups light brown sugar packed
- 3 eggs room temperature
- 1 teaspoon maple flavor
- 2 cups all-purpose flour
- 1 teaspoon baking powder
- 1 teaspoon baking soda
- 1/4 teaspoon salt
- 1 cup buttermilk or sour milk: milk with a tablespoon of lemon juice or vinegar
CANDIED NUTS:
- 1 Tablespoon unsalted butter
- 1-1/2 cups coarsely chopped walnuts or pecans
- 1 Tablespoon maple syrup
- 1/4 teaspoon salt
FROSTING:
- 2 cups unsalted butter room temperature
- 5 cups confectioners' sugar
- 1 teaspoon maple flavor
- 1/4 teaspoon salt
- 1/4 to 1/2 cup half-and-half cream or milk
- 3 + tablespoons maple syrup divided
Instructions
To make the cake:
- Preheat oven to 350°. Use nonstick spray or butter on three 9-inch round cake pans. Cut out rounds of parchment paper for the bottoms of the pans, then grease the paper.
- In a large bowl, cream softened butter and brown sugar. Add the eggs and beat well after each addition. Add the maple flavor.
- In a separate bowl, whisk together the flour, baking powder, baking soda and salt.
- Add the dry ingredients to the creamed mixture, alternating with the buttermilk, until everything is just blended.
- Pour batter into each prepared pan as evenly as you can. Bake for 11-13 minutes or until a toothpick inserted in center comes out clean. Cool in pans for 10 minutes, then gently tip them onto a wire racks. Remove parchment. Cool cake layers completely. [Note: at this point you can even freeze the layers between wax paper, then wrap well in plastic wrap, to assemble the cake days or weeks later.]
To make candied walnuts:
- Grab a small cookie sheet or platter and cover it with aluminum foil. Set aside.
- In a large skillet, melt the tablespoon of butter. Add nuts and stir over medium heat until toasted, about 5 minutes. Watch the heat, as they can burn fast. Stir in the tablespoon maple syrup and salt; stir for 1 minute longer. Spread the nuts on the foil to cool completely.
For frosting:
- In a large bowl, beat the softened butter until creamy. Slowly add in confectioners' sugar, maple flavor, salt and enough cream/milk to reach desired consistency. [If it ends up too wet, add more powdered sugar.]
- Set out your serving platter. Add a few dabs of frosting; this will be like glue to help your bottom layer stay in place.
- Place the cake layer on top. Spread with one cup of frosting. Sprinkle about 1/2 cup of candied nuts over the frosting and then drizzle about a tablespoon of maple syrup.
- Repeat this with the next layer.
- Place the top layer. Frost the very top and sides of cake, then add the remaining nuts and another healthy (ahem) drizzle of maple syrup.
OM NOM NOM and try not to die of sugar coma.
Trade Paperback & eBook
Paperback ISBN: 978-0-06-231384-3
ebook ASIN (Amazon): B00HLIYZ5U
ebook ISBN (Nook): 978-0-06-231385-0
Release: September 16, 2014
Amazon Barnes & Noble Powell’s Books-A-Million Poisoned Pen Changing Hands Mysterious Galaxy
Read More


