Bready or Not: Healthy No-Bake Maple Breakfast Cookies
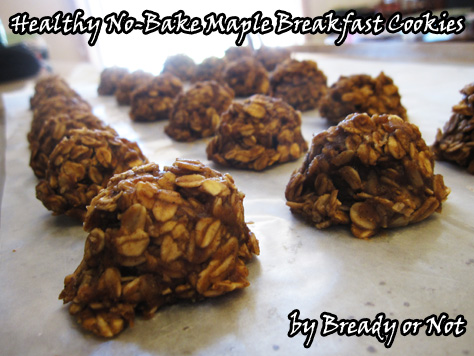
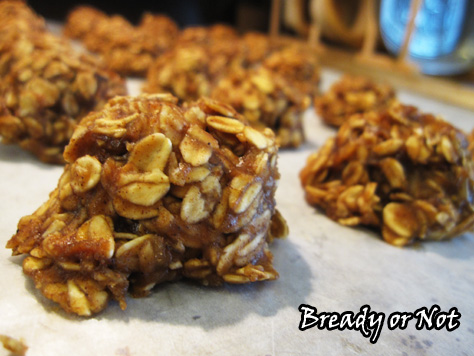
Happy New Year! Let’s make a healthy start. It’s no secret I love maple. This particular recipe has been a huge breakfast favorite of mine for the past six months, along with my other Healthy Breakfast Cookies.
These have another advantage, too… other than stronger maple flavor. They are fast to prepare. Even with my slow stovetop, I can whip these up and have them cooling in about 20 minutes.
Plus, these are fantastic to make and freeze! Since I eat three for breakfast, that means I can have a week’s worth of breakfast stashed away for now or later.
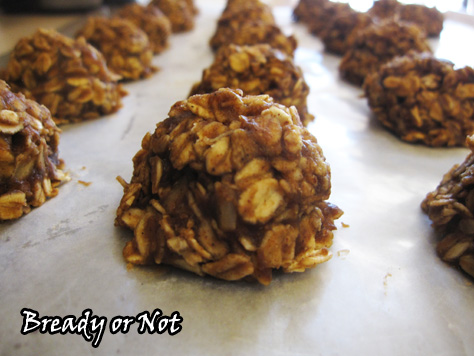
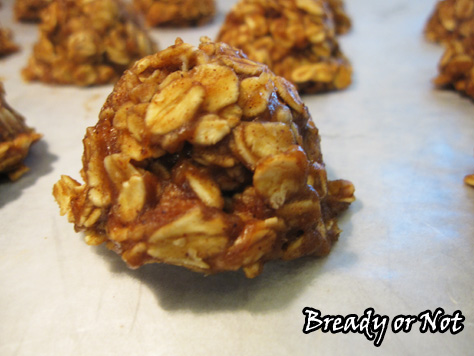
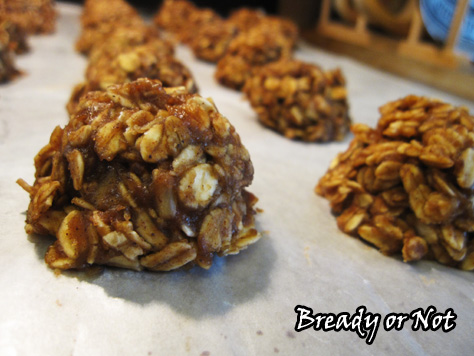
These are similar to the Maple Nut Butter No-Bakes I posted a while back, but this breakfast version is a heck of a lot healthier. No sugar. No butter. I like the taste more, too. It has a great, mild maple and nut butter flavor to it, and the oats soak just enough so that the cookies are perfectly chewy.
Customize these all kinds of ways, too. Use apple butter, pumpkin butter, etc. I’ve made them with cashew butter and almond butter, and combinations thereof. You could certainly use other kinds of milk, too, but I stick with unsweetened vanilla almond milk.
Greatly modified from Cookin’ Canuck.
Bready or Not: Healthy No-Bake Maple Breakfast Cookies
Ingredients
- 2 1/2 cups old-fashioned rolled oats
- 1 tsp vanilla extract
- 1/2 - 1 tsp maple flavor to preference
- 1/2 cup apple butter or other fruit butter
- 1/2 cup + 2 Tb almond milk
- 1/2 cup almond butter or other nut butter
- 1/4 cup + 2 Tb pure maple syrup
- sprinkle salt
- 1/2 cup pepitas or other seeds/nuts, optional
Instructions
- Measure out the oats and the two extracts, keeping them separate, and have ready near the stove. Prepare a large baking sheet with full coverage of wax paper.
- In a medium saucepan, mix together the apple butter, almond milk, maple syrup, and salt. Heat on medium, stirring often.
- After about ten minutes, the mixture will thicken; cook it at that level for another minute or two. If you have a candy thermometer, this thickening starts at about 180-degrees; that few minutes will take it to 200-degrees, and make sure it gets no hotter than that. Remove the pot from heat.
- Stir in the oats followed by the two extracts. Add pepitas or nuts, if desired. Stir until everything is covered.
- Use a tablespoon scoop to dole out cookies onto the prepared wax paper. This will be about 20 cookies or about 29 if seeds/nuts are added. Once they are all scooped, use your fingers to gently press in stray oats.
- Let cool for about 30 minutes. They can be kept sealed at room temperature but taste even better from the fridge; store between layers of wax paper. They can also be frozen.
- OM NOM NOM!
Bready or Not: Chewy Honey Maple Cookies
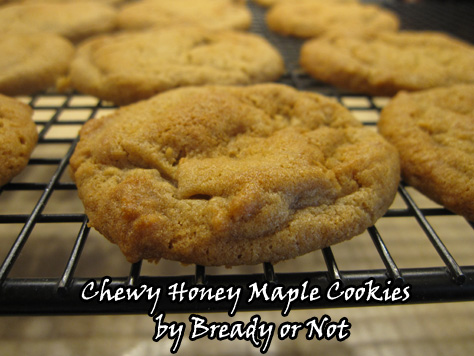
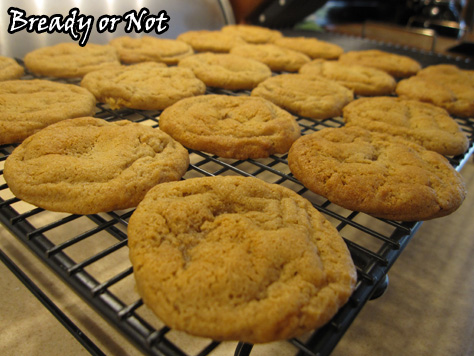
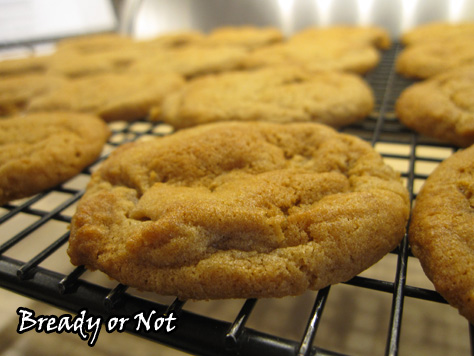
If you’re looking for a recipe for chewy cookies that will keep well for days of travel or to ship as a gift, I present to you these Chewy Honey Maple Cookies.
These are sweet without being too sweet. The honey and maple pair well together, and the texture is soft and oh-so-good.
One of the reasons these turn out lofty and chewy is because it uses bread flour. If you don’t have bread flour, you can use all-purpose for the full two cups, but you’ll likely use some cookie-loft.
Make these this holiday season. I bet you’ll have a new favorite cookie.
Greatly modified from Soft and Chewy Brown Sugar Maple Cookies at Averie Cooks.
Bready or Not: Chewy Honey Maple Cookies
Ingredients
- 3/4 cup unsalted butter 1 1/2 sticks, softened
- 1 cup light brown sugar packed
- 1/4 cup honey
- 1 large egg room temperature
- 2 teaspoons vanilla extract
- 1 1/2 teaspoons maple flavor
- 1 cup bread flour or all-purpose flour, but cookies will be less chewy
- 1 cup all-purpose flour
- 2 teaspoons cornstarch
- 1 teaspoon baking soda
- 1/2 teaspoon salt
- maple sugar or turbinado sugar for the tops, optional
Instructions
- In a large bowl, beat the butter until smooth. Add the sugar and honey and beat until creamy and fluffy, about 3 minutes. Scrape down the sides of the bowl and then mix in the egg, vanilla extract, and maple flavor.
- In a separate bowl, combine the dry ingredients: bread flour, all-purpose flour, cornstarch, baking soda, and salt. Sift together.
- Slowly stir together the wet and dry ingredients until just combined. Wrap the dough in plastic wrap and stash in the fridge for several hours or days.
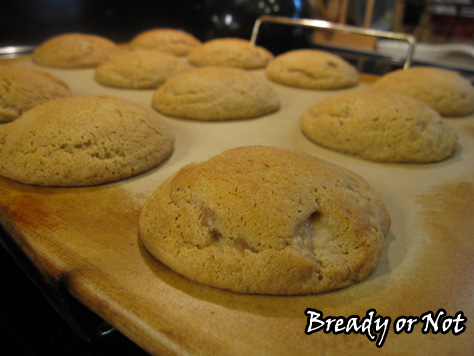
- When you're ready to bake, preheat the oven to 350-degrees. Use greased stoneware, parchment paper, or silpat mats. If you want to add some sparkle to the cookies, place some maple sugar or turbinado sugar in a saucer and dip in the tops of the dough balls. The cookie dough, even straight from the fridge, has a soft Play Doh-like consistency, so it will spread some when it bakes; keep this in mind when you space the cookie dough balls.
- Teaspoon-sized cookies need to bake 9 to 12 minutes; Tablespoon-sized take 11 to 13 minutes. Let set on cookie sheets for 10 to 15 minutes before moving to a rack to cool completely.
- Cookies will keep in a sealed container for weeks; store between layers of waxed paper or parchment. They are excellent for travel or shipping.
- OM NOM NOM!
Read More
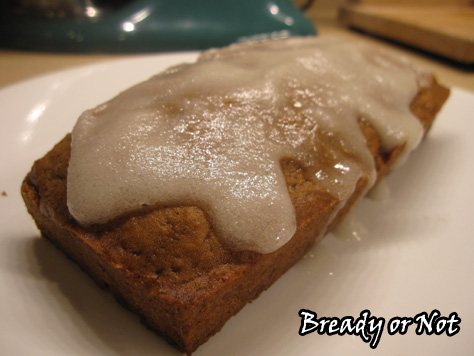
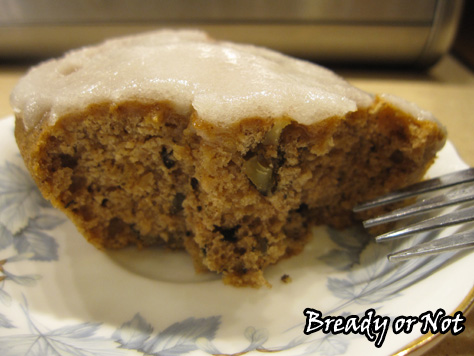
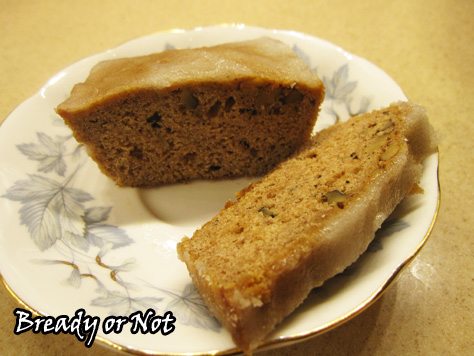
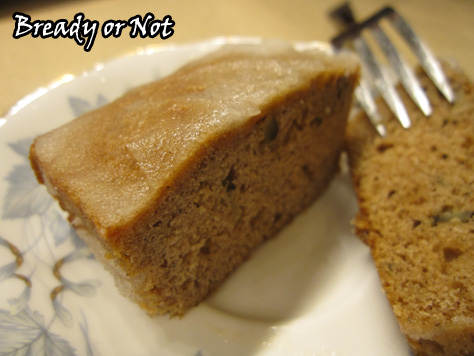
Bready or Not: Maple Sugar Cake: A Clockwork Dagger recipe
Maple is one of my favorite flavors. It’s also a flavor that is often mentioned in my Clockwork Dagger books, especially in connection with the northern kingdom of Frengia.
My new Clockwork Dagger novella “Wings of Sorrow and Bone” follows an important minor character from Clockwork Crown: Rivka. Her mother was Frengian and a baker, and teenaged Rivka is also a baker when you meet her in the book.
“Wings of Sorrow and Bone” begins soon after the events in Clockwork Crown. Rivka now lives in Tamarania City with her grandmother. Instead of running a bakery, she is pursuing her dream of becoming a master mechanist… but maple-flavored goods are still a major subject of nostalgia. They make her think of her old home, and her mama.
I looked around online for recipes that I thought would suit the more rustic world of my books. I found a maple sugar cake recipe
at The Kitchy Kitchen and decided to make some adaptions. I wanted something that would work for gift-sized loaf cakes.
Maple sugar is the one extravagant ingredient, but it can now be bought for a decent price on Amazon.com–heck, you can even subscribe and get it cheaper! A little maple sugar goes a long way, too. It’s potent stuff.
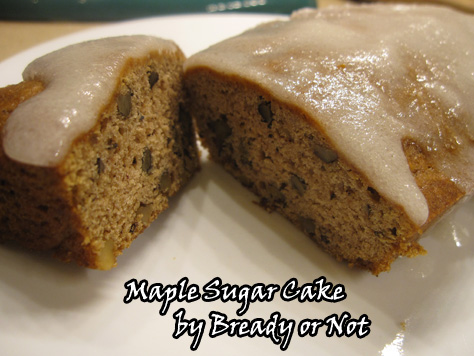
The resulting cake is perfect for breakfast or a snack. You can sweeten it up to your preference. Make glaze with the recipe below, or eat it plain. Plus, it freezes and keeps for months! I used it as a handy breakfast loaf to thaw out for company.
This maple loaf cake has a role in the novella, too. Maybe you can go all meta and eat some cake as you read about the cake!
Bready or Not: Maple Sugar Cake: A Clockwork Dagger recipe
Ingredients
For the loaf cake:
- 1/4 cup unsalted butter half stick, softened
- 1 1/2 cups maple sugar
- 2 eggs beaten
- 1/2 teaspoon salt
- 1 teaspoon baking soda
- 1 teaspoon cinnamon heaping
- 1/2 teaspoon nutmeg
- 2 1/2 cups all-purpose flour sifted
- 1 1/2 cups unsweetened applesauce
- 1 cup pecans or walnuts, chopped
Glaze for ONE small loaf:
- 1 cup confectioners' sugar or powdered xylitol, sifted
- 1 1/2 Tablespoons milk or almond milk or other substitute, more as needed
- 1/2 teaspoon maple flavor or vanilla extract
Instructions
- Preheat oven to 350-degrees. Prepare mini loaf pans (tin, stoneware, paper) by applying nonstick spray.
- In a large bowl, cream the butter and gradually add the maple sugar. Beat until creamy; with a mixer, this takes about a minute. Add the beaten eggs and combine.
- In a separate bowl, sift together the salt, baking soda, spices, and flour. Alternately add applesauce and dry ingredients to butter mixture. Once they are blended, fold the nuts into the batter. Distribute the batter among the pans; they should be about half full.
- Bake for 25 to 30 minute, until a tester comes out clean. Let cakes cool completely. If they are in a tin or stoneware pan, remove them from the dish.
- At this point, you can freeze the loaves wrapped in wax paper and plastic wrap or in a gallon bag.
- If you want to eat them now, store at room temperature or in fridge. Serve with glaze (see recipe above) or topped with powdered sugar or even a small amount of maple syrup... or plain! Eat cold or warmed in microwave.
- A loaf keeps for days if wrapped in the fridge. In the freezer, keeps for upward of six months.
- OM NOM NOM!
Read More
Bready or Not: Shimmering Maple Crisps: a Clockwork Dagger recipe
My Clockwork Dagger novella “Wings of Sorrow and Bone” is out next week, so let’s delve into a maple-filled recipe that fits right into my books’ world!
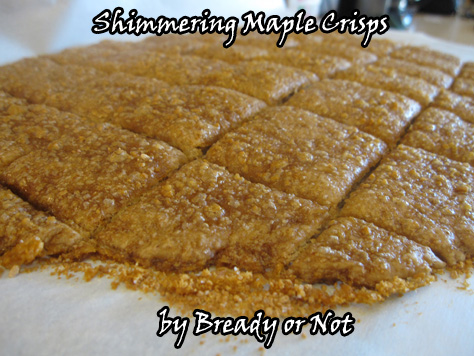
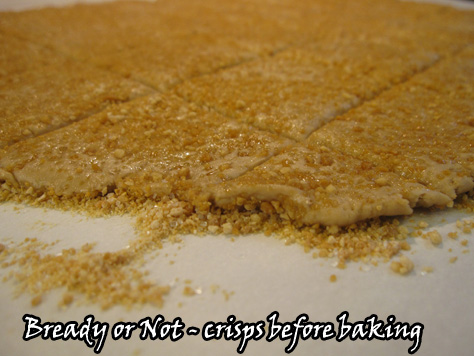
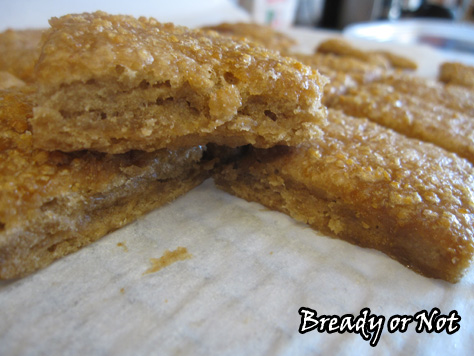
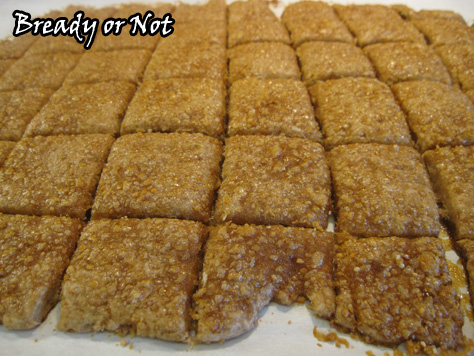
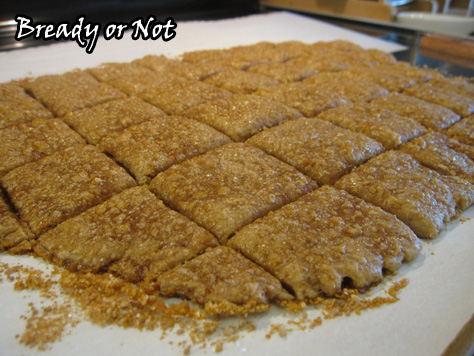
This is an incredibly unique recipe. It includes yeast and a whole bunch of maple flavor. The end result is a cookie that tastes and looks like a maple cracker.
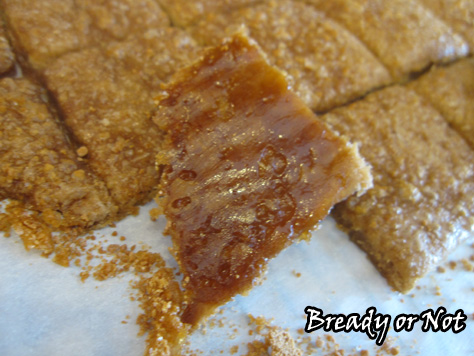
The secret to this is maple flavor in the dough and a healthy (okay, maybe not entirely HEALTHY) dose of maple sugar to create a crust on the top and bottom. On the base, this totally caramelizes kinda like maple syrup rendered into candy.
Which is what this is like, in a way.
In the Clockwork Dagger, the kingdom of Caskentia has many immigrant bakers from its northern neighbor, Frengia. They like to utilize maple. In The Clockwork Crown, you meet Rivka, a teenaged-baker who learned the trade from her mother. “Wings of Sorrow and Bone” continues Rivka’s adventure.
Maple is special for her. It’s the stuff of nostalgia. Also, it’s delicious.
These shimmering maple crisps play a brief but important role in the novella.
Next week’s recipe is also featured in “Wings of Sorrow and Bone.” Come back then to find out how to make maple sugar cake loaves!
Recipe greatly modified from The Monday Box
Bready or Not: Shimmering Maple Crisps: a Clockwork Dagger recipe
Ingredients
- 1 1/2 cups all-purpose flour plus more to smooth dough
- 1/2 cup + 1 Tablespoon milk or almond milk
- 1 teaspoon maple flavor
- 1 teaspoon instant yeast
- 1/4 teaspoon salt
- 1/2 cup unsalted butter 1 stick, room temperature
- 1/2 cup maple sugar or turbinado or decorating sugar, more or less as needed
Instructions
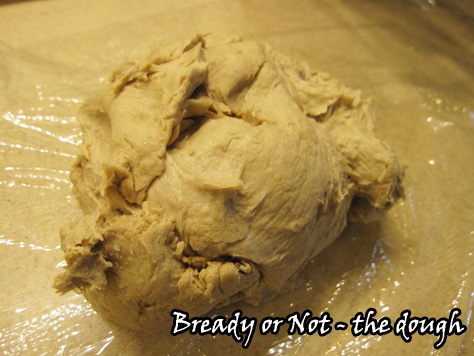
- In the bowl of an electric mixer, combine the 1 1/2 cup flour, milk, maple flavoring, yeast, and salt. Add the softened butter split into several chunks, mixing well each time before adding the next. Dough will likely be sticky and shaggy.
- Switch to a bread hook and slowly add more flour, a few tablespoons at a time, and mix. Pause to scrape the sides of the bowl and add more flour. Keep this up until it becomes smooth, elastic, and less sticky.
- Wrap the dough in plastic wrap and stash it in the fridge at least overnight.
- When it's time to bake, preheat the oven to 275-degrees. Place parchment paper on a large cookie sheet or two smaller sheets. Divide the dough if necessary, keeping the second in the fridge until you work with it.
- Sprinkle maple sugar on the parchment paper; you're using this instead of flour to create your nonstick surface. Sprinkle more sugar on top. Roll out the dough, adding more sugar beneath and on top, until you're able to get the dough out into a rough rectangle about the height of a cracker. You will have sugar embedded throughout the dough.
- Use a pizza wheel to slice the dough into 1 to 2 inch squares.
- Bake for 50 to 70 minutes, until the sugars have caramelized and the cookies have achieved desired crispness. Follow the old lines the slice the cookies again, then lift up the parchment paper to a rack to cool completely.
- Store in an airtight, room temperature container for a week or more. Use wax paper between the layers of cookies to prevent any sticking. The texture will change some as the days pass--depending on humidity--but they remain delicious.
- OM NOM NOM!
Read More
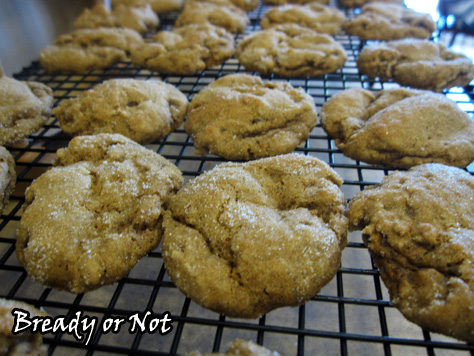
Bready or Not: Pumpkin Maple Cookies
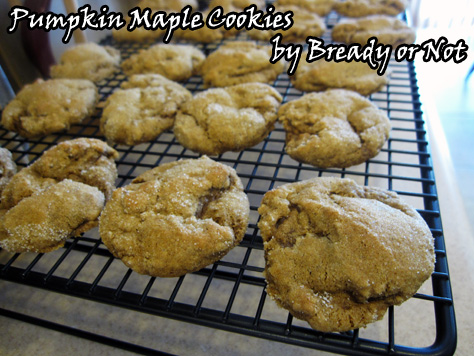
These cookies epitomize the season of fall in a single cookie.
First you taste pumpkin and the cinnamon, ginger, and cloves, then that is followed by the mellow sweetness of maple. The texture is chewy and perfect.
I found the original of this recipe at Two Peas and Their Pod and thought, “Hey, you know what this recipe needs for some extra oomph? MAPLE.”
The flavors play so well together. Add that to the chewy texture and the lovely light orange tint of pumpkin, and you have the perfect goodies to accompany a hot drink on a brisk autumn night.
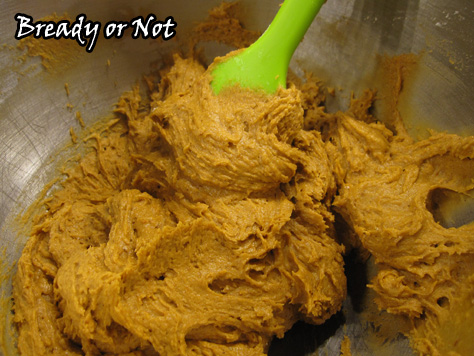
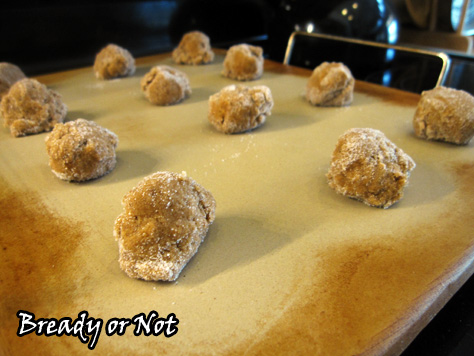
Do note that this cookie dough is very sticky and goopy. It needs to chill in the fridge so that it can be shaped and rolled in sugar. So plan ahead for this one: make the dough, then bake everything hours or a day later.
Adapted from Pumpkin Gingersnap Cookies at Two Peas and Their Pod.
Bready or Not: Pumpkin Maple Cookies
Ingredients
- 1/2 cup unsalted butter 1 stick, room temperature
- 1 cup white sugar plus more for rolling the cookies
- 1/2 cup pumpkin puree
- 1/4 cup molasses
- 1 large egg room temperature
- 1 teaspoon vanilla extract
- 1/2 teaspoon maple flavor
- 2 1/3 cups all-purpose flour
- 2 teaspoons baking soda
- 2 teaspoons cinnamon
- 1 1/2 teaspoons ground ginger
- 1/2 teaspoon ground cloves
- 1/2 teaspoon salt
Instructions
- In a large bowl, beat the butter and sugar together until creamy and smooth. Add the pumpkin, molasses, egg, vanilla extract, and maple flavor.
- In a medium bowl, whisk together the remaining dry ingredients. Add them to the batter until just combined. Refrigerate the cookie dough for at least 1 hour or up to 3 days.
- When it's time to bake, preheat the oven at 350-degrees. Use greased stoneware or line a baking sheet with silicone mats or parchment. Place white sugar in a small bowl. Use a scoop to drop balls of dough in the sugar. Roll them around and then place on baking sheet. (Note: the dough is very sticky and goopy. It needs to be chilled to be workable, so be sure to place it back in the fridge between batches.)
- Bake for 9-11 minutes for teaspoon sized dough, or 10–12 minutes for tablespoon-sized. The cookies should look crackled and set, but still soft. Let them cool on the baking sheet for ten minutes before moving to a rack.
- OM NOM NOM!
Read More
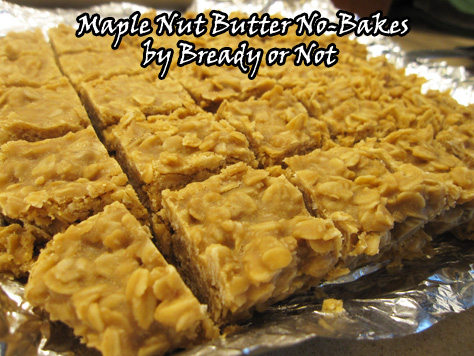
Bready or Not: Maple Nut Butter No-Bakes
When you need maple goodness whipped up quickly with no baking involved, here’s your go-to recipe: Maple Nut Butter No-Bakes.
I had PB & Co Mighty Maple Peanut Butter, so I went with that to add some maple oomph. You can use various nut butters here, but avoid the natural kind where the oil separates. That would make these too dry and probably make it turn out weird.
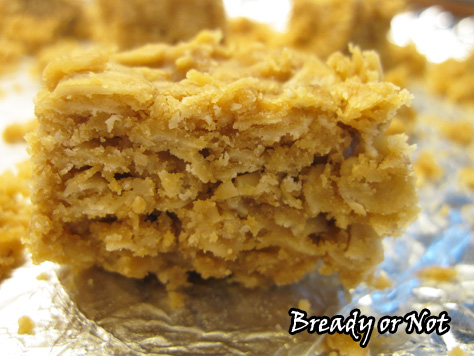
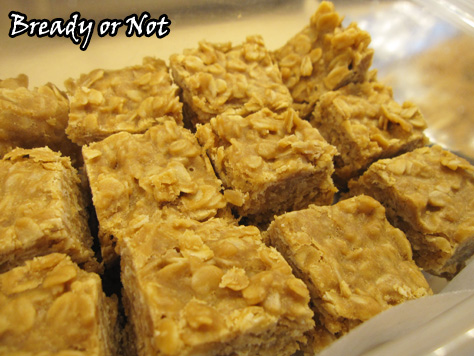
I made these because I needed to create goodies on a quick timeline, so I put them in the fridge straight away, chilled them for an hour and a half, then sliced them. The bars crumbled some, I think because I didn’t chill them long enough. They were still mostly intact, though, and tasted fabulous.
Therefore, I highly recommend these get to cool down at room temp and then have a few more hours in the fridge, just to solidify things and make the end result a little prettier.
The taste is what matters most, though. If you love maple, you must make these bars. It’s maple candy. Sweet, chewy, maple candy. With autumn nigh, these are perfect to whip out for any of the forthcoming holidays!
Modified from Maple Almond No-Bakes at Lovely Little Kitchen.
Bready or Not: Maple Nut Butter No-Bakes
Ingredients
- 1/2 cup unsalted butter 1 stick
- 1 1/2 cups white sugar
- 1 cup almond butter or peanut butter; not natural, it's too dry
- 1/4 cup milk almond milk works
- 1/2 teaspoon maple flavor
- 3 cups old fashioned rolled oats
Instructions
- Prepare an 8x8 or 9x9-inch baking dish by lining it with foil or parchment paper then greasing it. Measure out the maple flavor and oats so they are ready to add quickly.
- In a medium pan, bring the butter, sugar, almond butter, and milk to a boil over medium high heat. Stir frequently. Bring the mix to a full boil for one minute, stirring constantly, and then removed from the heat and stir in maple extract. Immediately add the oats and stir thoroughly to coat everything.
- Glop the mixture into the baking dish. Cool at room temperature and then chill in fridge for several hours until it is firm.
- Use the foil or parchment to lift out the bars for easy cutting. Best served chilled.
- OM NOM NOM!


