Bready or Not: Maple Pound Cake
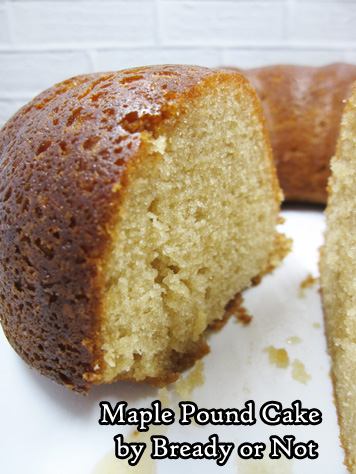
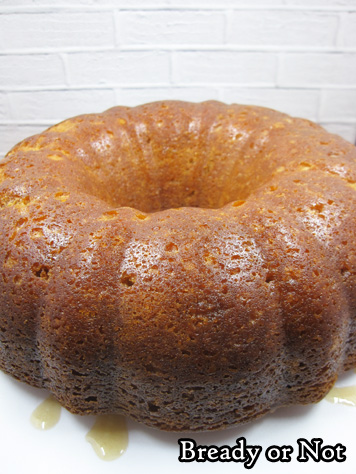
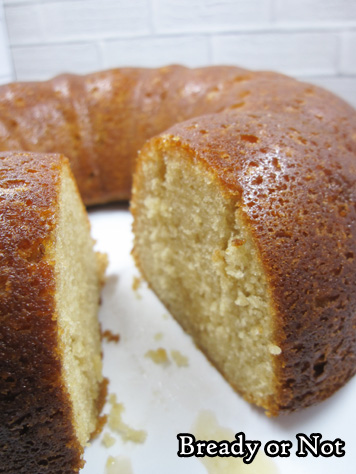
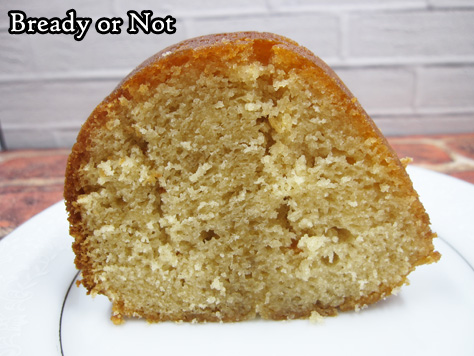
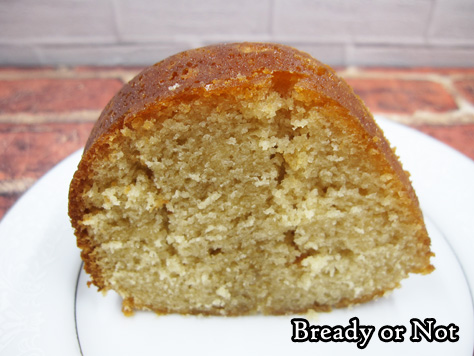
This bundt cake tastes just like a fluffy pancake with maple syrup. I am dead serious.
On this date, my 18th anniversary, I celebrate by sharing this amazing not-a-pancake-but-tastes-like-pancake cake. It’ll blow your mind.
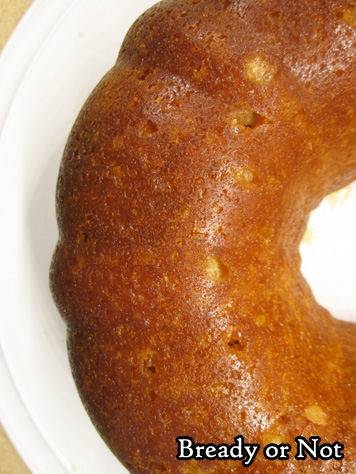
The original recipe was from King Arthur Flour, but I turned it into a poke cake because I didn’t want all the glaze on the outside. I wanted to infuse it. I wanted the dough to marinate in glorious maple.
If you love maple, this is your new favorite pound cake.
This would be great for breakfast if you need to feed a crowd. Bake this up the day before, and slice this up in the morning. No fussing over individual pancakes! Just eat more cake!
Plus, no worries about leftovers. Bundt cakes like this are awesome because you can cut them into slices, freeze them up waxed paper, then transfer them to a freezer bag or container. Thaw them to eat, or zap them in the microwave straight from the freezer.
In case it didn’t come across, you should know that this cake is awesome. You should make it.
Modified from King Arthur Flour.
Bready or Not: Maple Pound Cake
Ingredients
Cake
- 2 cups cake flour
- 1 teaspoon baking powder
- 1/4 teaspoon baking soda
- 1 teaspoon salt
- 3/4 cup unsalted butter 1 1/2 sticks, softened
- 2/3 cup light brown sugar packed
- 2 large eggs
- 1/2 cup real maple syrup
- 1 cup sour cream 8 ounces
- 1 teaspoon vanilla extract
- 1/2 teaspoon maple flavor
Glaze
- 2 Tablespoons unsalted butter
- 1/4 cup real maple syrup
- 1/4 cup water
Instructions
- Preheat oven at 350-degrees. Grease a 9-or-10-cup bundt pan.
- In a medium bowl, sift together the cake flour, baking powder, baking soda, and salt. Set aside.
- In a big mixing bowl, beat together the butter and brown sugar until light and fluffy. Add eggs one at a time, scraping sides of bowl in between. Pour in the maple syrup.
- Mix in half the flour mixture. Then stir in the sour cream, vanilla, and maple flavor. Add the rest of the flour mix, until everything is just combined.
- Pour into the prepared pan. Bake for 45 to 50 minutes, until a cake tester inserted into the middle comes out clean. Let cool on rack for 10 minutes, then invert the cake onto the rack. Don't wash the pan! Set it aside for now.
- After an hour and a half--or longer--begin making the glaze. In a medium saucepan, combine all three glaze ingredients. Bring it a rapid boil, then reduce to a simmer for 5 to 8 minutes, until it thickens to a syrupy consistency. Remove pan from heat.
- Carefully invert the cooled cake into the pan again. Use a chopstick or skewer to stab all over the cake. Slowly spoon or pour about half the glaze into the holes and edges. Let it rest a few minutes. Invert the cake again onto the cake pan base or a storage plate. Again, stab the top of the cake to create holes, then spoon the rest of the glaze on. Can also use a basting brush to cover the exterior of the cake and sweep up any drippings.
- Store cake covered at room temperature. Slices can also be frozen.
- OM NOM NOM!
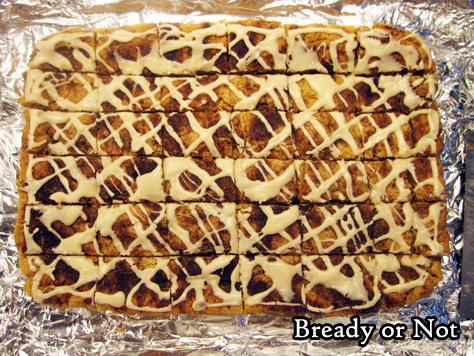
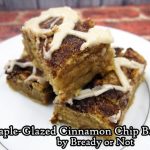
Bready or Not: Maple-Glazed Cinnamon Chip Bars
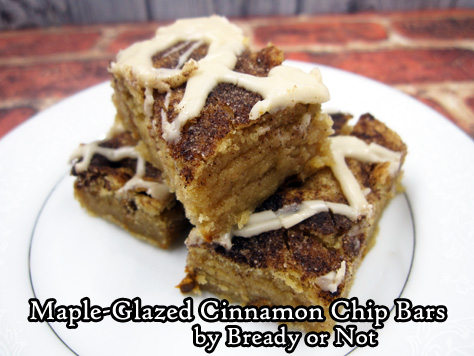
Most of the sweet treats I make go with my husband to his work. These Maple-Glazed Cinnamon Chip Bars left everyone there dazzled and amazed.
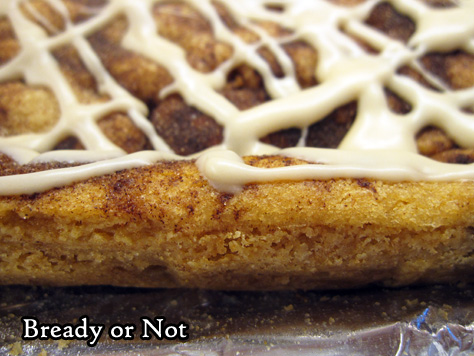
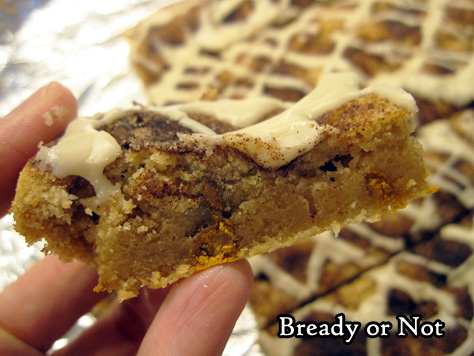
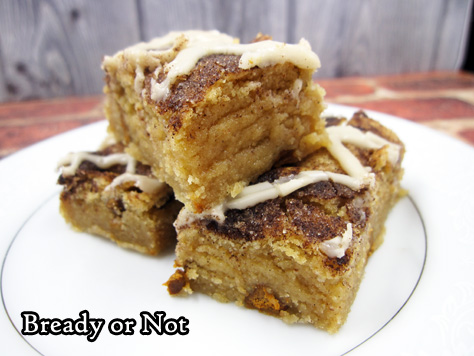
I confess, they turned out even better than I anticipated, too, though I knew from the start they combine many of my favorite things: soft and chewy blondie bars, cinnamon chips, more cinnamon and sugar on top, and a touch of maple glaze.
I actually debated whether or not the glaze was necessary. Would it be too sweet?
I soon found out that no, the glaze was not too sweet. It adds just a little extra oomph to complement the existing sweetness in the bars.
The bars travel keep and travel well, too. I kept them chilled in the fridge–I live near Phoenix, after all, my kitchen tends to be warm year-round–in sealed containers, with waxed paper between stacked layers. We found the bars were amazing after three days, but it’s kind of a miracle they lasted even that long.
These things are GOOD. Really good. Even by Bready or Not standards.
Modified from Taste of Home 13×9 Holiday Special Issue, 2015.
Bready or Not: Maple-Glazed Cinnamon Chip Bars
Ingredients
Bars
- 1 cup unsalted butter 2 sticks, softened
- 2 cups brown sugar packed
- 2 large eggs
- 2 teaspoons vanilla extract
- 2 2/3 cups all-purpose flour
- 2 teaspoons baking powder
- 1 teaspoon salt
- 3/4 cup cinnamon chips
Topping
- 1 Tablespoon white sugar
- 1 teaspoon cinnamon
Glaze
- 1/2 cup confectioners' sugar
- 3 Tablespoons pure maple syrup
- 1/2 teaspoon vanilla extract
Instructions
- Preheat oven at 350-degrees. Line a 13x9 baking pan with aluminum foil and apply nonstick spray.
- In a large bowl, cream together butter and brown sugar, followed by the eggs and vanilla.
- In a separate bowl, sift together flour, baking powder, and salt. Gradually beat the dry ingredients into the butter mixture. Fold in the cinnamon chips.
- Spread batter in the pan. Combine the topping ingredients and sprinkle them all across the top of the batter.
- Bake for 20 to 25 minutes, until golden brown and the middle passes the toothpick test. Cool completely in pan on a wire rack.
- To make the glaze, combine all three ingredients in a small bowl until smooth in texture. Drizzle over top of bars and let set for fifteen minutes.
- Use foil to lift contents onto cutting board. Slice into bars. Store in an airtight container between layers of wax paper, either at room temperature or refrigerated.
- OM NOM NOM!
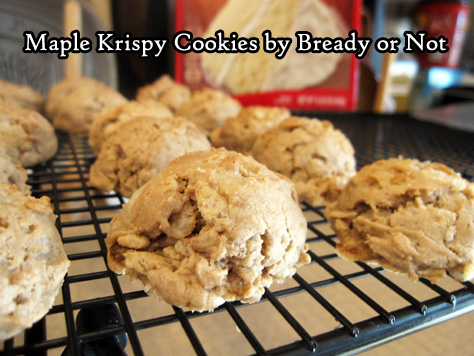
Bready or Not: Maple Krispy Cookies [uses cake mix]
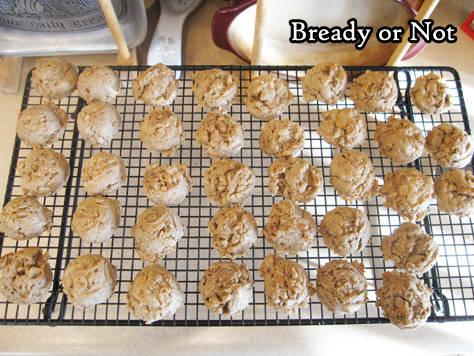
If you need a cookie recipe that comes together in five minutes, this recipe for Maple Krispy Cookies is perfect!
I love to highlight cake mix recipes every so often for a couple reasons. First of all, doctored cake mix can produce really tasty desserts. Second, it’s an ingredient that is cheap and accessible to people on a tight budget.
Third, it can be used as a fantastic shortcut in recipes like this, where everything comes together in a matter of minutes.
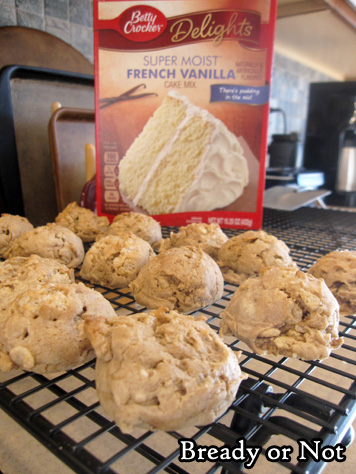
I used a French Vanilla Betty Crocker box for these, but any kind of white or vanilla mix should do. You want a good base to infuse with maple flavor.
My husband described these cookies as “maple krispies in cookie form.” (I do have a maple krispies recipe. It’s also included in my Sweet Maple cookbook.)
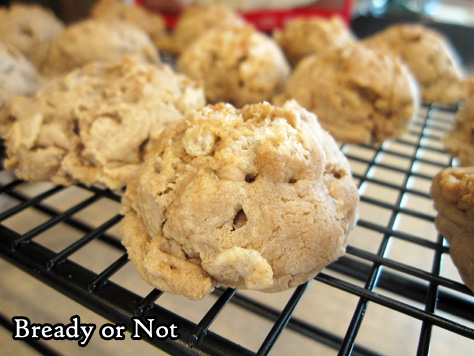
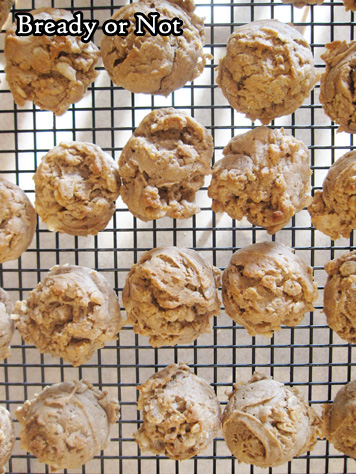
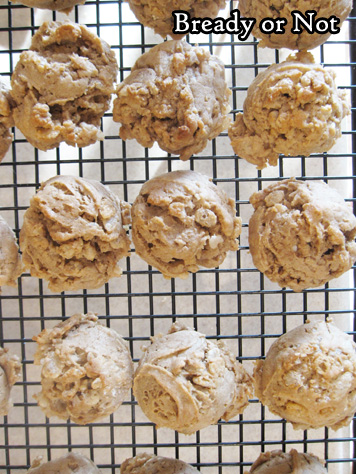
These cookies end up with a lovely, fresh maple flavor which does a good job of masking the undeniably chemical taste of cake mix. Plus, the cereal pieces give each cookie a lovely, light crunchiness.
Bready or Not: Maple Krispy Cookies [uses cake mix]
Ingredients
- 18 white cake mix or vanilla
- 1/2 cup unsalted butter melted
- 1 large egg
- 2 teaspoons maple flavor
- 1 teaspoon vanilla extract
- 1 1/4 cup puffed rice cereal like Rice Krispies
Instructions
- Preheat oven at 350-degrees.
- In a large bowl, stir together the cake mix, butter, egg, maple flavor, and vanilla extract. When those are just combined, carefully stir in the cereal, trying not to crush it.
- Use a teaspoon scoop or spoon to dole out dough onto a cookie sheet. Bake for 10 to 12 minutes; also to set on sheet for about 10 minutes, then move cookies to a rack to finish cooling. Store in a sealed container.
- OM NOM NOM!
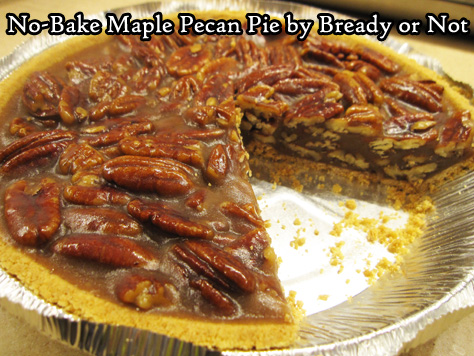
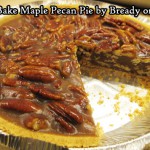
Bready or Not: No-Bake Maple Pecan Pie
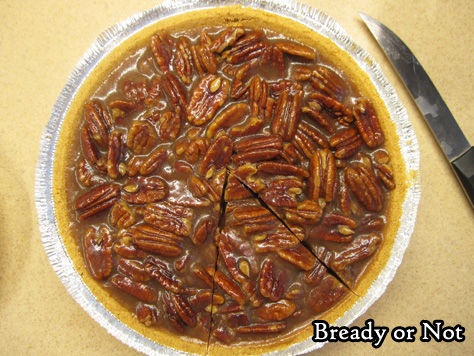
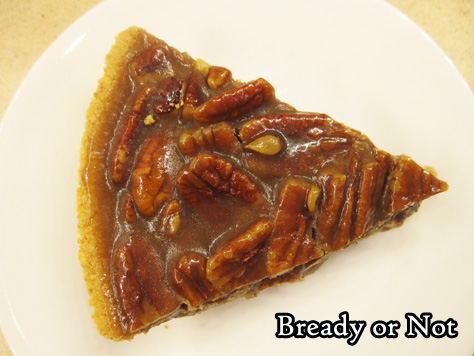
I am never baking a pecan pie again. This will be my go-to recipe forever more: No-Bake Maple Pecan Pie.
Depending on how fast your stovetop heats up, you may have your pie assembled in 15 to 20 minutes without ever having to heat up the oven.
No worries about making a crust or pre-baking a crust or any of that. Every time I’ve made this, I’ve used a graham cracker crust from Wal-mart. You could make a from-scratch graham crust if you want, but I’m all about making this pie as quickly and conveniently as possible.
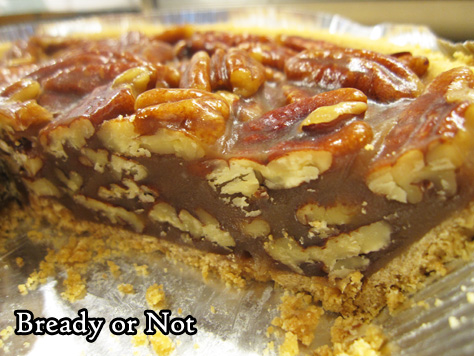
The way the filling solidifies once chilled is kind of amazing. It’s easy to cut but stays intact, with the exception of some graham cracker crumbles. My husband was able to cut slices and wrap them in plastic wrap to take with his lunch to work, then eat the pieces right out of hand. No need for a fork.
This is the perfect holiday pie, to my way of thinking. It dirties almost no dishes. It doesn’t use the oven. It keeps perfectly well, tucked in the fridge.
Oh yeah, and it’s DELICIOUS. Sweet, slightly-crunchy, and decadent, just as a pecan pie should be.
Modified from Southern Plate.
Bready or Not: No-Bake Maple Pecan Pie
Ingredients
- 3/4 cup brown sugar light or dark, packed
- 3/4 cup unsalted butter 1 1/2 sticks
- 1/4 cup pure maple syrup
- 1/4 cup honey
- 3 Tablespoons milk or cream or half & half
- 1 teaspoon vanilla extract
- 2 1/2 cups whole pecans
- 1 graham cracker crust homemade or store-bought
Instructions
- Place the brown sugar, butter, maple syrup, and honey in a medium-sized pot. Set the heat to medium high and stir constantly as it comes to a boil.
- Once it's boiling, add the pecans and milk/cream. Reduce to a low boil and keep it there for 10 to 12 minutes, stirring often. Remove from heat and add vanilla extract.
- Pour everything into the graham cracker crust. Let cool on counter to set. Cover and place in fridge to completely chill for several hours before cutting.
- Keep pie stored in fridge. Pie keeps well for at least a week.
- OM NOM NOM!
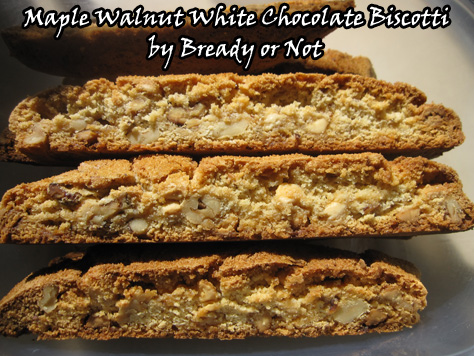
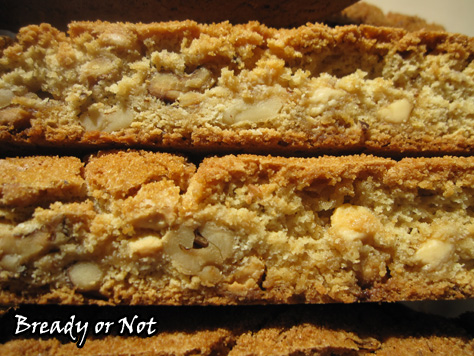
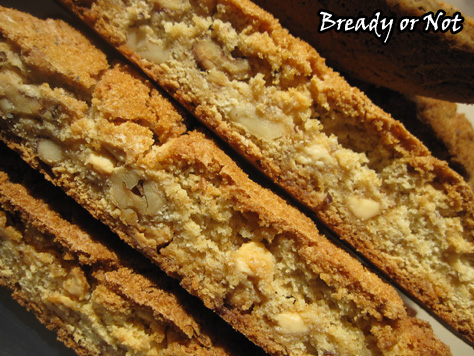
Bready or Not: Maple Walnut White Chocolate Biscotti
Back in May, I posted my Snickerdoodle Biscotti recipe. This is the next installment: Maple-Walnut White Chocolate Biscotti, modified from a King Arthur Flour recipe.
I first made this following the original version pretty closely. I received feedback that it was good, but it was also way too nutty.
Clearly, I needed to rewrite the recipe and make it work. I decided to halve the walnuts, and replace that half with white chocolate chips. This time, I received feedback that they were the most awesome biscotti ever.
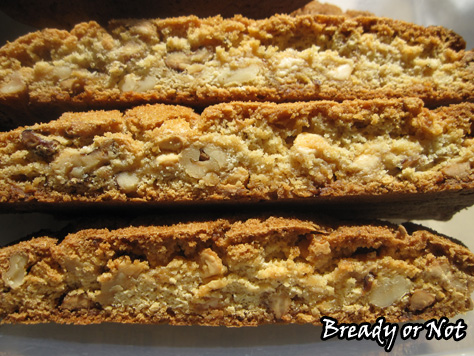
In a single bite, it’s easy to see why. The maple flavor is great, the walnuts add a wonderful crunch within the already-crunchy dough, and the white chocolate adds sublime sweetness to bring everything together.
Since these are biscotti, they will keep well, sealed, for weeks. That makes these great for mailing (though perhaps not in the middle of summer, as there is some chocolate in these) or presenting as gifts.
As I noted before, homemade biscotti cannot be compared to the store versions, which could be used as billy clubs to defend households against burglars. Homemade biscotti are crunchy but still chewy… and, of course, taste best if dipped into coffee or tea.
Bready or Not: Maple Walnut White Chocolate Biscotti
Ingredients
- 1 cup walnuts coarsely chopped
- 2 large eggs
- 1/2 cup white sugar
- 1/2 cup brown sugar packed
- 1/4 cup pure maple syrup
- 3/4 teaspoon maple flavor
- 1/3 cup unsalted butter melted
- 2 1/2 cups all-purpose flour
- 2 teaspoons baking powder
- 1/2 teaspoon salt
- 1 cup white chocolate chips
- 1 Tablespoon maple sugar optional, or turbinado sugar for topping
Instructions
- Preheat oven at 350-degrees. Line a baking sheet with parchment. Toast the walnuts for about 8 minutes, until they're light golden brown and smell toasty. Set them aside in a bowl to cool, but keep the parchment on the pan.
- In a large bowl, beat together the eggs, sugars, maple syrup, and maple flavor. Add the melted butter, and beat until smooth.
- Mix in the flour, baking powder, and salt. Add the walnuts next, followed by the white chocolate chips.
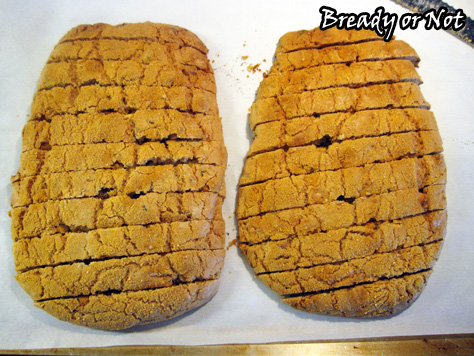
- Divide the dough in half on the prepared baking sheet. Form each into a log about 4 inches wide and 10 inches long; make sure there is space between the two logs, as they'll grow in the oven.
- Sprinkle maple sugar or turbinado sugar over the tops of both logs.
- Bake about 30 minutes, until the biscotti is lightly browned with small cracks forming across the top. Remove the baking sheet, but be sure to leave the oven on.
- Let the biscotti cool for 10 minutes. Use a large knife, such as a bread knife, to diagonally slice the logs 1/2-inch apart. Use a straight-down motion to cut; don't saw.
- Arrange the biscotti spaced out on the baking sheet. Stand them up if possible, or lay them on their sides. Bake for another 20 to 25 minutes, flipping them over halfway if necessary, to equally crisp both sides.
- Cool completely on the baking sheet. Store in an airtight container as long as a few weeks.
- OM NOM NOM!
Read More
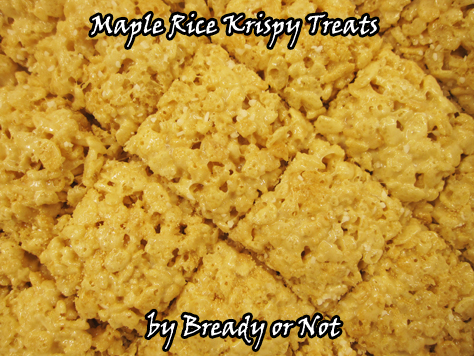
Bready or Not: Maple Krispy Treats
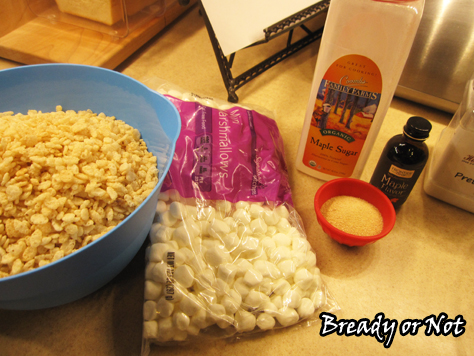
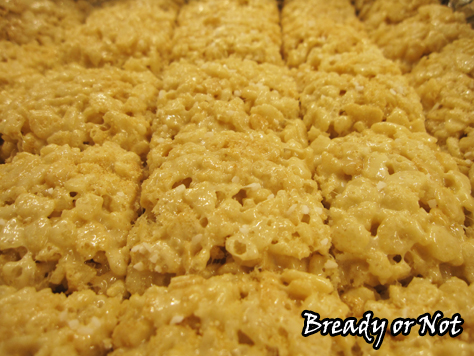
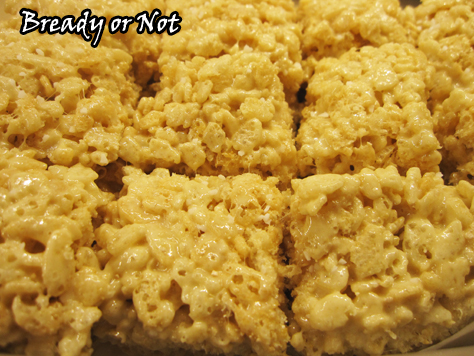
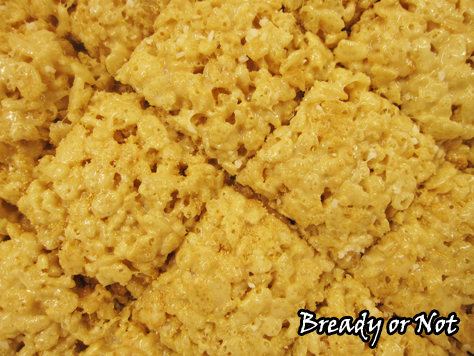
Regular Bready or Not readers know that I espouse that everything is better with maple. Case in point: Rice Krispy Treats, now with maple.
I had to make this several times to get the right flavor and balance. An onerous task, I assure you. In the end, I created an original recipe that’s perfect for maple lovers.
This recipe can be made in the microwave or on the stovetop. Just make sure you’re using a large bowl or pot, as you need room to stir in a lot of cereal, and take care when heating. Burned marshmallows are a bad, bad thing.
If you do this in the microwave, which is my preference, you will have ready to eat treats in under 30 minutes.
Even more importantly–for people in hot environs like me–you won’t heat up the house when it’s already a zillion degrees outside. That makes this the perfect summer recipe.
Did someone scoff at that because of the maple flavor? Pfft. Maple flavor knows no season. If it’s tasty and you like it, make it, no matter what the calendar says.
A Bready or Not Original: Maple Krispy Treats
Ingredients
- 6 tablespoons unsalted butter
- 2 Tablespoons maple sugar or use brown sugar and more maple flavor
- 2 teaspoons maple flavor
- 10 ounces miniature marshmallows 1 bag
- 1/4 teaspoon kosher salt
- 6 cups Rice Krispies or similar puffed rice cereal
- sprinkle maple sugar optional, or kosher or pretzel salt for the top
Instructions
- Line an 8-inch square pan with aluminum foil then coat the surface with butter or non-stick spray. Stage the maple sugar, maple flavor, and marshmallows so they are ready to add quickly.
- These treats can be made in the microwave or on the stovetop. Either method: on low, gradual heat, melt the butter in a large bowl.
- Once the butter is melted, remove from heat and stir in the maple sugar and maple flavor. Add marshmallows and stir. This will just barely start to soften the mix, so continue to heat gradually until the marshmallows become smooth goop; in the microwave, use 20 second zaps and stir well between each pass. Stir until no white streaks remain. Remove from heat again, if needed.
- Add the cereal and 1/4 teaspoon salt. Mix until everything is coated, then pour into the prepared pan. Quickly spread it to the corners and evenly press it down with a rubber spatula. (If the goop sticks to the spatula too much, quickly use nonstick spray on it or rub it with butter.)
- When the cereal mix is even, sprinkle coarse salt and maple sugar on the top, if desired.
- Let the pan cool for at least 15 minutes. Slice into bars while everything is still in the pan, then use the foil to lift them all out at once. Store for up to two days in a sealed container, with waxed paper between layers to prevent sticking.
- OM NOM NOM!
Read More


