Bready or Not Original: Pancetta Risotto
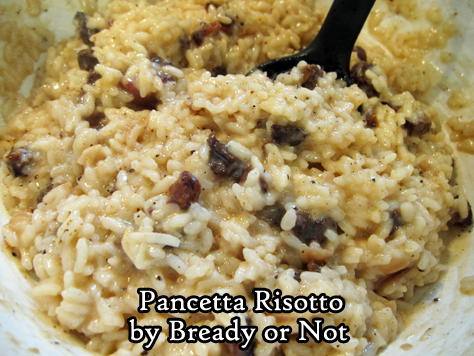
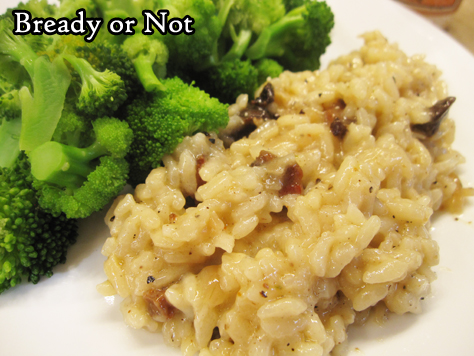
This Pancetta Risotto is a fantastic meal for two people, or a delicious side for a group. It’s time-consuming but very straightforward to make.
I confess, I spent years being intimidated by the very idea of a risotto. I would see it done on cooking shows. So much stirring! When I finally got up the gumption to give it a try, I found risotto wasn’t hard at all. It really is about lots of stirring.
This recipe here is my fancy occasion recipe, especially when I have some good pancetta on hand, such as the kind carried by Smoking Goose Meatery out of Indianapolis.
As for the wine, I’ve tried this with fancier Sauvignon Blanc from Total Wine (Cloudy Bay from New Zealand) as well as a $6 Trader Joe’s Coastal Sauvignon Blanc. Both versions turned out great! You don’t need to go all-out, but get something that is (hopefully) drinkable with the finished meal.
Bready or Not Original: Pancetta Risotto
Equipment
- large stock pot
- medium saucepan
Ingredients
- 8 oz pancetta diced
- 1 Tablespoon dried shallots or fresh shallot, finely minced
- 3 cloves garlic minced
- 1 1/4 cups Arborio rice
- 1 cup dry white wine Sauvignon Blanc works well
- 4 cups chicken broth or chicken stock, equal to a 32 oz box or 2 cans
- 1/2 cup shredded Parmesan or Pecorino Romano or Grana Padano, plus more to top rice
- salt and pepper to taste
Instructions
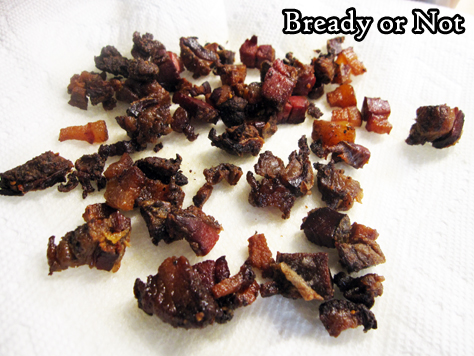
- In a large stock pot, cook the pancetta for 10 to 12 minutes, until it starts to turn brown and crispy. At the same time, on another stove burner, use a medium sauce pan to bring the chicken broth to a very low simmer.
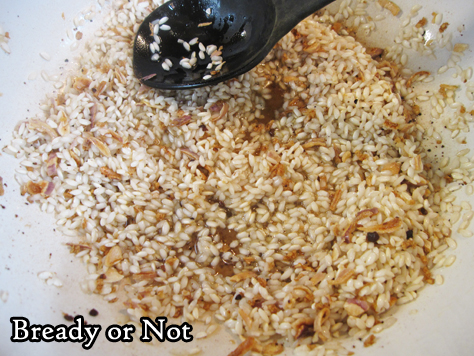
- Use a slotted spoon to transfer pancetta to a paper towel-lined plate; set aside. Add dry shallots and garlic to the fat in the big pot. Sauté for two minutes. Add the Arborio rice and a pinch of salt. Sauté another 2 minutes, until the rice looks glossy with translucent edges.
- Add the white wine and stir until it is absorbed. Add chicken broth in 1/2 cup increments, stirring well after each addition until it is absorbed. After about 12 to 15 minutes, when most of the broth has been added, begin to taste the rice. The goal is a chewy, al dente consistency. Add more broth as needed, and remember to turn off the burner for the broth pot when it is empty.
- When the rice is creamy and al dente, stir in the pancetta and cheese. Taste the risotto again, adding more salt and pepper as needed. Serve with the remaining white wine.
OM NOM NOM!
Bready or Not: 5 Minute Artisan Pizza Dough and Cast Iron Pan Pizzas
Today’s Bready or Not is a 2-for-1 deal: a recipe for fast and easy pizza dough, followed by the process I use for divvying up that dough to make small but thick cast iron pan pizzas.

The basic dough recipe is modified from the great book Artisan Bread in 5 Minutes a Day. [Affiliate link] Yes, this dough really comes together in 5 minutes. It also keeps for up to 2 weeks AND can be frozen.

The method for making mini pizzas in a skillet is one I practiced a few times several years ago, then made a LOT during 2020 as my husband was working from home more often. I perfected it to the point where I had to write it down–and share here.

The pan pizza recipe is pretty much an outline to show the timing on the shaping, rise, and crust-cooking, but the ingredients are all up to you!

Bready or Not: 5 Minute Artisan Pizza Dough
Ingredients
- 1 1/3 cups warm water
- 2 Tablespoons olive oil
- 1/2 Tablespoon white sugar
- 3 1/4 cups all-purpose flour
- 3/4 Tablespoon kosher salt
- 2 teaspoons pizza seasoning or Italian seasoning, optional
- 2 1/4 teaspoons active yeast or one packet store-bought active yeast
Instructions
- Place the water, olive oil, and sugar in a big mixing bowl, stand mixer, or food processor. Add the flour, salt, and seasoning, if using. Start mixing together, then sprinkle in the yeast. Mix until just combined.
- Keep in same bowl, if desired, or transfer to another bowl that is greased. Loosely cover top with plastic wrap or towel and let dough rise at room temperature until it flattens out on top, about two hours.
- Dough can be used now but is much easier to handle when cold. Refrigerate in a non-airtight container and use within two weeks. Dough can also be frozen in freezer bags, for up to a month, and defrosted later in the fridge.
OM NOM NOM!
Bready or Not Original: Cast Iron Pan Pizzas
Equipment
- 10-inch cast iron skillet
Ingredients
- handful pizza dough
- olive oil
- desired toppings and seasonings
Instructions
- Preheat oven at 450-degrees. Add about a tablespoon of olive oil to a cast iron skillet and place the pan in the oven to heat up.
- Grab a good handful of pizza dough, or as much as desired to bake today. Oil a small space of counter or table as well as hands, and gently stretch and press out the dough to a rough circle. If it tears, patch with other pieces of dough as best possible. Let dough rest for about 20 minutes.
- By this time, the oven should have preheated. Use a potholder to pull out the skillet. Carefully swirl the hot oil in the pan to coat the bottom and set pan down on a safe surface. Carefully, again, place the dough in the pan.
- Bake crust for 6 to 10 minutes, until it is set. Pull out of oven and add desired toppings.
- Put pizza in oven for another 6 to 10 minutes, until crust is golden and toppings are cooked to desired level. Let pizza cool for about 10 minutes, then slide onto a plate or other surface to slice and eat.
- OM NOM NOM!
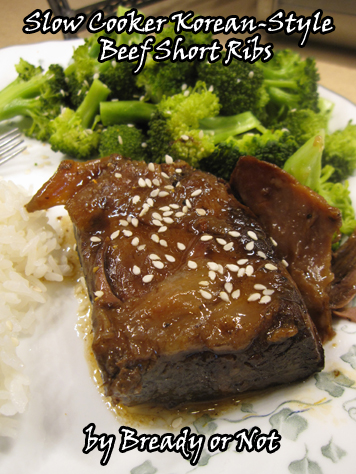
Bready or Not Classic: Slow Cooker Korean-Style Short Ribs
If all has gone according to plan, I’ve fled to a far-distant isle to enjoy Wensleydale cheese and scones. I didn’t want to schedule new recipes while I travel as I won’t be able to promote them to the fullest. Therefore, I’m revisiting a classic recipe this week. Enjoy!
I’m presenting to you the recipe for one of the best dishes I’ve ever made in a crock pot: Korean-Style Short Ribs.
I have made this many times over now. I’ve even tried it using cheaper cuts like chuck roast and rump roast. Those worked out okay (though the meat really dries out before its soak in the juice at the end), but they are nowhere as delicious as the short rib version.
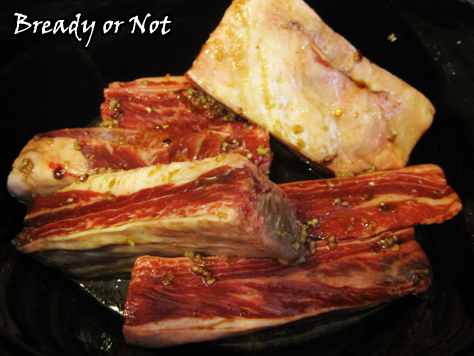
It turns out amazing whether you use boneless or bone-in ribs–a mix is a great way to go, too! Don’t trim the fat. You want all that flavor. The end result is a sauce that tastes like you added red wine, but you didn’t. It’s like MAGIC.
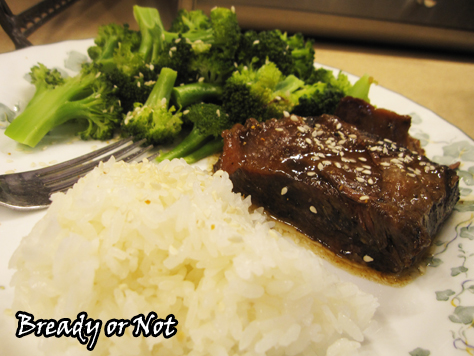
Seriously, these ribs taste like something from a great Asian restaurant. Pair it with some broccoli and a good spoonful of the sauce, and YUM.
Whenever I see beef short ribs go on sale, I do a little dance of joy because it means I get to make this recipe again.
Bready or Not Classic: Slow Cooker Korean-Style Beef Short Ribs
Ingredients
- 1/2 cup low-sodium soy sauce
- 1/3 cup light brown sugar packed
- 2 Tb sesame oil
- 2 Tb rice vinegar
- 1/2 teaspoon powdered ginger
- 4 cloves garlic minced
- 1/2 tsp red pepper flakes
- 5 lbs beef short ribs bone-in adds more flavor, but boneless works
- 1-2 Tb cornstarch
- sesame seeds optional
Instructions
- In a small bowl, mix together soy sauce, brown sugar, oil, vinegar, ginger, garlic and red pepper. Place the ribs in a 5 or 6-quart slow cooker; pour the sauce over them. Cover and cook on HIGH for 4 hours or on LOW for 9 hours. Depending on how the ribs are stacked in the cooker, you may want to quickly stir them at some point halfway through.
- Use a slotted spoon to remove the ribs from the cooker. Place a tablespoon of corn starch in a small bowl and add some juice from the cooker. Whisk them together to create a slurry without lumps, and add back into the crock pot. Stir. If the juice doesn't start to thicken, repeat the process with some more corn starch.
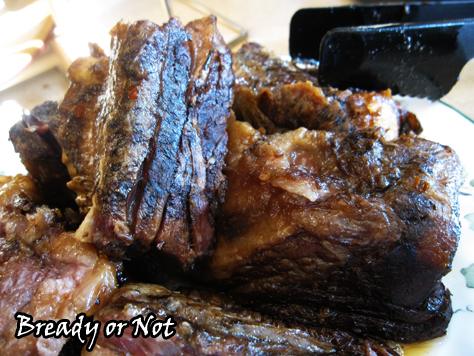
- Either keep the ribs intact, or pull meat into chunks and discard the bones and fat. Place meat in cooker again on WARM setting for 10 minutes or so to soak in flavors. Serve. Great with rice, broccoli, and perhaps a sprinkling of sesame seeds!
- OM NOM NOM!
Bready or Not: Slow Cooker Beef Chili
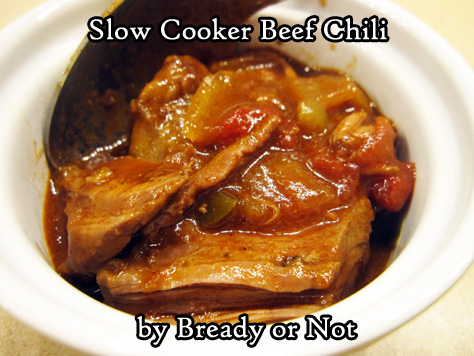
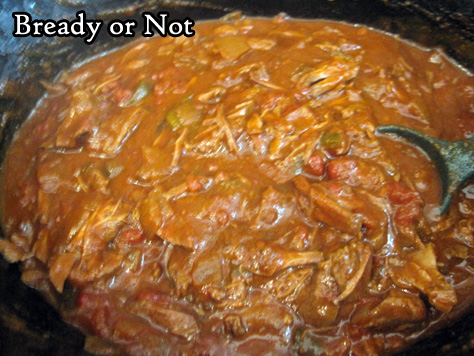
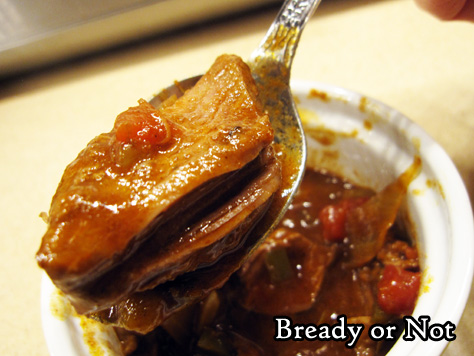
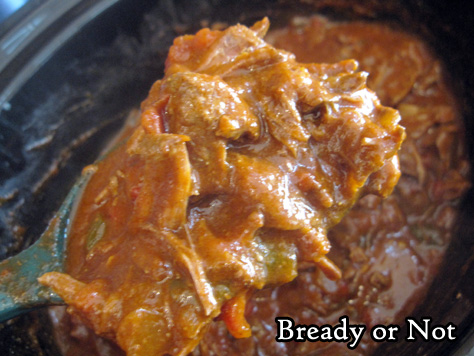
Make a big ol’ pot of meat with this recipe for Slow Cooker Beef Chili!
My husband loves a good, spicy chili. He does not like beans. This recipe is his favorite.
I find it simple to put together, too. The only fussy thing is taking the time to brown the meat, but I can typically do that in two batches.
There are several heat levels of Rotel-like canned tomatoes and chilies out there. There are also tomato sauce cans and boxes with added spice. In our case, I add a hefty sprinkle of a local Hatch New Mexican seasoning mix.
These make for great leftovers, too, and you can even throw some in a freezer bag to heat up later on!
Modified from The Everything Soup, Stew, & Chili Cookbook edited by Belinda Hulin.
Bready or Not: Slow Cooker Beef Chili
Ingredients
- 2 - 2 1/2 pounds beef stew meat or chuck roast, chopped into 1-inch cubes
- 2 Tablespoons vegetable oil
- 1 whole onion diced
- 1 green bell pepper cored and diced
- 2 Tablespoons all-purpose flour
- 4 Tablespoons chili powder hot or otherwise
- 1 teaspoon ground cumin
- 1 teaspoon salt
- 1/2 teaspoon garlic powder
- 10 ounce can tomatoes and green chilies like Rotel
- 14-15 ounces tomato sauce canned or boxed
- additional spices or sauces to preference
Instructions
- In a skillet or wok, brown beef in vegetable oil over high heat. Use a slotted spoon to transfer beef to the crock pot. Add onion to pan and cook for just a few minutes to soak up the drippings. Add onion to the slow cooker, followed by the green bell pepper.
- In a small bowl, combine the flour, chili powder, cumin, and salt. Sprinkle over the meat. Pour the cans of chili and tomatoes and the tomato sauce over the meat. Stir with a large spoon.
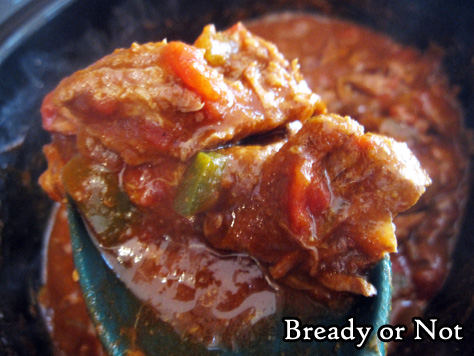
- Place lid on slow cooker and cook on low for 6 to 8 hours, or on high for 3 to 4 hours. Turn heat to low, and break the meat into smaller pieces. It should flake apart under little pressure. Taste and adjust seasonings as desired.
- Eat and enjoy. Keep leftovers in fridge up to 3 more days, or freeze for later enjoyment.
- OM NOM NOM
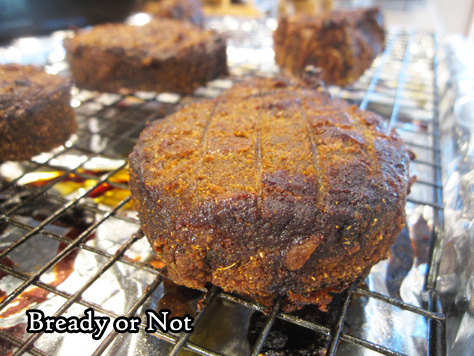
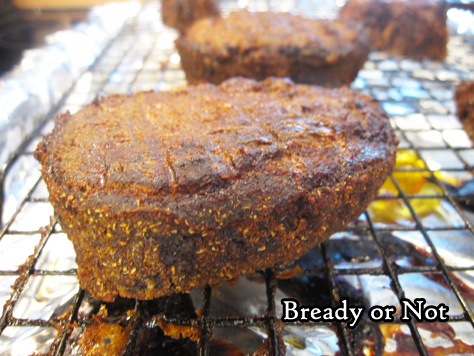
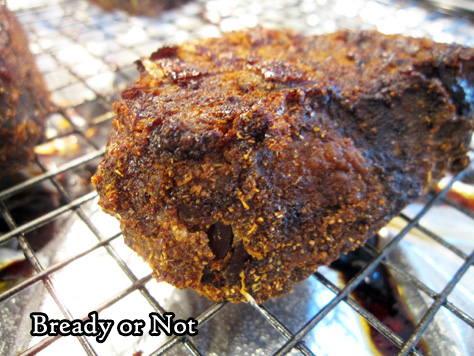
Bready or Not: Homemade Beef Jerky
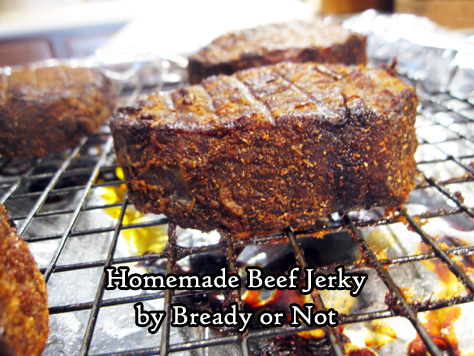
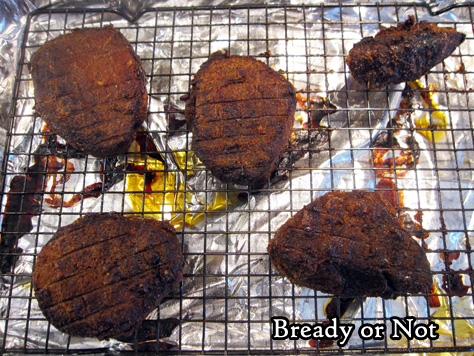
Beef jerky is expensive to buy. If you can catch a good sale on an eye of round roast, this recipe makes cheap and delicious Homemade Beef Jerky.
It’s really amazing how easy this recipe is. Cut up roast into chunks. Cover pieces in spices. Marinate for a day in the fridge. Bake for 6 to 7 hours. Done.
I’ve made this recipe a couple times now, and honestly, the weirdest thing is keeping the meat at room temperature after baking.
I mean, I’m used to doing that with store-bought jerky, but it feels weird to do that with home-cooked meat. However, I haven’t sickened or killed myself or various loved one with my homemade jerky, so I take that as a positive.
Most of the eye of round roasts I find on sale tend to be over 2 1/2 pounds. I just use more generous measures of spices for the rub. This isn’t a recipe where everything needs to be exact. Just make sure there’s enough rub to cover everything.
Also, the amount of cayenne looks like a lot, but the heat in this recipe is pleasant, not set-your-mouth-on-fire level. I can testify that myself and others who can’t stand spicy-hot have eaten this jerky without any issues.
And if you want more heat, by all means. Dump in more cayenne!
Modified from Michael Symon’s Beef Jerky recipe in Food Network Magazine, December 2017.
Bready or Not: Homemade Beef Jerky
Ingredients
- 2 - 2 1/2 pounds eye of round roast trimmed of fat
- 1 1/2 Tablespoons kosher salt
- 2 teaspoons white sugar
- 2 teaspoons garlic powder
- 1 teaspoon onion powder
- 1 teaspoon cayenne pepper
- 1 teaspoon chipotle chili powder
- 1/2 teaspoon coriander
- 1/2 teaspoon smoked paprika
Instructions
- Slice the beef against the grain into chunks roughly 1 inch by 3 inches long. If the pieces look large, that's fine; they'll shrink a lot as they cook.
- In a mixing bowl, combine all of the spices. Liberally cover the beef pieces, using the entire mix. Place beef in a gallon bag, and keep sealed in the fridge for 24 hours or so.
- Preheat oven at 250-degrees. Line a baking sheet with foil and place a metal rack on top; apply nonstick spray. Set the meat on the rack so that no pieces are touching.
- Bake for 6 to 7 hours, until quite dry. If you want pieces chewier, remove closer to 6 hour point.
- Let cool completely to finish drying. Store in sealed container at room temperature for up to several months.
- OM NOM NOM!
Bready or Not: Pumpkin Pucks
I continue to revisit old favorite pumpkin recipes to incorporate more experience and better photography. This week’s recipe is for Pumpkin Pucks.
These happen to be gluten-free and paleo, if you follow those diets. More to my needs, they are high-protein, avoid processed flours, and are DELICIOUS.
They are rather like mini pumpkin pie custards with a slightly nutty taste. Do note that this can be made with whole wheat and/or all-purpose flour, if you don’t care about it being gluten-free… but I by far prefer the taste with almond flour.
I have also used different nut butters. Almond butter tastes the strongest–in a very good way–though cashew butter was fantastic, too.
Once, I only had 3/4 cup of pumpkin, so I made up for the difference with applesauce. I found no major difference in taste or texture.
I find that two of these make for a delicious breakfast. The size makes them very kid-friendly. I have kept them in the fridge for upwards of a week. Also, these are fantastic to freeze. Just be sure to remove the muffin cup liners and use waxed paper between layers.
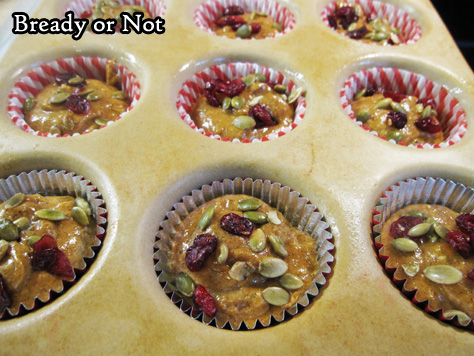
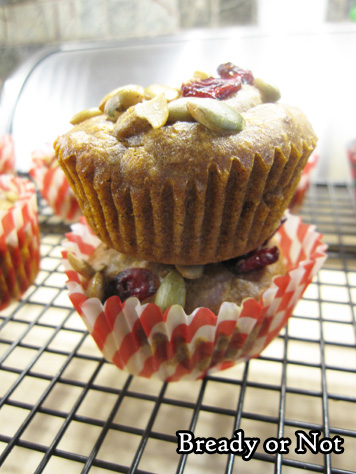
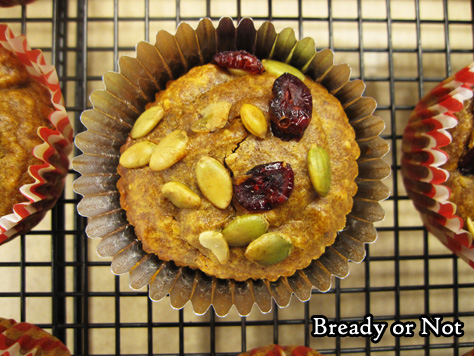
You can alter the flavor with different toppings, too. Mini chocolate chips are my favorite! Pepitas and dried cranberries work well, too; note that the cranberries are tart but mellow after time in the fridge.
Enjoy this healthy recipe, and be warned that next week takes a decidedly sugary turn with a recipe for Pumpkin Roll!
Modified from Paleo Parents.
Bready or Not: Pumpkin Pucks
Ingredients
- 1 cup pumpkin puree
- 1 cup almond butter or other nut butter
- 1/4 cup honey
- 2 Tbsp maple syrup
- 2 eggs room temperature
- 1/3 cup almond flour or wheat or all-purpose flour
- 1 Tbsp cinnamon
- 1 tsp nutmeg
- 1/2 tsp salt
Topping choice: 1/3 cup mini chocolate chips, OR chopped nuts or pepitas, or dried cranberries
Instructions
- Place muffin cup liners in pan, then spray the insides with nonstick spray. Preheat oven at 350-degrees.
- If your almond butter is very stiff, measure it out, place in a microwave-safe bowl, then zap it for 15 seconds or so to soften it. Mix pumpkin puree and the almond butter together.
- Add honey and maple syrup. Beat in eggs one at a time. Add the dry ingredients until everything is just combined.
- Fill the muffin cups to 3/4 full; a tablespoon scoop makes this easy, as it's almost exactly 2 tablespoons to fill the cups. Top with mini chocolate chips or nuts or cranberries, if desired.
- Bake at 350-degrees for about 20 minutes. Pumpkin pucks will not rise much. The tops of some may start to crack. Remove them from pan and allow to cool, then store in fridge.
- OM NOM NOM!


