Bready or Not Original: Glazed Lemon Ginger Bars
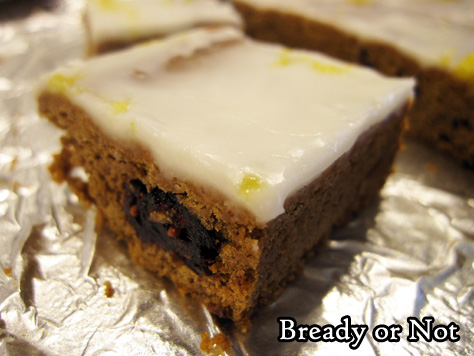
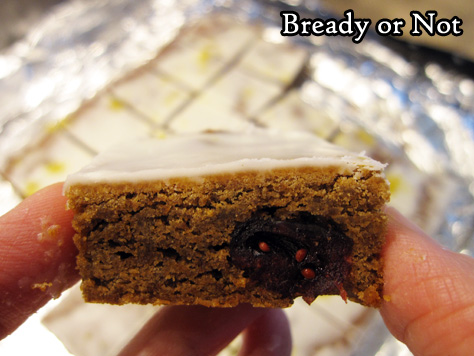
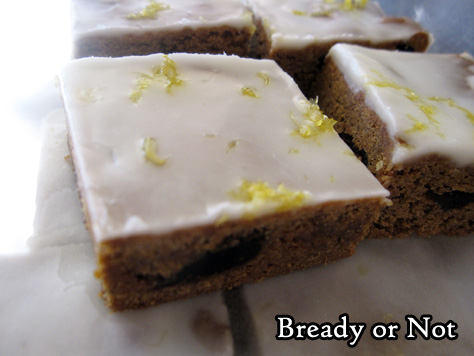
These Glazed Lemon Ginger Bars are zippy and fresh, perfect to serve at the holidays and year-round!
I firmly believe good food should be enjoyed whenever. I suppose some people would try to classify these as a Christmassy thing because they are a kind of gingerbread bar. To that, I say NOPE.
I’m rebellious. It’s April. Ginger is an awesome spice. It should be confined to no season. Be free, ginger!
These bars aren’t all about the ginger, though. The spices here are nuanced and delicious, and the lemon plays a pretty big part in the crisp glaze.
Try to make these things at least a day ahead of when they will be served, too, as they taste even BETTER after sitting in the fridge. I say that, but they are pretty awesome while fresh, too.
This is the second entry in my April of lemon recipes. Here’s what else you can look forward to this month!
Lemon Sour Cream Bundt Cake
Glazed Lemon Ginger Bars [you are here]
Cranberry Lemon Biscotti
Cream Cheese Stuffed Lemon Bundt Cake
Lemon Frangipane
Bready or Not Original: Glazed Lemon Ginger Bars
Equipment
- 13x9 pan
Ingredients
Bars
- 10 Tablespoons unsalted butter softened
- 3/4 cup brown sugar packed
- 1/2 cup molasses
- 1 large egg
- 2 cups all-purpose flour
- 2 teaspoons ground ginger
- 1/2 teaspoon baking soda
- 1/2 teaspoon baking powder
- 1/2 teaspoon ground cinnamon
- 1/4 teaspoon salt
- 1/2 cup dried cranberries
Glaze
- 1 Tablespoon unsalted butter melted
- 1 cup confectioners' sugar plus more as needed
- 5 teaspoons lemon juice
- 3/4 teaspoon vanilla extract
- 1/2 teaspoon lemon zest finely grated
Instructions
- Preheat oven at 350-degrees. Line a 13x9 pan with aluminum foil and apply nonstick spray or butter.
- In a large bowl, cream together butter and brown sugar until light and fluffy. Add molasses and egg.
- In a separate bowl, mix together the dry ingredients: flour, ginger, baking soda, baking powder, cinnamon, and salt.
- Gradually mix dry ingredients into the wet, until just combined. Fold in the dried cranberries.
- Pour batter into prepared pan and even out. Bake for 20 to 25 minutes, until middle passes toothpick test. Cool completely.
- To make the glaze, in a small bowl melt the butter. Add the confectioners' sugar, lemon juice, and vanilla extract. Stir to create a thick, spreadable consistency, adding more sugar if needed to thicken or more lemon juice or water to thin. Spread atop bars. Sprinkle zest over the top. Let glaze set before cutting.
- Store bars sliced, with waxed paper between layers, in sealed container in fridge. Note that these bars taste even better after chilling for a day! They keep well for several days, too.
OM NOM NOM!
Bready or Not Original: Lemon Sour Cream Bundt Cake
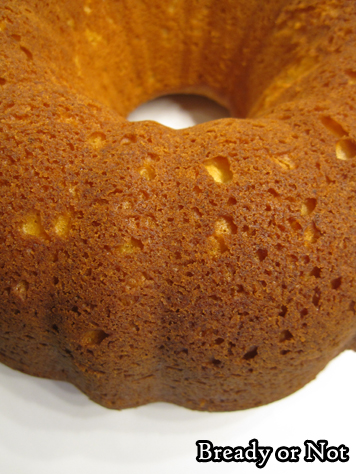
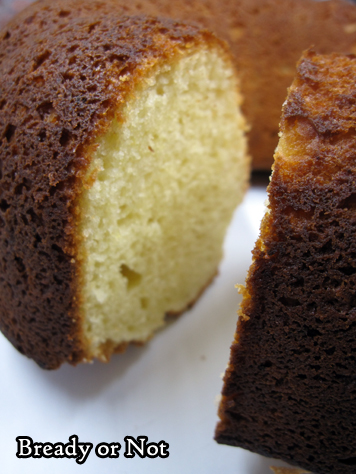
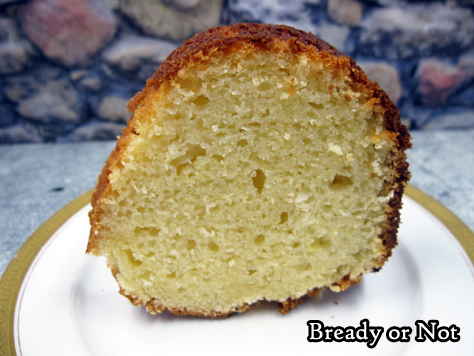
No foolin’. This Lemon Sour Cream Bundt Cake is simple and delicious.
This isn’t a hardcore sweet dessert. I found it similar to a mild lemony shortcake, something good on its own and over-the-top amazing with the addition of fresh fruit and whipped cream.
I didn’t even bother with a glaze. Doesn’t need it. That makes this an especially friendly recipe to slice and freeze for later enjoyment.
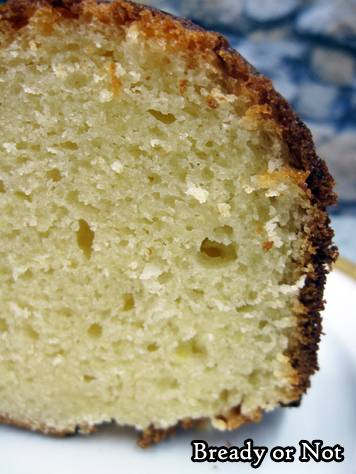
I know some people worry about the taste of sour cream in cakes. Don’t. Sour cream (or substitute with vanilla or plain Greek yogurt) adds moisture, creating a soft, tender crumb.
This recipe kicks off an entire month of lemon recipes! Look forward to these delectable treats in the coming weeks:
Glazed Lemon Ginger Bars
Cranberry Lemon Biscotti
Cream Cheese Stuffed Lemon Bundt Cake
Lemon Frangipane
Bready or Not Original: Lemon Sour Cream Bundt Cake
Equipment
- large bundt cake pan
Ingredients
- 3 cups all-purpose flour
- 2 teaspoons baking powder
- 1/2 teaspoons baking soda
- 1/4 teaspoons salt
- 1 cup unsalted butter 2 sticks softened
- 1 1/2 cups white sugar
- 1/2 cup lemon juice
- 4 eggs
- 1 cup sour cream 8 ounces
Instructions
- Preheat oven at 350-degrees. Grease a bundt pan and set aside.
- In a medium bowl, combine the flour, baking powder, baking soda, and salt together.
- In a large bowl, cream together the butter and sugar. Add the lemon juice, then mix in the eggs one at a time. Stir in half the flour mix. Add the sour cream, then follow up with the rest of the dry ingredients. Pour into prepared pan.
- Bake for 55 to 60 minutes, until it passes the toothpick test. Cool for twenty minutes in the pan, then invert onto a wire rack to completely cool.
- Store covered at room temperature.
OM NOM NOM!
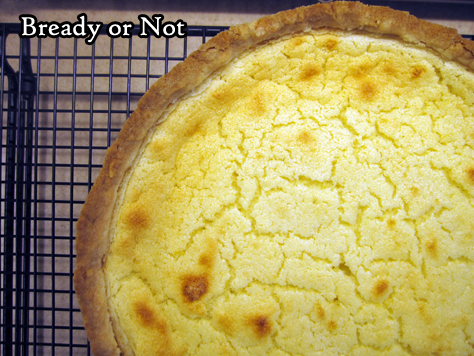
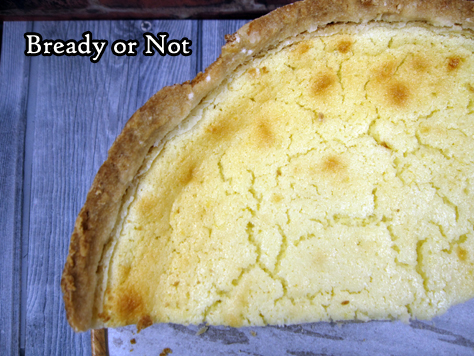
Bready or Not: Irish Lemon Pudding Tart
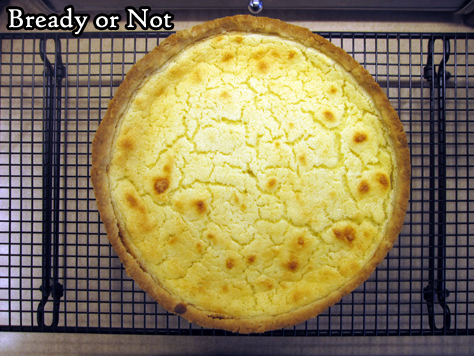
St. Patrick’s Day nears. Let’s celebrate with a scrumptious Irish Lemon Pudding Tart!
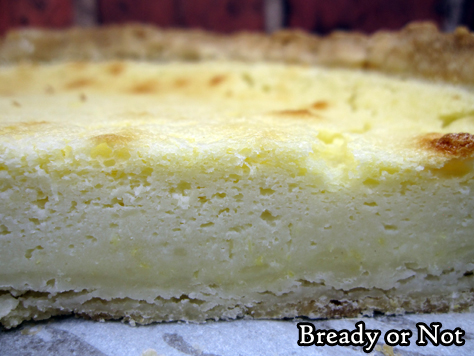
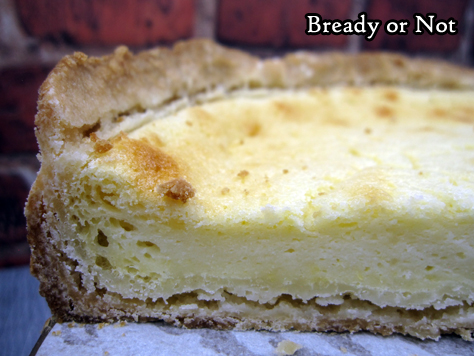
Mind you, this is “pudding” in more of a British/Irish sense, meaning a dessert. Don’t expect this to have the texture of American Jell-O pudding.
No, this is delightfully fluffy because egg whites are beaten stiff and folded in right at the end, adding loft light texture.
Make no mistake: this tart takes work. It dirties a lot of bowls.
But wow, does it taste like something special. I certainly can’t find anything like this in stores around the southwest US.
Even better, this tart keeps very well in the fridge for at least a week. Just keep it covered by foil.
This isn’t a super-sweet dessert. The fresh lemon flavor is at the forefront. Really, this is a perfect spring or summer dessert. Or breakfast. Or snack.
Bready or Not: Irish Lemon Pudding Tart
Equipment
- 9-inch springform pan
- parchment paper
Ingredients
Crust:
- 1/2 cup unsalted butter 1 stick
- 1 1/4 cups all-purpose flour
- 3 Tablespoons white sugar
- 1/4 teaspoon salt
Pudding:
- 2 eggs whites and yolks, divided
- 2 Tablespoons unsalted butter softened
- 1/4 cup white sugar
- 2 large lemons zested and juiced
- 1/2 cup all-purpose flour
- 1 1/4 cups milk or substitute 1 cup half & half plus 1/4 cup water
- 1 teaspoon lemon extract
Instructions
Make the crust:
- Cut parchment paper to fit inside springform pan. Apply nonstick spray; place parchment circle inside, then spray again to coat the entire inside of pan.
- Melt butter in microwave or on stovetop.
- In a large bowl, stir together flour, sugar, and salt. Pour in the butter. Use hands to knead ingredients together until they can form a ball. Flatten out handfuls and place in prepared pan, forming an even layer across the bottom and up about 2/3 of the height of the pan walls. Cover with plastic wrap and chill about 30 minutes.
- Preheat oven at 350-degrees.
- Take pan out of fridge. Use a fork to prick bottom and sides of crust all over. Bake for 10 minutes, then set aside to prepare filling.
Make the pudding:
- Place the egg whites in a bowl that can accommodate a hand mixer. Set aside.
- In a large bowl, beat together butter and sugar. Add egg yolks and beat until fluffy. Add lemon zest, juice, and lemon extract. Beat until smooth; add flour, and mix until just blended. Pour in milk and incorporate. Batter will look thin with bubbles at the edges of the bowl.
- Return to the egg white bowl. Use a hand mixer to beat until stiff peaks form.
- Fold whites until batter without losing too much volume. It's okay if there are still some lumps. Pour batter into crust.
- Bake for 35 to 40 minutes, until middle is set and passes toothpick test. Let cool completely.
- Unlock sides of springform pan. Store on base disc of pan, or move to another dish, if desired. Keep draped by foil in fridge for up to a week. Serve cold or slightly warmed.
OM NOM NOM!
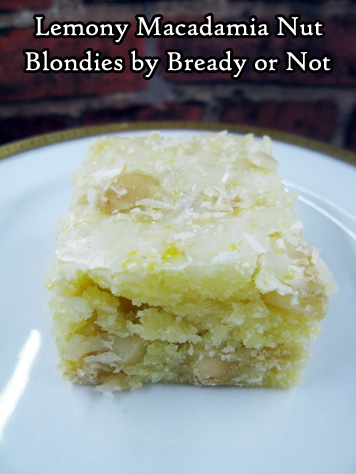
Bready or Not: Lemony Macadamia Nut Blondies
Welcome to MACADAMIA NUT MONTH! Why is this Macadamia Nut Month? Because next month on the 23rd, the final book in my Blood of Earth trilogy comes out! Macadamia nuts are a big product of Hawaii, and Hawaii is a major setting in Roar of Sky. Plus, macadamia nuts are awesome.
If you love these nuts, get ready to bliss out. This month includes recipes for:
White Chocolate Macadamia Nut Pie
White Chocolate Macadamia Nut Cookies
Lemony Macadamia Nut Bars (today)
Mini Fruit Cake Loaves to make now for the holidays (macadamia nuts optional)
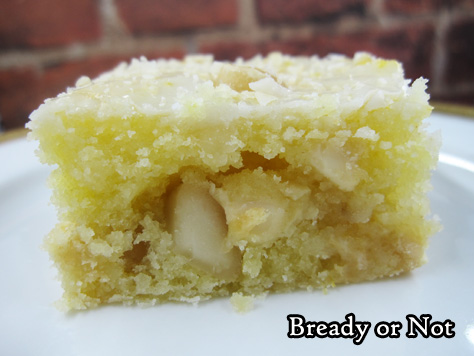
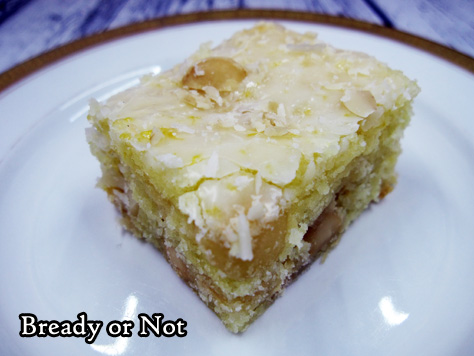
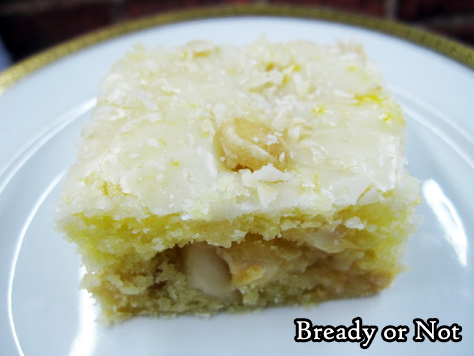
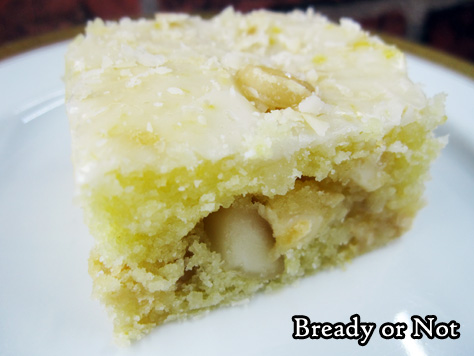
Sweet, tart, crunchy, fresh: these Lemony Macadamia Nut Blondies have it all going on.
My husband loves good lemon treats, and these met his whole-hearted approval–and his co-workers apparently went bonkers for them, too.
I’m honestly surprised there aren’t more goodies out there that combine lemon and macadamia nuts. It’s such an awesome combination.
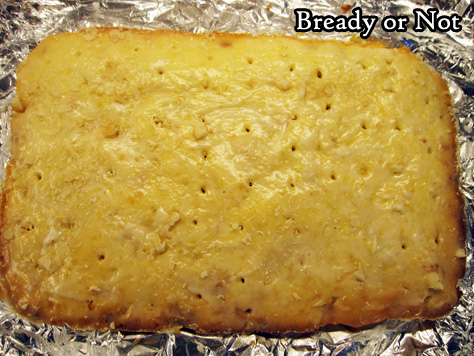
Here, the chewiness of the blondies is amped up by a very thin glaze that soaks into the bars while they are still hot. I was afraid the glaze might make them too sweet, but it turned out perfect.
If you have leftover macadamia nuts around, do remember to store them in the fridge! Their high fat content can cause them to spoil at room temperature, whereas they will keep for ages in the fridge.
Trust me, no one wants to eat rancid nuts.
Modified from Epicuricloud.
Come back next week for a recipe with optional macadamia nuts: mini fruit cake loaves, quite customizable with the dried fruit and nuts! And please preorder Roar of Sky!
Bready or Not: Lemony Macadamia Nut Blondies
Ingredients
Bars
- 1 cup unsalted butter 2 sticks, softened
- 1 1/2 cups white sugar
- 4 eggs room temperature
- 3 lemons zested, setting aside a pinch for the glaze
- 2 Tablespoons fresh lemon juice
- 1 1/2 teaspoons lemon extract
- 1 1/2 cups all-purpose flour
- 1/2 teaspoon salt
- 1 cup white chocolate chips
- 1/2 cup macadamia nuts
Glaze
- 1 cup confectioners' sugar
- 2 Tablespoons lemon juice
- lemon zest
- 1/4 cup macadamia nuts finely chopped
Instructions
- Preheat oven to 350 degrees. Line a 13x9-inch pan with foil and apply nonstick spray.
- In a large bowl, cream together the butter and white sugar. Add eggs one at a time followed by the lemon zest, lemon juice, and lemon extract. Stir in the flour and salt. When those are just incorporated, add the white chocolate chips and macadamia nuts.
- Pour the batter into the ready pan. Bake for 25-35 minutes, until it passes the toothpick test in the middle.
- Immediately after that is done baking, make the glaze by stirring together the confectioners' sugar and reserved lemon juice and zest. Use a chopstick or similar tool to poke small holes across the top of the blondies. Pour the glaze over the top and use a spoon to distribute it evenly. Sprinkle the remaining nuts on top.
- Let pan cool completely. Use the foil to lift the contents onto a cutting board. Slice into bars. Store in a sealed container with wax paper or parchment between the layers.
- OM NOM NOM!
Bready or Not: Lemon Brown Butter Crinkle Cookies
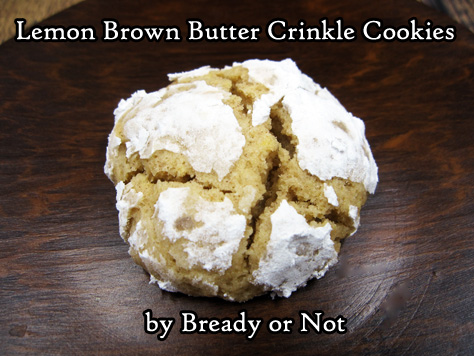
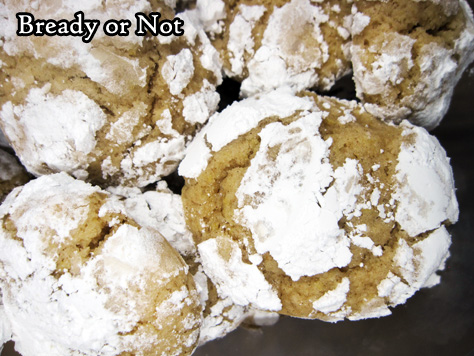
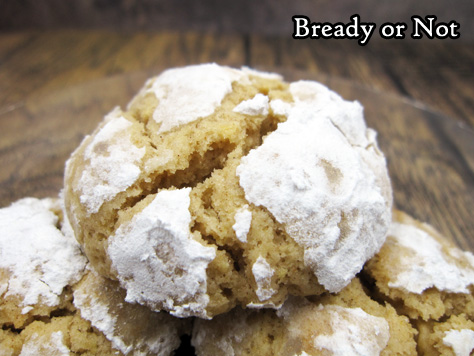
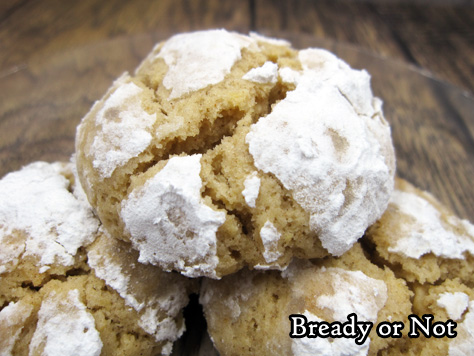
Today’s recipe involves a bit of cookie alchemy: Lemon Brown Butter Crinkle Cookies.
They combine a lot of elements that you don’t normally see together, but the result is an amazing and unique lemon cookie that is spicy and fresh.
This is a nuanced cookie. You take a bite, and different levels of flavor evolve on your taste buds.
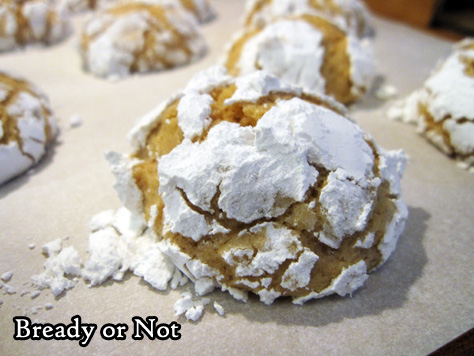
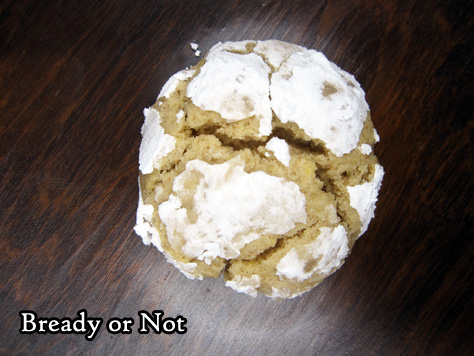
It’s also messy because the cookies are rolled in confectioners’ sugar, so this isn’t a cookie to eat before a fancy meeting or on the go.
Note that the sugar coating will be absorbed and/or fall off the cookie over time, so if you want them to look fully coated, eat them fresh. But the flavor is fine if you wait. The presentation changes, that’s all.
If you need tips on how to brown butter, there is a lot of advice to be found online, including videos! Browned butter really does make a different in a recipe, as it has a nutty new flavor going on. It’s well worth the effort for certain recipes.
Modified from Martha Stewart Living.
Bready or Not: Lemon Brown Butter Crinkle Cookies
Ingredients
- 1/2 cup unsalted butter 1 stick
- 2 1/4 cups all-purpose flour
- 3/4 teaspoon baking powder
- 1/2 teaspoon ground cinnamon
- 3/4 teaspoon kosher salt
- 1/2 cup white sugar
- 1/2 cup brown sugar packed
- 2 large eggs
- 1 lemon reserve 1 teaspoon zest and 3 Tablespoons fresh lemon juice
- 1 teaspoon vanilla extract
- 3/4 cup confectioners' sugar
Instructions
- Brown butter in a saucepan, watching carefully to make sure it doesn't burn. Set aside to cool.
- Mix together the flour, baking powder, cinnamon, and salt. Set aside.
- In a large bowl, place the two sugars. Stir in the browned butter, followed by the eggs, zest and juice, and vanilla. Slowly add the flour mix. Dough will be loose and oozy. Wrap it up well in plastic wrap and set in fridge to chill for a day or two.
- Preheat oven at 350-degrees. Place parchment paper on cookie sheet.
- Measure out confectioners' sugar into a small bowl. Scoop a tablespoon of dough, roll it between palms to shape, then roll it in the powdered sugar. Set on parchment paper. Repeat process with other cookies, spacing them out, though expect minimal spreading.
- Bake 15 to 18 minutes, until cookies spread a smidgen and crackle. Let cool on cookie sheet for 10 minutes, then transfer to a rack to completely cool.
- Store between strips of parchment or wax paper in a sealed container. Will keep up to two days, but note the confectioners' sugar will absorb more over time.
- OM NOM NOM!
Bready or Not: Lemon Shortbread Bites
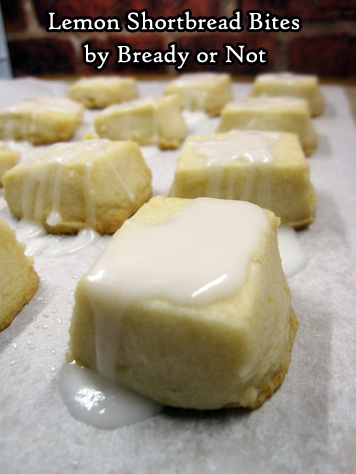
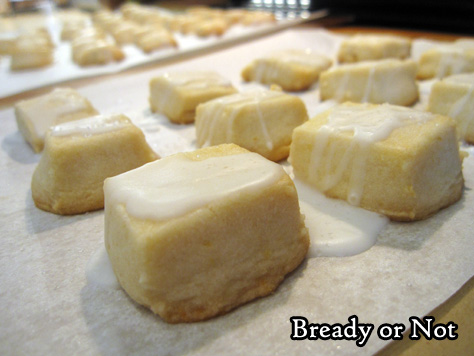
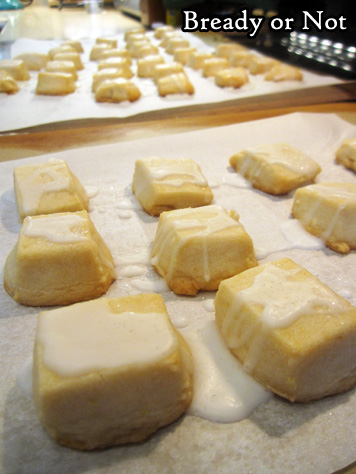
If you love lemon, brace yourself. These Lemon Shortbread Bites are small, delicious, and poppable like potato chips.
This recipe would be perfect for a potluck or picnic or shower. Anywhere where you need small cookies that aren’t necessarily filling… if you manage to restrain yourself.
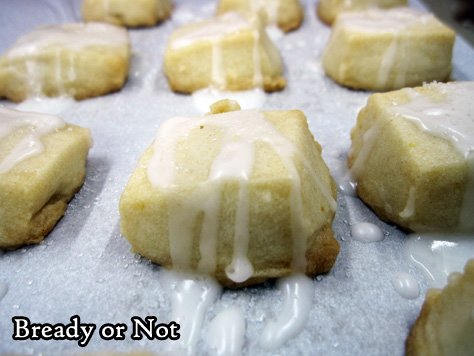
These things are sandy and light in texture, and the lemon glaze gives a refreshing, bright flavor that isn’t hardcore sweet.
That’s what makes these so dangerous. They are cookies you can easily grab by the handful.
If you have clear vanilla extract, that’s ideal for this recipe so that it doesn’t tint the glaze. But regular ol’ vanilla will certainly do.
I don’t know how long these cookies will keep. They tend to vanish rather quickly.
Modified from Pink Cake Plate.
Bready or Not: Lemon Shortbread Bites
Ingredients
Cookies:
- 1 cup unsalted butter 2 sticks, softened
- 1/2 cup confectioners' sugar
- 2 cups all-purpose flour
- 1 teaspoon lemon extract
- 1 lemon zested and juiced
Glaze:
- 1/2 cup confectioners' sugar
- 1/2 Tablespoon fresh lemon juice more as needed
- 1/2 teaspoon vanilla extract clear, if available
- yellow or white sanding sugar optional
Instructions
- In a large bowl, beat together butter and sugar until fluffy. Gradually add in the flour, lemon extract, and zest.
- Lay out plastic wrap. Dump dough onto the surface and form into a 6-inch square about 3/4 inch thick. Completely wrap dough and set in fridge for at least two hours or overnight.
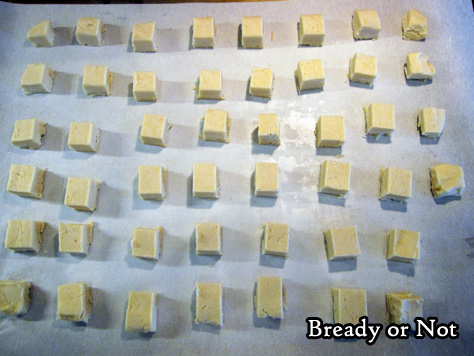
- Preheat oven to 325-degrees. Using a knife or bench knife, cut dough into small squares; note that they will spread in the oven. Set up on parchment-covered cookie sheet, with cookies spaced out.
- Bake 22 to 26 minutes, or until cookies are set and turning golden. Use parchment to slide them onto another surface to cool or let cool on cookies sheet.
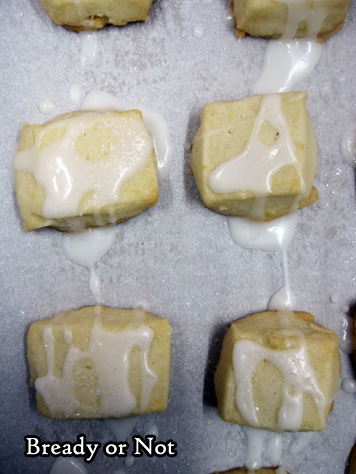
- Mix confectioners' sugar, lemon juice, and vanilla extract, until it forms thick but oozy consistency. Drizzle glaze over cookies. If desired, immediately sprinkle sanding sugar on top to create a glittery shine.
- OM NOM NOM!


