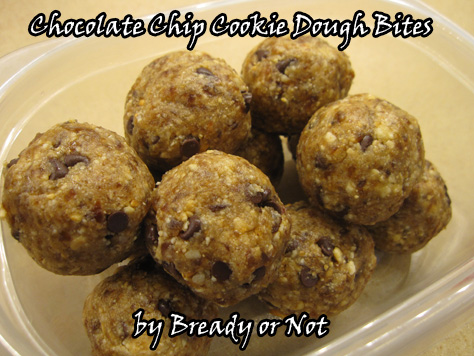
Bready or Not: Chocolate Chip Cookie Dough Breakfast Bites
I present to you a healthy, delicious breakfast option that just happens to taste like cookie dough. OH YEAH.
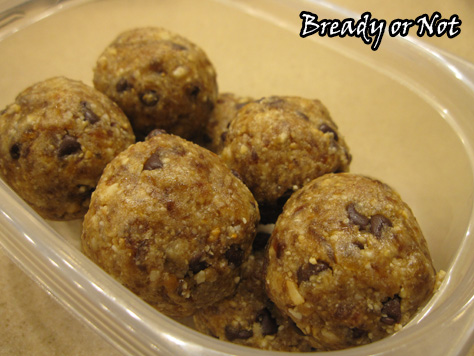
A while back I shared my recipe for Maple Energy Bites. Now it’s time to share the cookie dough version. It’s very simple. Throw ingredients in a high-powered blender. Form into bars or balls. Stash in the fridge. Eat.
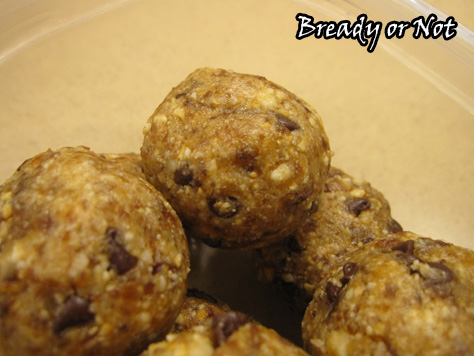
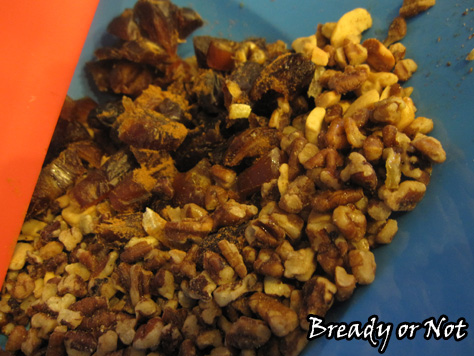
You can use any kind of nut here, really, or a combination of nuts, but cashews will be the closest to cookie dough. They have that natural buttery taste. The dates add sweetness and also act as a binding agent. I add cinnamon, but you can sprinkle in whatever flavors you want and make it more like a spice cookie.
I usually eat two or three for breakfast. They are great before a work-out. They also will keep for upward of two weeks in a sealed container in the fridge.
Healthy cookie dough. This is totally a thing.
Bready or Not: Chocolate Chip Cookie Dough Breakfast Bites
Ingredients
- 2/3 cup dates chopped, medjool best
- 1 cup cashews
- big pinch cinnamon
- 1 teaspoon vanilla
- 2 Tablespoons mini chocolate chips
- water if needed
Instructions
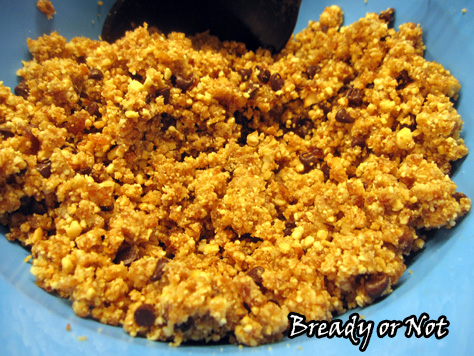
- In a bowl, combine all of the ingredients but the chocolate chips and water. Pour 1/3 or 1/2 the mix into a high-powered food processor or blender. Pulse. Stir it with a spoon or spatula--it will be thick and gum up the machine. Pour the blended mix out, then add in more of the nut-date blend until everything is mostly blended. It's okay to have some chunks. Add the mini chocolate chips.
- Squeeze the mash between your fingers. If it doesn't want to stick together, stir in water by 1/2 teaspoon until it's cohesive.
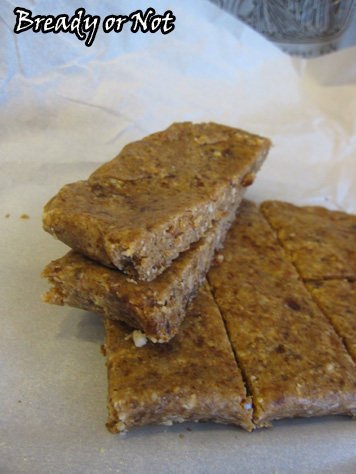
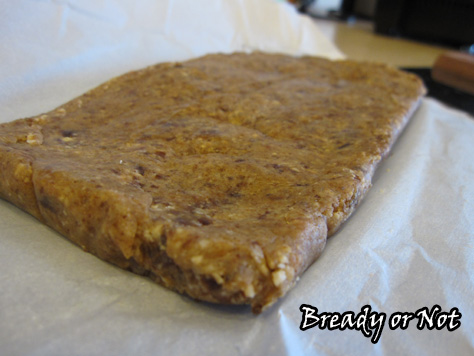
- You can shape them in two ways. Use a tablespoon scoop to form a ball, then compress them with your hands to tighten. Or, make bars. Place a sling of parchment paper in a bread pan. Pour the mash in. Compress as tightly as you can. Remove using the sling and cut to preferred size.
- Keep stored in covered dish or closed baggie in fridge. Makes about 9 tablespoon-sized balls or 7 bars. Will keep for upward of 2 weeks.
OM NOM NOM!
Read More
Bready or Not: Pumpkin Pucks
I don’t follow a paleo diet, but I do follow delicious food. In this case, delicious AND healthy.
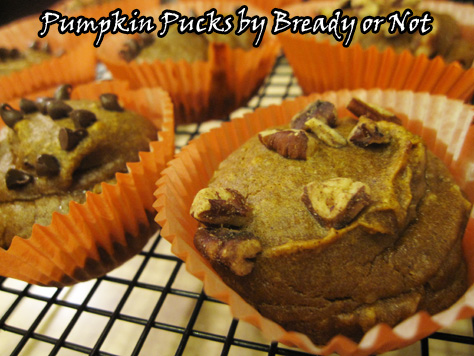
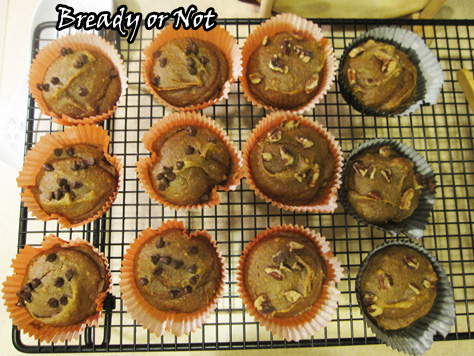
These pumpkin pucks are rather like mini pumpkin pie custards with a slight nutty taste. That nutty taste is stronger if you follow the original paleo version of the recipe and use almond flour, which was my preference, though making them with whole wheat and all-purpose flour works well.
I also used different nut butters. Almond butter tastes the strongest–in a very good way–though cashew butter was fantastic, too. Once, I only had 3/4 cup of pumpkin, so I made up for the difference with applesauce. I found no major difference in taste or texture.
This isn’t one of those dishes I make for my husband to take to work. These are mine. Two of them make for a yummy, nutritious breakfast. Pucks also be an awesome snack, and with their size they are very kid-friendly. They keep very well in the fridge for at least a week.
Modified from Paleo Parents.
Bready or Not: Pumpkin Pucks
Ingredients
- 1 cup pumpkin puree applesauce can be substituted in full or part
- 1 cup almond or other nut butter
- 1/4 cup honey
- 2 Tbsp maple syrup
- 2 eggs room temperature
- 1/3 cup almond flour or wheat or all-purpose flour
- 1 Tbsp cinnamon
- 1 tsp nutmeg
- 1/2 tsp salt
- 1/3 cup mini chocolate chips optional, or chopped nuts or dried fruit
Instructions
- Prepare a muffin pan with dropping in cup liners, then spray the insides with nonstick spray. Preheat oven at 350-degrees.
- If your almond butter is very stiff, zap it in the microwave for 15 seconds or so to soften it. Mix pumpkin puree and the almond butter together.
- Add honey and syrup and beat in eggs one at a time. Follow with each of the dry ingredients until it's just combined.
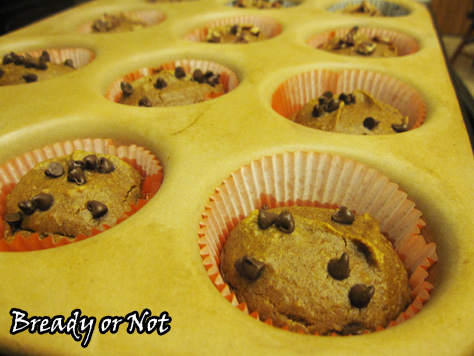
- Fill the muffin cups to 3/4 full; a tablespoon scoop makes this easy, as it's almost exactly 2 tablespoons to fill the cups. Top with mini chocolate chips or chopped nuts, if desired.
- Bake at 350-degrees for about 20 minutes. They will not rise much. The tops of some may start to crack. Let them cool for a while and then keep stored in fridge. They'll keep upward of a week, if they last that long!
OM NOM NOM!
Bready or Not: Maple Energy Bars and Bites
Confession: I’m classifying this as a fall recipe because of the maple, but I make these all year long.
I know, I know. If you’ve been following me for any length of time, you know how I love maple. I like to make my own breakfast food, too.
Larabars are found in the energy bar section of retailers. They are delicious but are also awfully expensive–if you’re lucky, you might get a bar for a buck on sale. Me? I’m cheap. I make my own versions. I have a chocolate chip cookie dough recipe that I really need to share at some point, but today is about the maple variety that I created on my own.
To make any homemade Larabar facsimile, you really need two base ingredients: dates and nuts. You switch out the nuts to your taste or based on sales, then change out seasonings to make things fresh and tasty. With the maple flavor, I like using a combo of cashews and pecans, but I’ve also done all cashews. Feel free to do almonds, peanuts, or whatever else you have handy, or combine them all!
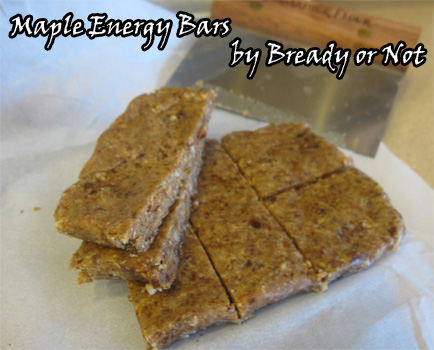
I usually make these into a ball shape using my tablespoon scoop, but this time around I made bars. They are a bit more photogenic, I think. And man, do they taste good.
Bready or Not: Maple Energy Bars and Bites
Ingredients
- 1 cup medjool dates chopped
- 1/2 cup cashews
- 1/2 cup pecans or combine other nuts to equal 1 cup
- 1-2 teaspoons candied ginger diced (optional, but tasty)
- sprinkle cinnamon
- 1/2-3/4 teaspoon maple flavor
- water if needed
Instructions
- In a bowl, combine all of the ingredients but the water. Pour 1/3 or 1/2 the mix into a high-powered food processor or blender. Pulse. Stir it with a spoon or spatula--it will be thick and gum up the machine. Pour the blended mix out, then add in more of the nut-date blend until everything is mostly blended. It's okay to have some chunks.
- Squeeze the mash between your fingers. If it doesn't want to stick together, dribble in water by 1/2 teaspoon until it's cohesive.
- You can shape them in two ways. Use a tablespoon scoop to form a ball, then compress them with your hands to tighten. Or, make bars. Place a sling of parchment paper in a bread pan. Pour the mash in. Compress as tightly as you can. Remove using the sling and cut to preferred size.
- Keep stored in covered dish or closed baggie in fridge. Makes about 9 tablespoon-sized balls or 7 bars. Will keep for upward of 2 weeks.
OM NOM NOM!
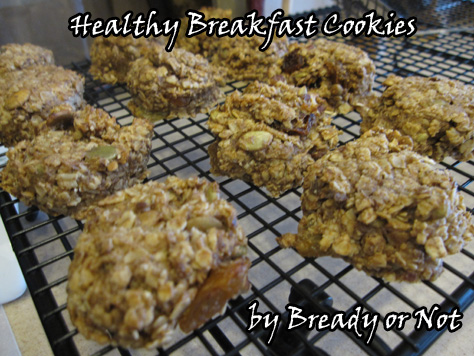
Bready or Not: Healthy Breakfast Cookies
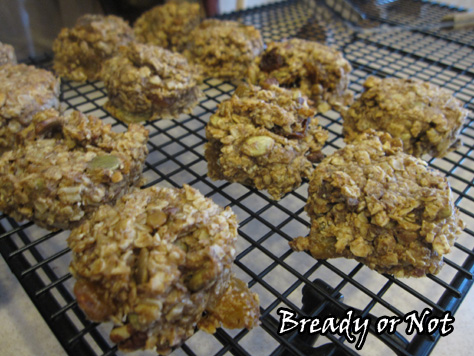
Cookies for breakfast. Healthy cookies. No refined sugars. Vegan. Also gluten-free, if you use GF oats.
Even better: they taste delicious.
This is one of my favorite breakfast recipes. I customize it based on my mood and what I have on hand. I’ve made this with macadamia nut butter, cashew butter, and almond butter–and combinations thereof. I’ve used apple butter, pumpkin butter, and date butter. Equally awesome with all varieties. I love to use golden raisins, but you could throw anything in. If you don’t have pepitas? Do sunflower seeds or other chopped nuts, or omit.
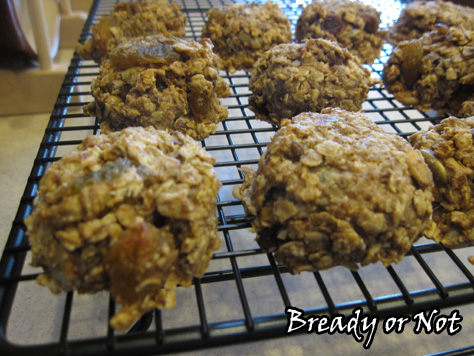
These cookies are cushions of goodness… like old-fashioned peanut butter cookies, but denser and better. I whip up a batch and freeze 2/3 of it right away. It takes care of my breakfast for weeks.
I often have two cookies first thing in the morning before I exercise, and I might have one more if I’m hungry afterward. They give me the perfect amount of energy to start the day.
Did I mention they are also delicious?
Modified from a recipe on Sally’s Baking Addiction.
Bready or Not: Healthy Breakfast Cookies
Ingredients
- 2 cups quick oats not whole or old-fashioned oats
- 3/4 teaspoon salt
- 1 teaspoon ground cinnamon heaping
- 1 cup nut butter
- 1/4 cup pure maple syrup or honey
- 3/4 cup fruit butter apple butter, date butter, etc
- 1 cup dried fruit raisins, cranberries, etc
- 1/2 cup pepitas shelled pumpkin seeds
- 1/4 cup ground flaxseed optional
Instructions
- Preheat oven to 325-degrees. Prepare cookie sheets with parchment or silpat baking mats, or use seasoned stoneware.
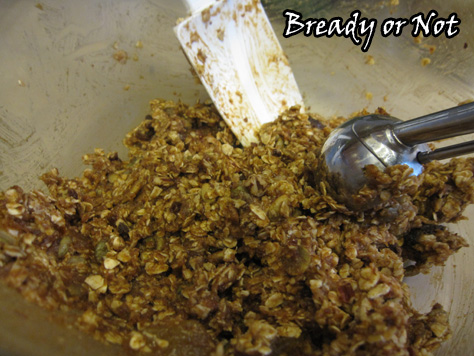
- Combine all of the ingredients into a large bowl.
- Using a tablespoon or tablespoon scoop, drop dollops of dough onto cookie sheet. Note that it won't spread. Use fingers to gently tamp down top and press in stray oats on the sides; it will be a little sticky.
- Bake for 12-15 minutes, until firm. Cool for several minutes before transitioning them to a rack to finish cooling.
Makes about 28 cookies at tablespoon size. In a sealed container at room temperature, cookies will keep for at least a week. They can also be frozen without any change in taste or texture.
OM NOM NOM!
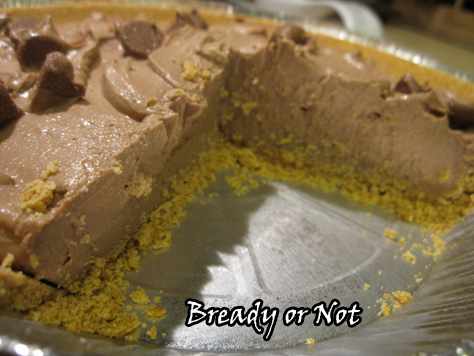
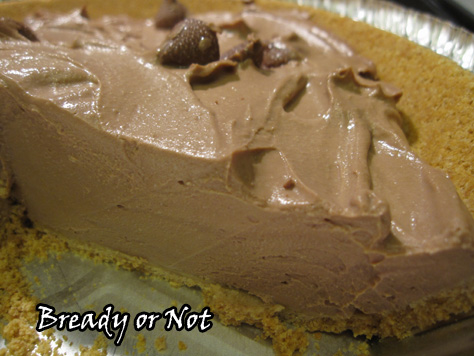
Bready or Not: Healthier Mint Chocolate Pie
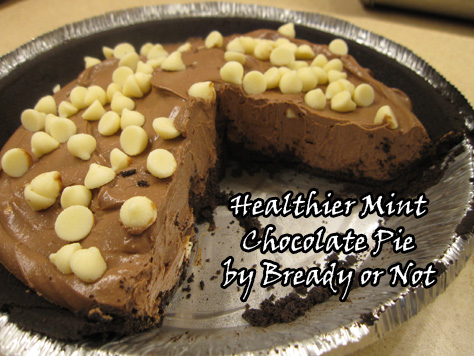
Do not be afraid of this pie. Do not look at the main ingredient and go, “NOT GONNA GO IN MY MOUTH, NOPE NOPE.” I say that, because I was leery about this recipe, too, because I generally do not like tofu.
Yes, tofu. Stay with me.
The thing with tofu is, it takes on whatever flavors it is with. So if you dump a whole bag of chocolate in with the tofu, you don’t taste the soy byproduct. (This is why the adjective in the title is “Healthier” not “Healthy.”) Think of the tofu as scaffolding. It’s there to hold up the tastier stuff.
The original recipe comes from Chocolate Covered Katie, who is a great resource for healthier recipes. I’ve made this pie three times now and have adapted it a great deal from the original:
– tofu blocks around here come in 14 ounce, not 12.3.
– my first try, a chalky taste from the tofu was still evident, though it wasn’t bad. I upped the cocoa to mask that.
– increased the peppermint extract, as I couldn’t taste it at all in the original. I also tried this by using mint Hershey’s Kisses as part of the chocolate chip measurement, which was great.
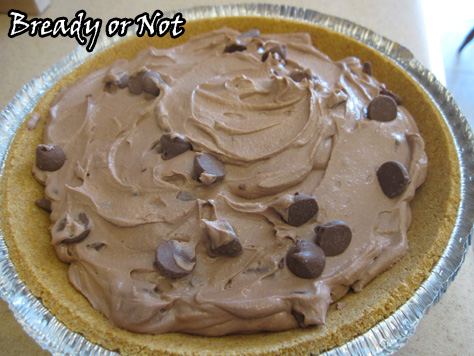
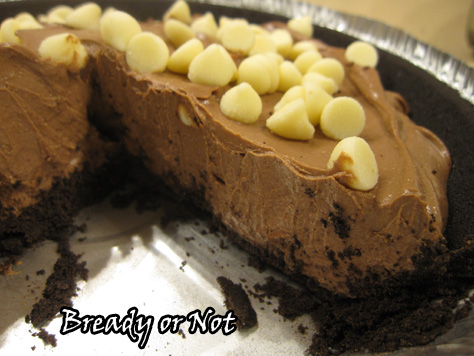
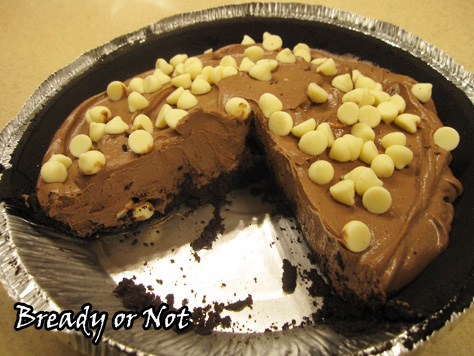
This all mixed up in my Vitamix in a matter of minutes. Then you dump everything into a premade graham cracker or Oreo crust, top with more chips if you want, then let it set for a few hours.
There’s just something awesome about a smooth, cool pie in the summertime, and if it’s a bit healthier than the average pie… even better!
Bready or Not: Healthier Mint Chocolate Pie
Ingredients
- 1 ready graham cracker crust or Oreo crust
- 14 ounce firm tofu
- 4 tsp cocoa powder sifted
- 1 tsp pure vanilla extract
- 2 Tablespoons milk almond milk works
- 1/8 tsp salt
- 2 teaspoons peppermint extract
- 8-10 ounces chocolate chips optional; also can mix in Hershey's Mint Kisses or other mint chips; reserve some chips for the top
- 2-3 Tablespoons maple syrup or agave or other sweetener
Instructions
- Set aside some of the chocolate if you want it for the top or mixed in. Melt the bulk of the chocolate.
- Add all of the other ingredients into a food processor or blender and pulse until very smooth.
- Scoop it into a prepared pie crust; it will be very thick. Place in fridge for several hours to set.
- Pie will keep perfectly well in fridge, covered, for up to a week.


