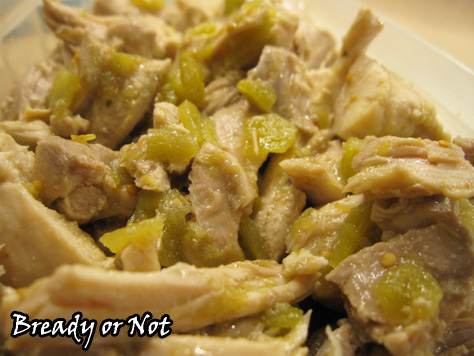
Bready or Not: Crock Pot Green Chile Chicken
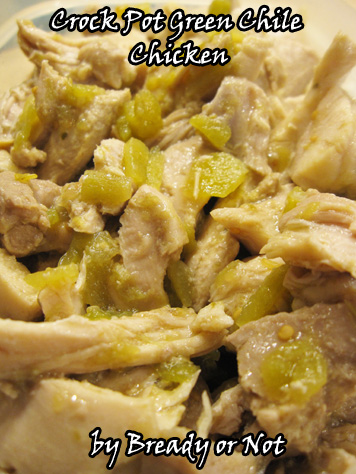
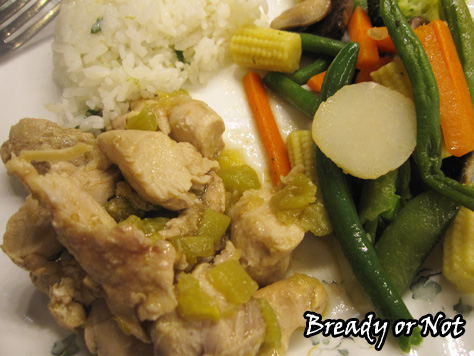
My slow cooker is my friend, and in this case my friend heats up some fantastically flavorful chicken that’s good in all sorts of dishes!
This recipe is a cousin to my Verde Pork Loin one. Both make a great protein for salads (my preference), tacos, burritos, casseroles, and likely all other sorts of stuff.
Don’t be afraid of the chiles here, either. I was for years. A standard can of green chiles is pretty mild and adds a punch of flavor. If you’re feeding people who can take the heat, by all means, use the hot version! We favor the Hatch brand because my husband used to live in Las Cruces, near the Hatch Valley; it’s good to support New Mexico products, in any case.
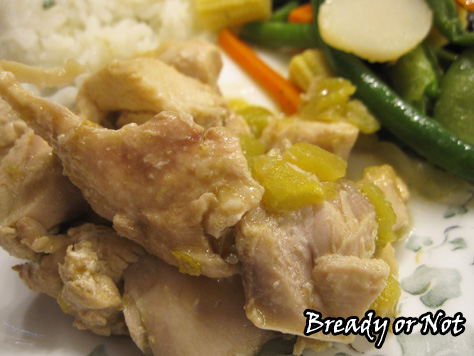
And yes, you can make this with chicken breasts or tenders, but there’s greater risk of the meat drying out. I much prefer to use boneless thighs in the crock pot.
Modified from The Perfect Pantry.
Bready or Not: Crock Pot Green Chile Chicken
Ingredients
- 3 lbs boneless skinless chicken thighs
- 16 ounces verde salsa
- 2 cloves garlic smashed
- 1 tsp ground cumin
- 4 ounces Hatch green chiles canned, mild or hot
Instructions
- Cut the chicken thighs into thirds and place in a 4 to 6 quart slow cooker. Pour the salsa over them, followed by the garlic, cumin, and canned chiles. Give it a stir then pop the lid on.
- Cook on low for 4 to 5 hours; if the chicken was still a little frozen, cook on high for an hour or so to speed the process. Use a slotted spoon to remove chicken pieces, and shred or cut them into chunks. Place back in crock pot to soak in juice for another 20 minutes.
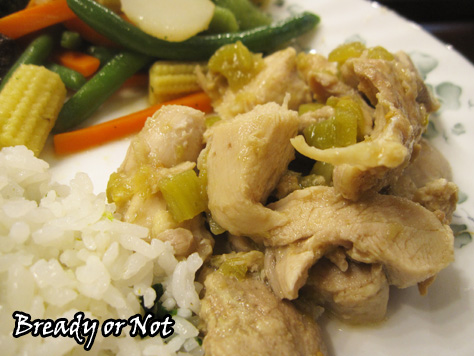
- Serve chicken on a plate, or in burritos, tacos, salads, or just about anything. Freezes fantastically for later dining.
- OM NOM NOM!
Read More
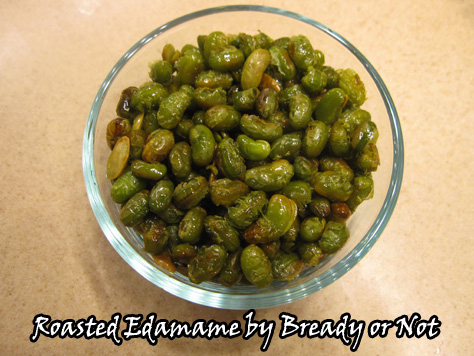
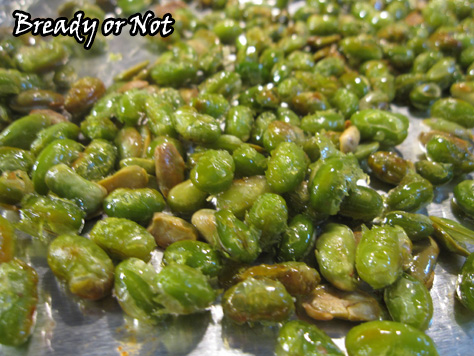
Bready or Not: Roasted Edamame
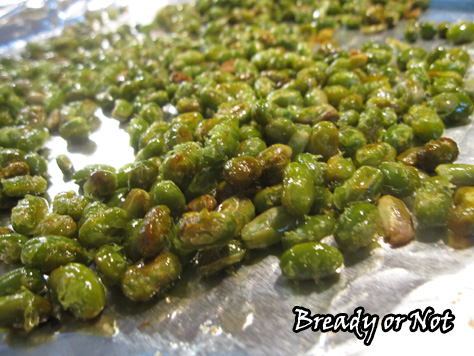
Roast your own edamame to make a delicious protein addition for salads, noodle dishes, or sandwiches–or as a healthy snack by itself!
Dry edamame is expensive in stores, often sold in small bags. My local Sprouts carried dry edamame in their bin section for an awesome price and I bought it often, but then they remodeled last year and the edamame vanished. Sigh.
So I decided, heck, I’d make my own!
A pound bag of frozen edamame is $2-4 in stores. It takes some planning and minimal work to roast it, and you can make it as crunchy as you like. I like to keep the beans a little chewy.
I do a lot of sweets on here, but this is the kind of food I like to do for myself as a treat. Om nom nom!
Modified from Bams Kitchen.
Bready or Not: Roasted Edamame
Ingredients
- 16 ounces shelled edamame 1 bag, frozen
- olive oil or avocado oil
- sea salt
- pepper
Instructions
- Take the sealed edamame bag out of the freezer and set it on a plate in the fridge to defrost overnight.
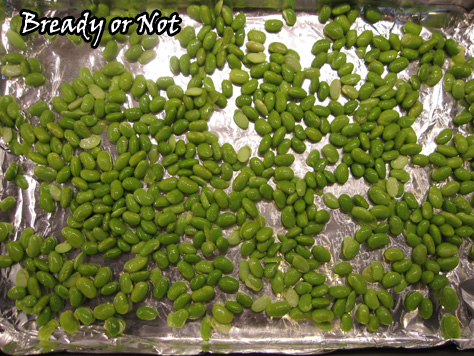
- Next day, open up the bag and place the shelled beans in a colander. Rinse and sort through to make sure they are thawed. Set out towels and let the edamame sit out to dry in a single layer; blot the top with another towel. The beans should be completely dry before roasting.
- Preheat oven at 375-degrees. Prepare a rimmed baking sheet with aluminum foil. Place your edamame on the sheet. Drizzle with oil and stir them for complete coverage. Add a sprinkling of salt and pepper.
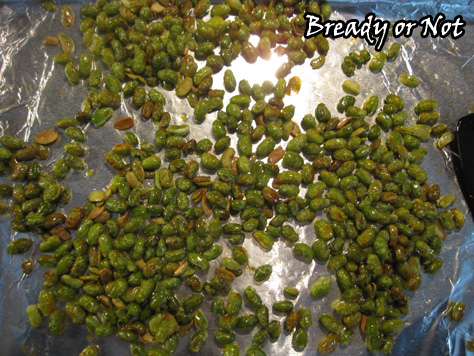
- Bake for 40 to 50 minutes, with breaks about every 15 minutes to stir the edamame. The longer they cook, the crispier and browner they get, so bake to preferred taste!
- Eat right away, or store in a sealed container in the fridge. Roasted edamame is great as a snack, or in all sorts of dishes!
- OM NOM NOM!
Read More
Bready or Not: Blueberry Muffin Breakfast Truffles
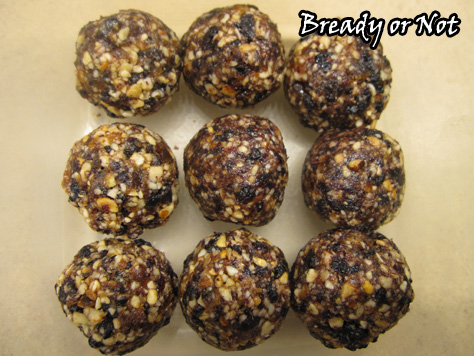
Gluten-free. Basic, wholesome, raw ingredients. No added sugar. No baking involved. Tastes like a mini blueberry muffin. Oh yeah.
I have posted about breakfast energy truffles before. This is a distinct variation because of the use of dried blueberries. Mind you, those can be an expensive ingredient, but you only need 1/2 cup for the recipe. I thought the blueberry flavor might be overwhelming, but the addition of a little lemon juice does a lot to mellow it.
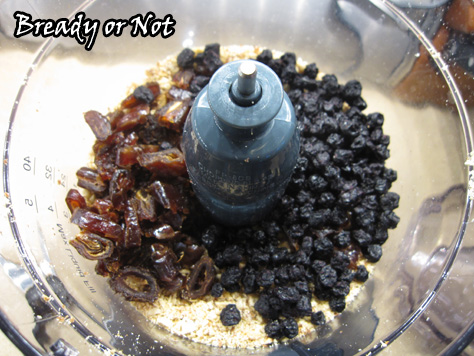
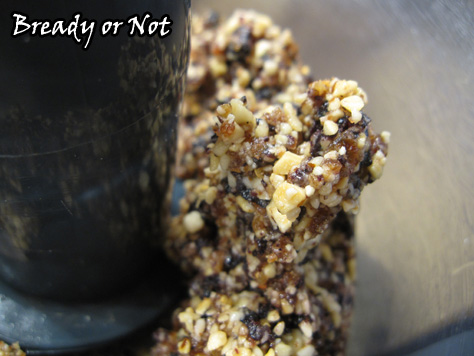
These are super-easy to make in a food processor or high-powered blender (though for the latter, you might need to blend this in smaller batches). It just takes a few minutes to make these truffles.
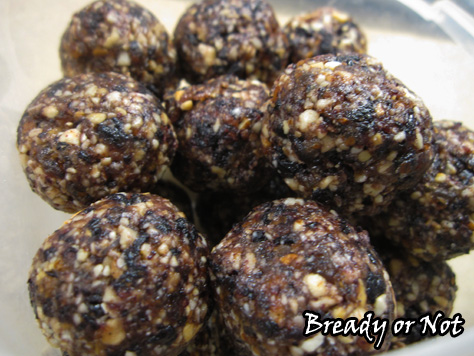
Store them in the fridge for upward of a week or two. They are perfect for a breakfast or snack!
Modified from Blueberry Muffin Energy Balls at The Healthy Maven.
Bready or Not: Blueberry Muffin Breakfast Truffles
Ingredients
- 1/2 cup cashews
- 1/2 cup almonds or use other combination of nuts to equal 1 cup
- 1/2 cup dates diced
- 1/2 cup dried blueberries
- 3/4 teaspoon vanilla extract
- 1 Tb lemon juice
- dash salt
Instructions
- Add nuts to food processor. Pulse until they are in pieces. Add the dates and dried blueberries, and process until they are in tiny pieces and starting to stick together
- Add the lemon juice, vanilla extract, and salt. Blend everything until it forms a big sticky ball.
- Use a teaspoon or tablespoon scoop to form balls. You might need to stir the mix as you go, as the lemon juice tends to lurk at the bottom. Use your hands to compress each ball. Store in a sealed container in the fridge for up to two weeks, or freeze between layers of wax paper.
- OM NOM NOM!
Read More
Bready or Not: Homemade Tortilla Chips
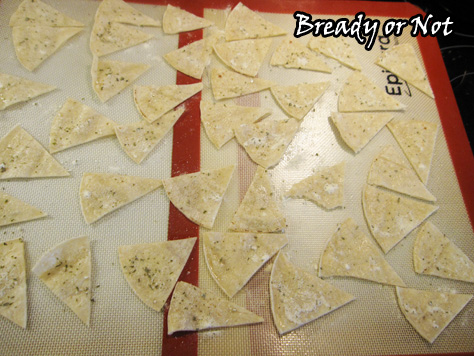
When you make tacos, do you ever use up all of the tortillas? I sure don’t. There always end up being half a pack wallowing in the fridge. They come in handy for quick-fix quesadillas, but here’s another quick-fix for those leftovers: homemade tortilla chips!
I think corn tortillas are the best way to go here, but feel free to try this with flour. I just think they’d get too hard. I like corn because there’s more chewiness. Also, this can totally be gluten-free, if you need that kinda thing.
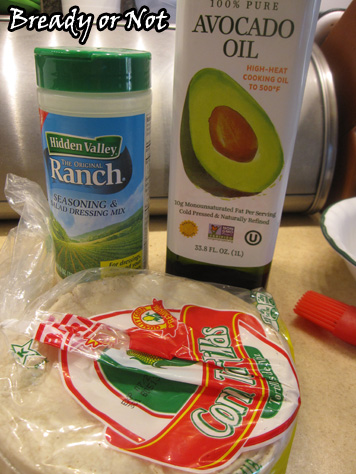
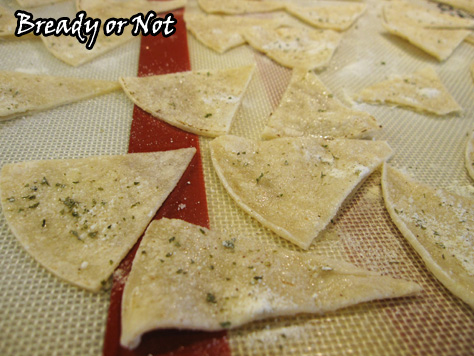
Choose how you wish to equip your chips. I went with ranch mix. If you use a packet, you won’t need that much out of it. You could likewise use taco seasoning, sea salt and pepper, cayenne, whatever. Heck, make this dessert with cinnamon and sugar and dip up some ice cream!
The technique is simple. Slice up your tortillas. A pizza cutter makes this easy. Brush oil on both sides of the wedges. Season. Bake a short time.
Do keep a close eye on the oven so you don’t overbake these! That would be a tragedy.
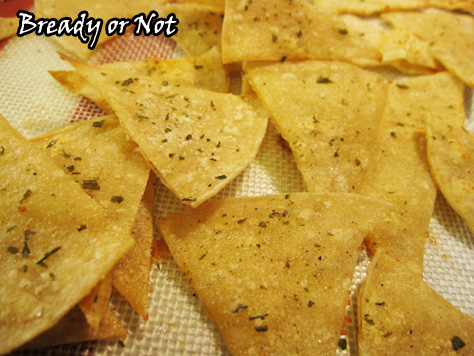
The batch shown here, I baked for 15 minutes. The resulting chips were crisp yet still somewhat chewy and fresh. Find your sweet spot for the texture you want.
Modified from DIY Ranch Tortilla Chips at Make the Best of Everything. Originally posted at the Holy Taco Church.
Bready or Not: Homemade Tortilla Chips
Ingredients
- corn tortillas
- oil olive oil, avocado oil, canola, etc
- ranch dressing mix or other seasoning like taco mix, Italian, etc
Instructions
- Preheat oven to 350-degrees. Prep a large baking sheet with silicone mats or parchment paper. You can likely only fit 5 or 6 tortilla's worth of chips on a sheet.
- Use a pizza cutter to slice your chips to desired size; they will shrink some as they bake. Brush a small amount of oil onto both sides of the wedges. Season them as much as you want; it's probably not necessary to do both sides. Use your fingers to smooth out any clumps.
- Bake chips for 12 minutes then monitor them closely for desired crispness. Stay close to the oven--these are thin, remember, so they can quickly overcook!
- Eat promptly or store chips in a sealed container.
- OM NOM NOM!
Read More
Bready or Not: Maple Nut Butter
Peanut butter can be bought for cheap. Other nut butters? Not so much. The good news is, with a food processor and about 20 minutes of spare time, you can make your own amazing nut butter!
Me being me, I make MAPLE NUT BUTTER. I have done this two ways: with 1 cup each of almonds and cashews, and also with 2 cups of cashews. Other nut combos should work just fine, too. The end yield will be somewhere about 1 1/2 cups nut butter.
I priced and researched food processors for about a year until I caved in and bought a lovely refurbished Cuisinart model. This baby does the job. I’m pretty darn happy with it.
I combined a few recipes to make my own original version. I will type out the details of each stage in the full recipe below, but let’s illustrate in pictures first.
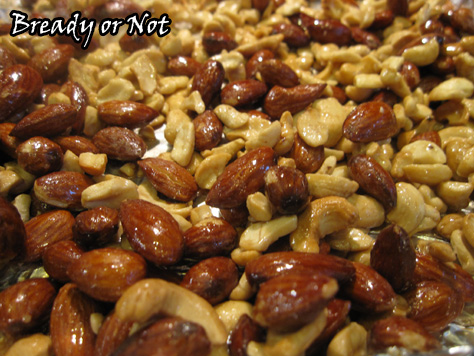
You toss the nuts in maple syrup and toast them in the oven. Let them cool a bit before processing them.
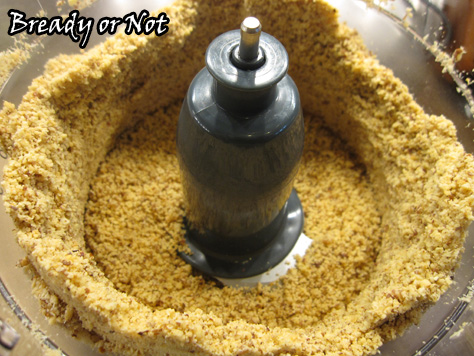
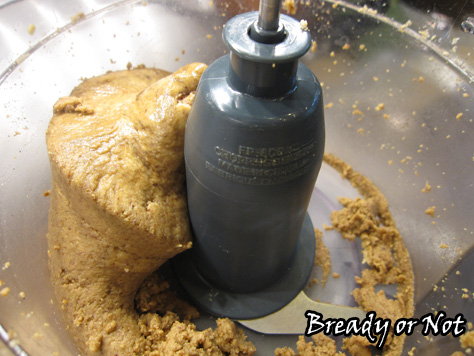
The ground nuts looks like coarse nut flour at first. They will gum up the blades every minute or so. I stop and scrape the sides often.
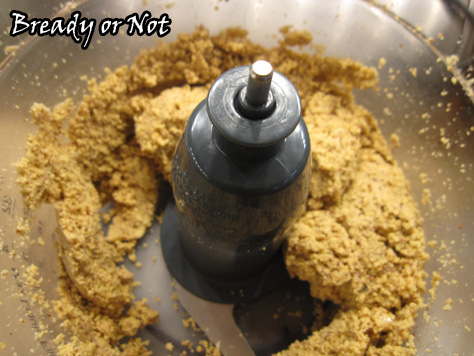
Then things start to get clumpy. Those lumps will migrate around on the blades like a glacier.
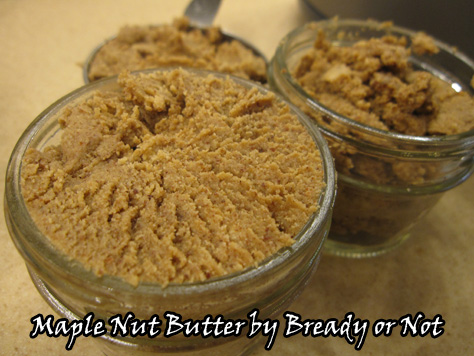
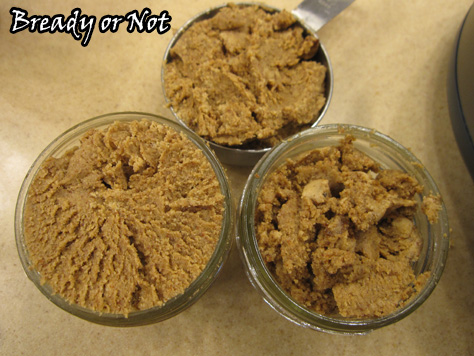
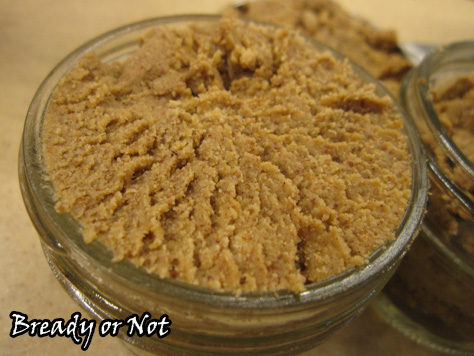
Keep on processing, and after about 15 minutes, you get that. Almost smooth nut butter! After a few more minutes it gets even smoother, and that is when you add spice, flavor, and a bit of oil.
I seal the nut butter in jars and store them in the fridge. Try to use it up within a month. It will be dryer than the standard store stuff, but you can always mix in a little more oil. I like avocado oil because it’s almost tasteless. The nut butter itself is the tastiest nut butter you’ll ever have. It just screams of maple and cinnamon and freshness.
Ready for the recipe? Okay!
Bready or Not: Maple Nut Butter
Ingredients
Toast
- 2 cups nuts 1 cups almonds + 1 cup cashews, or 2 cups cashews, or try other combos
- 1/4 cup pure maple syrup
After processing
- 1 teaspoon vanilla extract
- 1 teaspoon maple flavor optional, but adds oomph
- 1/2 - 1 teaspoon cinnamon
- 1 Tablespoon avocado oil or other oil, more as needed
- sprinkle sea salt
Instructions
- Preheat oven at 325-degrees. Line a rimmed baking pan with sturdy aluminum foil. In the pan, toss the two cups of nuts with maple syrup until they are coated. Toast for about 15 minutes, checking about every 5 minutes to toss the nuts around. Let the nuts cool for 30 minutes or so.
- Add the nuts to a food processor. (Note that you'll need to pry some off the foil.) Put the lid on and start processing. Run for 2 to 3 minutes then scrape down sides. The mix will look coarse and gritty.
- Continue processing, pausing every 1 or 2 minutes to scrape sides of bowl. Mixture will start to clump together.
- Continue grinding. The nuts will release more oil and start to smooth out more. Continue to stop and scrape the sides every 2 minutes or so to give the machine a break. After about 10 total minutes, it will look like nut butter but it won't be done yet!
- Continue processing. It will smooth out and finally evolve to a liquid-like form that snakes across the blades. This will be at about the 15 to 20 minute point. Add the rest of the ingredients and process another minute or so to blend together. Taste test to see if you need to tweak things.
- Transfer the nut butter to mason jars to store in the fridge for up to four weeks. If it seems especially dry, mix in a drizzle of oil.
- OM NOM NOM!
Read More
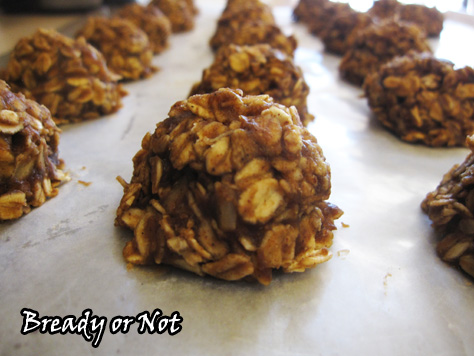
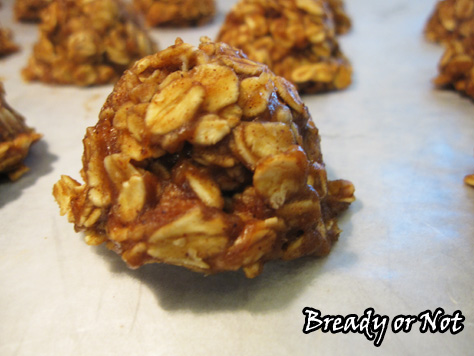
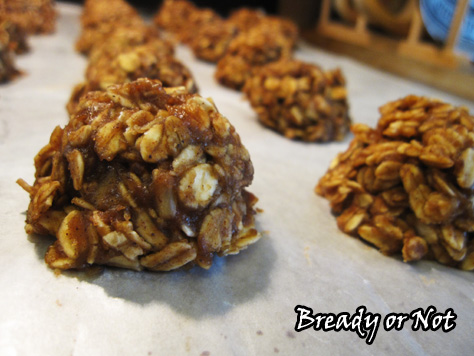
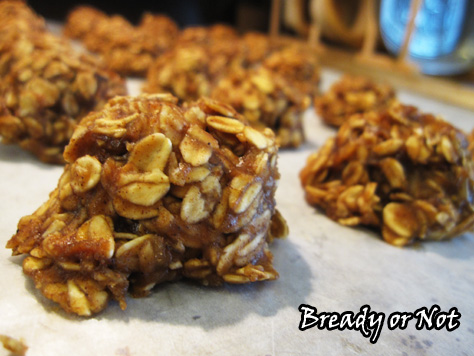
Bready or Not: Healthy No-Bake Maple Breakfast Cookies
Happy New Year! Let’s make a healthy start. It’s no secret I love maple. This particular recipe has been a huge breakfast favorite of mine for the past six months, along with my other Healthy Breakfast Cookies.
These have another advantage, too… other than stronger maple flavor. They are fast to prepare. Even with my slow stovetop, I can whip these up and have them cooling in about 20 minutes.
Plus, these are fantastic to make and freeze! Since I eat three for breakfast, that means I can have a week’s worth of breakfast stashed away for now or later.
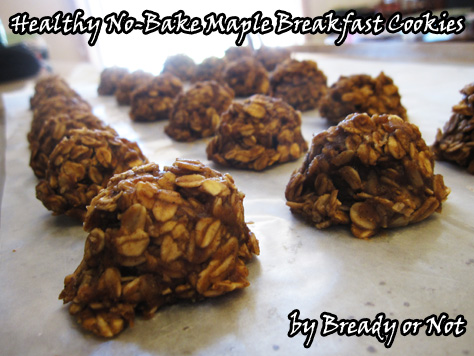
These are similar to the Maple Nut Butter No-Bakes I posted a while back, but this breakfast version is a heck of a lot healthier. No sugar. No butter. I like the taste more, too. It has a great, mild maple and nut butter flavor to it, and the oats soak just enough so that the cookies are perfectly chewy.
Customize these all kinds of ways, too. Use apple butter, pumpkin butter, etc. I’ve made them with cashew butter and almond butter, and combinations thereof. You could certainly use other kinds of milk, too, but I stick with unsweetened vanilla almond milk.
Greatly modified from Cookin’ Canuck.
Bready or Not: Healthy No-Bake Maple Breakfast Cookies
Ingredients
- 2 1/2 cups old-fashioned rolled oats
- 1 tsp vanilla extract
- 1/2 - 1 tsp maple flavor to preference
- 1/2 cup apple butter or other fruit butter
- 1/2 cup + 2 Tb almond milk
- 1/2 cup almond butter or other nut butter
- 1/4 cup + 2 Tb pure maple syrup
- sprinkle salt
- 1/2 cup pepitas or other seeds/nuts, optional
Instructions
- Measure out the oats and the two extracts, keeping them separate, and have ready near the stove. Prepare a large baking sheet with full coverage of wax paper.
- In a medium saucepan, mix together the apple butter, almond milk, maple syrup, and salt. Heat on medium, stirring often.
- After about ten minutes, the mixture will thicken; cook it at that level for another minute or two. If you have a candy thermometer, this thickening starts at about 180-degrees; that few minutes will take it to 200-degrees, and make sure it gets no hotter than that. Remove the pot from heat.
- Stir in the oats followed by the two extracts. Add pepitas or nuts, if desired. Stir until everything is covered.
- Use a tablespoon scoop to dole out cookies onto the prepared wax paper. This will be about 20 cookies or about 29 if seeds/nuts are added. Once they are all scooped, use your fingers to gently press in stray oats.
- Let cool for about 30 minutes. They can be kept sealed at room temperature but taste even better from the fridge; store between layers of wax paper. They can also be frozen.
- OM NOM NOM!


