Bready or Not: Healthy Breakfast Cookies [Redux]
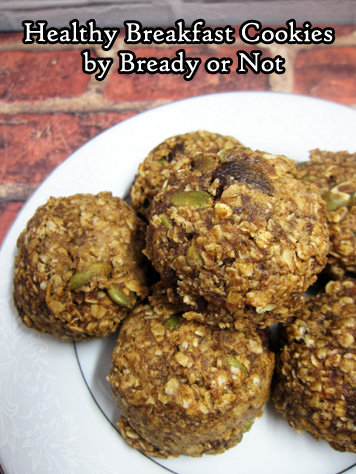
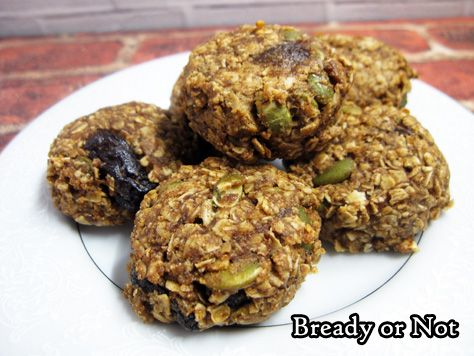
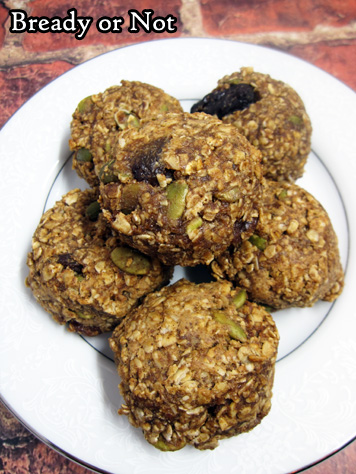
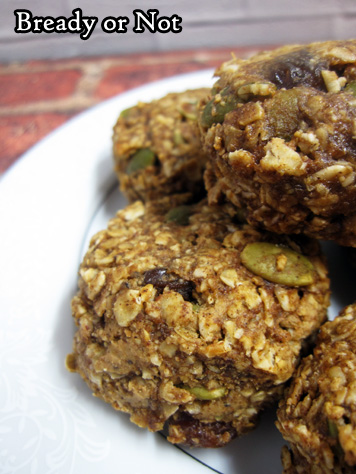
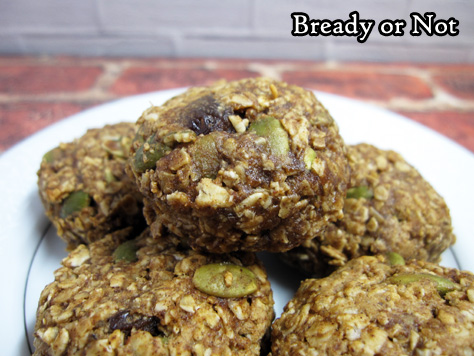
Cookies for breakfast. Healthy cookies. No refined sugars. Vegan. Also gluten-free, if you use GF oats.
Even better: they taste delicious.
This is one of my favorite breakfast recipes, one I’ve made at least once a month for the past five years. In fact, I posted it on Bready or Not back in 2014. Delicious as the cookies are, I couldn’t finagle the lighting then to do the recipe justice. Now, thanks to my Shotbox, I can.
I customize these cookies based on my mood and what I have on hand. I’ve used macadamia nut butter, cashew butter, and almond butter–and combinations thereof. I’ve used apple butter, pumpkin butter, and date butter–and in a pinch, I’ve used applesauce and doubled the cinnamon.
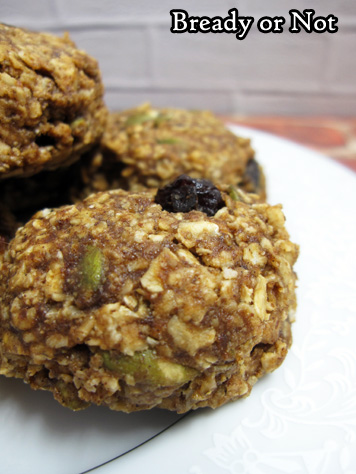
For the dried fruit, I often use a mix of golden raisins and dried cranberries, but I’ve thrown in dried blueberries, too. If you don’t have pepitas, use sunflower kernels or other chopped nuts.
I usually whip up a batch and freeze 2/3 of it right away. The cookies keep perfectly fine in a room temperature sealed container for over a week. Two or three cookies make for a great breakfast prior to exercising!
Did I mention they are also delicious?
Bready or Not: Healthy Breakfast Cookies [Redux]
Ingredients
- 2 cups quick oats not whole or old-fashioned oats
- 3/4 teaspoon salt
- 1 teaspoon ground cinnamon
- 1 cup nut butter
- 1/4 cup pure maple syrup or honey
- 3/4 cup fruit butter apple butter, date butter, etc
- 1 cup dried fruit raisins, cranberries, etc
- 1/2 cup pepitas shelled pumpkin seeds or other seeds or nuts
- 1/4 cup ground flaxseed or wheat germ
Instructions
- Preheat oven to 325-degrees. Prepare cookie sheets with parchment or silicone baking mats, or use seasoned stoneware.
- Combine all of the ingredients into a large bowl.
- Using a tablespoon or tablespoon scoop, drop dollops of dough onto cookie sheet. Note that it won't spread. Use fingers to gently tamp down top and press in stray oats on the sides; it will be a little sticky.
- Bake for 12 to 15 minutes or until the cookies are just set. Cool for several minutes before transitioning them to a rack to finish cooling.
- OM NOM NOM!
Bready or Not: Gluten-Free Almond Flour Brownies
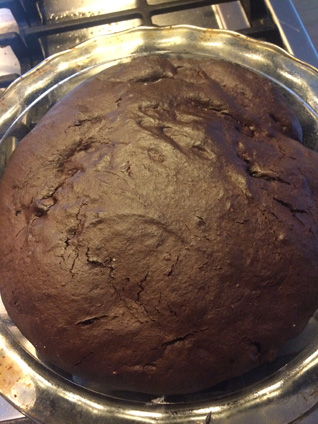
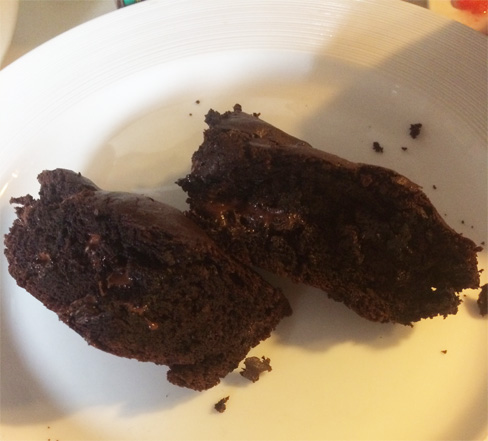
I often get requests for more gluten-free sweets. Here you go. These brownies are so good, people won’t even know they lack gluten.
They also happen to be grain-free. Just don’t give them to people who have almond allergies!
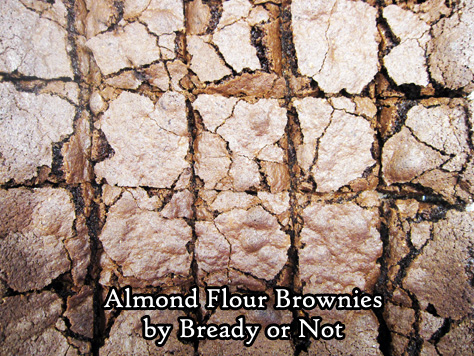
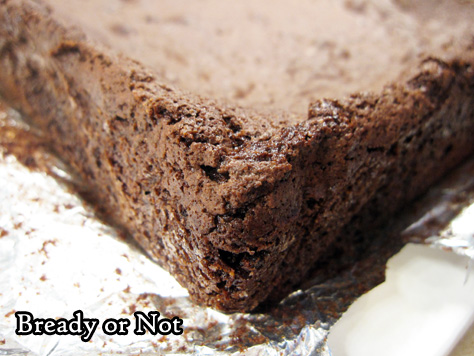
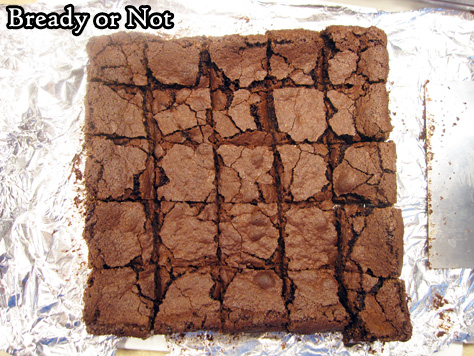
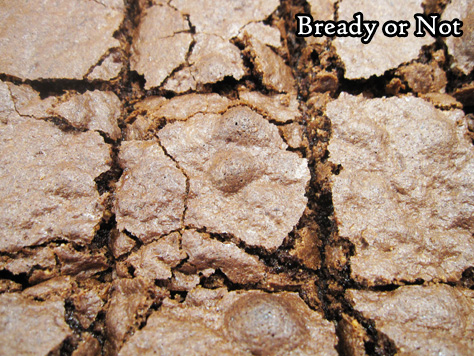
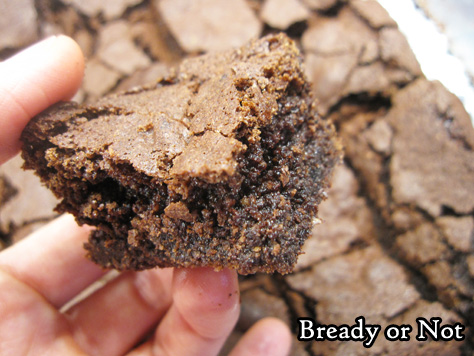
These brownies are fast to assemble. The end result tastes like standard brownies. I didn’t find them super moist, but they were nice and chewy.
They kept pretty well in a sealed container for several days, too. The cut edges dried out a bit, but they were still delicious.
Here’s a tip for you: almond flour, because of its high fat content, can spoil. Keep it in the freezer! It won’t freeze solid but it will get clumpy. Hence my note in the ingredients list to sift the almond flour.
Modified from King Arthur Flour.
Bready or Not: Gluten-Free Almond Flour Brownies
Ingredients
- 5 Tablespoons unsalted butter
- 1 3/4 cups white sugar
- 1/2 teaspoon salt
- 1 teaspoon vanilla extract
- 3/4 cup cocoa powder sifted
- 3 large eggs room temperature
- 1 1/2 cups almond flour sifted
- 1 teaspoon baking powder
Instructions
- Preheat oven at 350-degrees. Line an 8x8 or 9x9 pan with foil and apply butter or nonstick spray.
- In the microwave, melt the butter in a medium-sized bowl. Stir in the sugar, salt, vanilla, cocoa, and eggs. Add in the almond flour and baking powder. Pour batter into the ready pan.
- Bake for 33 to 38 minutes, until the top is set and the middle just passes the toothpick test. Let cool, then cut into blocks. Store at room temperature in a sealed container or freeze for later enjoyment.
- OM NOM NOM!
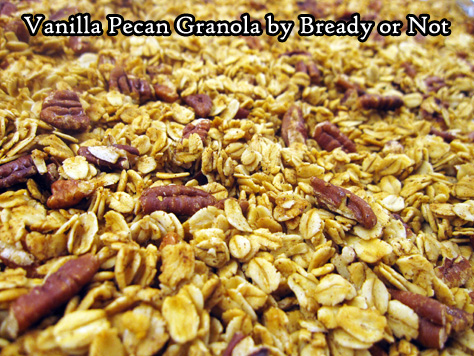
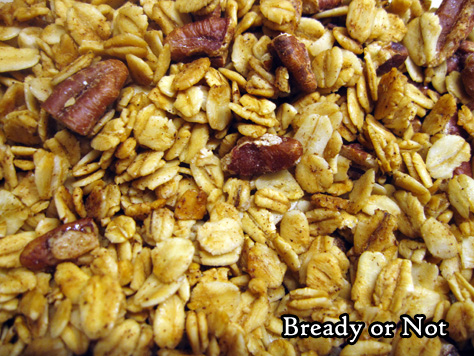
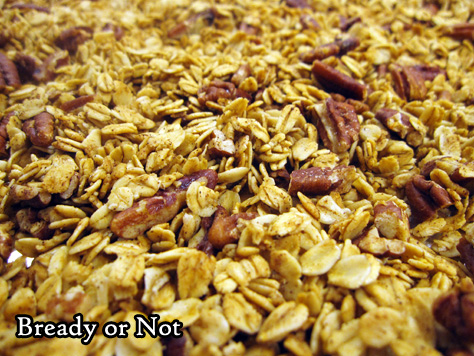
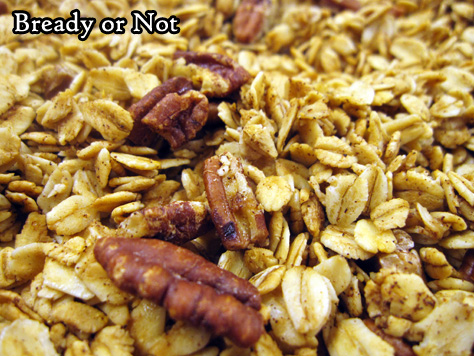
Bready or Not Original: (Gluten Free) Vanilla Pecan Granola
The breakfast theme goes healthy this week with my original recipe for Vanilla Pecan Granola!
If you eat gluten-free, this should be of particular interest. Use GF oats and other contaminant-free ingredients, and this will be a delicious, fiber-full option for you.
This is ridiculously easy to make, too. Combine, bake, stir every so often, then let it air out. Ta-da!
The granola keeps well for weeks, and the flavor is just so fresh. The recipe includes a full tablespoon of vanilla, which is a lot, yeah, but I do love that strong flavor. Some of the store granolas are wimpy in that regard.
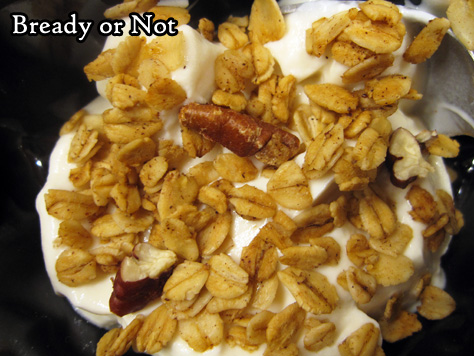
Use this as a topping for yogurt or ice cream, or in milk like a cereal, or as a snack to munch out of your palm. However you eat it, it’ll be delicious!
Bready or Not Original: (Gluten Free) Vanilla Pecan Granola
Ingredients
- 2 1/2 cups old-fashioned rolled oats gluten-free or regular
- 3/4 cup pecans chopped
- 1/2 teaspoon ground cinnamon
- pinch salt
- 1/3 cup pure maple syrup
- 1/4 cup coconut oil melted
- 1 Tablespoon vanilla extract
Instructions
- Preheat oven at 300-degrees. Line a large rimmed baking sheet with aluminum foil or parchment paper.
- In a large bowl, toss together the oats, pecans, cinnamon, and salt. In another bowl, whisk together the maple syrup, coconut oil, and vanilla extract. Pour the wet ingredients over the dry, and stir well to coat completely.
- Spread the granola onto the prepared sheet. Bake for 45 minutes, with a pause to stir every 15 minutes. Then let the granola sit out to cool and dry for several hours.
- Granola will keep for weeks in a sealed container. Can also be frozen for several months.
- OM NOM NOM!
Read More
Bready or Not: Cato Home-Cured Bacon
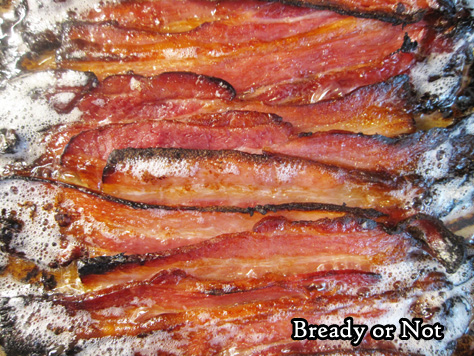
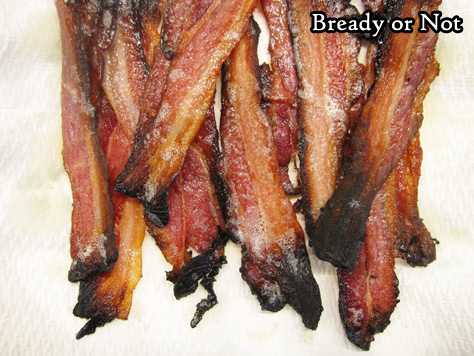
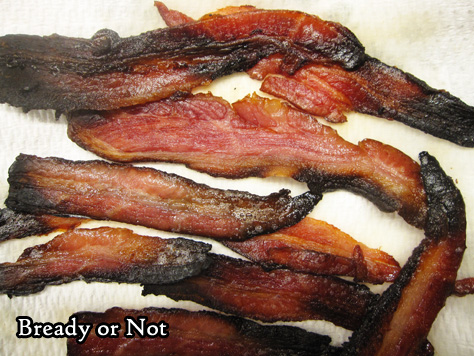
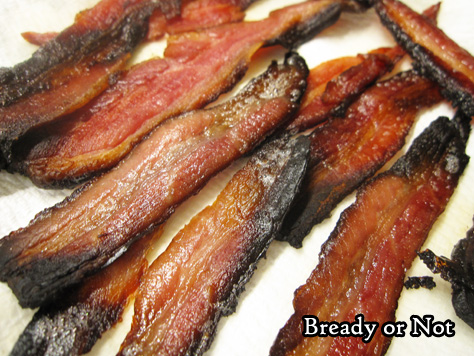
We’re kicking off a breakfast theme for a month with a recipe that will step-by-step teach you how to cure your own bacon.
I guarantee this will be among the best, if not THE best, bacon you will have in your life. Fresh really makes the difference.
This recipe is not difficult. In all honesty, the greatest challenge is that the curing bacon takes up a lot of fridge space for about 10 days.
I completely modified this from a Michael Symon recipe featured in Food Network Magazine, March 2014. The only way that I can buy pork belly locally is from Costco (for about $2.69 a lb!), so this is a Costco-sized recipe.
If you can buy a smaller pork belly slab, then just halve the ingredients. Otherwise, buy the big belly and follow all of the steps I provide… which means you’ll have another slab of frozen bacon already seasoned and prepped to cure in a few weeks or months.
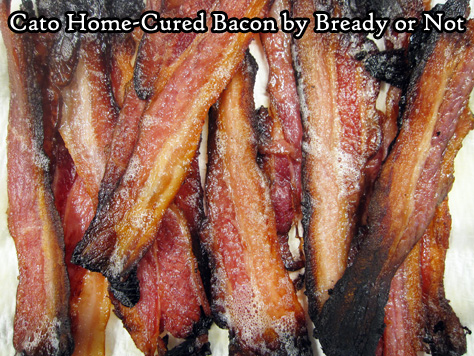
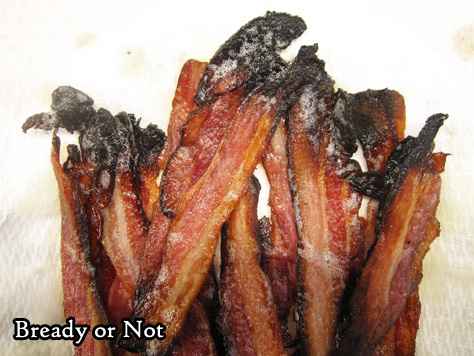
After the meat is smoked, slice it up and use it however you want. I find that home-cured bacon cooks much faster than the store stuff, though it can be much thicker, and the bits that look burned aren’t usually burned.
The smoked meat also freezes and keeps for weeks or months. Just thaw it in the fridge when you’re ready, and use it however you wish.
You’ll wish to eat every last morsel. Trust me.
This recipe does require some supplies that you likely don’t have in the cupboard, and might be hard to find locally. Amazon, of course, has everything. I recommend them for buying 2-gallon zipper bags as well as pink curing salt (plus, you get enough salt to last through the apocalypse). Note that pink curing salt is essential here because it has salt and sodium nitrate, which keeps the meat pink and kills bacteria. Normal salts don’t pack that wallop.
Bready or Not: Cato Home-Cured Bacon
Ingredients
- 9 to 10 lb pork belly
- 1/2 cup kosher salt
- 4 teaspoons pink curing salt
- 2 teaspoons cumin
- 1/2 cup brown sugar packed
- 1/2 cup honey
- 1/4 cup red pepper flakes
- 1/4 cup paprika sweet or smoky
Instructions
- Cut the pork belly slab in half and rinse and pat dry both pieces. Place them in separate re-sealable 2-gallon plastic bags.
- Mix together the spice rub. It'll form a thick paste. Roughly divide it into quarters, and use a quarter on each side of a pork piece. The rub will be very lumpy. Don't worry about a perfect, even coating; the pork will release juices and the flavors will seep in during the curing process.
- Close both bags, pressing out as much air as possible. Freeze one bag for later; as a precaution against holes getting torn in the bag, wrap it well in plastic wrap, too. When ready to start the curing process for this half, add another day or two to the curing time in the fridge to account for thawing time.
- As for the ready piece of pork belly, set that bag in the fridge for the next 7 to 10 days, until it feels firm. Flip the meat once a day.
- Remove the pork belly from the bag. Rinse it well and pat it dry. Set it on a rack on a small cookie sheet in the fridge and let it dry for another two days. No need to flip it at this point.
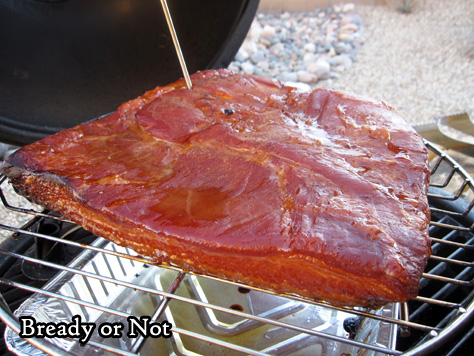
- Set up your smoker at 200-degrees. Applewood chips are a great choice, but maple and hickory are fantastic as well. Smoke the pork belly for about 3 hours, until the bacon reaches an internal temperature of about 150-degrees.
- From this point, slice and cook the meat as you would regular bacon, but note that this fresher, homemade variety will cook much faster. Use plastic wrap or plastic bags to store the sliced meat in the fridge for upwards of a week, or freeze for up to 2 months.
- OM NOM NOM!
Bready or Not: Pumpkin Pucks
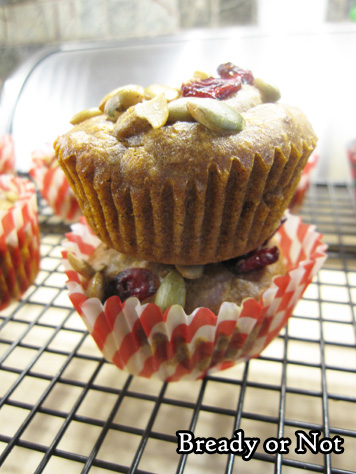
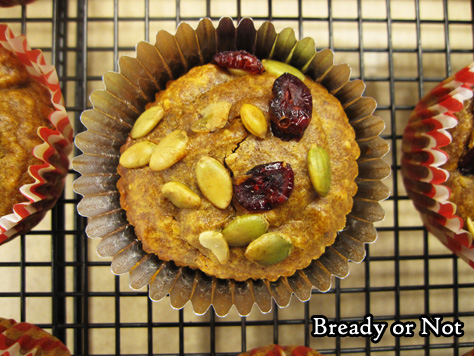
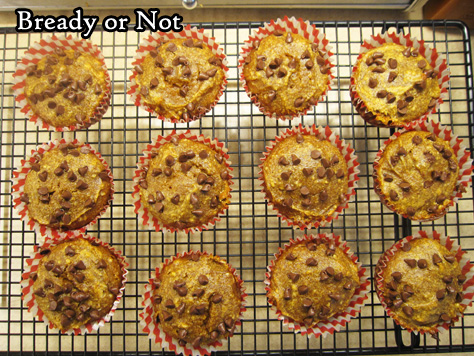
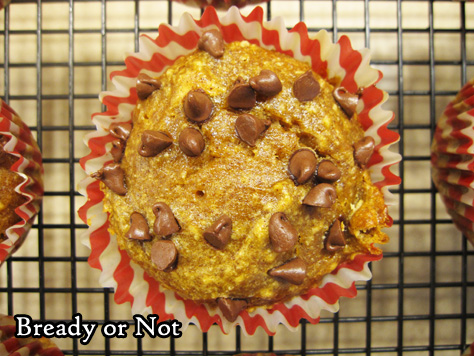
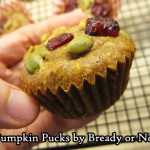
I continue to revisit old favorite pumpkin recipes to incorporate more experience and better photography. This week’s recipe is for Pumpkin Pucks.
These happen to be gluten-free and paleo, if you follow those diets. More to my needs, they are high-protein, avoid processed flours, and are DELICIOUS.
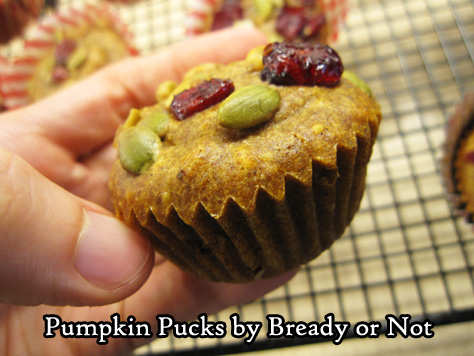
They are rather like mini pumpkin pie custards with a slightly nutty taste. Do note that this can be made with whole wheat and/or all-purpose flour, if you don’t care about it being gluten-free… but I by far prefer the taste with almond flour.
I have also used different nut butters. Almond butter tastes the strongest–in a very good way–though cashew butter was fantastic, too.
Once, I only had 3/4 cup of pumpkin, so I made up for the difference with applesauce. I found no major difference in taste or texture.
I find that two of these make for a delicious breakfast. The size makes them very kid-friendly. I have kept them in the fridge for upwards of a week. Also, these are fantastic to freeze. Just be sure to remove the muffin cup liners and use waxed paper between layers.
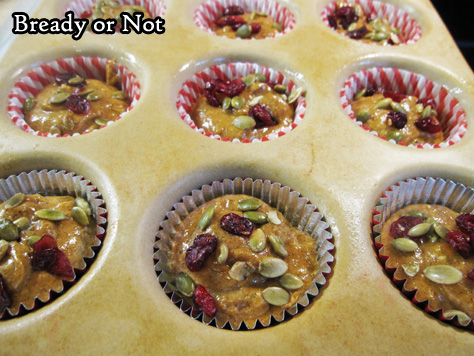
You can alter the flavor with different toppings, too. Mini chocolate chips are my favorite! Pepitas and dried cranberries work well, too; note that the cranberries are tart but mellow after time in the fridge.
Enjoy this healthy recipe, and be warned that next week takes a decidedly sugary turn with a recipe for Pumpkin Roll!
Modified from Paleo Parents.
Bready or Not: Pumpkin Pucks
Ingredients
- 1 cup pumpkin puree
- 1 cup almond butter or other nut butter
- 1/4 cup honey
- 2 Tbsp maple syrup
- 2 eggs room temperature
- 1/3 cup almond flour or wheat or all-purpose flour
- 1 Tbsp cinnamon
- 1 tsp nutmeg
- 1/2 tsp salt
Topping choice: 1/3 cup mini chocolate chips, OR chopped nuts or pepitas, or dried cranberries
Instructions
- Place muffin cup liners in pan, then spray the insides with nonstick spray. Preheat oven at 350-degrees.
- If your almond butter is very stiff, measure it out, place in a microwave-safe bowl, then zap it for 15 seconds or so to soften it. Mix pumpkin puree and the almond butter together.
- Add honey and maple syrup. Beat in eggs one at a time. Add the dry ingredients until everything is just combined.
- Fill the muffin cups to 3/4 full; a tablespoon scoop makes this easy, as it's almost exactly 2 tablespoons to fill the cups. Top with mini chocolate chips or nuts or cranberries, if desired.
- Bake at 350-degrees for about 20 minutes. Pumpkin pucks will not rise much. The tops of some may start to crack. Remove them from pan and allow to cool, then store in fridge.
- OM NOM NOM!
Bready or Not Guest: Spencer Ellsworth with Un-Ruinable Gluten Free Brownies
I’m happy to welcome Spencer Ellsworth with a Bready or Not guest post! His debut novel is out today. I was lucky enough to read A Red Peace a few months ago, and blurbed it: “This is space opera candy!” Seriously, if you love space opera, GET THIS. It’s fresh and fun, mixing up cozy tropes in fantastic new ways.
Which is pretty much what Spencer does with this recipe today, too. He shares a recipe for gluten-free brownies that look absolutely delicious. I bet they’d be perfect to eat in accompaniment with a brand new space opera novel…
I’m Spencer, and I have two big things in common with Beth: we both like to write a good swashbuckling adventure (here’s mine) and we both like to bake.
Unlike Beth, I have celiac disease, which means, although I bake all the time, I use gluten-free flours. I was diagnosed way back in the dark ages of 1985. I did all of elementary school in the 1980s gluten free. Let us all turn and salute my mother, who had to bake “special cupcakes” every time someone else in the class had a birthday and brought in gluten cupcakes.
*Salutes Mom*
Ahem.
Celiac disease is, like Crohn’s, arthritis and lupus, an autoimmune disease. Our immune systems, upon consumption of gluten, attack and inflame our intestinal lining, preventing the absorption of any food. Because autoimmune disease is on a spectrum, people often have reactions to gluten that are tricky to diagnose without an endoscopy or colonoscopy.
There are two great lies about gluten-free food
1) you can just substitute GF flour mix in most recipes
2) gluten-free food just doesn’t taste as good
1 isn’t true because different proteins act differently in different grains. Gluten-free flours are not sticky like wheat. You don’t need to knead any gluten-free bread product; you just need to mix the dough and let it rise. You may find certain GF flours, like sorghum or millet or brown rice, less palatable than wheat. But most celiacs can find a preferred flour mix.
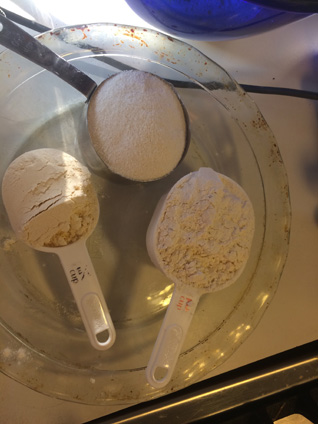
This picture shows plain rice flour (the fine-textured flour), a gluten-free mix, and a gluten-free pancake mix (the one with dark specks).
However, that leads me to…
2 isn’t true because there are a LOT of celiacs out there making a LOT of amazing food. But you do have to do some baking on your own. The best gluten-free food is made at home, with patience. Commercial kitchens can’t take the time and ingredients necessary.
So if you’re new to GF baking, here’s an un-ruinable recipe to start. Peruse Gluten-Free & More (formerly known as Living Without) for anything else you need, or just contact me through my website.
Un-Ruinable Gluten Free Brownies
These are totally un-ruinable because they can be made with just about any gluten-free flour, flour mix, or pancake mix. They will have a slightly different consistency depending on the flour, but they work with anything from plain rice flour to Pamela’s pancake mix.
Your celiac friends will appreciate the attempt to make real brownies, rather than those flourless peanut butter cookies or rice krispie treats we ALWAYS get.
Make sure to clean ALL your work surfaces very well first. All counters and bowls should be scrubbed clear of any trace of gluten. Use non-porous materials like Teflon or glass. Make sure they are scrubbed completely clean of every last scrap of anything that ever contained gluten. (Even better, use the excuse to treat yourself to a new dish and new mixing bowl.)
4 eggs
1 cup sugar (add more to taste, especially if not using chocolate chips)
1 tsp vanilla extract
2/3 cup cocoa powder (I much prefer the darker, richer Ghiradelli’s over the chalky Hershey’s)
1/2 cup butter, margarine or coconut oil
1/2 mushy avocado (this is weird, but it makes the whole endeavor much fluffier)
1 cup of any gluten-free flour, baking mix or pancake mix
2 tsp baking powder (if not already included in your mix)
Chocolate chips & nuts to taste
Set oven to 350.
Beat the eggs with the sugar and avocados.
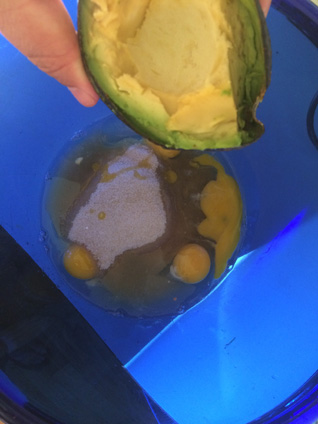
Melt the butter or oil in a saucepan or microwave-safe dish, and add the cocoa powder and beat until smooth.
Allow the butter/cocoa powder mix to cool a bit, then mix into eggs, sugar and avocado.
Mix your flour in with the rest. Add baking powder if you simply have a basic flour mix.
Pour into a greased baking dish and bake for 30-40 minutes on 350.
Bready or Not Guest: Spencer Ellsworth's Un-Ruinable Gluten Free Brownies
Ingredients
- 4 eggs
- 1 cup white sugar add more to taste, especially if not using chocolate chips
- 1 tsp vanilla extract
- 2/3 cup cocoa powder I much prefer the darker, richer Ghiradelli’s over the chalky Hershey’s
- 1/2 cup butter or margarine or coconut oil
- 1/2 mushy avocado this is weird, but it makes the whole endeavor much fluffier
- 1 cup of any gluten-free flour or baking mix or pancake mix
- 2 tsp baking powder if not already included in your mix
- Chocolate chips & nuts to taste
Instructions
- Set oven to 350.
- Beat the eggs with the sugar and avocado.
- Melt the butter or oil in a saucepan or microwave-safe dish, and add the cocoa powder and beat until smooth.
- Allow the butter/cocoa powder mix to cool a bit, then mix into eggs, sugar and avocado.
- Mix your flour in with the rest. Add baking powder if you simply have a basic flour mix.
- Pour into a greased baking dish and bake for 30-40 minutes on 350.
Amazon | Barnes & Noble | Kobo
A Red Peace, first in Spencer Ellsworth’s Starfire trilogy, is an action-packed space opera in a universe where the oppressed half-Jorian crosses have risen up to supplant humanity and dominate the galaxy.
Half-human star navigator Jaqi, working the edges of human-settled space on contract to whoever will hire her, stumbles into possession of an artifact that the leader of the Rebellion wants desperately enough to send his personal guard after. An interstellar empire and the fate of the remnant of humanity hang in the balance.
Spencer Ellsworth has written a classic space opera, with space battles between giant bugs, sun-sized spiders, planets of cyborgs and a heroine with enough grit to bring down the galaxy’s newest warlord.
Read More


