Bready or Not: Golden Syrup Brownies
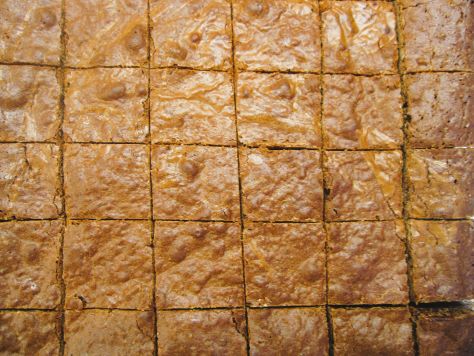
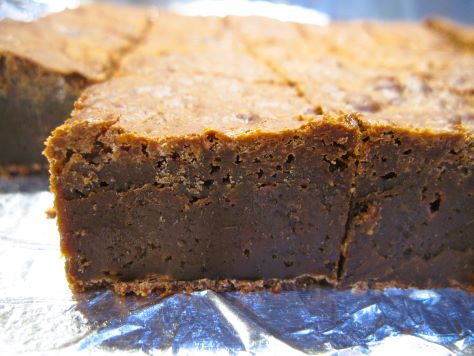
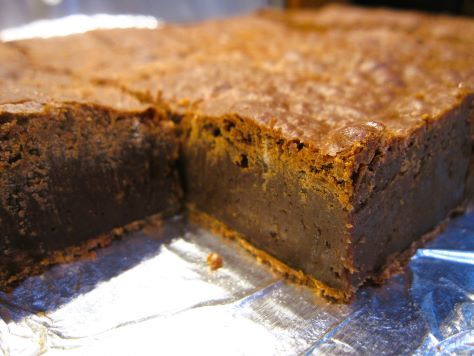
I’ve made a lot of brownies that I’ve shared here on Bready or Not, but these Golden Syrup Brownies are the fudgiest I’ve ever made.
Seriously, they are good but they are dense and rich. I highly recommend cutting these things small, just as one does with fudge.
Golden Syrup and coarse sugar are what set these brownies apart. I used Lyle’s Golden Syrup, the original version, imported from the UK. Sometimes you’ll see honey and light corn syrup mentioned as American substitutes; if you want to go that route, split them half and half, but it still won’t be the same as Lyle’s.
As for the coarse sugar, the original recipe printed in Bake from Scratch called for unrefined light muscovado, but I used a mix of demerara and turbinado. Hence my general recommendation for coarse sugar.
This recipe will keep for weeks in the fridge, have you the fortitude!
Bready or Not: Golden Syrup Brownies
Equipment
- 9×9 pan
- aluminum foil
- nonstick spray
- fine mesh sieve
Ingredients
- 1 1/2 cups plus 2 teaspoons coarse sugar such as turbinado and demerara
- 14 Tablespoons unsalted butter
- 4 Tablespoons plus 2 teaspoons golden syrup
- 1 1/4 cups dark chocolate chopped or in chips
- 6 large eggs room temperature
- 2/3 cups plus 2 Tablespoons all-purpose flour
Instructions
- Preheat oven at 325-degrees. Line a 9-inch square pan with foil and apply nonstick spray.
- In a large saucepan, heat the coarse sugar, butter, and golden syrup over medium heat until the mixture is smooth and bubbly, around 5 to 6 minutes. Remove the pan from heat and add the chocolate. Stir until everything is melted. Let cool for a bit.
- In a medium bowl, whisk the eggs. Strain them through a fine mesh sieve into the batter. Stir everything to incorporate. Add flour, stirring until no white streaks remain. Pour the batter into the prepared pan. Tap it on the counter a few times to knock bubbles free and level the batter.
- Bake until brownies are set with the center still moist, about 45 minutes. It’s okay if they look slightly underdone. Let pan cool to room temperature. Refrigerate at least 6 hours or overnight.
- Use foil to lift contents onto a cutting board. Use a large knife to cut brownies into small squares. If the brownies stick to the knife, wipe it clean after each pass and dip the blade in hot water before each cut. Store brownies in a sealed container in the fridge for up to two weeks, or freeze for longer.
OM NOM NOM!
Bready or Not Original: Quick Maple Cookie Fudge Redux
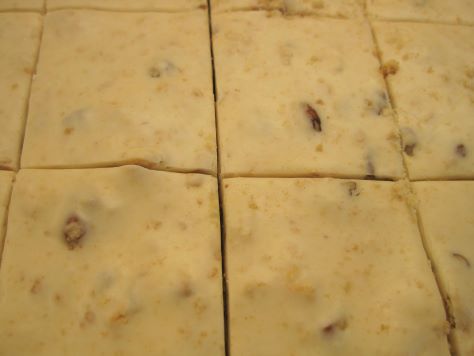
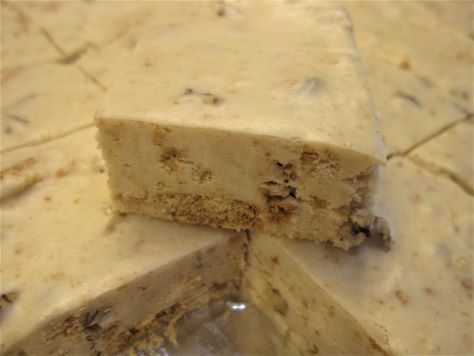
Let’s finish off the year 2022 by reviving a recipe first on Bready or Not in 2016: Maple Cookie Fudge!
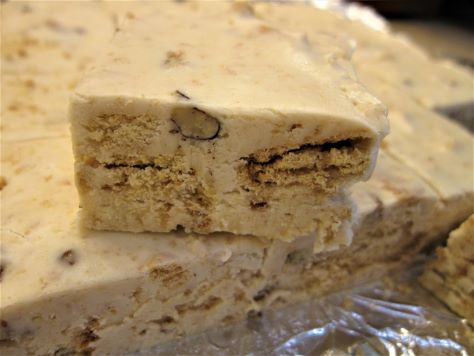
This is a shortcut fudge without any need of a candy thermometer or stress. I like to use the microwave, but you can use the stovetop if you want. You can keep the maple cookies chunky, if you desire, or grind everything to crumbs–your choice! I actually like some small chunks mixed in for texture.
The maple flavor is nice and consistent here, not cloying, while the marshmallow fluff grants the texture some extra oomph. The nuts add an extra flavor and crunch, but you can omit them if you want.
This maple cookie fudge is just about perfect if you ignore the pesky nutritional side of things.
Bready or Not Original: Quick Maple Cookie Fudge
Equipment
- 9×13 pan
- aluminum foil
- nonstick spray or butter
Ingredients
- 3 cups white chocolate chips
- 12.3 ounces maple crème cookies crushed/chopped/maimed, about 20 cookies
- 7 ounces marshmallow fluff
- 14 ounces sweetened condensed milk
- 1 teaspoon maple flavor
- 1 teaspoon vanilla extract
- 1/2 cup chopped nuts walnuts, pecans, macadamias, etc
Instructions
- Prepare a 9×13 pan by lining it with foil and applying nonstick spray.
- Either in microwave or on stovetop, carefully melt chocolate with sweetened condensed milk and marshmallow cream. If microwaving, do it in short bursts because it can burn fast! Stir often.
- When the mix is smooth, add the maple flavor and vanilla. Fold in the maple cookies and nuts. Pour fudge into the prepared pan. Use an uneven spatula to smooth out the top.
- Refrigerate at least 3 hours, until the fudge is firm. Cut into bite size pieces. Keep stored in fridge between layers of wax paper. Unlike some other quick fudges, this will keep well for hours at room temperature.
OM NOM NOM!
Bready or Not Original: Snickerdoodle Quick Fudge
Last year I shared my recipe for Cookies and Milk Quick Fudge. This new version builds on that with a holiday twist: I used Voortman Bakery’s holiday special Snickerdoodles plus caramel chips!
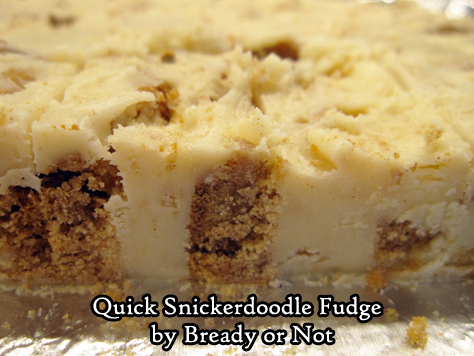
Old-fashioned stovetop fudge is great. It’s also fussy, prone to crystallize or not set. Quick fudges are no-fuss and just as delicious.
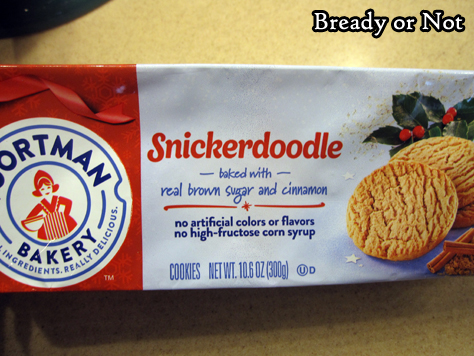
Any time of year, make this using crisp cookies like many from Keebler. For this holiday take, I used Voortman’s Snickerdoodles, but you could also use gingersnaps or other classic favorites and switch out the kind of sweet chips.
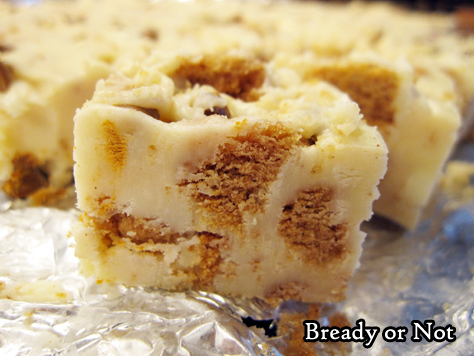
Prep the cookies by chopping up a cup and a half. Freeze those bits; it won’t take long. From there, it takes just a few minutes to mix up the fudge.
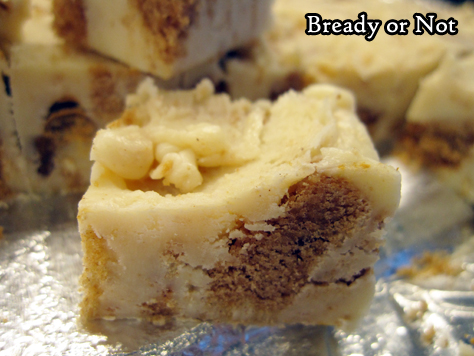
The hardest part is waiting for the fudge to set for the next few hours. This recipe makes a lot of fudge, but it’s easy to portion out. Slice it small, and keep it sealed and stored in the fridge!
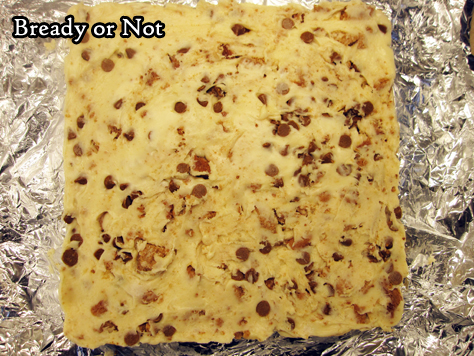
Bready or Not Original: Snickerdoodle Quick Fudge
Ingredients
- 1 1/2 cups store-bought holiday Snickerdoodle cookies chopped and frozen
- 3 cups white chocolate chips
- 14 ounces sweetened condensed milk
- 1/3 cup caramel chips
Instructions
- Line an 8×8 or 9×9 pan with foil and apply nonstick spray. Set aside.
- In a large microwave-safe bowl, heat the white chocolate and sweetened condensed milk in 30 second increments, stirring well after each bout, until it is melted and smoothed. Watch it closely!
- Quickly stir in the frozen cookies, and pour into the prepared pan. Sprinkle caramel chips on top and tap them into place.
- Refrigerate at least 2 hours. Use foil to lift fudge onto a cutting board to slice into small squares. Store in a sealed container in the fridge. Keeps for weeks.
*OM NOM NOM!*
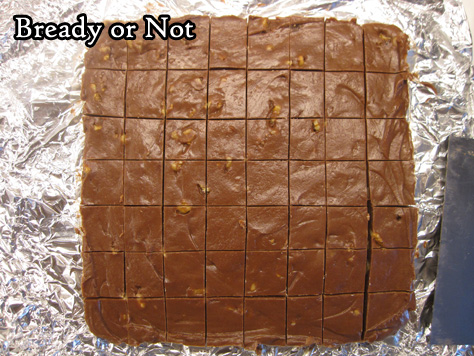
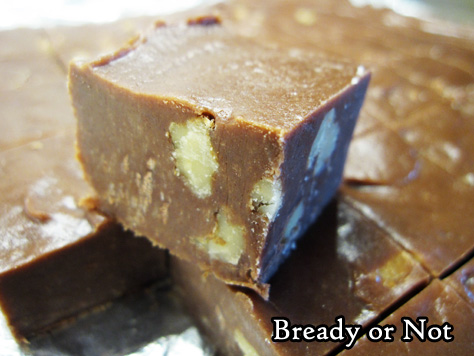
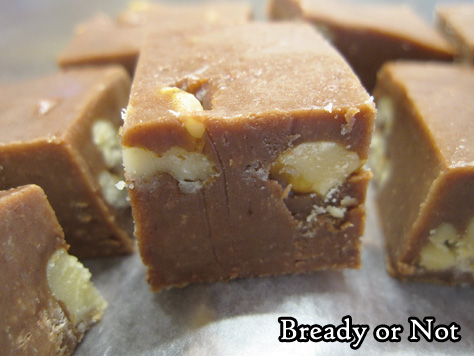
Bready or Not Original: Quick Peanut Butter Chocolate Fudge
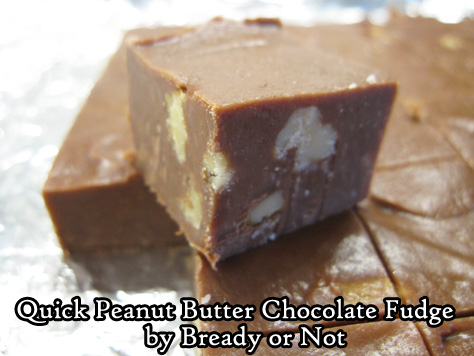
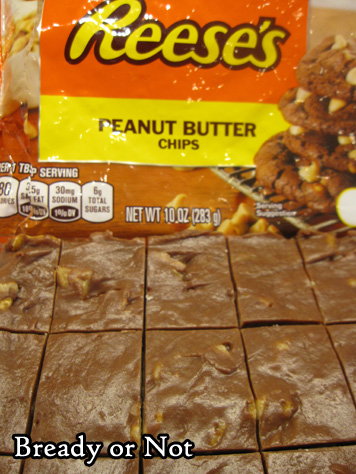
Holiday time can be all kinds of hectic, but if you need a sweet treat in limited time, this Quick Peanut Butter Fudge will be adored by all chocolate and peanut butter lovers!
This thing literally comes together in under five minutes. Give it a couple hours to set in the fridge, and there you go. Plus, it keeps for weeks in the fridge (if you can make it last that long) and it can be frozen for ages.
I love using walnuts in this fudge, but any nut will do. Can you make it without nuts? Sure, but I find that a little bit of crunch is great for texture. Some seeds could work in this, too, if you need to avoid an allergen (keeping in mind, this already includes peanut butter chips!).
My husband had co-workers describe this fudge as “crack.” Consider yourself warned.
I’ve shared a number of quick fudge recipes over the years. Here are some others to try out!
Five-Minute Spicy Mexican Fudge
Quick Cake Batter White Chocolate Fudge
Gingerbread Cookie Dough Fudge
No-Bake Peanut Butter Pretzel Fudge
Bready or Not Original: Quick Peanut Butter Chocolate Fudge
Equipment
- 8x8 or 9x9 pan
Ingredients
- 1/4 cup unsalted butter
- 10- ounce bag peanut butter chips 1 bag
- 8- ounces semi-sweet chocolate chips about 3/4 bag
- 14-ounce can sweetened condensed milk
- 1 cup walnuts or other nuts, chopped
Instructions
- Line a small square pan with foil and apply nonstick spray or butter.
- In a large microwave-safe bowl, melt butter with a zap or two in microwave. Add peanut butter, chips, chocolate chips, and sweetened condensed milk. Heat in a couple 30-second bursts, stirring well between each, and continuing until the mixture is smooth. Fold in nuts.
- Pour into prepared pan. Smooth out using an uneven spatula, taking fudge to edges and pressing down to remove any bubbles.
- Chill in fudge for at least two hours. Use foil to lift onto cutting board for easy slicing. Store in a sealed container with waxed paper between the layers; keep in fridge as long as a month, or freeze for longer.
OM NOM NOM!
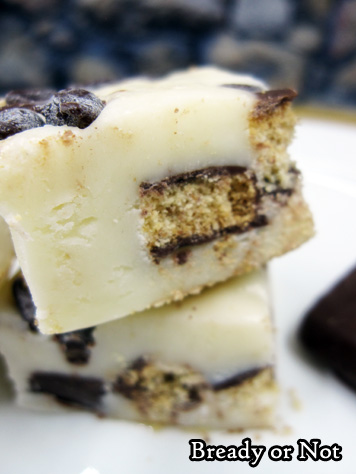
Bready or Not Original: Cookies and Milk Quick Fudge
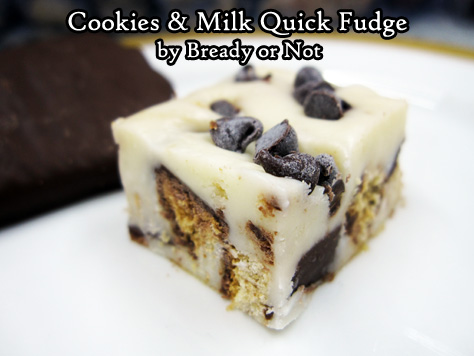
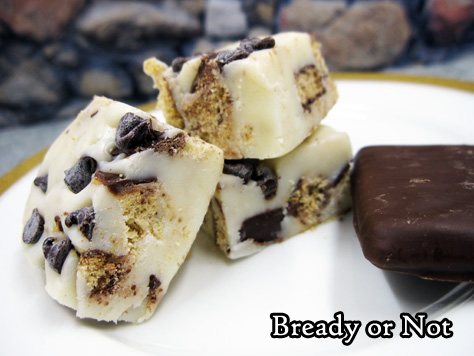
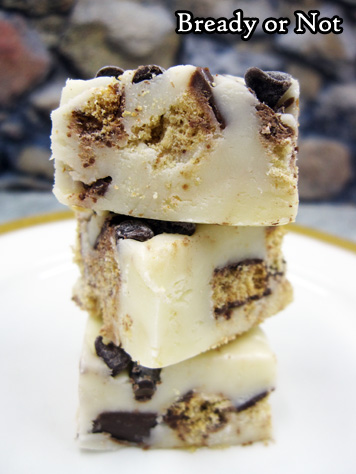
Old-fashioned stovetop fudge is great. It’s also fussy, sometimes refusing to set or turning out gritty, and makes the cook babysit a hot pot to stir and stir. I’m all about quick fudges, especially during the Arizona summer. This Cookies and Milk Quick Fudge is especially nice because it has endless variations!
Choose a crisp, crunchy cookie from the store. Maybe on a good sale. In my case, I used Keebler’s Deluxe Grahams. A lot of Keebler’s cookies would work here–just don’t use the soft-baked ones.
Prep the cookies by chopping up a cup and a half. Freeze those bits; it won’t take long. From there, it takes just a few minutes to mix up the fudge.
The hardest part is waiting for the fudge to set for the next few hours.
This recipe makes a lot of fudge, but it’s easy to portion out. Slice it small, and keep it sealed and stored in the fridge!
Make this recipe time and again with different cookies. It could even be customized for the holidays or sporting events with the addition of differently colored sprinkles on top. Have fun with it!
Bready or Not Original: Cookies and Milk Quick Fudge
Ingredients
- 1 1/2 cups chopped store-bought cookies frozen
- 3 cups white chocolate chips
- 14 ounce sweetened condensed milk can
- 3 Tablespoons mini chocolate chips
Instructions
- Line an 8x8 or 9x9 pan with foil and apply nonstick spray. Set aside.
- In a large microwave-safe bowl, heat the white chocolate and sweetened condensed milk in 30 second increments, stirring well after each bout, until it is melted and smoothed. Watch it closely!
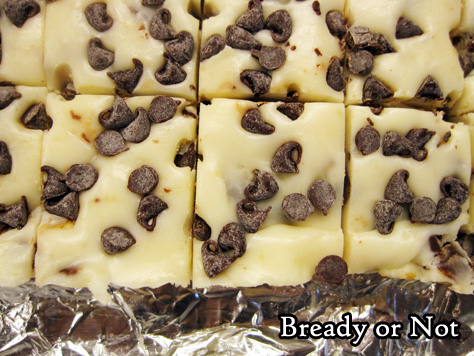
- Quickly stir in the frozen cookies and pour into the prepared pan. Sprinkle chocolate chips on top and tap them into place. Refrigerate at least 2 hours. Use foil to lift fudge onto a cutting board to slice into small squares. Store in a sealed container in the fridge.
- OM NOM NOM!
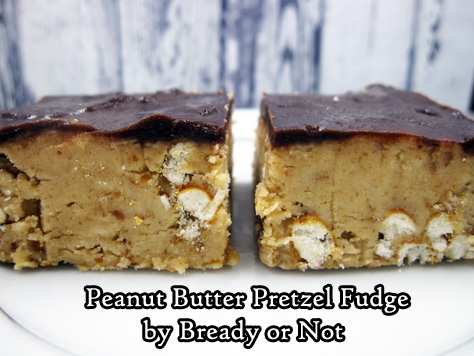
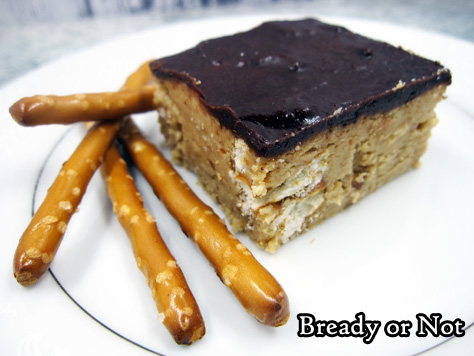
Bready or Not: No-Bake Peanut Butter Pretzel Fudge
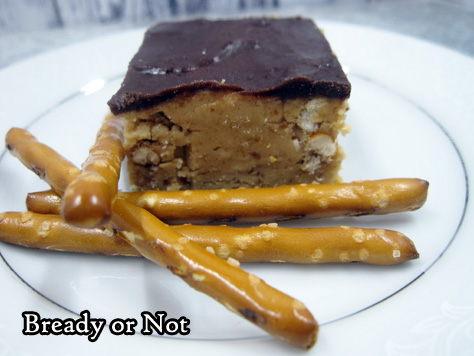
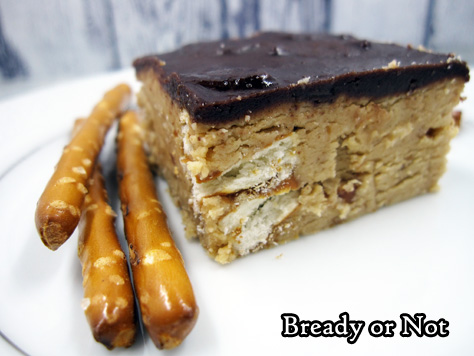
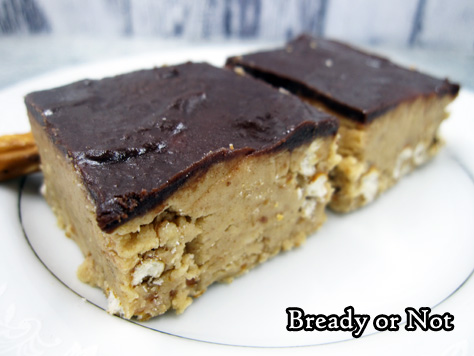
These easy-to-make No-Bake Peanut Butter Pretzel Fudge pieces are basically like homemade candy bar bites.
They are a fantastic combination of savory, salty, sweet, and crunchy. They have it all going on.
Plus, you don’t even have to turn on the oven–just a food processor, microwave, and maybe a stand mixer. The fridge does all the lengthy work.
These went over so well at my husband’s work that a guy immediately logged onto my website via his phone to try to find the recipe. Uh, sorry, dude. There is quite a lead time between the initial baking/making and the online post.
However, by his enthusiasm, maybe he’ll find this post is worth the long wait.
Modified from America’s Test Kitchen, Christmas Cookies 2013.
Bready or Not: No-Bake Peanut Butter Pretzel Fudge
Ingredients
Fudge:
- 5 ounces thin pretzel sticks 2 cups, divided, broken into pieces
- 12 Tablespoons unsalted butter melted
- 1 1/2 cups creamy peanut butter
- 1 teaspoon vanilla extract
- 1/4 teaspoon salt
- 3 cups confectioners' sugar
Chocolate Ganache:
- 3 Tablespoons unsalted butter
- 3 1/2 ounces bittersweet chocolate chips or semi-sweet chocolate chips
- 1 Tablespoon light corn syrup
Instructions
- Line an 8x8 or 9x9-inch pan with aluminum foil and apply nonstick spray.
- In a food processor, process 1 cup of broken pretzels until finely ground. Stir together the pretzel crumbs and melted butter in a large mixing bowl and let sit to cool a few minutes.
- Add peanut butter, vanilla extract, and salt to the butter mixture, and mix until the peanut butter is smooth. Slowly mix in the confectioners' sugar until it all comes together. Add the additional 1 cup of pretzel sticks and stir to combine.
- Transfer the mix to the prepared pan and spread into an even layer. Cover surface directly with plastic wrap or waxed paper and smooth out more, then stash in fridge for 30 minutes.
- Microwave the three ganache ingredients at 50% power, stirring often, until melted and smooth. This will total about 1 minute or so. Let cool slightly.
- Remove plastic cover from atop the fudge and use an uneven spatula to spread ganache on top.
- Chill pan for about 4 hours. Use the foil sling to lift contents from pan and onto a cutting board to parcel into bars.
- Keeps well in fridge for days in a sealed container.
- OM NOM NOM!


