Bready or Not: Peppermint Meltaway Cookies
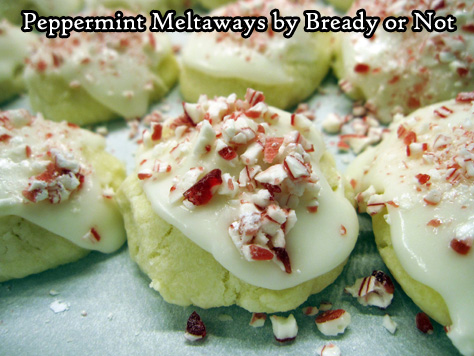
Do you love those peppermint meltaway candies that dissolve in your mouth with such refreshing flavor? Imagine that, in cookie form. Yes. Really.
This recipe essentially makes very lightly-textured shortbread cookies. That texture arises from the use of confectioners’ sugar and cornstarch. These are like cookie clouds.
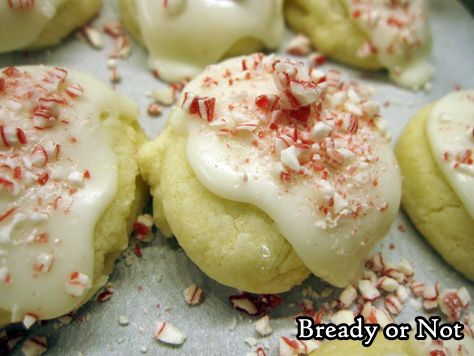
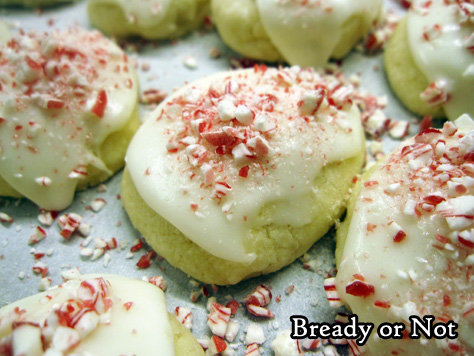
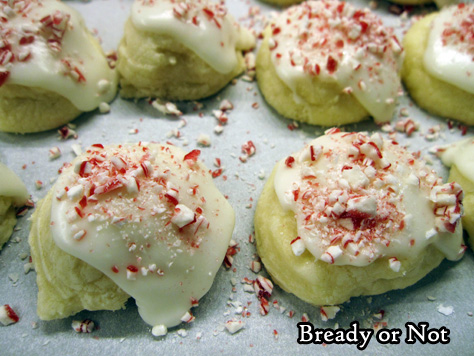
Then you top those small cookies with a smear of frosting and some crushed peppermint bits. The combo… yeah. These are called meltaways, and that’s exactly what they do.
Plus, these things literally LOOK like the holiday season. Like snow and peppermints.
If you’re searching for a recipe to wow everyone in a cookie exchange, these are your cookies, and they don’t even taste or act like cookies. They’ll blow your mind. Blow the minds of everyone there.
Modified from Taste of Home, November 2015.
Bready or Not: Peppermint Meltaway Cookies
Ingredients
cookie dough
- 1 cup unsalted butter softened
- 1/2 cup confectioners' sugar
- 1/2 tsp peppermint extract
- 1 1/4 cups all-purpose flour
- 1/2 cup cornstarch
frosting
- 2 Tb unsalted butter softened
- 2 Tb milk or half & half
- 1/4 tsp peppermint extract
- 1 1/2 cups confectioners' sugar sifted
- 1/4 - 1/2 cup peppermint candies crushed
Instructions
- In a mixing bowl, cream together the butter and confectioners' sugar until light and fluffy, then add peppermint extract. Gradually beat in the flour and cornstarch.
- Wrap dough in plastic wrap and chill for 30 minutes or so, until the dough is firm enough to work with.
- Preheat oven at 350-degrees. Using a teaspoon scoop, dole out dough onto a cookie sheet. Use a spatula or the bottom of a glass to lightly compress the cookies, as they may not spread much while baking.
- Bake for 9 to 11 minutes, until set. Let cool on sheet for 10 minutes, then move to a rack to finish cooling.
- When the cookies are room temperature, prepare the frosting. Mash the two tablespoons butter until creamy; add the milk and peppermint extract. Beat in the confectioners' sugar until it is smooth. Add more sugar or milk, if necessary, to reach a thick yet spreadable consistency.
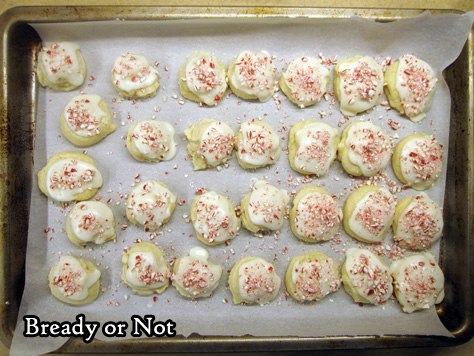
- Use the back of a spoon to frost the cookies then sprinkle with peppermint candies. Store in an airtight container with waxed paper or parchment between layers. Makes about 25 teaspoon-sized cookies.
- OM NOM NOM!
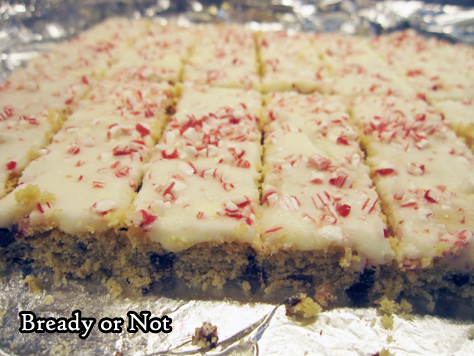
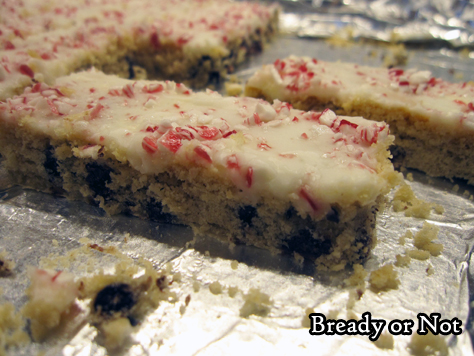
Bready or Not: Peppermint Chocolate Chip Cookie Sticks
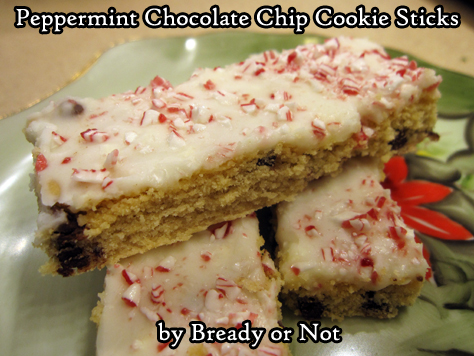
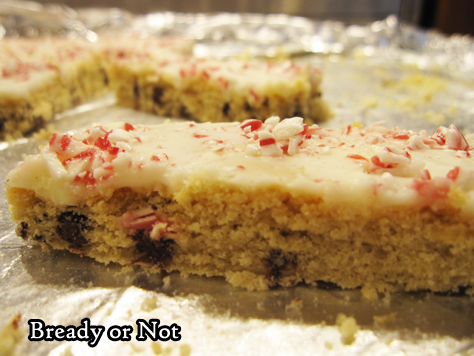
Imagine chocolate chip-flecked shortbread sticks adorned with a thin sheen of frosting with dazzling gems of peppermint.
If you love peppermint and chocolate, these cookie sticks will bring you bliss. But do heed a rather important warning.
If the peppermint bits sit in the frosting for more than a day or so, they’ll actually melt. Seriously. It’s some kind of chemical reaction. Puddles of red goop everywhere.
But here’s the thing: the sticks still taste fine if that happens! They just look like they stared at the Arc of the Covenant.
So make a big ol’ jelly roll pan of these, and hold off on adding the peppermints adornments until soon before serving. Or put them on, and use it as a kind of science experiment.
A very delicious experiment. Did I mention these were like shortbread sticks loaded with chocolate chips and slathered with frosting? Oh yeah. These are good.
Modified from Crazy for Crust at Challenge Dairy.
Bready or Not: Peppermint Chocolate Chip Cookie Sticks
Ingredients
Cookie Sticks
- 3/4 cup unsalted butter
- 3/4 cup white sugar
- 1 large egg room temperature
- 1 Tablespoon vanilla extract
- 1/4 teaspoon peppermint extract
- 1/2 teaspoon baking soda
- 1/2 teaspoon cream of tartar
- 1/2 teaspoon salt
- 2 cups all-purpose flour
- 1 cup mini chocolate chips
Frosting:
- 1/4 cup unsalted butter softened
- 2 cups confectioners' sugar sifted
- 1 Tablespoon vanilla extract
- 3 - 4 Tablespoons milk or cream or half & half
- 1/4 teaspoon salt
- 1/3 cup candy canes crushed; or peppermints
Instructions
- Preheat oven to 350-degrees. Line a jelly roll pan (10x15-inches) with foil and apply nonstick cooking spray all over the surface.
- Cream together the butter and sugar until fluffy. Mix in egg and both extracts, followed by the baking soda, cream of tartar, and salt. Add flour until just incorporated, then the chocolate chips.
- Use your hands to press the dough evenly into the prepared pan. Bake for 15-18 minutes, until it's just starting to turn golden brown at the edges. Cool completely before frosting.
- For the frosting, cream butter until smooth. Slowly mix in powdered sugar until it starts to become crumbly, then add the salt and vanilla extract. Stir in 2 tablespoons of milk, then add more until it is spreadable consistency.
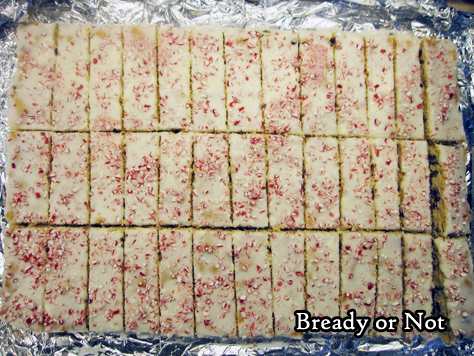
- Use the foil to lift the cookie slab onto a cutting board. Use an uneven spatula to frost the full surface. Let the frosting set for a short while. Slice cookies into sticks.
- DO NOT sprinkle crushed peppermints on until soon before serving--the candies will actually dissolve into the frosting after a day or so, which looks bad though they still taste fine.
- OM NOM NOM!
Bready or Not: Peppermint Chocolate Chip Cookie Sticks
Ingredients
Cookie Sticks
- 3/4 cup unsalted butter
- 3/4 cup white sugar
- 1 large egg room temperature
- 1 Tablespoon vanilla extract
- 1/4 teaspoon peppermint extract
- 1/2 teaspoon baking soda
- 1/2 teaspoon cream of tartar
- 1/2 teaspoon salt
- 2 cups all-purpose flour
- 1 cup mini chocolate chips
Frosting:
- 1/4 cup unsalted butter softened
- 2 cups confectioners' sugar sifted
- 1 Tablespoon vanilla extract
- 3 - 4 Tablespoons milk or cream or half & half
- 1/4 teaspoon salt
- 1/3 cup candy canes crushed; or peppermints
Instructions
- Preheat oven to 350-degrees. Line a jelly roll pan (10x15-inches) with foil and apply nonstick cooking spray all over the surface.
- Cream together the butter and sugar until fluffy. Mix in egg and both extracts, followed by the baking soda, cream of tartar, and salt. Add flour until just incorporated, then the chocolate chips.
- Use your hands to press the dough evenly into the prepared pan. Bake for 15-18 minutes, until it's just starting to turn golden brown at the edges. Cool completely before frosting.
- For the frosting, cream butter until smooth. Slowly mix in powdered sugar until it starts to become crumbly, then add the salt and vanilla extract. Stir in 2 tablespoons of milk, then add more until it is spreadable consistency.
- Use the foil to lift the cookie slab onto a cutting board. Use an uneven spatula to frost the full surface. Let the frosting set for a short while. Slice cookies into sticks.
- DO NOT sprinkle crushed peppermints on until soon before serving--the candies will actually dissolve into the frosting after a day or so, which looks bad though they still taste fine.
- OM NOM NOM!
Bready or Not: Pumpkin Snickerdoodles
It’s pumpkin time! That’s right, the annual traditional continues. Through November 1st, each Wednesday will feature a new pumpkin recipe! This week: Pumpkin Snickerdoodles.
Not all of these recipes will be totally new, though. I revisited several of my old favorite pumpkin recipes that I first shared on Live Journal.
I had to start out with Pumpkin Snickerdoodles because, well, SNICKERDOODLES. Snickerdoodles are a year-round theme on here!
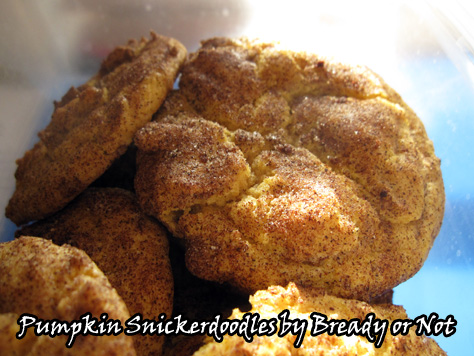
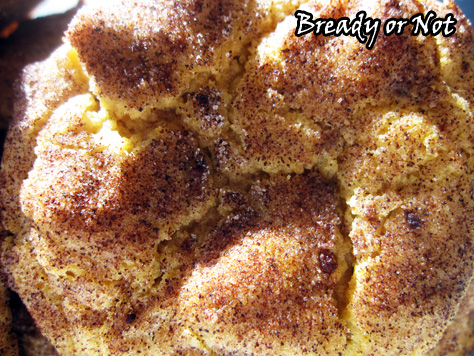
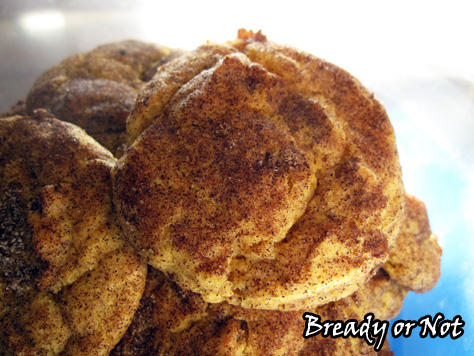
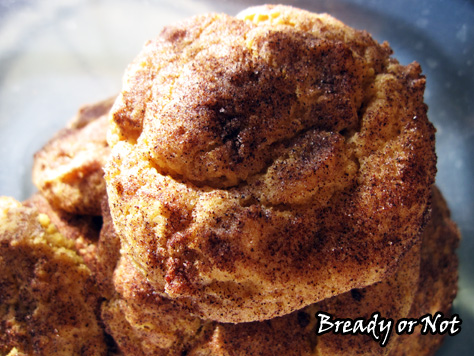
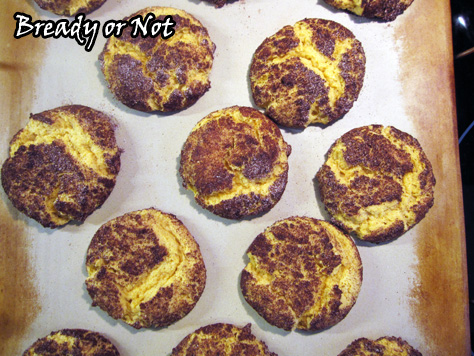
These cookies are snickerdoodles foremost, too. The pumpkin flavor is pretty mild, but its presence is undeniable, as these cookies are vivid orange.
Pumpkin goes so perfectly well with cinnamon and sugar. Quite simply, these cookies embody autumn in appearance, flavor, and smell.
Be sure to return next week when I share one of my personal favorite seasonal breakfast recipes: Pumpkin Pucks! They are gluten-free, sugar-free, and amazing.
Bready or Not: Pumpkin Snickerdoodles
Ingredients
Dough
- 2 3/4 cups all-purpose flour
- 2 teaspoons cream of tartar
- 1 teaspoon baking soda
- 1/2 teaspoon salt
- 1/2 teaspoon pumpkin pie spice
- 1 1/2 cups white sugar
- 1 cup unsalted butter 2 sticks, softened
- 1 large egg room temperature
- 3/4 cup pumpkin puree
Topping
- 1/4 cup white sugar
- 2 Tablespoons ground cinnamon
Instructions
- Preheat oven to 375-degrees. In a medium bowl, whisk together flour, cream of tartar, baking soda, salt, and pumpkin pie spice; set aside.
- In a large bowl, cream the butter and the 1 1/2 cups white sugar until light and fluffy. Add the egg, then the pumpkin puree. Add the dry ingredients last, scraping down the bowl as needed.
- Combine the two topping ingredients in a small bowl. Using a tablespoon, form dough into a ball and roll in the sugar and cinnamon. Space out the dough balls on the cookie sheet so that they have room to spread.
- Bake for 8 to 10 minutes, until edges are set; since the cookies are tinted orange, it will be harder to judge doneness, but Snickerdoodles always finish cooking outside of the oven. Cool the cookies on baking sheet about 10 to 15 minutes before moving to rack.
- OM NOM NOM!
Read More
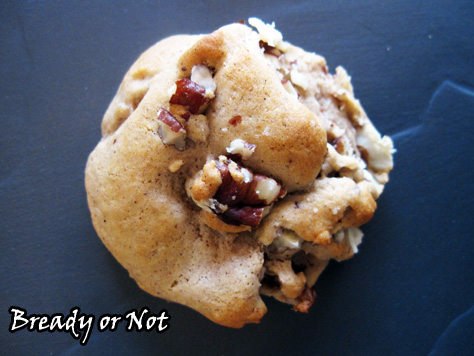
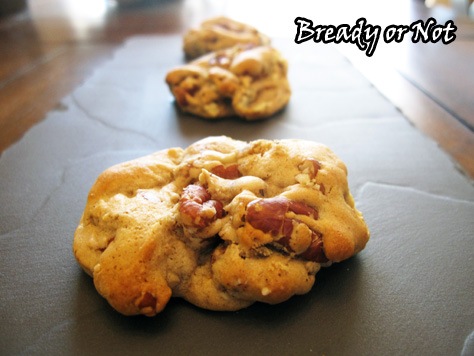
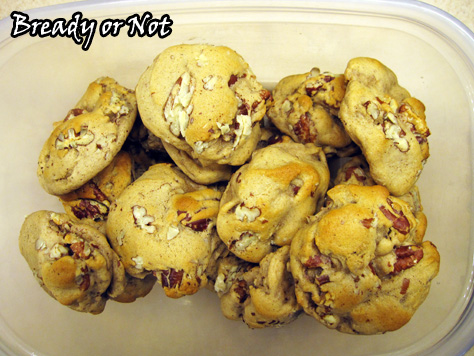
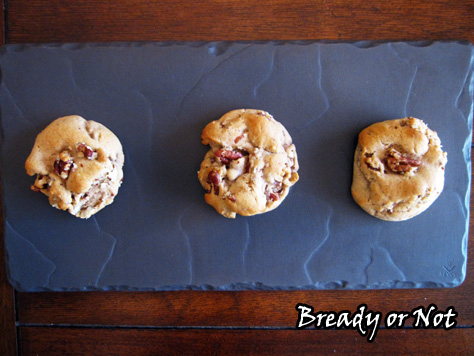
Bready or Not: Pecan Spice Cookies
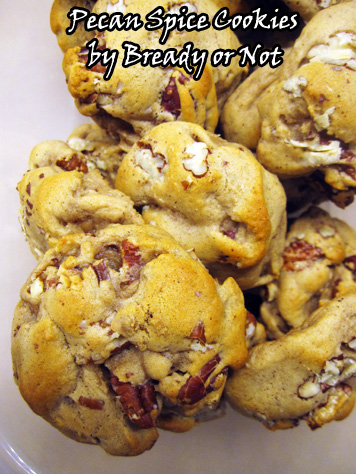
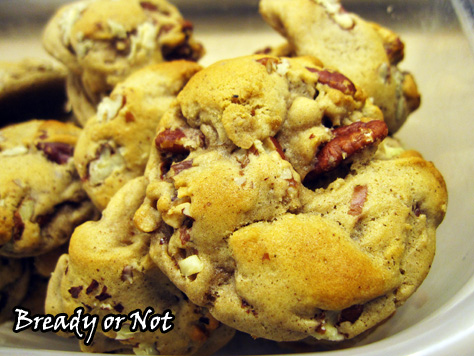
If you love pecans, I’d like to introduce you to your new bliss: Pecan Spice Cookies.
These fat, rich cookies are full of pecan goodness with the perfect blend of spices to enhance that goodness even more.
I love pecans. I am always on the look-out for a good sale on them, because they are certainly a more-expensive nut.
I modified this from the original at Averie Cooks in a number of ways. The biggest change is that I made the flour half all-purpose and half bread flour. This changes the gluten development, leading to thicker, chewier cookies.
I also added honey, because honey is perfect with pecans and pumpkin pie spice!
The end result is a dreamy cookie that will keep for days and days, and make your belly happy on each and every one.
Bready or Not: Pecan Spice Cookies
Ingredients
- 1/2 cup unsalted butter 1 stick, softened
- 3/4 cup brown sugar packed
- 1/4 cup white sugar
- 1 large egg room temperature
- 1 Tablespoon vanilla extract
- 1 Tablespoon honey
- 2 Tablespoons cream or half & half
- 1 cup all-purpose flour
- 1 cup bread flour
- 1 Tablespoon pumpkin pie spice
- 2 teaspoons corn starch
- 1 teaspoon baking soda
- pinch salt only needed if pecans are unsalted
- 2 cups pecan pieces
Instructions
- In a big bowl, cream together the butter, brown sugar, white sugar, egg, vanilla, and honey. Mix for several minutes, until completely combined and fluffy. Add the cream and mix again.
- Scrape down the bowl, then add the dry ingredients: both flours, pumpkin pie spice, corn starch, baking soda, and salt. Blend until just combined. Fold in the pecans.
- Wrap the dough in plastic wrap and set in fridge to chill overnight or for several days. Dough can also be frozen.
- Preheat oven at 350-degrees. Use a tablespoon scoop or spoon--this will allow for big chunks of pecans--to dole out dough onto the pan. Flatten each dough ball slightly, as they will not spread much, and also try to avoid having pecan pieces on the very bottom, as they might burn.
- Bake for 9 to 10 minutes, until the cookies have set tops. Let the cookies cool on the sheet for 10 minutes, then transfer to a rack to finish cooling.
- Cookies will keep for at least a week in a sealed container at room temperature.
- OM NOM NOM!
Read More
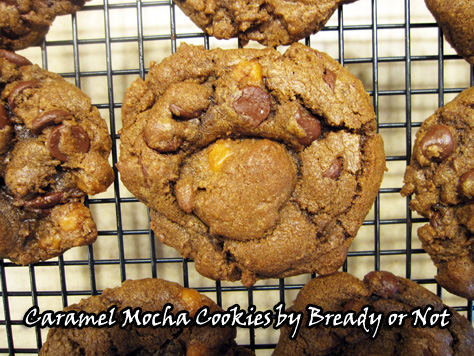
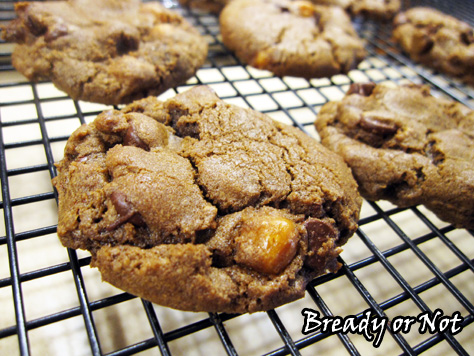
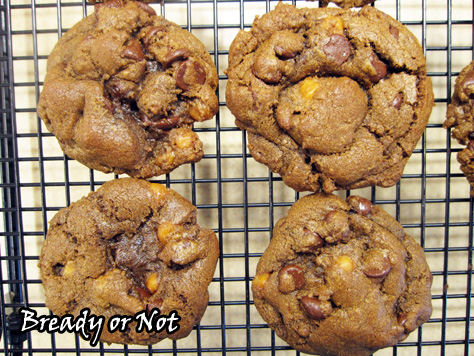
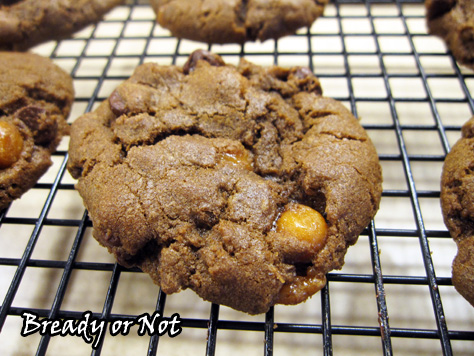
Bready or Not: Caramel Mocha Cookies
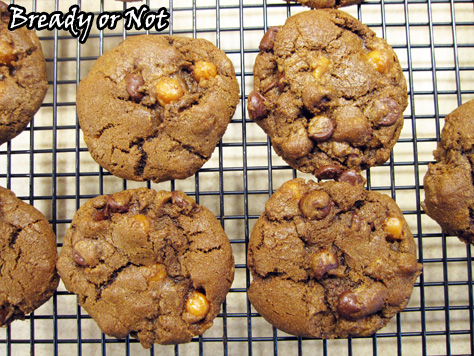
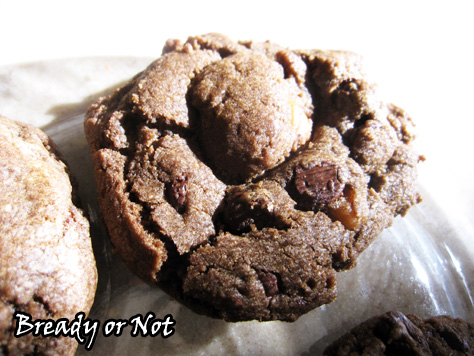
It’s been too long since I featured a hardcore chocolate recipe, so let’s make up for that in a big way with these Caramel Mocha Cookies.
“I have this great looking recipe I want to try,” I told my husband. “Can you make it without nuts?” he asked, citing that a co-worker was allergic.
So I set about modifying the recipe, and realized this would be a good use for some leftover caramel bits I had in the cupboard. As I read over the full magazine clipping for the recipe, though, I noticed something weird.
It had a truly egregious typo: it asked the baker to start preheating the oven in step one, then to place the dough to chill for several hours or overnight. Oops.
Therefore, this is greatly modified from the original in the December/January AllRecipes magazine.
If anyone ever comes across an error like that in one of my recipes, please let me know!
These are chocolate cookies that will delight any chocoholic: dough loaded with melted chocolate and espresso powder, then packed with more chocolate chips. The caramel adds a touch of a different sweetness, and a different texture besides.
Bready or Not: Caramel Mocha Cookies
Ingredients
- 2 cups semi-sweet chocolate chips divided
- 2 Tablespoons espresso powder
- 2 teaspoons water
- 1 3/4 cups all-purpose flour
- 3/4 teaspoon baking soda
- 1/2 teaspoon salt
- 1/2 cup unsalted butter 1 stick, softened
- 1/2 cup white sugar
- 1/2 cup brown sugar packed
- 1 large egg
- 3/4 cup caramel bits
Instructions
- Melt 1/2 cup of the chocolate in a bowl in the microwave. Stir until smooth; let cool. In another bowl, mix together the espresso powder and water.
- In a medium bowl, sift together the flour, baking soda, and salt. Set aside.
- In a large bowl, beat together the butter and sugars until creamy. Add the hydrated espresso, followed by the egg. Pour in the cooled melted chocolate. Gradually stir in the dry mixture until just mixed. Fold in the remaining 1 1/2 cups chocolate chips and the caramel.
- Wrap the dough with plastic wrap and let it chill for a few hours or overnight.
- Preheat oven at 350-degrees. Scoop tablespoon-sized dough balls onto a cookie sheet, with space for each to spread. Bake for 10 to 12 minutes. Let stand to set 5 to 10 minutes, then transfer to a cooling rack.
- OM NOM NOM!
Read More
Bready or Not: Chewy Almond Cookies
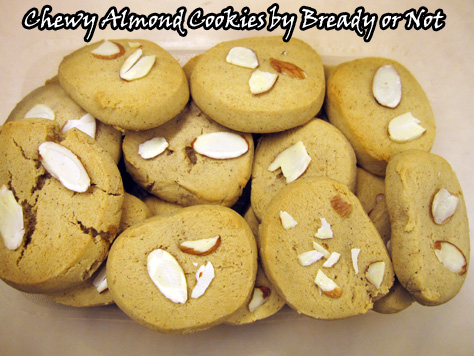
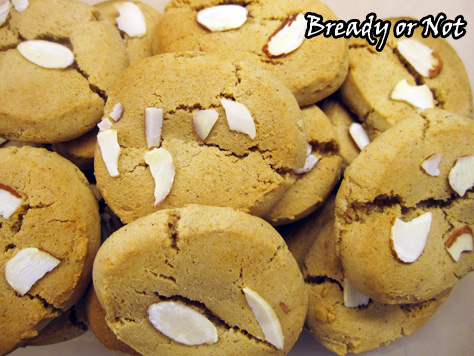
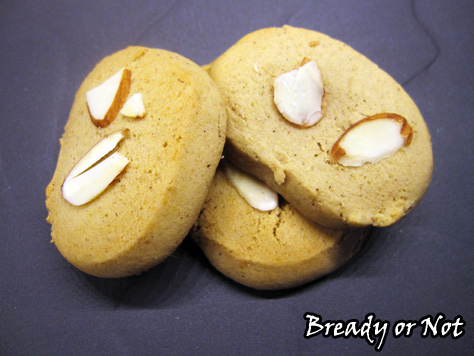
These Chewy Almond Cookies are an old favorite of mine, recently rediscovered.
I found this recipe in a Taste of Home cookbook I was given as a wedding gift back in 2000. I used to make them all the time.
I totally forgot about the recipe until I stumbled across it again, this time in a Taste of Home best cookies collection.
Guess what? The cookies are still fantastic! I did modify the recipe, as one does. The original version made a very small batch. Therefore, I doubled it, and also increased the amount of vanilla and cinnamon.
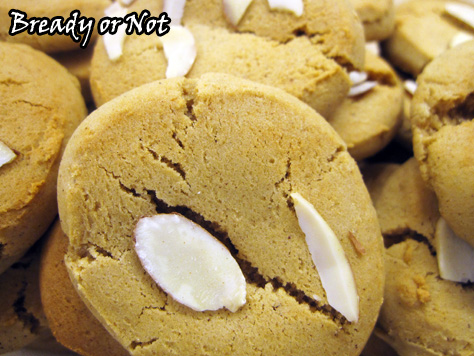
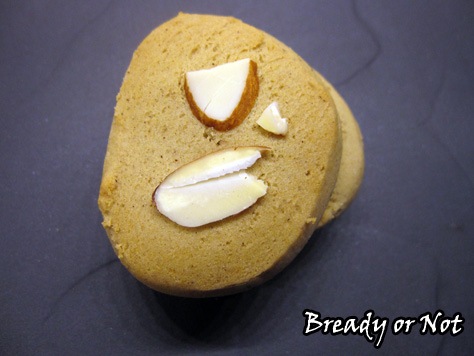
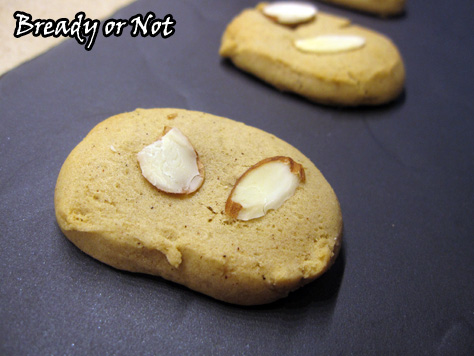
If you love almonds, well, you’ll be in heaven. It doesn’t take much almond extract to add a wallop of flavor, and the slices on top add a lovely crunch to complement the soft, chewy cookies.
This is a great dough to make ahead of time. Keep the wrapped dough in the fridge for days, or frozen for months. You could make these now and pull them out at the holidays.
Plus, the frozen dough sticks are a great weapon if anyone breaks into your house.
Adapted from a classic Taste of Home recipe.
Bready or Not: Chewy Almond Cookies
Ingredients
- 6 Tablespoons unsalted butter softened
- 2 cups brown sugar packed
- 2 eggs
- 1 teaspoon vanilla extract
- 1/2 teaspoon almond extract
- 3 cups all-purpose flour
- 1/2 teaspoon baking soda
- 1 teaspoon ground cinnamon
- 3/4 - 1 cup almonds sliced
Instructions
- In a mixing bowl, beat together the butter and brown sugar. Add the eggs and both extracts.
- In a another bowl, combine the flour, baking soda, and cinnamon. Gradually stir this into the wet mixture.
- Using plastic wrap, shape the dough into 2 or 3 long tubes of dough. Wrap them up well and refrigerate overnight, or freeze for months.
- When ready to bake, preheat the oven at 350-degrees. Cut dough into slices 1/4 thick; if they crumble a little, reshape with your fingers. Place spaced out on a greased or parchment-lined baking sheet. Add several almond slices on each cookie.
- Bake for 7 to 10 minutes, until lightly browned. Let them set on the sheet for a few minutes, then transfer to a cooling rack.
- OM NOM NOM!


