Bready or Not: Peppermint Truffle Bars
These Peppermint Truffle Bars are loaded with peppermint flavor, perfect for the holiday season or year-round!
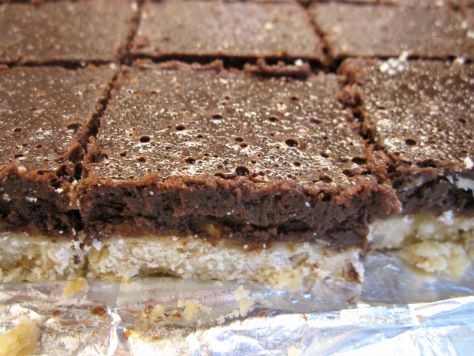
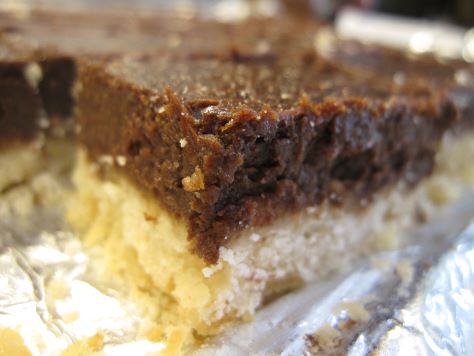
If you like chocolate peppermint (or know someone who does), this is the recipe for you. A shortbread base is topped with a dense layer of soft chocolaty goodness infused with peppermint extract.
As with many chocolate recipes, this one has a deeper flavor if you make it a day ahead. Build that info your baking plans.
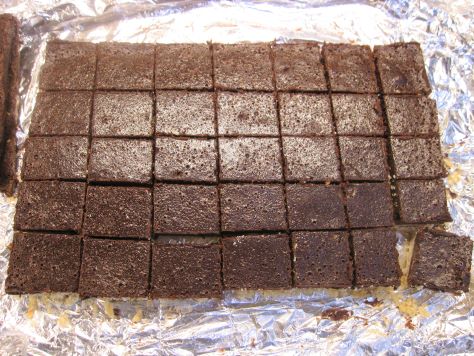
To make for neat bars, I cut off the edges. These are not to be wasted, of course–set them aside for select people to enjoy, and present the neatly-edged bars to a more discriminating audience.
Modified from Best Holiday Recipes from Taste of Home 2011.
Bready or Not: Peppermint Truffle Bars
Equipment
- 9×13 pan
- nonstick spray
- wax paper
- heavy glass
Ingredients
Bottom crust
- 3/4 cup unsalted butter cold and cubed (1 1/2 sticks butter)
- 1 1/2 cups all-purpose flour
- 3/4 cup confectioners’ sugar
- 1/4 teaspoon salt
- 1/2 teaspoon vanilla extract
Chocolate layer
- 16 ounces semisweet chocolate chips or chopped chocolate
- 3/4 cup milk or half & half
- 1/2 cup unsalted butter cubed
- 4 large eggs room temperature
- 2/3 cup white sugar
- 1 teaspoon peppermint extract
Instructions
- Line a 13×9 baking pan with foil and apply nonstick spray. Preheat oven at 325-degrees.
- In a large bowl, combine the flour, confectioners’ sugar, and salt. Add vanilla. Dice in the butter. Mix ingredients until the butter resembles fine crumbs. Distribute into prepared pan. Use a piece of waxed paper and a heavy glass to compress the dough into a firm layer.
- Bake for 20 to 25 minutes, until the edges are lightly brown. In the meantime, start mixing the top layer.
- In a large pot, combine the semisweet chocolate, milk, and butter and cook on low heat until the mixture is smooth. Remove from heat and let cool for a bit.
- In a large bowl, beat eggs and white sugar until it is smooth and thick. Add the peppermint extract and the chocolate mixture. Beat until incorporated and smooth. Pour over the bottom crust.
- Bake for 30 to 35 minutes until the middle is set and passes the toothpick test. Cool in pan on a rack, then place in fridge to set for several hours or overnight.
- Use foil to lift contents onto a cutting board. Slice into bars. Store in sealed container or individually wrapped in the fridge.
OM NOM NOM!
Bready or Not Original: Gingerbread Brownies
These Gingerbread Brownies are the perfect holiday season treat–or make them year-round, because they are just that good.
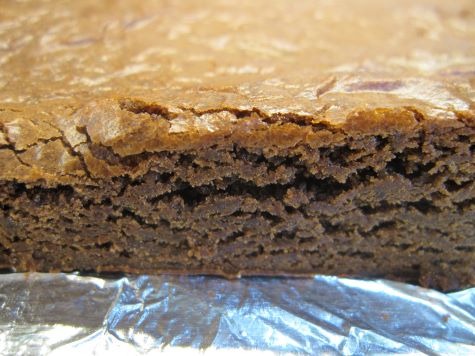
These are soft, moist, and dense in texture. The chocolate flavor hits the tongue first, followed by the pleasant warmth of ginger. The combination is fantastic.
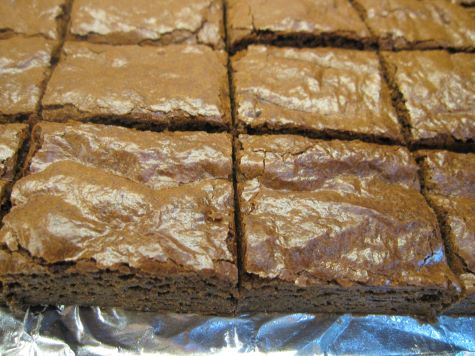
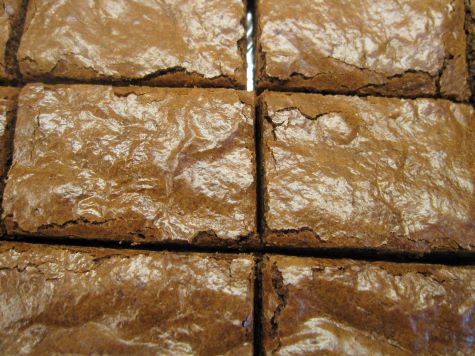
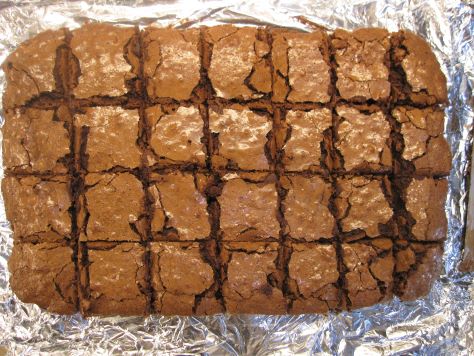
If you want to aim for an especially nice presentation, cut off the very edge of the brownies all the way around, then slice the interior into nice squares or rectangles.
Unfortunately, someone has to eat those leftover edge pieces. Oh, darn.
Bready or Not Original: Gingerbread Brownies
Equipment
- 9×13 pan
- aluminum foil
Ingredients
- 1 1/2 cups all-purpose flour
- 1/4 cup Dutch-processed cocoa powder sifted
- 1/2 teaspoon salt
- 1/2 teaspoon baking powder
- 1/4 teaspoon baking soda
- 4 ounces semisweet chocolate chopped or in chips
- 8 Tablespoons unsalted butter 1 stick
- 1 Tablespoon ground ginger
- 1 cup brown sugar packed
- 2 large eggs room temperature
- 1/3 cup unsulphured molasses
Instructions
- Preheat oven at 325-degrees. Line 9×13 pan with foil and apply nonstick spray or butter to grease bottom and sides.
- In a medium bowl, stir together flour, cocoa, salt, baking powder, and baking soda. Set aside.
- In a microwave-safe bowl in the microwave or on the stovetop in a pot, melt together the chocolate and the butter. Stir in the ginger. Let set to cool for ten minutes, then stir again.
- In a large mixing bowl, beat together brown sugar, eggs, and molasses. Mix in the chocolate. Stir in the dry ingredients until just combined. Pour batter into the prepared pan and even out.
- Bake for 24 to 28 minutes. The middle should pass the toothpick test.
- Let bars cool for several hours, speeding the process in the fridge if desired. Use the foil to lift the contents onto a cutting board for easy slicing. Store in a sealed container.
OM NOM NOM!
Bready or Not: Cocoa Pecan Brownies
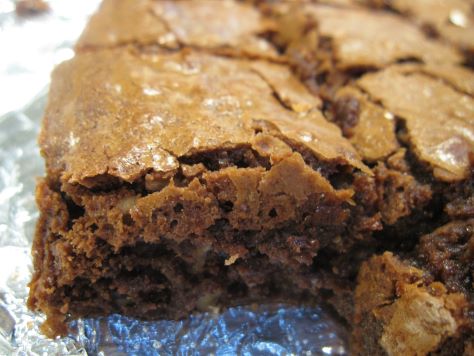
These Cocoa Pecan Brownies are perfect for when you have a chocolate emergency and need brownies, STAT.
(If you don’t know what might constitute a chocolate emergency, my gosh, why are you even here?)
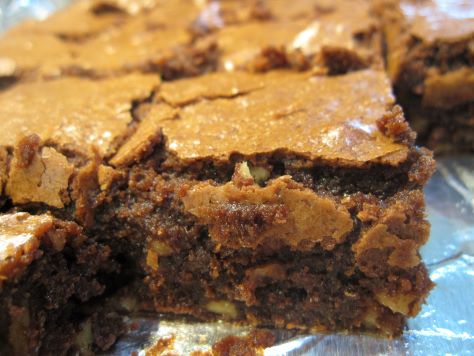
In any case, these brownies are great because they mix up quickly in a big pot, and they are a pretty straightforward bake, too. If you don’t like pecans, okay. Omit the nuts entirely, or use walnuts, a mix of nuts, cocoa nibs, whatever. This recipe can flex!
The one necessity: you need to enjoy these things. Really savor them. Maybe even stash some in the freezer for when that next chocolate emergency strikes.
Bready or Not: Cocoa Pecan Brownies
Equipment
- 13×9 pan
Ingredients
- 1 1/2 cups unsalted butter 3 sticks
- 3 cups white sugar
- 2 teaspoons vanilla extract
- 12 Tablespoons cocoa powder sifted
- 6 eggs
- 1 1/2 cups all-purpose flour
- 1 cup chopped pecans
Instructions
- Preheat oven at 350-degrees. Line a 13×9 pan with foil and apply nonstick spray or butter.
- In a large saucepan, heat the butter and sugar together on medium heat, stirring often, just until the butter is melted. Remove from heat. Stir in vanilla and cocoa powder. Add eggs one at a time, mixing in completely before adding the next. Stir in flour. Fold in the pecans.
- Pour batter into prepared pan. Bake for 30 to 35 minutes, until the very middle passes the toothpick test. Cool at room temperature, speeding the process in fridge if desired. Use foil to lift contents onto a cutting board. Slice up. Store in a sealed container.
OM NOM NOM!
Bready or Not: Browned Butter Lamington Blondies
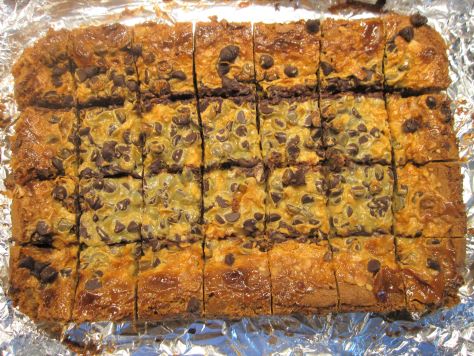
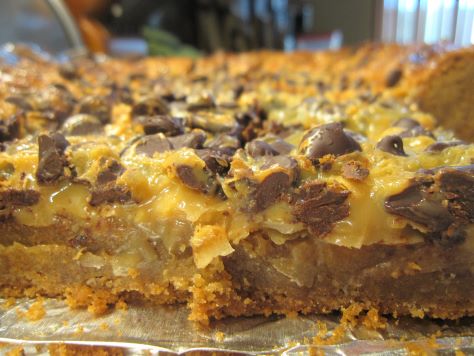
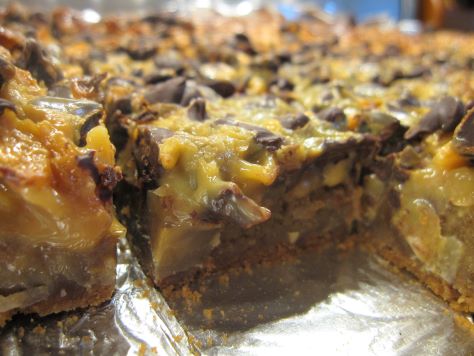
These Browned Butter Lamington Blondies are rich and indulgent, all chewy, chocolaty and good.
A lamington is an Australian dessert wherein pieces of sponge cake are rolled in chocolate and coconut. I haven’t gotten to try the real thing, but I can vouch for the fact that this home-baked version is delicious.
You start out with a blondie base that is rich on its own, with bountiful butter, brown sugar, vanilla, and eggs. Then you go even more ultra by adding an ooey-gooey chocolate and coconut-laden topping.
The original version of the recipe, in the Bake from Scratch May/June 2019 issue, proposed this Lamington version as a modification for a standard Blondie recipe. I rewrote it to streamline the process and change out some ingredients. Like… this doesn’t need sweetened coconut. It’s already sweet enough!
As I live in Arizona and have a warm kitchen, I found it essential to chill these bars so that they could be sliced up. I stored them in the fridge afterward as well, but if you’re in a cooler area, that likely isn’t needed.
Bready or Not: Browned Butter Lamington Blondies
Equipment
- 13×9 pan
- uneven spatula
Ingredients
Blondie Base
- 1 1/2 cups unsalted butter 3 sticks
- 3 cups light brown sugar packed
- 2 teaspoons baking powder
- 1 teaspoon kosher salt
- 4 large eggs room temperature
- 1 Tablespoon vanilla extract
- 3 cups all-purpose flour
Topping
- 1 cup unsweetened flaked coconut
- 1 cup bittersweet chocolate chips
- 14- ounces sweetened condensed milk
Instructions
- In a medium saucepan, melt butter over medium heat, stirring often until butter turns golden-brown with a nutty aroma, about 5 to 10 minutes. Pour into a small bowl to let stand at room temperature while the next steps are prepared.
- Preheat oven at 350-degrees. Line a 13×9 pan with foil and apply nonstick spray or butter.
- In a large bowl, beat together the brown sugar, baking powder, and salt. Beat in the browned butter. Add eggs one at a time, scraping bowl after each addition. Add vanilla extract. Fold in flour until just combined. Pour into prepared pan, evening out with an uneven spatula.
- Bake for 30 minutes. Middle needs to be set or the toppings will sink. Once that is done, no need to cool the base layer–remove the pan from the oven and sprinkle coconut over the top followed by the chocolate chips. Pour the sweetened condensed milk all over both.
- Place pan back in oven to bake for 20 to 25 minutes, until middle is molten. Let cool for a while at room temperature, then place in fridge to completely set and chill.
- Use foil to lift contents onto a cutting board. Slice. Store individually wrapped-up or in a sealed container at room temperature or in the fridge for up to 3 days.
OM NOM NOM!
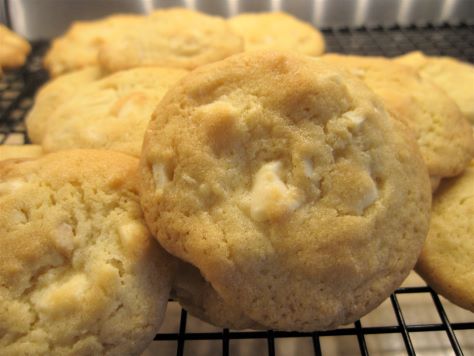
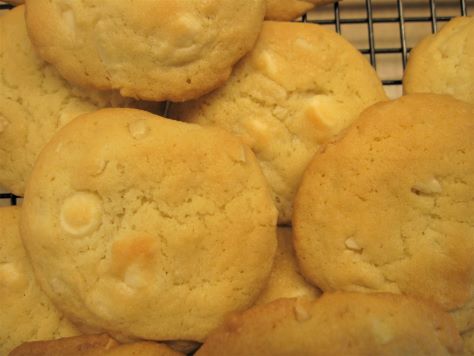
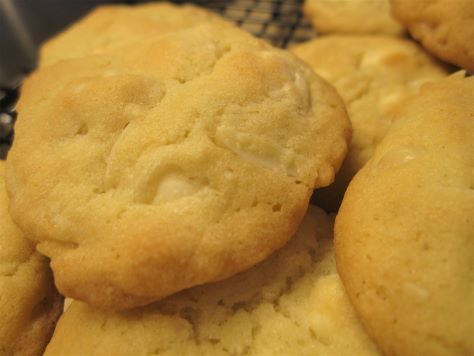
Bready or Not: Almond White Chocolate Cookies
These Almond White Chocolate Cookies are quick to fix-up and bake, making them the perfect treat when you need cookies in a hurry!
And who among us hasn’t had a few cookie emergencies in their lives, truly?
These cookies are light and crisp. The almond flavor is imbued in the dough thanks to almond extract and the almond slivers throughout. White chocolate is the perfect sweet to balance with the nuttiness.
Modified from a McCormick product ad.
Bready or Not: Almond White Chocolate Cookies
Equipment
- parchment paper
- baking sheet
- teaspoon scoop
Ingredients
- 2 1/2 cups all-purpose flour
- 1 teaspoon baking soda
- 1/2 teaspoon salt
- 1 cup unsalted butter (2 sticks) room temperature
- 1 1/4 cups white sugar
- 2 large eggs room temperature
- 1 1/2 teaspoons almond extract
- 9 ounces white chocolate chips
- 1 cup slivered almonds
Instructions
- Preheat oven at 375-degrees. Line a baking sheet with parchment paper.
- In a medium bowl, combine flour, baking soda, and salt. Set aside.
- In a large bowl, beat butter and sugar until they are light and fluffy. Add the eggs and almond extract. Gradually add in the dry ingredients, scraping the bowl as needed. Fold in the white chocolate and almonds.
- Use a teaspoon scoop to place dough, spaced out, on cookie sheet. Bake for 7 to 9 minutes, until cookies are set. Immediately transfer to a rack to cool.
- Store cookies in a sealed container at room temperature.
OM NOM NOM!
Bready or Not Original: Chewy Honey Graham Cracker Cookies
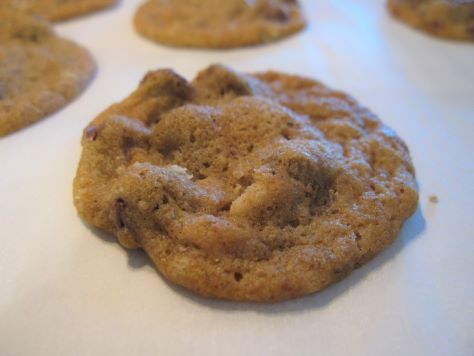
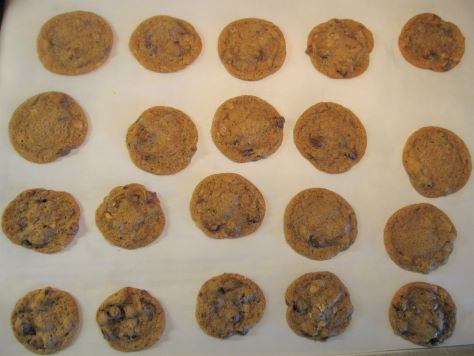
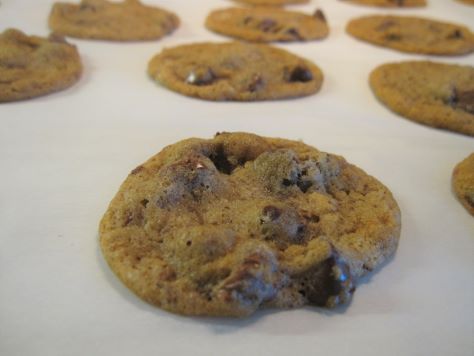
Today’s Chewy Honey Graham Cracker Cookies are a new twist on my original Chewy Honey Cookie base recipe.
This time around, crushed graham crackers are substituted for some of the all-purpose flour. This not only changes the texture, adding some pleasant grittiness, but also introduces a different sort of sweetness that pairs beautifully with chocolate.
Want to try some of my other original cookie recipes that use this same base? Here you go!
Chewy Honey Chocolate Chip Cookies
Bready or Not Original: Chewy Honey Graham Cracker Cookies
Equipment
- plastic wrap
- teaspoon or tablespoon scoop
Ingredients
- 3/4 cup 1 1/2 sticks unsalted butter softened
- 1/2 cup light brown sugar packed
- 1/2 cup white sugar
- 2 Tb honey
- 1 large egg room temperature
- 1 Tablespoon vanilla extract
- 1 cup bread flour
- 1/2 cup all-purpose flour
- 1/2 cup graham cracker crumbs
- 2 teaspoons cornstarch
- 1 teaspoon baking soda
- 1/2 teaspoon salt
- 1 cup chocolate chips add a variety!
Instructions
- In a large bowl, beat the butter until smooth. Add the sugar and honey and beat until creamy and fluffy, about 3 minutes. Scrape down the sides of the bowl and then mix in the egg and vanilla extract.
- In a separate bowl, combine the dry ingredients: bread flour, all-purpose flour, graham cracker crumbs, cornstarch, baking soda, and salt. Sift together.
- Slowly stir together the wet ingredients and flour mix until just combined. Sprinkle in the chocolate chips. Wrap the dough in plastic wrap and stash in the fridge for several hours or days; dough can also be frozen at this stage.
- When ready to bake, preheat the oven at 350-degrees. Use greased stoneware, parchment paper, or silpat mats. The cookie dough, even straight from the fridge, has a soft Play-Doh-like consistency, and will spread when it bakes; keep this in mind when spacing cookie dough.
- Teaspoon-sized cookies need to bake 9 to 12 minutes; Tablespoon-sized take 11 to 13 minutes. Let set on cookie sheets for 10 to 15 minutes before moving to a rack to cool completely.
- Store cookies will keep in a sealed container, between waxed paper or parchment layers, for weeks. They are excellent for travel or shipping.


