Bready or Not: Biscoff Brownies
How about some beautiful brownies for Valentine’s Day?
Sometimes you want a brownie that punches you in the face with its chocolate flavor. Other times you want a gentle slap. This brownie is the latter.
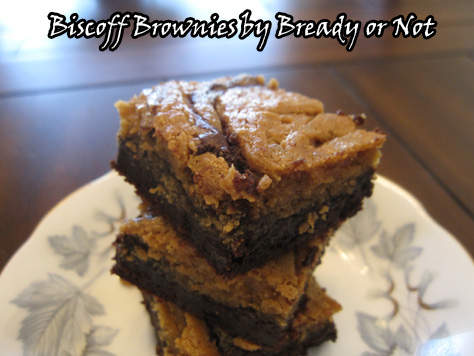
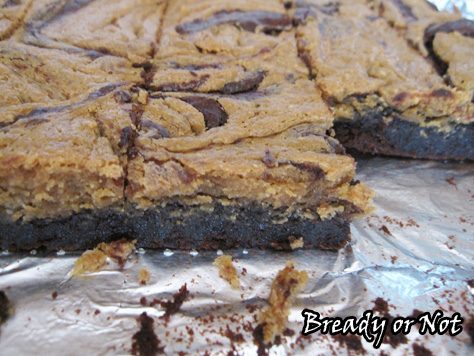
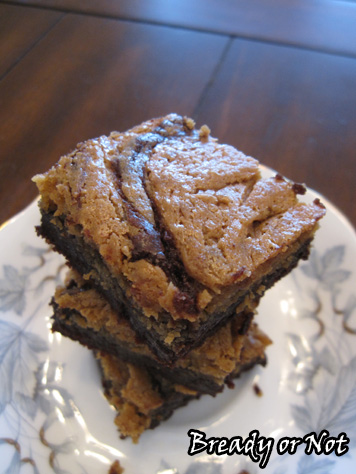
These mild brownies blend the magic of Biscoff spread/Speculoos spread with chocolately brownies. Neither flavor is strong, but together they create something delicious, tender, and good.
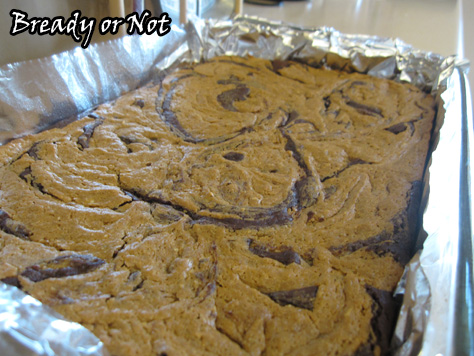
Also, they are PRETTY. Look at that swirl!
These are photogenic brownies.
They also keep really well for several days in a sealed container at room temperature. If you can restrain yourself to make them last that long.
Slightly modified from Biscoff Brownies at Bake at 350.
Bready or Not: Biscoff Brownies
Ingredients
For the Biscoff swirl:
- 1/2 cup smooth Biscoff or cookie butter spread
- 4 ounces cream cheese softened
- 2 Tbsp sugar
- 1 egg room temperature
For the brownies:
- 1 cup Dutch-process cocoa sifted
- 1 tsp kosher salt
- 1/2 tsp baking powder
- 12 Tb unsalted butter 1 1/2 sticks
- 2 cups white sugar
- 1 Tbsp vanilla extract
- 3 eggs room temperature
- 1 cup all-purpose flour
Instructions
- Preheat oven to 325-degrees. Line a 9x13 pan with aluminum foil and grease surface.
- For the Biscoff swirl: In a small bowl, combine the cookie butter spread, cream cheese, sugar, and egg, until smooth. Set aside.
- For the brownies: Sift together the cocoa, salt and baking powder and set aside.
- In a medium saucepan, melt the butter over low heat. Remove from heat and add the sugar. Once they are mixed, return to the burner and keep stirring as it heats through. You don't want it to bubble.
- Remove the pan from heat and stir in the cocoa mixture. Let it cool a few minutes. Whisk in the eggs and vanilla extract until smooth. Stir in the flour. Pour into the prepared pan and smooth it out.
- Dollop the Biscoff mixture here and there on top of the brownie batter. Use a table knife to gently swirl the mixture every which way across the surface.
- Bake for 30-35 minutes, until the swirl looks set and it passes the toothpick test. Cool on a wire rack before cutting.
OM NOM NOM!
Bready or Not: Chocolate Chip Cookie Dough Breakfast Bites
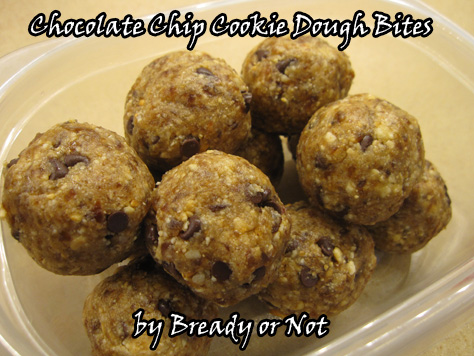
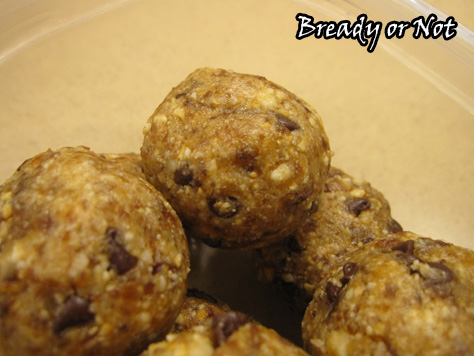
I present to you a healthy, delicious breakfast option that just happens to taste like cookie dough. OH YEAH.
A while back I shared my recipe for Maple Energy Bites. Now it’s time to share the cookie dough version. It’s very simple. Throw ingredients in a high-powered blender. Form into bars or balls. Stash in the fridge. Eat.
You can use any kind of nut here, really, or a combination of nuts, but cashews will be the closest to cookie dough. They have that natural buttery taste. The dates add sweetness and also act as a binding agent. I add cinnamon, but you can sprinkle in whatever flavors you want and make it more like a spice cookie.
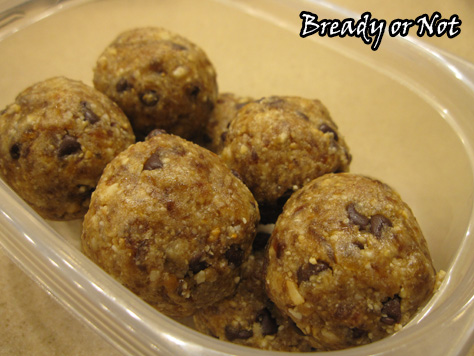
I usually eat two or three for breakfast. They are great before a work-out. They also will keep for upward of two weeks in a sealed container in the fridge.
Healthy cookie dough. This is totally a thing.
Bready or Not: Chocolate Chip Cookie Dough Breakfast Bites
Ingredients
- 2/3 cup dates chopped, medjool best
- 1 cup cashews
- big pinch cinnamon
- 1 teaspoon vanilla
- 2 Tablespoons mini chocolate chips
- water if needed
Instructions
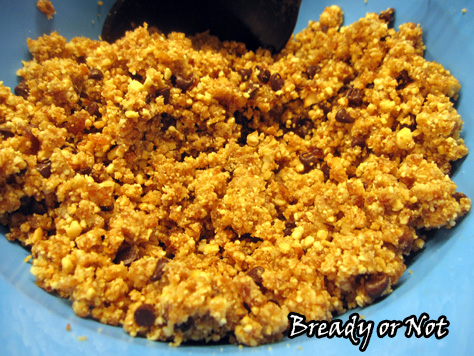
- In a bowl, combine all of the ingredients but the chocolate chips and water. Pour 1/3 or 1/2 the mix into a high-powered food processor or blender. Pulse. Stir it with a spoon or spatula--it will be thick and gum up the machine. Pour the blended mix out, then add in more of the nut-date blend until everything is mostly blended. It's okay to have some chunks. Add the mini chocolate chips.
- Squeeze the mash between your fingers. If it doesn't want to stick together, stir in water by 1/2 teaspoon until it's cohesive.
- You can shape them in two ways. Use a tablespoon scoop to form a ball, then compress them with your hands to tighten. Or, make bars. Place a sling of parchment paper in a bread pan. Pour the mash in. Compress as tightly as you can. Remove using the sling and cut to preferred size.
- Keep stored in covered dish or closed baggie in fridge. Makes about 9 tablespoon-sized balls or 7 bars. Will keep for upward of 2 weeks.
OM NOM NOM!
Read More
Bready or Not: Philly Biscoff Fluffernutter Cookies
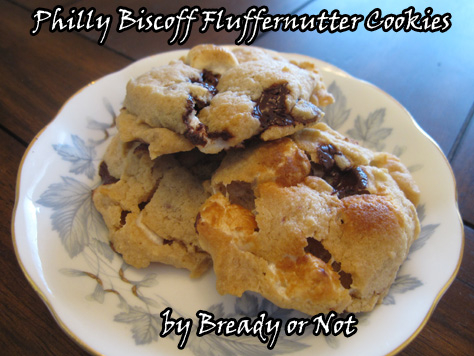
A while back I shared my recipe for Biscoff Fluffernutter Bars. I couldn’t help but ponder ways to mix up the recipe. What if I did a cookie version? What would I use for a base recipe? This put me in mind of my Philly Chippers recipe. So, as though summoning Captain Planet, I combined elements to create something awesome.
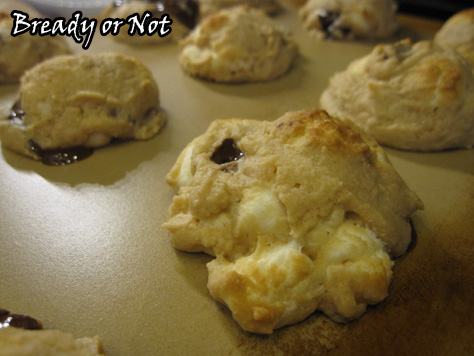
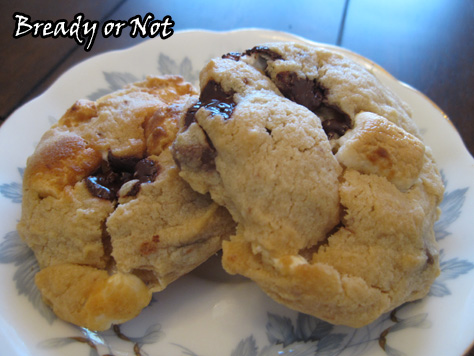
The Philadelphia cream cheese in the mix creates a lush cookie dough. These are soft and dense in the best kind of way. The addition of Biscoff spread adds a touch of mildness. Mind you, you could also use nut butter instead (which is what Fluffernutter is all about, really).
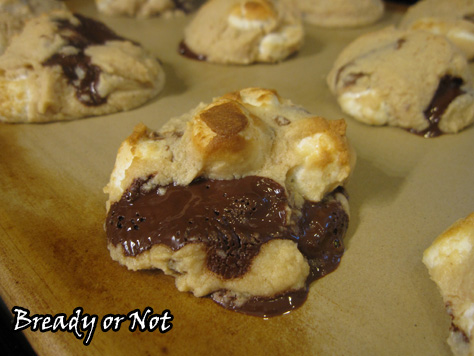
I chopped up chocolate bars instead of using my usual chips here. The effect was awesome. Oozing pools of chocolate, people!
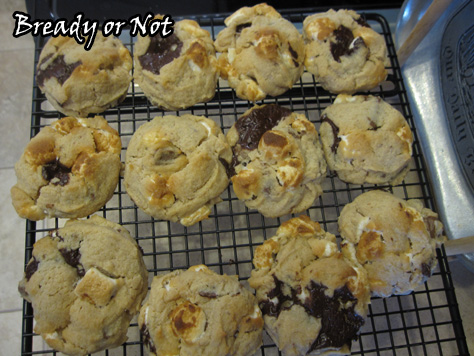
The marshmallows create pockets of sweetness. It’s a different kind of sweet than the richness of the dough, so it creates these complex layers of OMG. I ended up with about 40 cookies using a tablespoon scoop.
A Bready or Not original recipe combining my Philly Chippers recipe and Biscoff Fluffernutter Bars.
Bready or Not: Philly Biscoff Fluffnutter Cookies
Ingredients
- 1 cup butter two cubes, softened
- 8 oz cream cheese softened
- 1/3 cup Biscoff spread
- 3/4 cup granulated sugar
- 3/4 cup packed brown sugar
- 1 egg room temperature
- 1 tsp vanilla extract
- 2 1/2 cups flour
- 2 tsp cream of tartar
- 1 tsp baking powder
- 1/2 tsp salt
- 7 ounces chocolate chopped (about two bars)
- 2 cups mini marshmallows about 1/2 bag
Instructions
- Preheat oven to 350.
- Cream together the butter, cream cheese, Biscoff spread, and sugars. Add the egg and vanilla and mix well. Sift dry ingredients together and slowly incorporate them with the wet ingredients. Add the chocolate and marshmallows and incorporate.
- Use a tablespoon scoop or tablespoon to drop dough onto the cookie sheet. Bake for 10-12 minutes. Leave them on the cookie sheet for a few minutes before moving to a rack to cool.
OM NOM NOM.
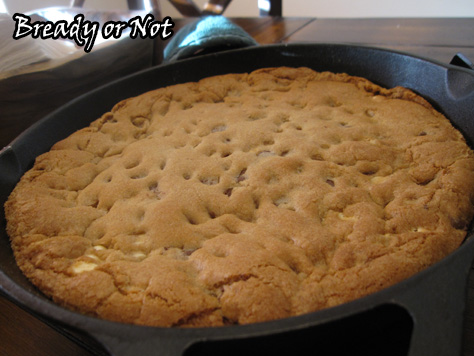
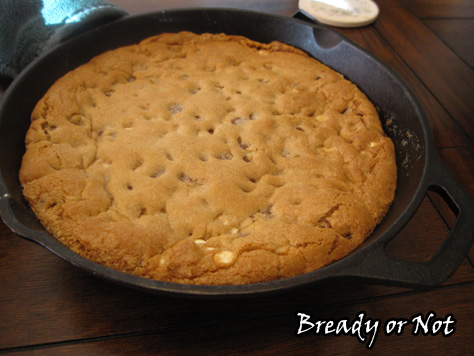
Bready or Not: Skillet Chocolate Chip Cookie
Happy New Year! Let’s celebrate with a cookie.
Just one. It’s about time for those resolutions, right?
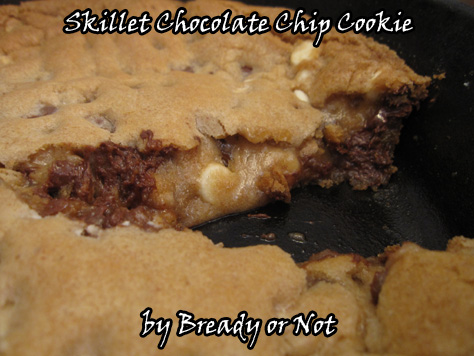
Is that big enough? That’s a whole cast iron skillet of cookie, right there.
There are a lot of reasons to make a massive cookie. You could top it off with ice cream scoops and drizzle and dig in with a few people you don’t mind sharing germs with. Or you can look at the clock and realize that this sucker cooks up fast and you don’t have to worry about batches.
Plus, you can do what I did and make the dough the night before. Then when I needed to serve it up for brunch, all I had to do was preheat the oven, plop my dough in the skillet, and bake.
Add whatever chips you want. Add nuts. Mix up the flour–I did this with a mix of wheat and all-purpose (and no one could tell!).
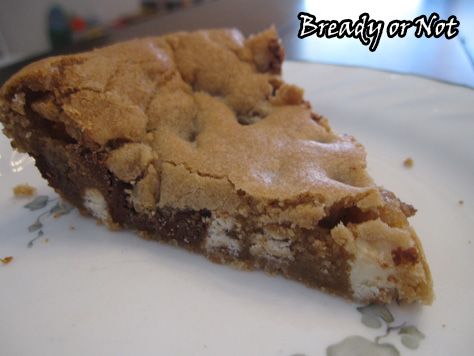
It’s very goopy if you eat it fresh out of the oven. If you want it solid enough to cleanly slice, let it rest about 30 minutes.
Tweaked from Skillet Chocolate Chip Cookie from Martha Stewart Everyday Food, October 2013.
Bready or Not: Skillet Chocolate Chip Cookie
Ingredients
- 6 Tablespoons unsalted butter room temperature, plus 1 tablespoon for the skillet
- 1/3 cup brown sugar packed
- 1/2 cup white sugar
- 1 large egg room temperature
- 1 teaspoon pure vanilla extract
- 1 cup flour worked well with 1/4 cup wheat and 3/4 cup all-purpose
- 1/2 teaspoon baking soda
- 1/2 teaspoon coarse salt
- 1 cup chocolate chips
Instructions
- The dough can be made the day before baking. In a large bowl, combine with butter and sugars. Add the egg and vanilla, followed by the dry ingredients. Add the chocolate chips or other additions last. Wrap with plastic wrap to chill in fridge overnight or for several hours, at least.
- Preheat oven to 350 degrees. Add a tablespoon of butter to a 10-inch cast iron skillet and set it in the oven for a few minutes.
- On the plastic wrap, form the dough into the rough shape of the skillet. When the butter has melted in the skillet, pull it out and rotate it to cover the base with butter. Carefully add the cookie dough, and using a spatula, press it in to the edges.
- Bake until the cookie is golden brown and just set in the center, about 18 to 20 minutes. Let cool for 10 minutes, at least, or 30 minutes if you want it set enough to slice.
OM NOM NOM.
Read More
Bready or Not: Mint Chocolate Chip Bars
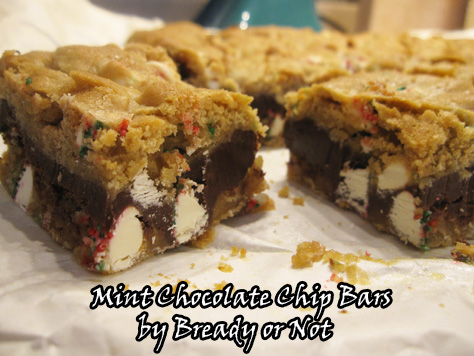
You want something chewy, minty, and luscious? Here’s your new favorite cookie bar.
I used mint chocolate chips from King Arthur Flour here but you can substitute any kind of mint chocolate chips you get from the grocery store. I do love the seasonal colors of these particular chocolate chips!
These bars are kind of amazing. They are EASY. They look like they are more work-intensive than they are. The results really impressed me because they are so chewy, even the side pieces. The mint flavor is definitely there but it doesn’t knock you upside the head; if you want it heavier, add an extra splash of extract. Another note: after a day, the mint flavor in the bars gets even stronger.
You’ll definitely want to chill this before you slice into bars. I store them in the fridge after that because I live in Arizona, but these might be okay at room temp for you folks who actually experience winter.
My husband loves mint chocolate. These bars have his full endorsement.
Modified from Recipe Girl.
Bready or Not: Mint Chocolate Chip Bars
Ingredients
Chocolate Layer:
- 2 cups semi-sweet chocolate chips or milk chocolate chips
- 14 oz sweetened condensed milk
- 1 teaspoon peppermint extract
Cookie Dough:
- 1 cup unsalted butter 2 sticks, room temperature
- 1 cup light brown sugar packed
- 1/2 cup white sugar
- 2 large eggs
- 1 Tablespoon vanilla extract
- 2 cups all-purpose flour
- 1 cup oats quick-cooking or old-fashioned rolled
- 1 teaspoon baking powder
- 1 teaspoon baking soda
- 1 teaspoon kosher salt
- 2 cups mint chocolate chips
Instructions
Mint chocolate filling:
- Place semi-sweet and/or milk chocolate chips and condensed milk in a small saucepan. Heat on low, stirring often, until everything has melted and the mix has thickened. Remove it from the burner and pour in the peppermint extract and stir. Let the pot cool until about room temperature.
The cookie dough:
- Preheat oven to 350 degrees. Prep a 9x13-inch pan with parchment paper (the combination aluminum foil/parchment paper works well here) and lightly butter or use nonstick spray. Have paper overhang the sides for easy lifting later.
- Place the butter and sugars in a large bowl. Mix until smooth and creamy. Add the eggs and vanilla.
- In a separate bowl, whisk together the dry ingredients: flour, oats, baking powder, baking soda and salt. Mix with the butter mixture. Add mint chocolate chips last.
- Place about half the cookie dough in the prepared pan. It will be sticky, but drop it in dollops and smooth it to the edge as best you can. With a solid layer on the bottom, now dollop the cooled chocolate from the saucepan. Use an offset spatula to smooth it to the edges. Plop the rest of the cookie dough on top and don't worry if some chocolate shows through. The dough will ooze out and even as it bakes.
- Bake until lightly browned, about 20 to 25 minutes. Set aside to cool for a few hours, then place in fridge to completely set. Cut into bars. Store in sealed container in fridge or on counter.
OM NOM NOM!
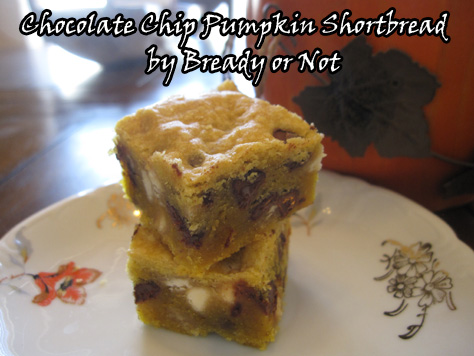
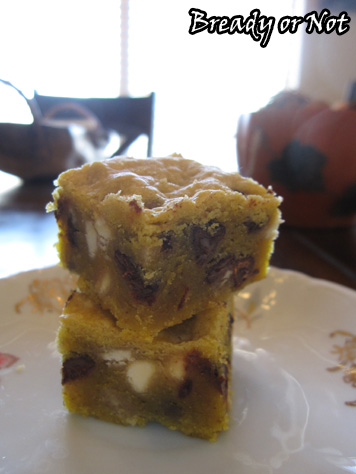
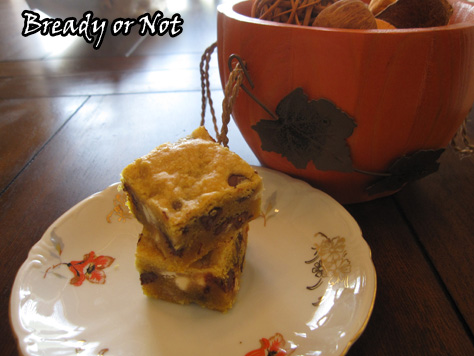
Bready or Not: Chocolate Chip Pumpkin Shortbread
Shortbread makes me think of autumn, so it’s only right to combine shortbread and pumpkin.
It’s been a while, but I have talked about my shortbread/autumn association before. It puts me in mind of kilts and bagpipes and happy family times.
Pumpkin lends an orange tint and a very mellow and pleasant flavor. It’s such a small amount that it doesn’t make the pieces feel tacky, either.
The original recipe called for dark chocolate. That’s just not my thing. I prefer white chocolate with pumpkin. Here, I mixed in white and semi-sweet chips. YUM.
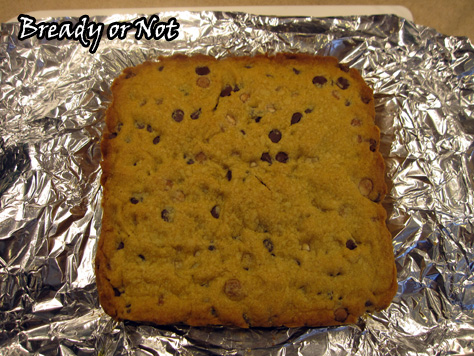
Don’t be fooled by the fact that this uses an 8×8 pan–the shortbread is thick, so it makes a good bit. I cut it small, like I would with fudge.
Like most any shortbread, these keep very very well. I imagine it would mail well, too, if you don’t live in a place where it’s still 100-degrees in November.
Modified from Dark Chocolate Pumpkin Shortbread from The View from the Great Island.
Bready or Not: Chocolate Chip Pumpkin Shortbread
Ingredients
- 1 cup unsalted butter room temperature
- 1/2 cup white sugar
- 1 tsp vanilla extract
- 3 Tbsp pumpkin puree heaping
- 1/2 tsp cinnamon
- 1/2 tsp ground ginger
- 1/4 tsp cardamom
- 1/4 tsp cloves
- 1/4 tsp nutmeg
- 1/4 tsp allspice
- 2 1/4 cups all-purpose flour
- 1 cup chocolate chips white, dark, semi, etc
Instructions
- Preheat oven at 350-degrees. Prepare an 8x8 dish by lining it with aluminum foil or parchment paper and applying nonstick spray.
- In a large bowl, cream butter and sugar together. Beat in the vanilla, pumpkin, and spices.
- Fold in the flour, and then the chocolate chips.
- Spread the batter in the pan, smoothing it out evenly.
- Bake for about 40-45 minutes, until the edges just start to turn gold. Set out to cool to room temperature, then use the foil or parchment to lift the shortbread out for easy cutting.


