Bready or Not: Holiday Cherry Brownies
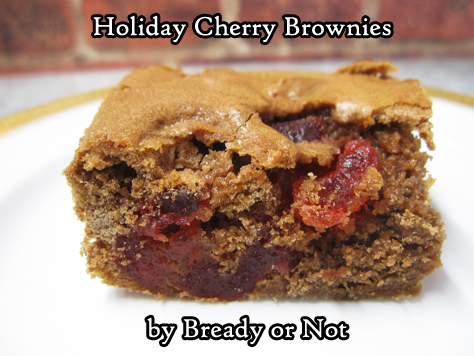
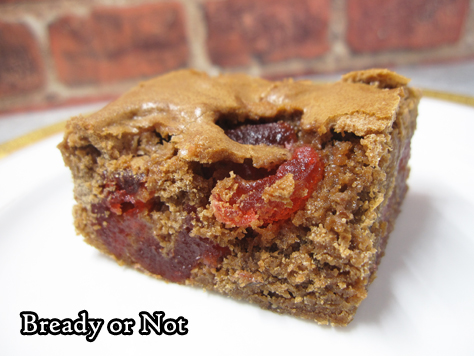
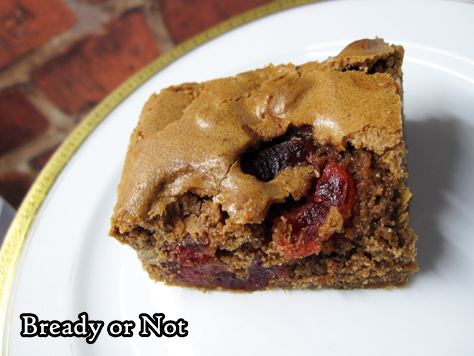
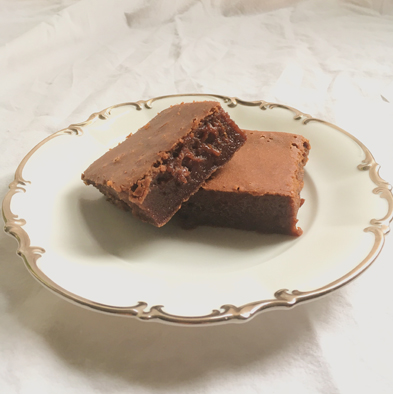
Those big jewel-like candied cherries aren’t just meant for fruitcake. Bake them into some Holiday Cherry Brownies!
As with my recent Fruitcake Cookies, this recipe is handy if you want to make a festive treat in December–or put those clearance tubs of fruitcake fixins to good use in the new year.
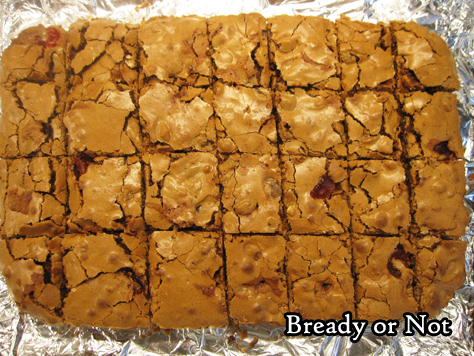
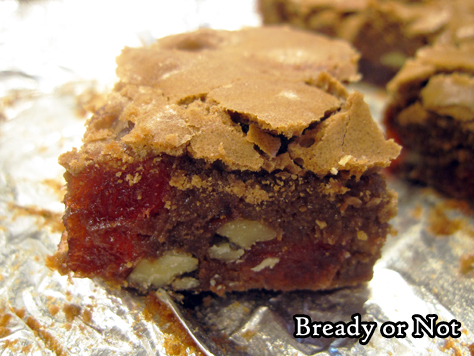
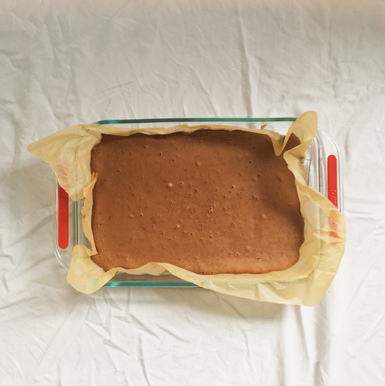
Plus, these are darn good brownies with a thin, crisp top and a chewy interior. The cherries add lovely flavor and juiciness, which is even better alongside the crunch of walnuts.
Oh yeah, and these brownies are PRETTY. That counts for something.
I modified the original recipe to melt the chocolate and butter the quick and lazy way with the help of my microwave, because my stove is old and cheap and that method would probably triple my prep time. But you can certainly use the stove, too. Whatever works best for you.
Mind you, I am a purist about butter on the stovetop for things like browned butter (SO GOOD) but here alongside the chocolate, I don’t think there would be a discernible difference.
Modified from Taste of Home Best Loved Cookies & Bars magazine.
Bready or Not: Holiday Cherry Brownies
Ingredients
- 1/2 cup unsalted butter 1 stick
- 4 ounces semisweet chocolate chips
- 2 cups white sugar
- 1 1/4 cup all-purpose flour
- 2 teaspoons ground cinnamon
- 1/2 teaspoon salt
- 4 eggs room temperature
- 1 teaspoon vanilla extract
- 12 ounces candied cherries halved, red and/or green, about 1 1/2 cups
- 1 cup walnuts chopped
Instructions
- Preheat oven at 350-degrees. Line a 13x9 pan with foil and apply nonstick spray.
- In a microwave-safe bowl, melt the butter and sugar in careful, 30 seconds bursts. Once everything is smooth, set aside to cool a bit. (This step could also be done at a low temperature on the stove.)
- In a bowl, combine the sugar, flour, cinnamon, and salt. Stir in the chocolate mixture. Follow that up with the eggs and vanilla until everything is smooth. Fold in the cherries and walnuts.
- Pour batter into the pan. Bake for 35 to 40 minutes, until the center passes the toothpick test.
- Completely cool. Use foil to lift brownies on cutting board to slice up. Store in a sealed container.
- OM NOM NOM!
Bready or Not Original: Macadamia Nut Caramel Chip Blondies
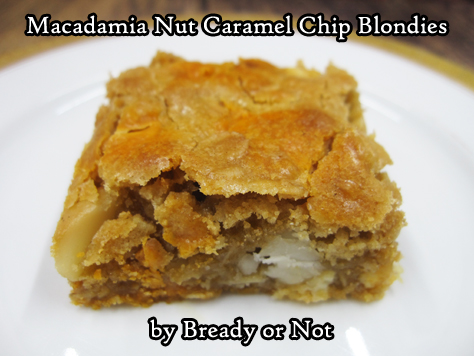
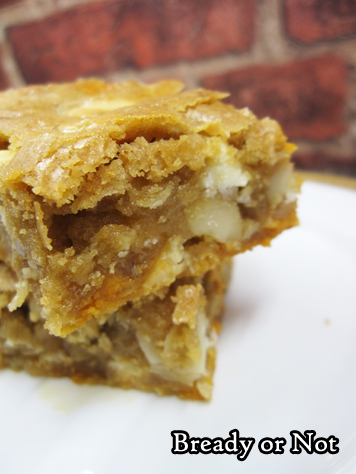
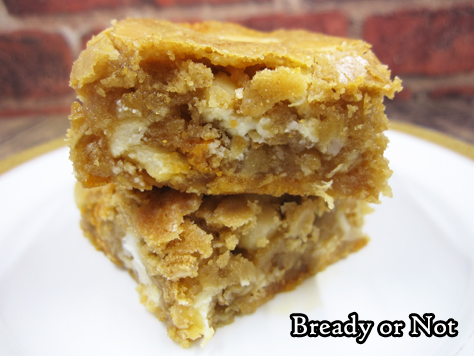
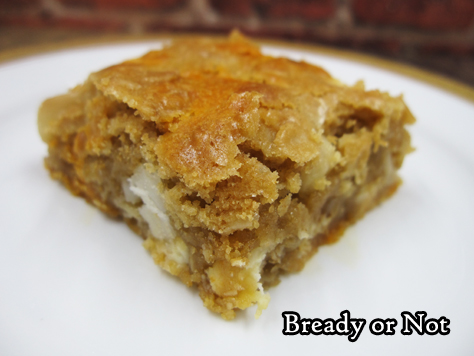
This original recipe combines salted caramel chips (my new favorite ingredient) with my beloved macadamia nuts to make something innovative and amazing.
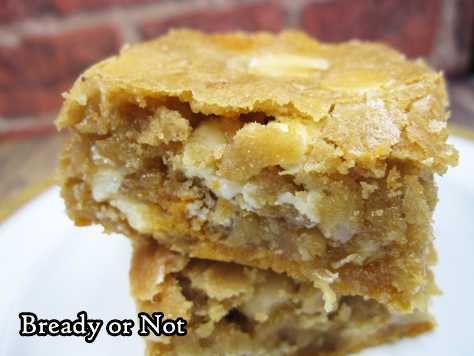
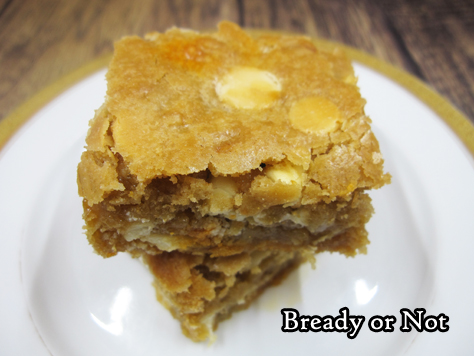
These Macadamia Nut Caramel Chip Blondies are soft, chewy, and nigh divine. Plus, if you’re in a hurry, they are fast to make and bake.
That’s exactly what I needed when I created this recipe. I had another recipe result in total disaster (it happens to us all!) and I needed another platter of baked goods, fast, for my husband to take to work…
… where these bars were declared a new kind of crack. All of the bars were scarfed up. Not bad for an emergency oh-crap-what-can-I-throw-together recipe.
If you need to sub another kind of nut in this recipe, I think pecans and walnuts would work especially well. I do suggest sticking with the balance of 1 cup white chocolate and 1 cup salted caramel chips, though.
Caramel chips are very strong–like butterscotch chips in that way. They are a great ingredient, but you don’t want to go overkill. Plus, this way you’ll still have half a bag for another recipe. Scroll back on Bready or Not for some suggestions!
Bready or Not Original: Macadamia Nut Caramel Chip Blondies
Ingredients
- 1 cup unsalted butter 2 sticks, softened
- 2 cups brown sugar packed
- 2 eggs room temperature
- 1 Tablespoon vanilla extract
- 2 cups all-purpose flour
- 1 1/2 cups old-fashioned rolled oats
- 1 teaspoon coarse sea salt
- 1 teaspoon baking powder
- 1 cup salted caramel chips
- 1 cup white chocolate chips
- 1/2 cup macadamia nuts chopped
Instructions
- Preheat oven at 350-degrees. Line a 9x13 baking pan with foil and apply nonstick spray or butter.
- In a large bowl, stir together the butter and brown sugar until fluffy and smooth. Add the eggs and vanilla.
- In a smaller bowl, sift together the flour, oats, salt, and baking powder. Gradually mix the dry ingredients into the wet. Stir in the two kinds of chips and macadamia nuts until just distributed.
- Smooth out the dough in the prepared pan. Bake for 20 to 25 minutes, until the center passes the toothpick test. Cool completely before using the foil to life the contents from pan to slice on a cutting board.
- Store in a sealed container with parchment or wax paper between the layers.
- OM NOM NOM!
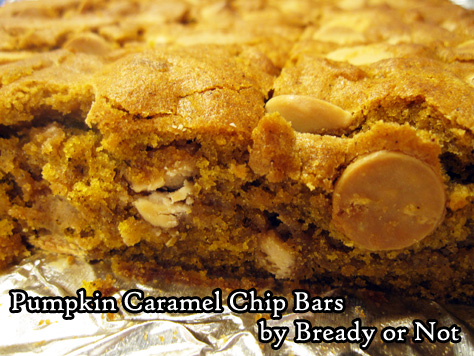
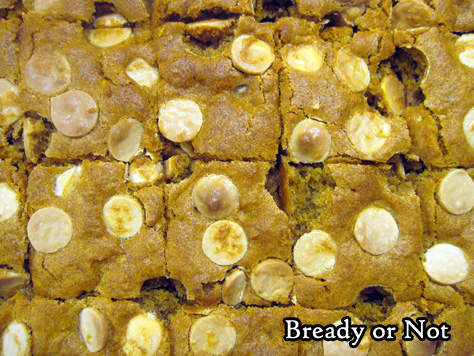
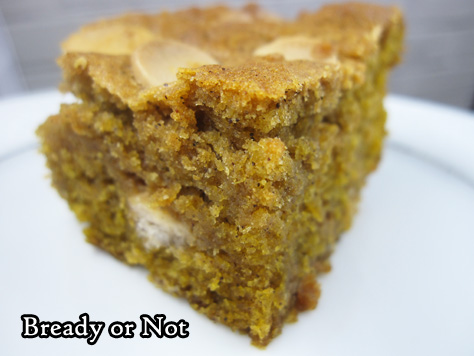
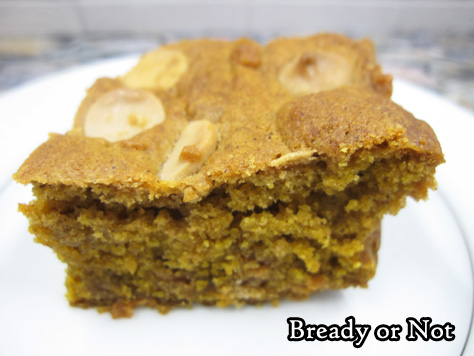
Bready or Not: Pumpkin Caramel Chip Bars
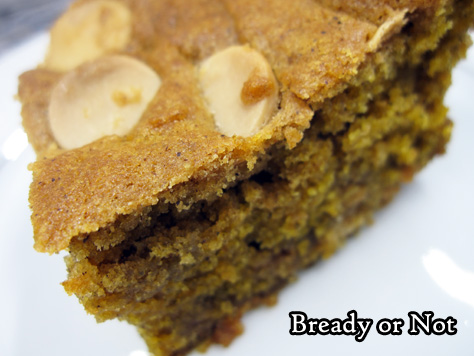
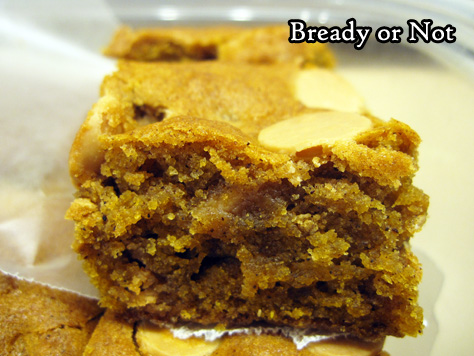
Caramel chips are a new and awesome thing in stores, and I couldn’t help but try pairing them with pumpkin in these bars. The result? YUM.
This is modified from a recipe I shared about a year ago for Pumpkin Chocolate Chip Bars.
I didn’t simply switch out the kinds of chips. I also decreased the spices. I wanted enough to add some flavor, but I didn’t want them to be spice cake-like as in the old version.
The use of bread flour creates bars that are especially thick and cakey. Unlike a standard frosted cake, these travel very well. The bars are nice and cohesive.
I like to place waxed paper between layers to prevent sticking and melting chips (because in Arizona, well, it’s still hot at this time of year).
Bready or Not: Pumpkin Caramel Chip Bars
Ingredients
- 1 cup all-purpose flour
- 1 cup bread flour
- 2 teaspoons cinnamon
- 1/2 teaspoon ginger
- 1/4 teaspoon allspice
- 1/4 teaspoon cloves
- 1 teaspoon baking soda
- 1 teaspoon salt
- 2 cups caramel chips divided
- 1 cup unsalted butter 2 sticks, softened
- 1/2 cup brown sugar packed
- 3/4 cup white sugar
- 1 large egg room temperature
- 2 teaspoons vanilla extract
- 1 cup pumpkin puree
Instructions
- Preheat oven to 350-degrees. Line a 13x9 pan with aluminum foil and apply nonstick spray or butter.
- In a medium bowl, combine the flours, cinnamon, ginger, allspice, cloves, baking soda, and salt. Stir in most of the caramel chips; coating them with flour will keep them from sinking as they bake. Set bowl aside.
- In a big mixing bowl, combine the butter and two sugars until light and fluffy, scraping down the sides of the bowl as needed. Add the egg, vanilla extract, and pumpkin puree. Once that's mixed, slowly blend in the dry ingredients until just combined.
- Pour the batter into the ready pan and smooth out. Sprinkle the remaining caramel chips over the top.
- Bake for 30 to 35 minutes, until it passes the toothpick test in the middle. Cool completely. Lift up by the foil and place on a cutting board to cut bars. Store in a sealed container at room temperature or chilled. Since pumpkin can be a little sticky, use parchment or wax paper between stacked layers of bars.
- OM NOM NOM!
Read More
Bready or Not Guest: K. Bird Lincoln with Spicy Mocha Chocolate Mochi Cake
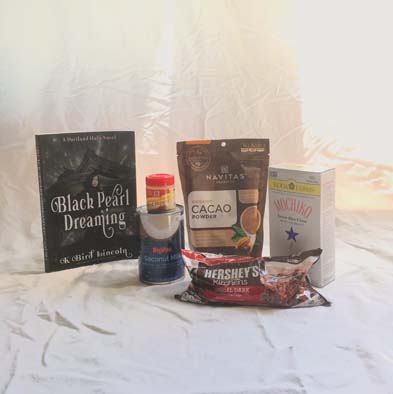
I’m excited to welcome author K. Bird Lincoln with a special Bready or Not guest post! I’ve read over 130 urban fantasies and it’s hard to wow me these days, but the first book in her Portland Hafu series was a delight. She’s here today to celebrate the release of her second book, Black Pearl Dreaming, with a multicultural chocolate cake.
Plus, you can enter a Rafflecopter giveaway for her first book, Dream Eater! Read the recipe, and you might win yourself a great book to pair with this special chocolate cake.
The Portland Hafu Urban Fantasy series features a Japanese American young woman named Koi. She finds out her father isn’t entirely human and has to battle evil professors and dragons. The second in the series, Black Pearl Dreaming, has Koi traveling to Japan to seek answers for her father’s mental decline.
Chocolate is a huge part of Koi’s world. Like really important. So important that when love interest, Kitsune trickster Ken, wants to apologize for getting her in trouble in Tokyo, he gives her Oregon Chocolatier Dagoba’s Xocolatl Chocolate bar, invoking rosy childhood memories of the only chocolate Koi’s father ever deigned to consume.
So Xocolatl, possibly “bitter water” from the Mayan language, is the flavor I thought I’d play with for this recipe. Drawing on Koi’s happa haole heritage (she’s Japanese on her father’s side and Caucasian-Hawaiian on her mother’s) I thought it fitting to turn Hawaiian Butter Mochi into an homage to my favorite Oregon Chocolatier.
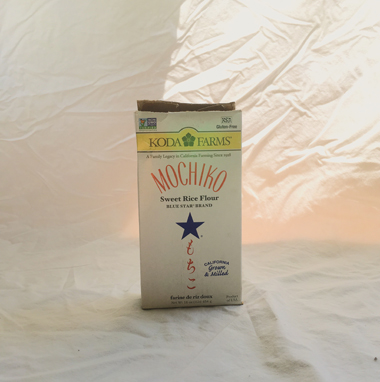
Butter mochi isn’t the same thing at all as Japanese mochi celebrated at New Year’s and used in making daifuku. Butter mochi is a Hawaiian cake incorporating Mochi flour (sweet rice flour or glutinous rice flour not to be confused with ye olde plain rice flour) milk, and butter to make a squishy, bouncy, chewy rich cake like deliciousness.
Don’t be scared off by the mochi flour. All the rest of the ingredients in this are pretty easy to get, and I even found Mochiko Flour (Koda Farms Brand) at my local Hy-Vee grocery store here in the Southeastern Prairie of Minnesota in the Asian Foods section. And of course, you can order Mochiko on Amazon.
This is Hawaiian soul food with a spicy chocolate twist, y’all. One bite, and you’ll be hooked, I promise.
Bready or Not Guest Recipe: BLACK PEARL DREAMING Spicy Mocha Chocolate Mochi Cake from K. Bird Lincoln
Ingredients
- 1/2 cup butter
- 3/4 cup dark chocolate chips
- 1 1/2 cups white sugar
- 16 oz Mochiko Flour sweet or glutinous rice flour
- 2 teaspoon baking powder
- 1/2 cup cacao powder
- 1 teaspoon vanilla extract
- 2 eggs
- 12 oz coconut milk
- 1 1/2 cup milk if you don’t mind the sugar, use 1 cup condensed milk
- Cayenne pepper to taste I used 1/4 tsp
- Cinnamon to taste I used 1 Tb
Instructions
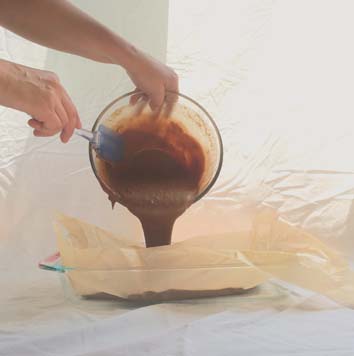
- Grease or insert parchment paper into a 9×13 pan.
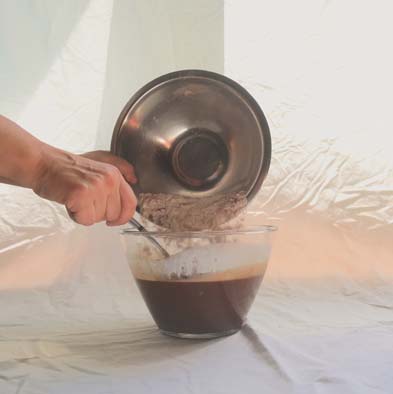
- Melt the butter and chocolate together. Mix in sugar and vanilla. In a different bowl, mix Mochiko flour, cacao powder, baking powder, cinnamon, and cayenne. Beat in 1/2 of the Mochiko flour mixture, eggs, and coconut milk. Add in another 1/2 of the Mochiko flour mixture, 11/2 cup milk and beat until all flour and milk is added and mixed in until smooth.
- Pour into pan and cook at 350 deg F for 45-55 minutes.
- Let cool completely. Cut with a plastic knife or wet your knife between cuts.
Koi visits Japan looking for answers and instead is forced to make an impossible choice.
With the help of powerful new friends, Koi defeated her dragon enemy in Portland. Now, no longer able to deny her dream-eating powers or the real reason for her father’s mental decline, she flies to Tokyo with her new Kitsune love, Ken, and the trickster Kwaskwi, seeking answers. But secrets from Ken’s past and Kind politics threaten to unravel their newfound trust and someone in Tokyo is desperate to kidnap a Baku. Koi must untangle a long history of pain and deceit in order to save her father, an imprisoned dragon, and herself.
“I absolutely got sucked in by the way several mythologies were mixed with modern-day and WWII history to form a cool, surprising, and action packed plot. ”
— Pat Esden, author of The Dark Heart and Northern Circle Coven series.
“In Black Pearl Dreaming, Koi is a delightfully watchable heroine in way over her head. She struggles to figure out whom to trust, where she can get good coffee, and what exactly she should do about this enormous sleeping dragon, in this fast paced paranormal intrigue set
in a vividly detailed contemporary Japan.”
— Tina Connolly, author of Ironskin and Seriously Wicked series.
World Weaver Press
Amazon
Barnes and Noble
iTunes/Apple iBooks
Kobo
K. Bird Lincoln is an ESL professional and writer living on the windswept Minnesota Prairie with family and a huge addiction to frou-frou coffee. Also dark chocolate– without which, the world is a howling void. Originally from Cleveland, she has spent more years living on the edges of the Pacific Ocean than in the Midwest. Her speculative short stories are published in various online & paper publications such as Strange Horizons. Her medieval Japanese fantasy series, Tiger Lily, is available from Amazon. World Weaver Press released Dream Eater, the first novel in an exciting, multi-cultural Urban Fantasy trilogy set in Portland and Japan, in 2017 and will release the sequel, Black Pearl Dreaming, October 2018. She also writes tasty speculative fiction reviews on Amazon and Goodreads. Check her out on Facebook, join her newsletter for chances to win chocolate and ebooks, or stalk her online at kblincoln.com
Read MoreBready or Not: No-Bake Mummy Biscoff Buckeyes
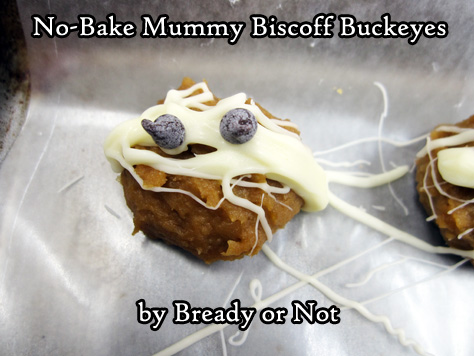
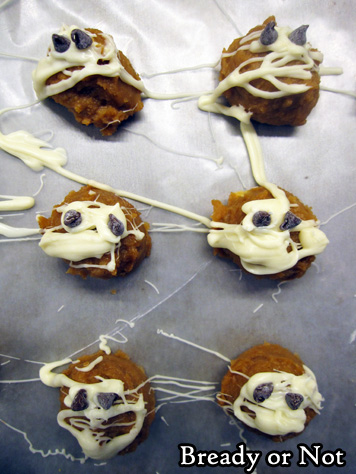
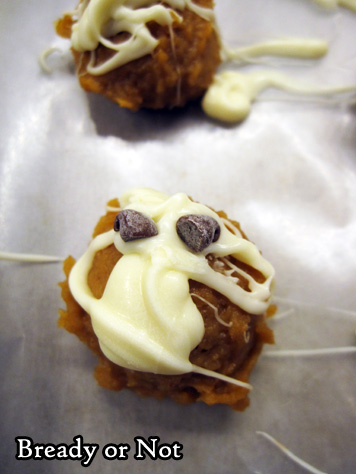
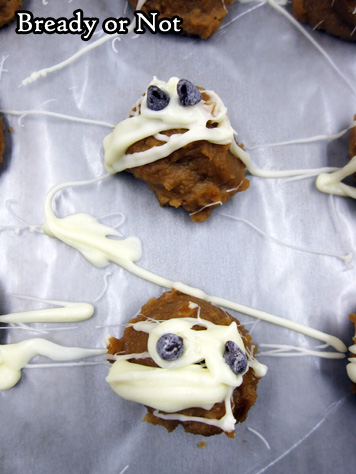
Here’s a great recipe to make with kids! These No-Bake Mummy Biscoff Buckeyes are quick, cute, and secretly healthy.
Buckeye treats typically include peanut butter and brown chocolate. I switched in Biscoff (aka cookie butter, available by the peanut butter in most American grocery stores these days) but you can use peanut butter instead.
What makes these secretly healthy, you ask, since I made them unhealthier with cookie butter? Well, the base ingredient of this recipe is… CHICKPEAS. Also known as garbanzo beans.
You cannot tell there are beans in this. All you taste is Biscoff and chocolate. They keep in the fridge for up to a week, too; they get a little sweaty, that’s it.
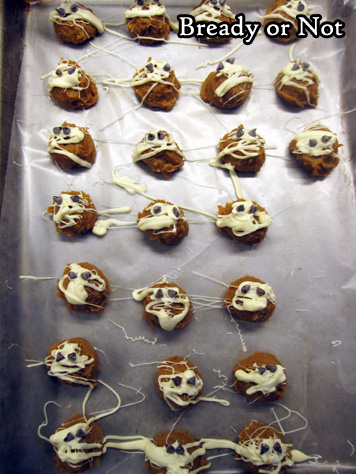
The white chocolate drizzle is pretty fun. There’s no art to it. Just drizzle every which way, then very quickly add the mini chocolate chip eyes. (Hopefully your mini chips won’t have bloomed like mine did! That means the chocolate has a white cast to it. Perfectly fine to eat, it just doesn’t look as pretty. FYI Mummies don’t care about being pretty.)
Modified from Cooking Light October 2017.
Bready or Not: No-Bake Mummy Biscoff Buckeyes
Ingredients
- 15 1/2 ounce chickpeas rinsed and drained
- 1/2 cup cookie butter Biscoff, Speculoos, store brand, etc
- 2 Tablespoons honey
- 1/2 teaspoon vanilla extract
- 1/4 teaspoon kosher salt
- 1/3 cup white chocolate chips
- 2 teaspoons mini chocolate chips
Instructions
- Pulse chickpeas in a food processor until smooth. Add cookie butter, honey, vanilla, and salt, and pulse more. Use a teaspoon scoop to measure out the dough; place on a wax paper-lined baking sheet that will fit in the fridge. Use hands to smooth out each ball. Chill until firm, at least 30 minutes.
- Carefully melt white chocolate in the microwave at 20% power in 15 second bursts, stirring well between each pass, until it's smooth. Dip fork prongs in the chocolate and drizzle back and forth over the buckeyes to create a mummy bandage effect. Immediately place two mini chocolate chips for eyes on each mummy head. If need be, melt white chocolate again to use some dots of it as glue for the eyes.
- Store in the fridge for up to a week, but expect them to sweat and get moister.
- OM NOM NOM!
Bready or Not: White Chocolate Macadamia Nut Cookies
Welcome to MACADAMIA NUT MONTH! Why is this Macadamia Nut Month? Because next month on the 23rd, the final book in my Blood of Earth trilogy comes out! Hawaii–with its groves of delicious macadamia nuts–is a major setting in Roar of Sky.
If you love macadamia nuts, get ready to bliss out. This month you’ll get recipes for:
White Chocolate Macadamia Nut Pie
White Chocolate Macadamia Nut Cookies (today)
Lemony Macadamia Nut Bars
Mini Fruit Cake Loaves to make now for the holidays (macadamia nuts optional)
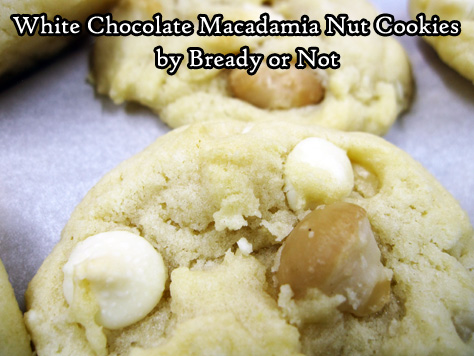
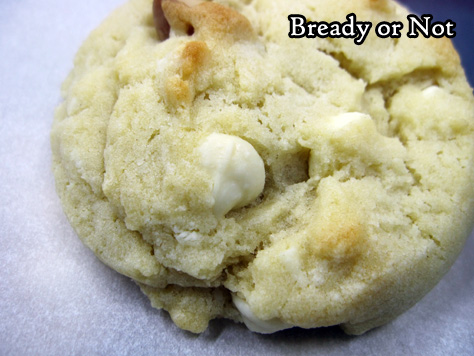
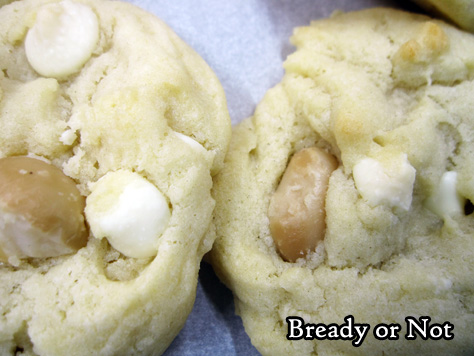
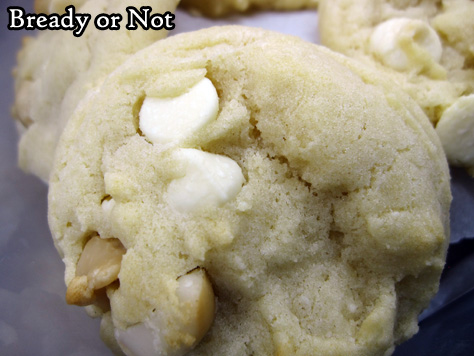
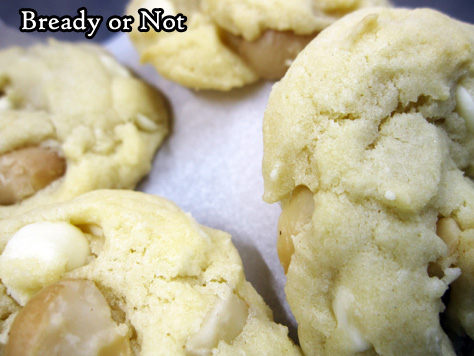
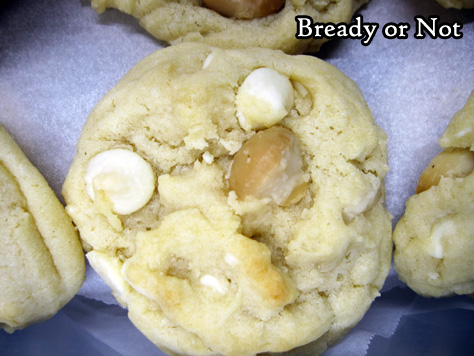
White Chocolate Macadamia Nut Cookies. One of the best cookies in existence. There are a lot of recipes out there and I’ve tried many, but I say with no doubt that this is the best.
The melted white chocolate in the dough makes all the difference by adding slight sweetness and a smooth texture.
Be cautious when you melt the chips, though. It can burn quickly in the microwave. Zap it on low power for short stints of time, and stay close.
Did you know that macadamia nuts should always be stored in the fridge? They have a high fat content, and can go rancid at room temperature! Trust me, you’ll know by the smell when you open the bag. Voice of experience.
So don’t let good nuts go bad. Keep them chilled, and use them up in yummy recipes like this one! If you love this kind of cookie, this recipe will be a keeper for you.
Come back next week for a lemony bar recipe with macadamia nuts, and please preorder Roar of Sky!
Original recipe from Betty Crocker Magazine #172 April 2001, page 8.
Bready or Not: White Chocolate Macadamia Nut Cookies
Ingredients
- 10 oz white chocolate chips divided
- 2/3 cup white sugar
- 11 Tablespoons unsalted butter room temperature
- 1 teaspoon vanilla extract
- 2 eggs room temperature
- 2 1/2 cups all-purpose flour
- 1 teaspoon baking soda
- 1 teaspoon cream of tartar
- 1 cup macadamia nuts coarsely chopped
Instructions
- Preheat oven to 325-degrees. Place 1 cup of white chocolate chips in a microwave safe bowl. Microwave on 50% power in short increments, 20-25 seconds, and stop to stir between passes until the chips blend smoothly. Set aside to cool.
- In a large mixing bowl, beat together the sugar, butter, vanilla, and eggs until they're creamy. Mix in the melted chips. Stir in flour, baking soda, and cream of tartar. Add the remaining chips and nuts.
- Use a tablespoon cookie scoop or spoon to place dough in rounded lumps on cookie sheet. Bake 10 to 12 minutes, until the tops just begin to turn light golden brown. Cool on the sheet for several minutes, then move to a rack to cool.
- OM NOM NOM!


