Bready or Not Original: Oatmeal Chocolate Chip Cookie Bars
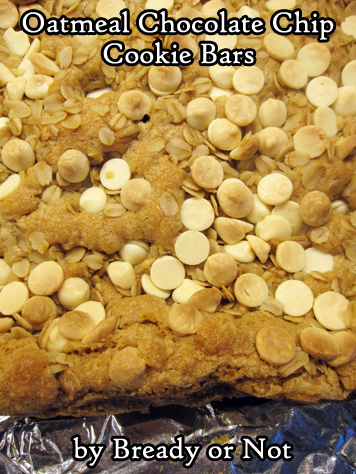
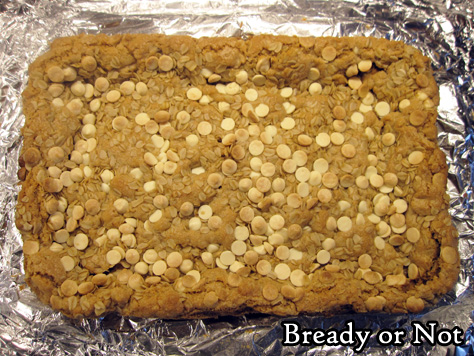
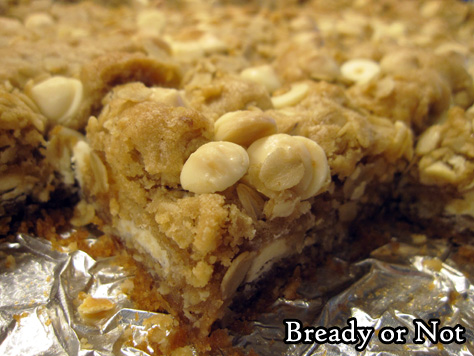
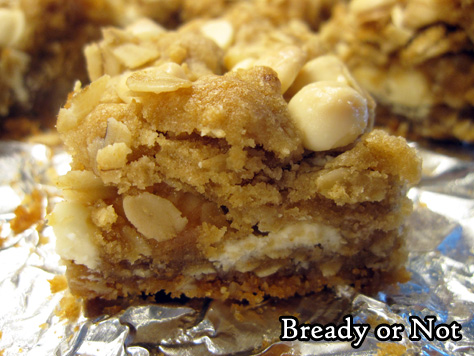
These Oatmeal Chocolate Chip Cookie Bars are a delicious new twist on classic ingredients. They are incredibly thick, chewy, and indulgent, the kind of treat that makes a person want to continue nibbling away.
A big part of the deliciousness is the use of cookie butter. This is, essentially, pureed spice cookies with oil to form a peanut butter-like consistency, and they are indeed a perfect substitute for nut butters in most any recipe. The major brands are Biscoff Cookie Butter (carried at many major grocery chains in America) and Speculoos at Trader Joe’s.
Cookie butter enhances the inherent cookie dough flavor in any baked cookie/bar recipe. It’s also a delight to eat straight from the jar!
Add white chocolate chips and a generous amount of sugar and oats to that, and you really have a great combo.
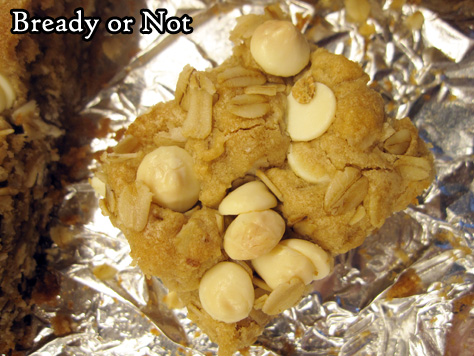
These bars can be a little messy, but that’s okay. Every crumb is delicious!
Modified greatly from Bake from Scratch Magazine Sept/Oct 2018.
Bready or Not Original: Oatmeal Chocolate Chip Cookie Bars
Equipment
- 9×13 pan
- offset spatula
Ingredients
- 1 cup unsalted butter 2 sticks room temperature
- 1 cup light brown sugar firmly packed
- 1/2 cup white sugar
- 1 cup creamy cookie butter
- 2 large eggs room temperature
- 2 teaspoons vanilla extract
- 2 cups all-purpose flour
- 2 1/4 cups old-fashioned oats divided
- 1 teaspoon kosher salt
- 1 teaspoon baking soda
- 1 teaspoon baking powder
- 8 ounces white chocolate chips divided
Instructions
- Preheat oven at 350-degrees. Line a 13×9 pan with a long piece of foil. Apple nonstick spray or grease with extra butter.
- In a big bowl, beat together butter and sugars until they are light and fluffy. Add the cookie butter followed by the eggs and vanilla, scraping the bowl a few times to make sure everything is incorporated.
- In another bowl, stir together the flour, 2 cups of the oats, salt, baking soda, and baking powder. Gradually mix the dry ingredients into the butter mix. Using an offset spatula, spread half the batter into the prepared pan. Dough will be thick and somewhat sticky. Sprinkle half of the chocolate over the top. Dollop on the rest of the dough, spreading into an even later again. Sprinkle on the rest of the white chocolate chips along with the remaining 1/4 cup of oats.
- Bake for 27 to 35 minutes. The middle should be set, not jiggly, and pass the toothpick test. Cool completely at room temperature and then the fridge (the bars will be firmer and less messy to slice if they are chilled).
- Use the foil to lift contents onto a cutting board. Slice into pieces. Store in a sealed container for up to 5 days.
OM NOM NOM!
Bready or Not: Chocolate Whiskey Cake
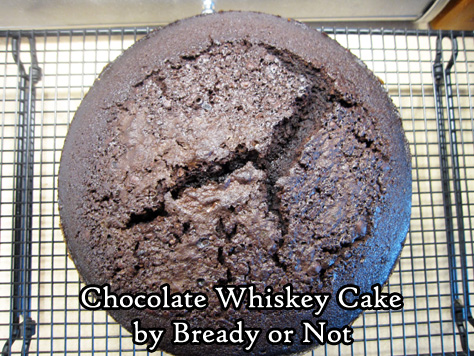
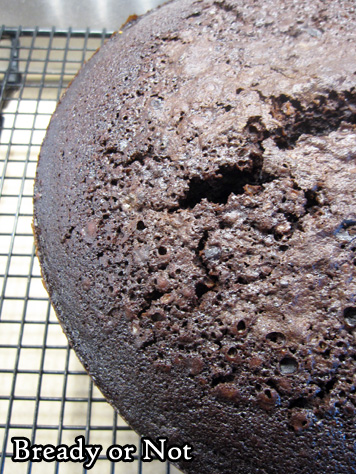
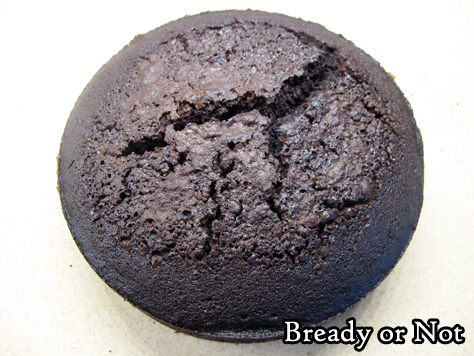
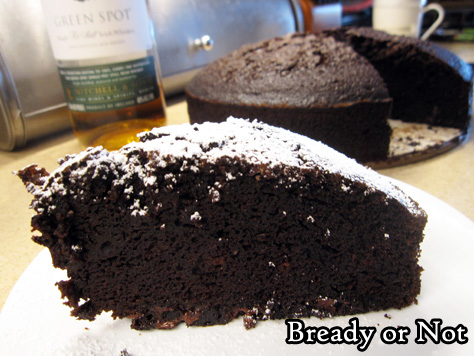
This Chocolate Whiskey Cake is dense, moist, and delicious–the perfect cake for chocoholics.
This is the first entry in a special sequence of deliciousness, too–three weeks in a row with Ireland-inspired recipes. Look for Irish Apple Cake and Irish Coffee Coffee Cake in the coming weeks!
This is the kind of cake that doesn’t need frosting; that would actually be overkill. If desired, add a sprinkle of confectioners’ sugar on top, but that’s more about adding some color contrast than flavor.
So, what IS the flavor here? Chocolate. Coffee. And yes, whiskey–that adds a refreshing waft. I used Green Spot Irish Whiskey, my favorite, and one I’m fortunate enough to find sometimes at Costco around St. Patrick’s Day! Total Wine carries it year-round, too.
Eat this cake within a day or two, or wrap up pieces and freeze for later! It thaws, no problem at all.
I modified this a lot from an original take at NYT Cooking.
Bready or Not: Chocolate Whiskey Cake
Equipment
- 9-inch springform pan
- parchment paper
- food scale
Ingredients
- 12 Tablespoons unsalted butter
- 3/4 cup cocoa powder sifted
- 1 1/2 cups brewed strong coffee
- 1/2 cup Irish whiskey
- 1 cup white sugar
- 156 grams light brown sugar note this is weighed, not packed
- 2 Tablespoons cocoa powder sifted
- 2 cups all-purpose flour
- 1 1/2 teaspoons baking soda
- 3/4 teaspoon fine sea salt
- 1/4 teaspoon black pepper
- 1/8 teaspoon ground cloves
- 3 large eggs room temperature
- 2 teaspoons vanilla extract
- 1 cup chopped dark chocolate or chocolate chips
- Confectioners' sugar for serving, optional
Instructions
- In a large pot on low heat, warm the butter, 3/4 cup cocoa powder, coffee, and Irish whiskey. Once the butter is melted, stir in the sugars until they are dissolved. Remove from heat to cool, 30 minutes at minimum.
- Preheat oven at 325-degrees. Cut a piece of parchment to fit the bottom of the springform pan. Apply nonstick spray to pan, place parchment inside, then spray again. Dust the interior with the remaining 2 Tablespoons cocoa powder to coat.
- In a big bowl, combine flour, baking soda, salt, pepper, and cloves. In a different bowl, whisk together eggs and vanilla. Gradually stir the egg mixture into the butter-cocoa pot. Add the dry ingredients to just combine, then fold in the chopped chocolate.
- Pour batter into the prepared pan. Bake cake for 65 to 70 minutes, until the middle just passes the toothpick test. Let cool for about 20 minutes, then release sides of pan to let the cake cool completely.
- Slice into wedges to serve. Add confectioners’ sugar sprinkled on top, if desired. Keep cake covered at room temperature up to 2 days. Remaining pieces can be sliced and individually wrapped and frozen for later enjoyment.
OM NOM NOM!
Bready or Not: Brookies
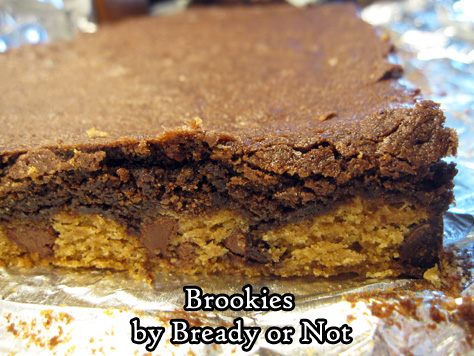
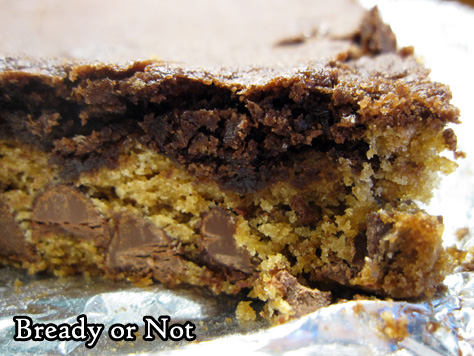
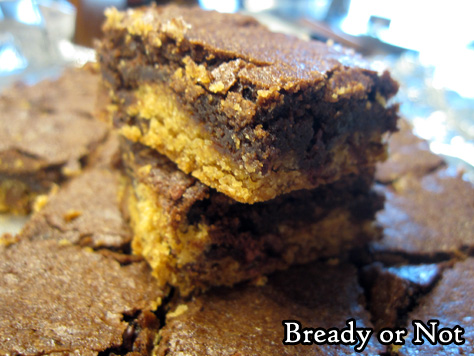
No need to deliberate whether to make chocolate chip cookies or brownies–this recipe for Brookies combines these goodies together in a delicious way.
This recipe excels at chocolate distribution. It’s not super-chocolaty, but every bite has some brownie and chocolate chips. If you add in cacao nibs, it’s even better; the nibs enhance the other chocolate flavors and adds a pleasant crunch at the same time.
On that note, this is a great recipe for people who don’t like nuts. There’s lots of flavor here without them. Could you add nuts? Sure. Is it necessary? Nope.
These bars are dense and nicely portable. Wrap them up individually, and they are great for a school lunch, road trip, or picnic. Plus, they freeze well, so you can even save some for later!
Modified from AllRecipes Magazine August/September 2020.
Bready or Not: Brookies
Equipment
- 9×13 pan
Ingredients
Cookie layer
- 1/2 cup unsalted butter (1 stick) room temperature
- 1/2 cup light brown sugar packed
- 1/4 cup white sugar
- 1/2 teaspoon vanilla extract
- 1 large egg room temperature
- 1 1/4 cups all-purpose flour
- 1/2 teaspoon salt
- 1/2 teaspoon baking soda
- 1 cup semisweet chocolate chips
Brownie layer
- 1/2 cup unsalted butter (1 stick) melted
- 1 cup white sugar
- 1 teaspoon vanilla extract
- 2 large eggs
- 1/3 cup cocoa powder sifted
- 1/2 cup all-purpose flour
- 1/4 teaspoon baking powder
- 1/8 teaspoon salt
- 1/4 cup cacao nibs optional
Instructions
Make cookie layer
- Preheat oven at 350-degrees. Line a 9×13 pan with aluminum foil and apply nonstick spray.
- In a large bowl, beat together butter, sugars, and vanilla until light and creamy. Add egg, scraping bottom of bowl, then beat another two minutes.
- In another bowl, combine flour, salt, and baking soda. Gradually mix the dry ingredients into the wet. Fold in chocolate chips. Dough will be very thick and sticky. Drop into pan in clumps and press into a level layer, covering the bottom completely.
Make brownie layer
- Using the same big bowl (leave it unwashed or wash it, baker’s preference), beat together butter, sugar, and vanilla. Follow with the egg. Stir in the cocoa powder, flour, baking powder, and salt. Fold in the cacao nibs, if using.
- Pour over the cookie layer, spreading it into an even layer.
- Bake until the middle passes the toothpick test, 20 to 25 minutes. Cool completely–chilling in fridge, if desired–before slicing into bars.
- Brookies will keep in a sealed container at room temperature for 3 days, and can also be frozen for layer enjoyment.
OM NOM NOM!
Bready or Not: Gingerbread Chocolate Chip Cookies
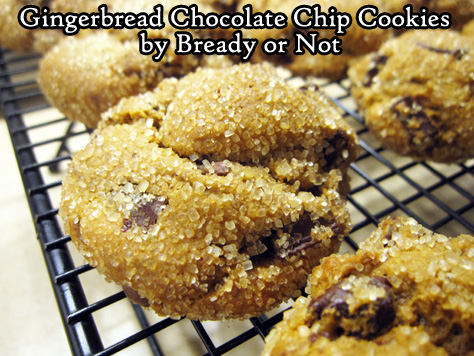
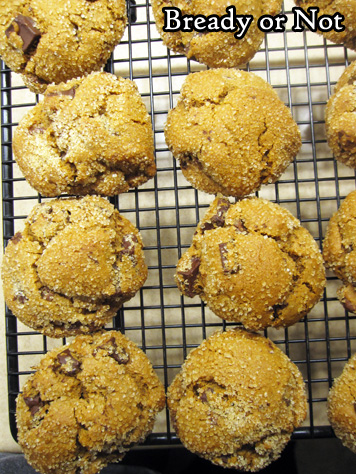
Let’s start the year right with these Gingerbread Chocolate Chip Cookies!
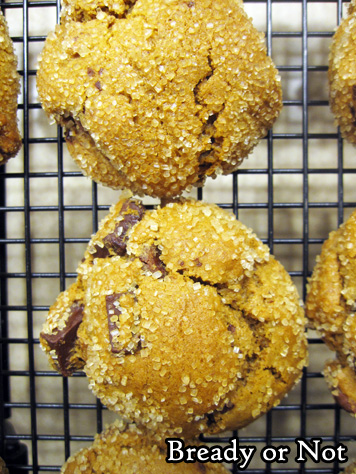
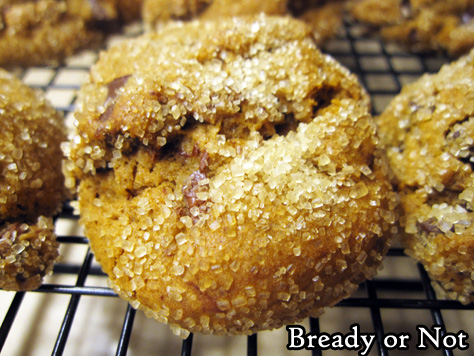
These things are soft and chewy, the coarse sugar providing a sweet, crunchy crust. Plus, you get chocolate mixed throughout, which provides a lovely contrast to the spicy gingerbread.
I’ve noticed that it’s a very British thing to do at least part of a gingerbread recipe on the stovetop. It definitely creates a different, richer flavor that the standard American recipe that mixes everything in a bowl.
You’ll notice this recipe includes a lot of fresh ginger. In the past, I’ve kept ‘fresh’ ginger around by buying a hunk, using a vegetable peeler to take off the outside, then freezing the interior in pieces. You can then grate it straight from the freezer. I think I learned about this technique from a food magazine ages ago.
The original of this recipe is from a food magazine, too–Bake from Scratch Holiday Cookies 2019, this recipe by Edd Kimber. My version is modified a great deal. I do recommend seeking out this issue, though, as it has a LOT of great recipes.
Bready or Not: Gingerbread Chocolate Chip Cookies
Equipment
- large saucepan
- tablespoon scoop
- parchment paper
Ingredients
- 1 cup light brown sugar packed
- 1 cup unsalted butter 2 sticks, softened
- 1/2 cup unsulphured molasses
- 2 large eggs room temperature
- 4 cups all-purpose flour
- 2 Tablespoons fresh ginger
- 2 teaspoons baking soda
- 1 teaspoon baking powder
- 2 teaspoons ground cinnamon
- 1 teaspoon ground ginger
- 1/2 teaspoon kosher salt
- 1/4 teaspoon ground nutmeg
- 10.5 ounces chocolate chips dark, semisweet, or a mix
- 3/4 cup turbinado sugar
Instructions
- In a large saucepan on medium-heat, stir together brown sugar, butter, and molasses until the butter is melted and everything is mixed. Remove from heat to cool for 30 minutes.
- Whisk eggs into the cooled mixture.
- In a big bowl, combined flour, fresh ginger, baking soda, baking powder, cinnamon, ground ginger, salt, and nutmeg. Pour in the sugar from the saucepan, stirring until just combined. Fold in the chocolate.
- Encase dough in plastic wrap and refrigerate for at least 2 hours.
- Pull out dough to soften slightly, about 10 or 15 minutes. Preheat oven at 375-degrees. Line a large baking sheet with parchment paper.
- Measure out the turbinado sugar into a small bowl. Use a tablespoon scoop to dole our dough, rolling each ball in sugar before setting spaced-out on baking sheet.
- Bake for 12 to 14 minutes, until cookies are set. Cool on pan for 5 minutes before transferring them to a cooling rack.
- Store in an airtight container at room temperature. Cookies keep for at least 3 days.
OM NOM NOM!
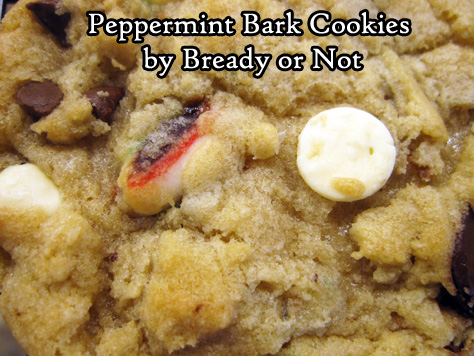
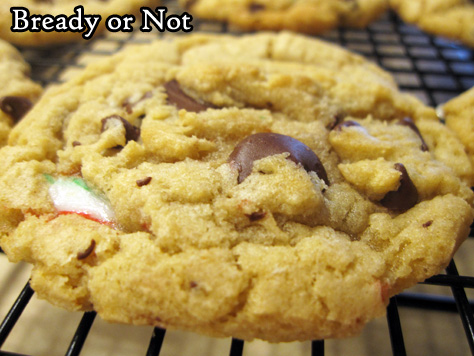
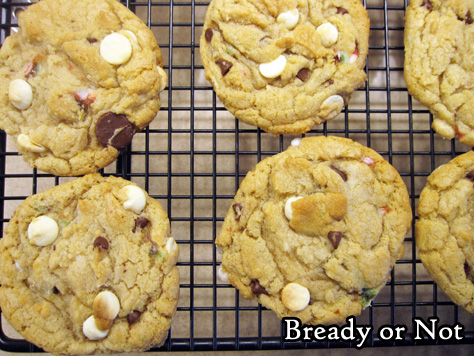
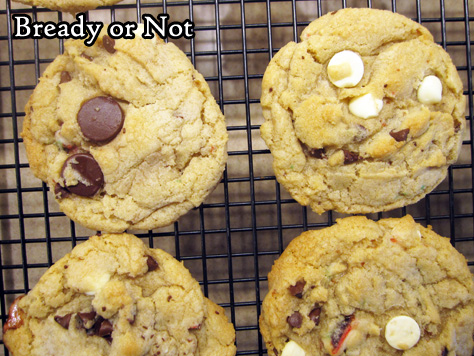
Bready or Not: Peppermint Bark Cookies
These incredible Peppermint Bark cookies really do taste like peppermint bark, but in chewy, beautiful cookie form!
These cookies even look holiday-colorful due to the bits of crushed candy cane throughout. I used a Hershey’s Chocolate Mint Candy Cane, but many varieties of candy cane would do. You could even mix it up with different colors and flavors!
I kept things easier by using chocolate chips, but this would be great with chopped chocolate, too, for different textures and flavors. Peppermint Bark itself comes in different variants, after all!
These cookies would be fantastic for a holiday cookie exchange, or to serve at a gathering. Or, if you’re cheap like me, bake them later on in January using candy canes scored on clearance!
Modified from Bake from Scratch Magazine Holiday Cookies 2019.
Bready or Not: Peppermint Bark Cookies
Equipment
- tablespoon scoop
- parchment paper
Ingredients
- 1 1/2 cups light brown sugar packed
- 1 cup unsalted butter 2 sticks, melted
- 1/2 cup white sugar
- 2 large eggs room temperature
- 1 teaspoon vanilla extract
- 1 teaspoon peppermint extract
- 3 1/2 cups all-purpose flour
- 1 teaspoon baking soda
- 1 teaspoon fine sea salt
- 4 ounces white chocolate chips
- 4 ounces dark chocolate chips
- 4 peppermint candy canes crushed
Instructions
- In a mixer, beat brown sugar, butter, and white sugar until combined. Add eggs one at a time followed by the extracts.
- In a separate bowl, stir together flour, baking soda, and sea salt. Gradually add the dry ingredients into the butter mixture. Fold in the two chocolates and candy cane bits. Cover top of dough with plastic wrap and chill it for 15 minutes.
- Preheat oven at 350-degrees. Line a large baking sheet with parchment paper.
- Use a tablespoon scoop to parcel out dough, spaced out, on baking sheet. Bake for 10 to 12 minutes, until cookies are set and just turning golden. Keep on sheet for a few minutes then transfer to a cooling rack.
- Store cookies in seal containers at room temperature. Keeps for at least 3 days.
OM NOM NOM!
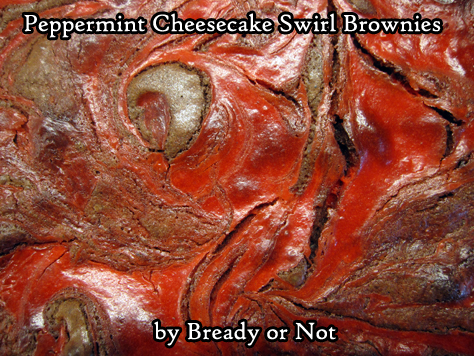
Bready or Not: Peppermint Cheesecake Swirl Brownies
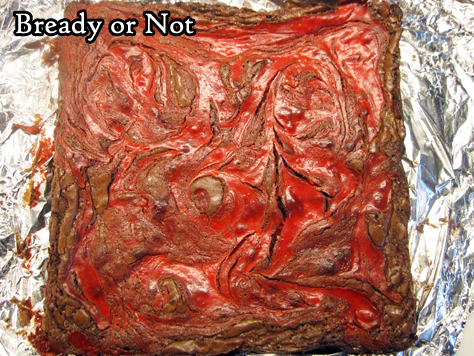
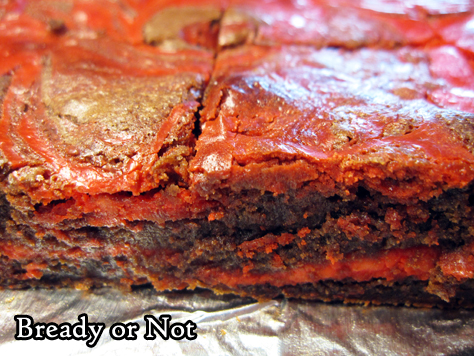
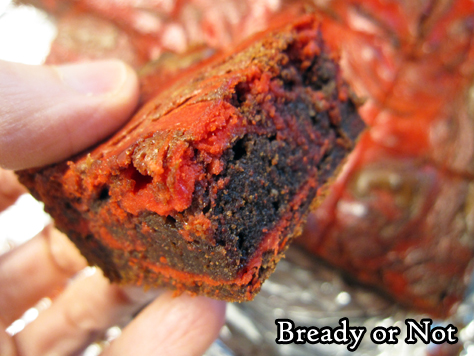
These Peppermint Cheesecake Swirl Brownies will dirty a lot of bowls and tools, but to gorgeous, delicious results.
These are an incredibly holiday-appropriate brownie. I colored the cheesecake layer in red, but really, you could do green, or even mix two small, separate bowls with green and red!
Then there’s the peppermint. It’s not overwhelming in this recipe; to me, it was mild and refreshing against the deep chocolate flavor.
I’m not a fan of cheesecake alone, but I do love that cheesecake flavor and texture when mixed with brownies or other great mix-ins. Be sure to check out some past Bready or Not recipes in the same family!
- Snickerdoodle Cheesecake Bars
- Cheesecake Brownies
- Cream Cheese-Stuffed Lemon Bundt Cake
- Swirled Goat Cheese Brownies
- Lemon Cheesecake Bars
- Earl Grey Cheesecake Bars
- Matcha Cheesecake Cookies
- Matcha Cheesecake Bars
Peppermint Cheesecake Swirl Brownies modified from the original recipe in Bake from Scratch Holiday Cookies 2019.
Bready or Not: Peppermint Cheesecake Swirl Brownies
Ingredients
Cream cheese swirl
- 8 ounces cream cheese (one block) softened
- 1/4 cup white sugar
- 1 large egg room temperature
- 1/2 teaspoon peppermint extract
- red gel food coloring
Brownie layer
- 4 ounces dark chocolate chips or chopped chocolate bar
- 3/4 cup unsalted butter 1 1/2 sticks
- 1 cup white sugar
- 1/2 cup brown sugar light or dark, packed
- 2 teaspoons vanilla extract
- 1 teaspoon kosher salt
- 3 large eggs room temperature
- 1/2 cup all-purpose flour
- 1/4 cup unsweetened cocoa powder sifted
Instructions
- Beat cream cheese until it is smooth and creamy. Add white sugar to fully incorporate. Mix in egg and peppermint extract. Stir in droplets of food color to reach desired tint. Set bowl aside.
- Prepare a 9×9 pan by lining it with foil and applying nonstick spray or butter to grease it. Preheat oven at 350-degrees.
- Using a microwave-safe bowl, in brief bursts heat the butter and dark chocolate, stirring well between each pass, until both are melted and smooth. Set aside to cool for a few minutes.
- In the large bowl of a stand mixer, use the whisk attachment to beat together both sugars, the vanilla, and salt. Add the eggs one at a time, and continue to beat at a high speed for 10 minutes. With the mixer on low, pour in the butter-chocolate. Use a spatula to fold in the flour and cocoa until just combined. Batter will be thick.
- Pour half the brownie batter into the prepared pan; use an offset spatula to even it out. Add about half the cheesecake mix in dollops. Repeat twice more, adding brownie and cheesecake in alternate dolloped layers. Use a butter knife to swirl everything together to create a marbled effect.
- Bake for about 45 minutes, until the middle passes the toothpick test. Cool to room temperature then cut into pieces.


