


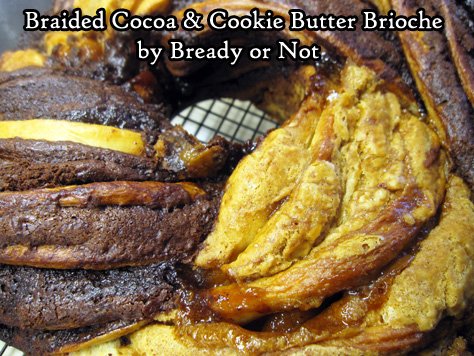
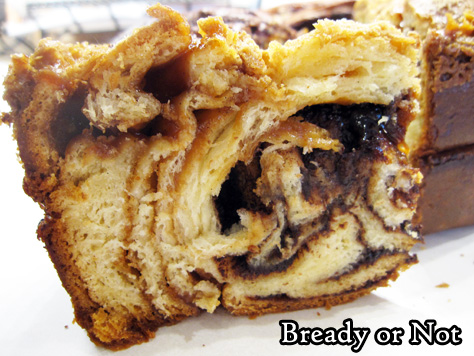
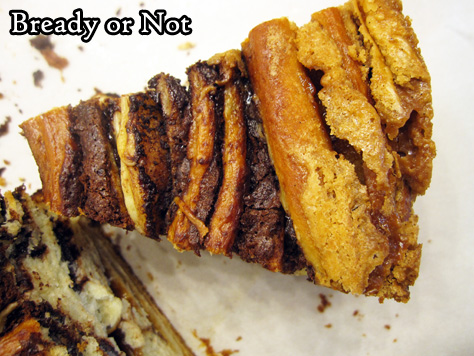
Bready or Not: Braided Cocoa and Cookie Butter Brioche
This Braided Cocoa and Cookie Butter Brioche is stunning in appearance and taste, so be warned: there are more pictures than usual for this post, including some process photos.
When I set out to rewrite the original recipe, featured in the January/February 2019 issue of Bake from Scratch, I knew this bread would be time-consuming. Intimidating, even.
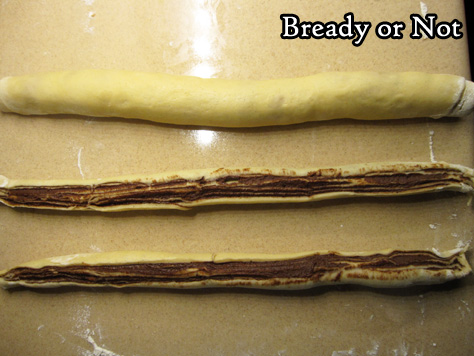
The braiding process, shown here, had me worried to start, but that turned out to not be so bad after all.

What ended up being the most tedious aspect was all the necessary dishwashing between the various stages! This recipe would be a great time to have some helpful assistants around.
The original recipe used special black cocoa paired with peanut butter. I went with normal baking cocoa (Penzey’s), which is less dramatic in color but great with flavor, and my stalwart baking favorite, cookie butter.
Despite my evangelizing, some people are always meeting cookie butter for the first time. It’s found in jars near the nut butters in stores. Trader Joe’s carries it under the name Speculoos. The other major brand is Biscoff. It tastes like spice cookies pureed in oil, because that’s exactly what it is.
It’s also incredible to bake with because it can even make cookies taste inherently more cookie-like. Here, when it’s used with chocolate, cocoa, and fresh bread, it’s truly amazing.
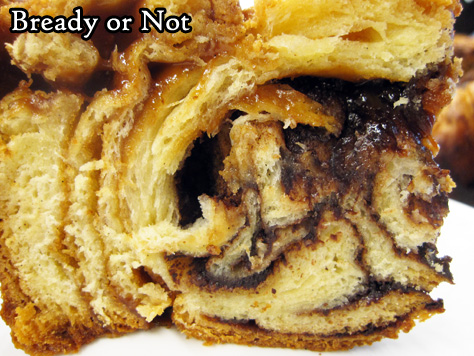
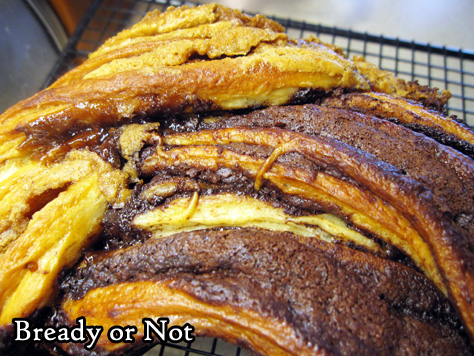
During baking, I found the exposed swirls of cookie butter actually caramelized, creating a wonderful crunch in the same bite as tender enriched bread. That, along with chocolate?
Oh wow. Oh wow.
Bready or Not: Braided Cocoa and Cookie Butter Brioche
Equipment
- stand mixer
- food scale
- Rolling Pin
- uneven spatula
- bench knife
- pastry brush
Ingredients
- 1 cup warm milk (105-110-degrees F)
- 2 1/4 teaspoons active dry yeast
- 2 large eggs room temperature
- 1/2 cup unsalted butter (1 stick) melted
- 4 teaspoons vanilla extract or vanilla bean paste, divided
- 4 1/2 cup all-purpose flour plus more if needed
- 1/4 cup white sugar
- 1 Tablespoon kosher salt
- 3/4 cup plus 2/3 cup confectioners' sugar divided
- 2/3 cup creamy cookie butter
- 3 Tablespoons unsalted butter melted
- 1/2 cup unsalted butter softened
- 1/2 cup semisweet chocolate melted
- 1/3 cup cocoa powder sifted
- 1 large egg white
- 1 Tablespoon water
Instructions
- In a stand mixer with a paddle attachment, stir together warm milk and yeast, letting it stand about 5 minutes to get foamy.
- Mix in the eggs, 1 stick melted butter, and 2 teaspoons vanilla. Follow up with the flour, sugar, and salt, beating until combined. Switch to the dough hook and beat for about 4 minutes, until smooth.
- Use nonstick spray on a large bowl. Lightly flour a flat surface and turn out the dough to form it into a round. Place it in a bowl, rotating it to grease the entire surface. Cover and let rise for about 1 hour, until it doubles in size.
- Clean everything and return to the stand mixer. Using the paddle attachment, beat the 2/3 cup confectioners’ sugar with the cookie butter, 1 teaspoon vanilla, and 3 Tablespoons melted butter, until smooth. Transfer the mixture to another bowl. set aside.
- Clean the mixer and paddle attachment again. Beat the final stick of softened butter, the melted chocolate, cocoa, remaining 3/4 cup confectioners’ sugar, and last 1 teaspoon vanilla, until smooth. Set aside.
- Lightly flour a flat surface again. Punch down the dough and turn it onto the surface. Use a food scale to divide the dough in half. Stash one half back in the bowl for now, covered to prevent drying. Roll the other half into a 20 by 9 rectangle. Use an uneven spatula to spread the cookie butter filling onto the dough, up to 1/2-inch of the edges all the way around. Starting on a long side, tightly roll up the dough, pinching the seam to seal. Set aside with the seam faced down.
- Roll out the other dough in the same way, this time spreading on the chocolate-cocoa filling. Roll it up as well, placing the two dough rolls side by side. Use a bench knife to cut each roll in half, lengthwise. With the multi-layered middles facing up, twine the strips together.
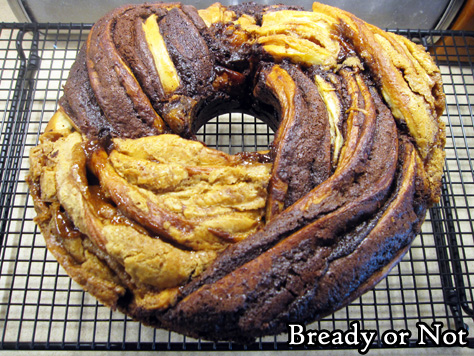
- Apply nonstick spray on tube pan. Lift braid into the pan and tug it to form a complete circle, tucking the ends beneath. Cover the bread and let it rise in a warm spot until it’s puffed, about 30 minutes.
- Preheat oven 350-degrees.
- In a small bowl, whisk together the egg white and water. Brush the top of the dough, touching the cookie butter strands first, then the chocolate; this will prevent the chocolate from smearing too much.
- Bake for about 50 to 55 minutes, covering the bread with foil halfway through to prevent too much browning. When done, the top should be golden and an instant-read thermometer should be above 190-degrees.
- Let cool in pan for about 15 minutes. Turn out onto a plate, then tip it back onto a rack to completely cool, top-up.
- The bread is best eaten within a day, but it can also be sliced up and frozen in pieces. It'll thaw later and taste beautifully fresh! Eat at room temperature or slightly warmed.
OM NOM NOM!
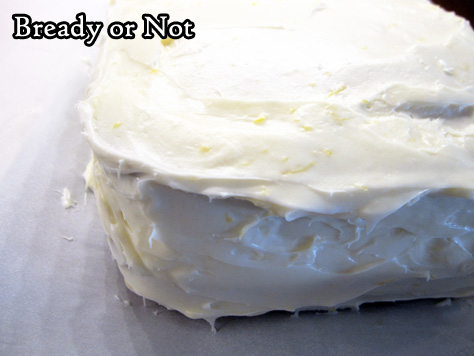
Bready or Not: Lemon Cake with Cream Cheese Frosting
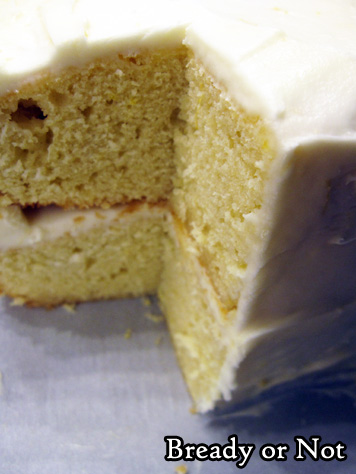
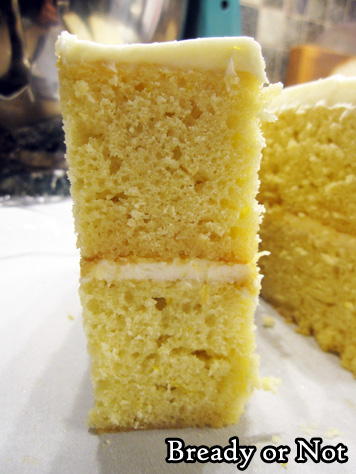
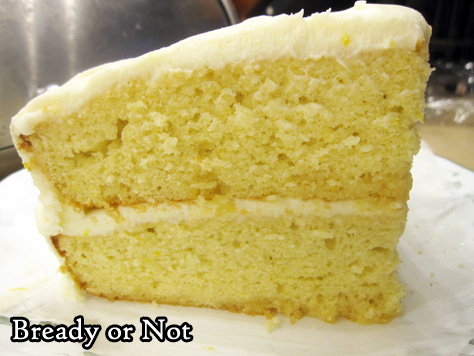
This Lemon Cake with Cream Cheese Frosting isn’t fancy. It’s a 9×13 cake cut in half and stacked. It has curves and straight edges. It also tastes amazing.
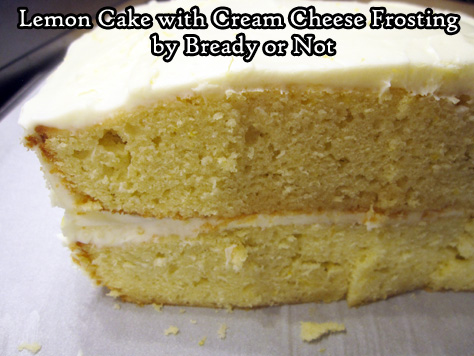
This is also an ideal cake for lemon-lovers. Two lemons are zested and juiced, their flavor infusing both the batter and frosting.
The cream cheese frosting here is an absolute classic, too. This is a recipe where you definitely want to lick the beaters and the bowl afterward!
I actually debated whether or not to post the cake on Bready or Not because it is so basic. After a lot of thought, though, I realized that simplicity is one of the perks.
It may not win awards for looks, sure. But does it taste good? YES.
Modified from Food & Wine Magazine January 2021.
Bready or Not: Lemon Cake with Cream Cheese Frosting
Equipment
- 9×13 pan
- uneven spatula
- cooling rack
- chopstick or skewer
- hand mixer
- parchment paper
Ingredients
Lemon Cake
- 1 3/4 cups white sugar
- 2 large lemons zested and juiced, to use for cake and frosting
- 3/4 cup extra virgin olive oil
- 4 large eggs room temperature
- 1 cup milk
- 1 teaspoon vanilla extract
- 3/4 teaspoon fine sea salt
- 3 cups all-purpose flour
- 1 1/2 teaspoons baking powder
- 3 Tablespoons honey
Cream Cheese Frosting
- 8 ounces cream cheese (1 box) softened
- pinch fine sea salt
- 1/2 cup unsalted butter (half stick) softened
- 3 cups confectioners’ sugar
Instructions
Make the lemon cake
- Preheat oven at 350-degrees. Line a 9×13 pan with foil and apply nonstick spray.
- Mix together the white sugar and 1 Tablespoon of the lemon zest; reserve remaining zest for the frosting. Using fingertips, for about a minute rub zest into sugar to deploy the inherent oils. Whisk in the olive oil followed by the eggs. Add the milk, vanilla, and salt. Keep beating until the sugar is dissolved.
- Beat in the flour and baking powder until just combined, making sure to scrape the bottom of the bowl. Pour batter into the cake pan.
- Bake for 30 to 35 minutes, until the middle passes the toothpick test. Let cake cool in pan about 10 minutes. In a small bowl, whisk together the honey and 3 Tablespoons of the lemon juice until smooth.
- Invert the cake onto a large cooling rack. Stab cake all over with chopstick or skewer. Set a cookie sheet beneath the rack. Drizzle or brush the honey-lemon mix all over the cake. Let cool for about an hour.
Frosting
- Combine cream cheese, salt, the rest of the lemon zest, and a Tablespoon of lemon juice; use rest of juice otherwise. With a hand mixer, beat on medium-high until smooth, about 30 seconds. Add the butter and beat until pale and fluffy, about a minute.
- Reduce the speed and gradually add the confectioners’ sugar. Once it’s all in, increase the speed to high and beat until fluffy, about 2 minutes.
- Transfer the cake to a parchment paper-lined cookie sheet. Use an uneven spatula to spread 1 1/2 cups frosting all over the top of the cake. Place cake in fridge to chill for 15-30 minutes. Once frosting has hardened. Slice in half crosswise and stack the halves. Spread the remaining frosting on the top and sides of cake, getting all of the odd angles, nooks, and crannies.
- Refrigerate cake, uncovered, at least 30 minutes before serving. For longer than that, cover with plastic wrap; it’ll keep well in the fridge for up to 3 days, and can also be frozen in individual slices. Serve cake right from fridge.
OM NOM NOM!
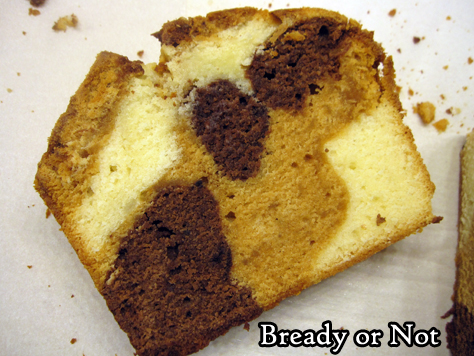
Bready or Not: Triple-Marble Pound Cake
The Triple-Marble Pound Cake is tender, soft, and has three incredible complementary flavors combined in one cake. It’s not hard to make, either, though it does dirty a few extra dishes.
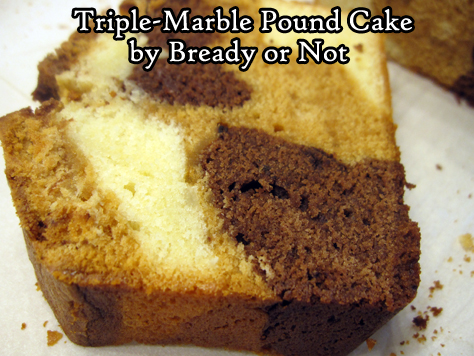
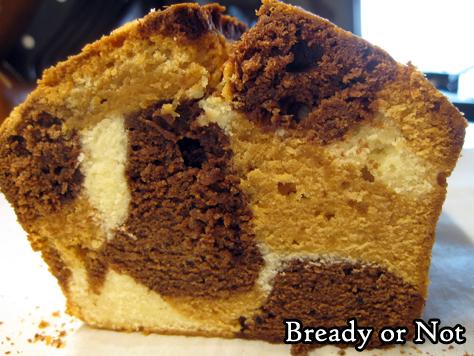
Oh yes, and it’s pretty, too. The interior reminds me of a calico cat!
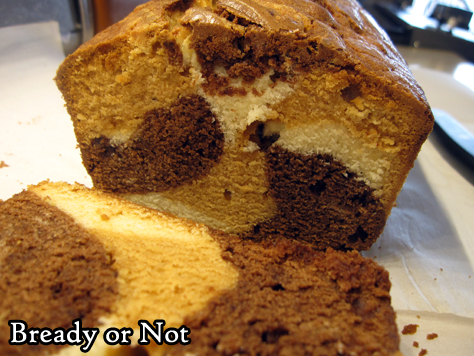
Something I really like about this recipe is that it is no-frills. The flavors are all built into the dough itself. There’s no need for frosting or glaze. The end result is a nice, tidy slice. You can throw it in a sandwich bag or some plastic wrap, and this is great as a to-go snack of treat. It might get crushed, but it won’t melt (and that is always a concern in Arizona!).
The cake keeps well, too. Store it sealed at room temperature for up to four days. It’s also fantastic to freeze in slices to enjoy later.
Greatly modified from Bake from Scratch Sep/Oct 2020.
Bready or Not: Triple-Marble Pound Cake
Equipment
- 9×5 loaf pan
- parchment paper
- food scale
Ingredients
- 3/4 cup unsalted butter (1 and a half sticks) softened
- 1 1/2 cups white sugar
- 3 large eggs room temperature
- 1 3/4 cups all-purpose flour
- 1/2 teaspoon kosher salt
- 1/4 teaspoon baking powder
- 1/2 cup vanilla Greek yogurt or sour cream
- 1/4 cup jarred caramel or dulce de leche
- 1/3 cup dark chocolate melted and cooled slightly
- 1 Tablespoon Dutch-process cocoa powder sifted
- 2 teaspoons vanilla extract
Instructions
- Preheat oven at 300-degrees. Cut a piece of parchment to fit like a sling inside the pan, extending up both long sides. Apply butter or nonstick spray in the pan, then set the parchment inside and spray it again.
- Beat together butter and sugar until fluffy. Add eggs, beating well after each addition.
- In a separate bowl, combine the flour, salt, and baking powder. Gradually add the dry ingredients in with the wet, adding in the yogurt/sour cream as well.
- Either by using a food scale or by eyeballing, divide the dough into three roughly equal portions.
- If the caramel/dulce de leche is stiff, microwave briefly in a microwave-safe bowl to make it looser. Mix that into one portion of dough.
- Add the cocoa powder with the melted chocolate, and fold that into a second portion of dough until the color is even throughout.
- To the third portion, mix in the vanilla to completely incorporate.
- Set a tablespoon with each portion. Scoop vanilla and chocolate to form a checkerboard-like formation in the bottom of the loaf pan. Add scoops of caramel dough sporadically over top. Tap pan to settle the dough. Repeat, mixing up the pattern so that different colors are near each other, tapping the pan on occasion. Once all of the dough is in the pan, use a butter knife to gently swirl for an extra marbling effect on the top. Tap pan again to level and work out bubbles.
- Bake for 1 hour 40 minutes. Check the middle with a toothpick. If it’s still wet, bake longer, checking every few minutes for doneness. Once it passes the test, let cool on stove top for 10 minutes, then use the parchment sling to lift the loaf onto a rack to cool completely.
- Cake can be served warm or at room temperature. It will keep for up to 4 days in a sealed container. It can also be frozen in slices for later enjoyment.
OM NOM NOM!
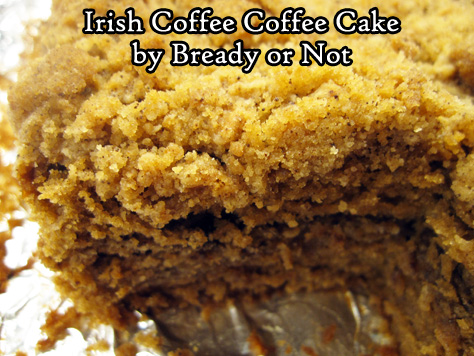
Bready or Not: Irish Coffee Coffee Cake
Irish Coffee Coffee Cake! Yes, the word “Coffee” is intentionally in this recipe’s name twice. That’s because it’s a coffee cake that includes coffee, and also a nip of whiskey, because why not?
I can tell you why the whiskey should be there–because it adds a fresh zip of flavor to an already delicious cake.

This is a recipe that take some effort. It dirties a lot of dishes. However, it’s also a special cake that looks and tastes like it required that extra effort.
Really, this is a cake to make to impress guests or for a brunch or a birthday or holiday event. I’m posting it over a week in advance of St. Patrick’s Day so that some folks can perhaps throw it together this weekend! Note that this cake freezes very well, too.
When I do recipes that include alcohol, I inevitably get asked: what did you use? Also, I don’t drink, can I omit the alcohol? To the first question, I used Green Spot whiskey, which is my personal favorite. As to the second, I haven’t tried the recipe without whiskey, but I imagine it would be just fine, especially if you like a strong coffee flavor.
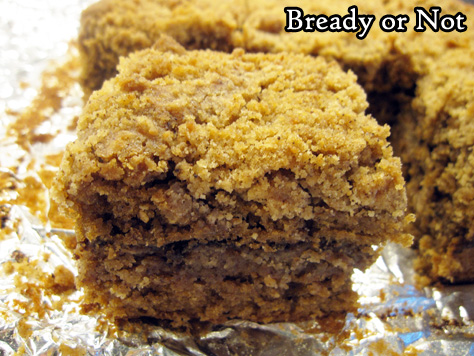
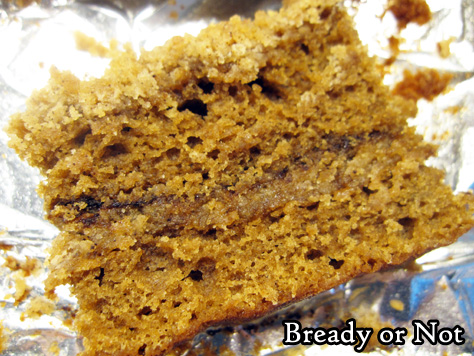
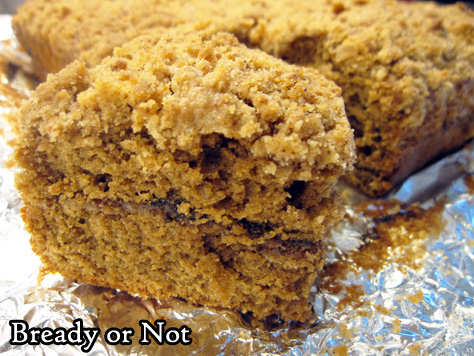
Baking the cake as described below, the result is a lofty, spongy cake with a zing of whiskey and a deep coffee flavor. The moist crumb is a lovely contrast to the crumble layers through the middle and on top.
Modified from Bake from Scratch Jan/Feb 2019 issue.
Bready or Not: Irish Coffee Coffee Cake
Equipment
- 9-inch square pan
- food processor
- offset spatula
Ingredients
Irish Whiskey Streusel
- 1 3/4 cups all-purpose flour
- 1 cup brown sugar packed
- 2 teaspoons espresso powder
- 1 1/4 teaspoons ground cinnamon
- 1/2 teaspoon kosher salt
- 1/2 cup plus 2 Tablespoons cold unsalted butter cubed
- 1 Tablespoon Irish whiskey
Coffee Cake
- 1/2 cup unsalted butter 1 cube, softened
- 1 cup white sugar
- 2 large eggs room temperature
- 2 cups all-purpose flour
- 1 1/4 teaspoons baking powder
- 1/2 teaspoon baking soda
- 1/2 teaspoon kosher salt
- 2/3 cup whole buttermilk or soured milk, see note
- 1/3 cup Irish whiskey
- 2 Tablespoons espresso powder
- 2 teaspoon vanilla extract
Instructions
- In a food processor, pulse together the flour, brown sugar, espresso powder, and salt. Drop in the butter and whiskey, and pulse again until it forms pea-sized crumbs. Chill mix in fridge. Note that the streusel can be made a day ahead of the rest of the cake.
- Preheat oven at 350-degrees. Line a 9-inch square pan with foil to extend up all four sides. Apply nonstick spray.
- In a large bowl, beat butter and white sugar until fluffy. Add eggs one at a time.
- In another bowl, mix together flour, baking powder, baking soda, and salt. In a different bowl, combine the buttermilk/soured milk, whiskey, espresso powder, and vanilla, stirring gently until the espresso powder is dissolved and not clumpy.
- Gradually mix the dry ingredients and the wet ingredients into the butter and sugar, alternating back and forth, until everything is combined.
- Spoon about half the batter into the prepared pan; batter will be thick, and an offset spatula will make it easier to even out. Sprinkle half the streusel mix over the batter. Dollop on the remaining batter and even out again. Crumble the rest of the streusel over the top.
- Bake about 40 to 45 minutes, until the middle of the cake passes the toothpick test. Cool completely in pan. Use the foil to lift it onto a cutting board to slice.
- Cake pieces keep well in sealed container at room temperature for at least 3 days. Pieces can also be wrapped up and frozen for later enjoyment.
OM NOM NOM!
Notes
Bready or Not: Irish Apple Cake
I’ve posted many different recipes for apple cake. This Irish Apple Cake uses a 9-inch round cake pan with layers of cake, apple, and streusel.
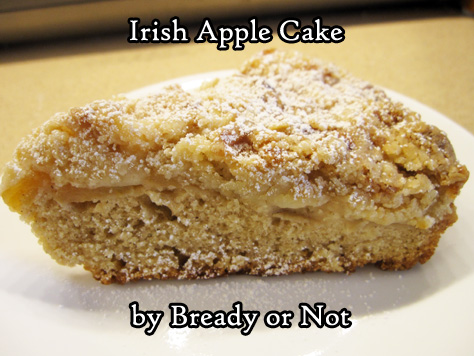
This isn’t a light, airy cake. It’s dense and moist. It’s a cake that is ideally paired with tea, coffee, or hot cider.
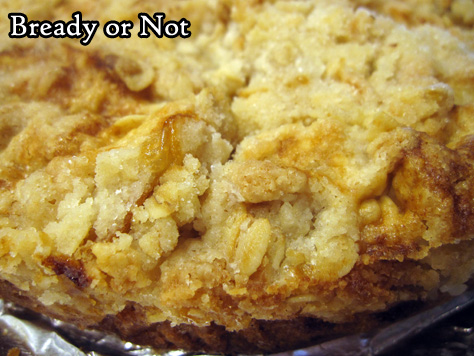
It’s not heavily sweet, either, but the sweetness that is there arises from the apple and that wonderful crumble topping.
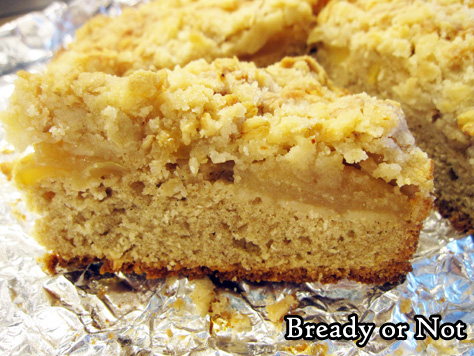
The big thing that sets this cake apart from other recipes is that you do experience the textural variations between the layers. It really reminds me of my family favorite Caramel Apple Pie in that regard.
This cake is best eaten fresh, but fear not! If you freeze it when it’s fresh, it will be wonderfully preserved for later on. Just eat it right after it’s thawed.
Modified from a Gemma Stafford recipe in Food Network Magazine, March 2021.
Bready or Not: Irish Apple Cake
Equipment
- 9-inch cake pan
Ingredients
Streusel
- 6 Tablespoons cold butter
- 3/4 cups all-purpose flour
- 1/4 cup rolled oats
- 1/2 cup white sugar
- pinch salt
Cake
- 1/2 cup salted butter 1 stick
- 1/2 cup white sugar
- 2 teaspoons pure vanilla extract
- 2 large eggs
- 1 1/4 cups all-purpose flour
- 1 teaspoon baking powder
- 1 teaspoon ground cinnamon
- pinch salt
- 3 Tablespoons milk
- 3 medium baking apples such as Fuji or Granny Smith, peeled and thinly sliced
- confectioners' sugar for serving
Instructions
- Preheat oven at 350-degrees. Line a 9-inch cake pan with foil and apply nonstick spray or butter.
- Make the streusel first. Dice up the butter in a medium bowl. Add the flour, oats, sugar, and salt. Using fingers, compress and break apart the butter into small crumbs distributed throughout the dry mix. Set the bowl in fridge to chill while assembling the cake.
- Cream the butter and white sugar until light and fluffy. Add the vanilla and eggs.
- In a separate bowl, sift together the flour, baking powder, cinnamon, and salt. Gradually fold the dry ingredients into the wet along with the milk. Once everything is just mixed, pour it into the prepared pan. Place the apple slices one at a time to form an even layer. Sprinkle the streusel on top and even it out.
- Bake the cake until the top is golden, about 60 to 70 minutes. The middle should pass the toothpick test. Let cool at room temperature, eventually placing in fridge to speed the process, if desired.
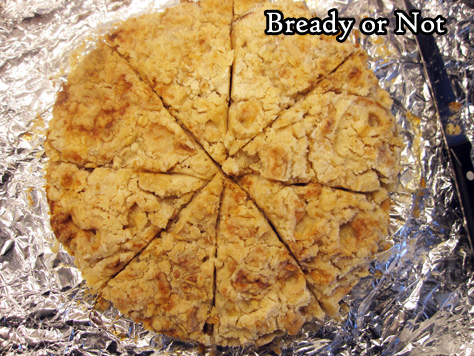
- Cut into 1/8ths. Top pieces with sprinkled confectioners’ sugar to make it even more pretty. The cake is best eaten fresh, but pieces can also be individually frozen the day of baking for a delicious treat later.
OM NOM NOM!
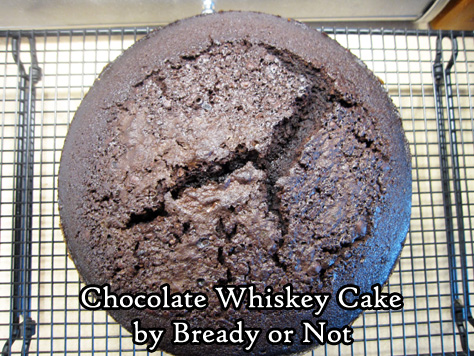
Bready or Not: Chocolate Whiskey Cake
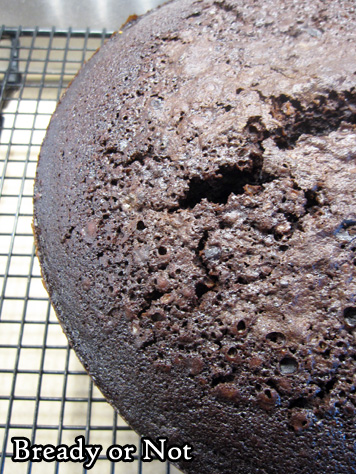
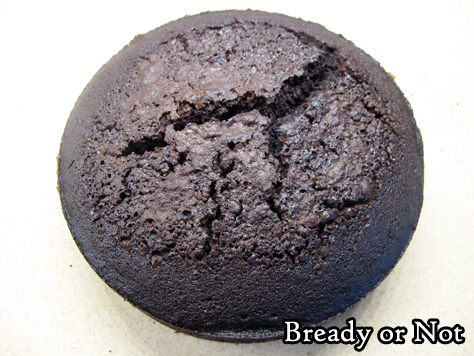
This Chocolate Whiskey Cake is dense, moist, and delicious–the perfect cake for chocoholics.
This is the first entry in a special sequence of deliciousness, too–three weeks in a row with Ireland-inspired recipes. Look for Irish Apple Cake and Irish Coffee Coffee Cake in the coming weeks!
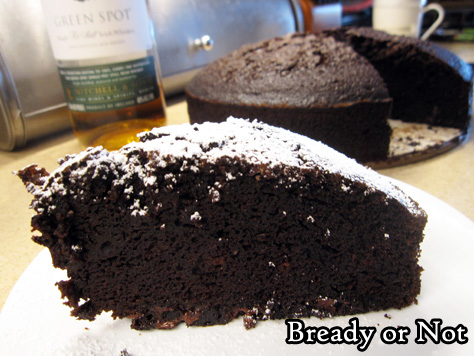
This is the kind of cake that doesn’t need frosting; that would actually be overkill. If desired, add a sprinkle of confectioners’ sugar on top, but that’s more about adding some color contrast than flavor.
So, what IS the flavor here? Chocolate. Coffee. And yes, whiskey–that adds a refreshing waft. I used Green Spot Irish Whiskey, my favorite, and one I’m fortunate enough to find sometimes at Costco around St. Patrick’s Day! Total Wine carries it year-round, too.
Eat this cake within a day or two, or wrap up pieces and freeze for later! It thaws, no problem at all.
I modified this a lot from an original take at NYT Cooking.
Bready or Not: Chocolate Whiskey Cake
Equipment
- 9-inch springform pan
- parchment paper
- food scale
Ingredients
- 12 Tablespoons unsalted butter
- 3/4 cup cocoa powder sifted
- 1 1/2 cups brewed strong coffee
- 1/2 cup Irish whiskey
- 1 cup white sugar
- 156 grams light brown sugar note this is weighed, not packed
- 2 Tablespoons cocoa powder sifted
- 2 cups all-purpose flour
- 1 1/2 teaspoons baking soda
- 3/4 teaspoon fine sea salt
- 1/4 teaspoon black pepper
- 1/8 teaspoon ground cloves
- 3 large eggs room temperature
- 2 teaspoons vanilla extract
- 1 cup chopped dark chocolate or chocolate chips
- Confectioners' sugar for serving, optional
Instructions
- In a large pot on low heat, warm the butter, 3/4 cup cocoa powder, coffee, and Irish whiskey. Once the butter is melted, stir in the sugars until they are dissolved. Remove from heat to cool, 30 minutes at minimum.
- Preheat oven at 325-degrees. Cut a piece of parchment to fit the bottom of the springform pan. Apply nonstick spray to pan, place parchment inside, then spray again. Dust the interior with the remaining 2 Tablespoons cocoa powder to coat.
- In a big bowl, combine flour, baking soda, salt, pepper, and cloves. In a different bowl, whisk together eggs and vanilla. Gradually stir the egg mixture into the butter-cocoa pot. Add the dry ingredients to just combine, then fold in the chopped chocolate.
- Pour batter into the prepared pan. Bake cake for 65 to 70 minutes, until the middle just passes the toothpick test. Let cool for about 20 minutes, then release sides of pan to let the cake cool completely.
- Slice into wedges to serve. Add confectioners’ sugar sprinkled on top, if desired. Keep cake covered at room temperature up to 2 days. Remaining pieces can be sliced and individually wrapped and frozen for later enjoyment.
