Bready or Not: Overnight Cinnamon Pecan Coffee Cake
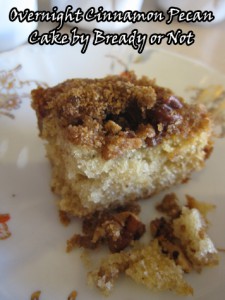
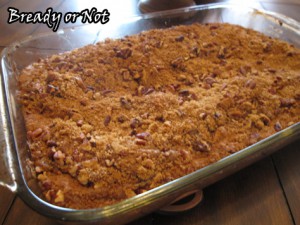
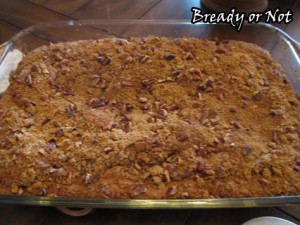
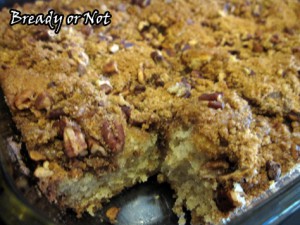
Merry Christmas to those who celebrate! Whether or not you observe the holiday, I offer a breakfast cake recipe that you can throw together tonight and bake in the morning.
It will serve a whole bunch of people. The leftovers are delicious. And heck, it’s CAKE. For breakfast. Actually, it’d be pretty darn good at any time of day.
Sour cream is the secret weapon here. It creates a cake that is moist and luscious without any sour cream taste. Combine that tenderness with the crackled top and the crunch of pecans, and you have a total winner.
Tweaked from Overnight Cinnamon Pecan Coffee Cake at Relish Magazine.
Bready or Not: Overnight Cinnamon Pecan Coffee Cake
Ingredients
Cake:
- 3/4 cup unsalted butter softened
- 1 cup white sugar
- 2 large eggs room temperature
- 2 cups all-purpose flour
- 1 teaspoon baking powder
- 1 teaspoon baking soda
- 1 teaspoon nutmeg
- 1/2 teaspoon salt
- 1 cup sour cream
Streusel:
- 3/4 cup brown sugar firmly packed
- 1/2 cup chopped pecans or walnuts
- 1 teaspoon ground cinnamon
Instructions
- Make the streusel topping first by combining the brown sugar, pecans and cinnamon in a small bowl. Set aside.
- In a big bowl, beat the butter and white sugar until light and fluffy; add the eggs, one at a time, beating well after each.
- In a separate bowl, whisk together the dry ingredients: flour, baking powder, baking soda, nutmeg and salt. Slowly add the flour mix to the eggs and butter. Pause to add in some sour cream, then more flour, going back and forth until it's all blended.
- Apply nonstick spray to a 9x13-inch pan. Pour in the batter and spread to the edges. Sprinkle the streusel all over the top.
- Cover well with plastic wrap and chill overnight, or up to 18 hours.
- Preheat the oven at 350-degrees. Remove the plastic wrap. Bake the cake for 35 minutes, or until a toothpick comes out clean. Serve warm or at room temperature.
OM NOM NOM!
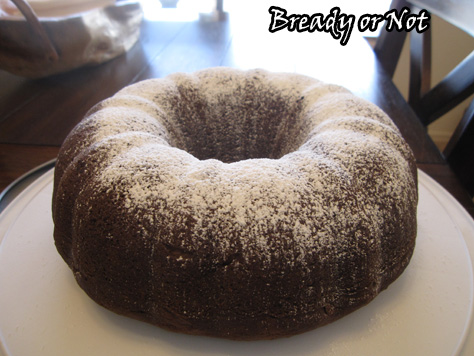
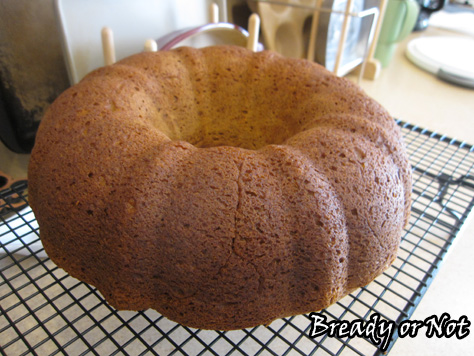
Bready or Not: Pumpkin and Pudding Mix Pound Cake
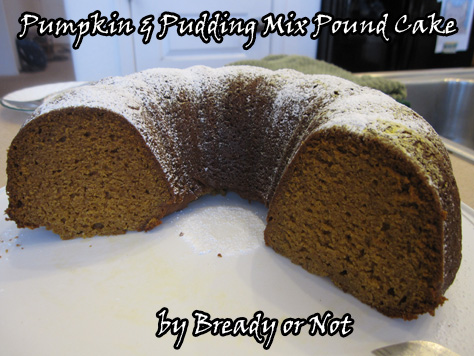
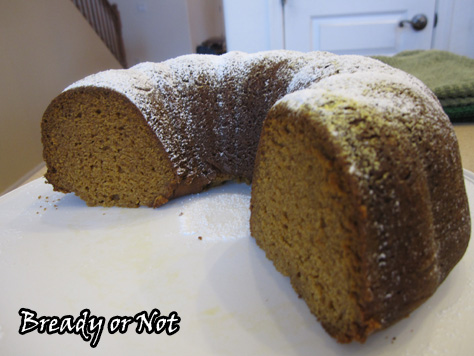
I’m picky about my pound cakes. I like them moist. They should be soft, cushy, and spongy. Dry pound cakes? Bleh!
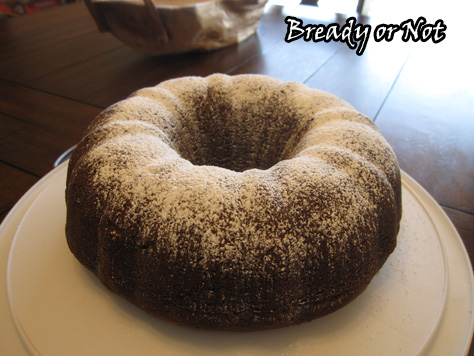
This pumpkin bundt cake is everything a pound cake should be. It’s tender and delicious without being sweet. The secret to the softness here is an entire box of pudding mix poured into the batter. Just as with cookie recipes, that pudding mix makes everything tender and chewy.
A slice of this cake doesn’t need anything to accompany it. You could serve this for a breakfast, brunch, or dessert. It keeps covered in the fridge for at least four days. I can’t vouch beyond that. It was all eaten.
Modified from Pumpkin Pound Cake at Sing for Your Supper.
Bready or Not: Pumpkin and Pudding Mix Pound Cake
Ingredients
- 1 cup white sugar
- 1 cup brown sugar packed
- 1 cup canola oil
- 3 eggs room temperature
- 3 cups all-purpose flour
- 2 teaspoons baking soda
- 3 teaspoons ground cinnamon
- 1 1/2 teaspoons ground nutmeg
- 1/2 teaspoon salt
- 1/4 teaspoon ground cloves
- 5.1 oz package instant vanilla pudding mix
- 15 oz pumpkin puree
- Confectioners’ sugar for dusting the top
Instructions
- Grease a bundt cake very well. Preheat the oven at 350-degrees.
- In a large bowl, combine the two sugars and oil until blended. Add eggs, one at a time, beating well after each addition.
- In a separate bowl, combine the dry ingredients: flour, baking soda, cinnamon, nutmeg, salt, cloves and pudding mix.
- Add the dry mix to the wet batter, alternately with pumpkin, until everything is well combined. Pour into the bundt pan--it will be very thick. Use a spatula to even it out across the top.
- Bake for 60-65 minutes, until a cake tester comes out clean. Cool for fifteen minutes and then invert it onto a wire rack to cool completely.
- Will keep very well stored covered in the fridge. Dust with confectioners' sugar just before serving.
OM NOM NOM!
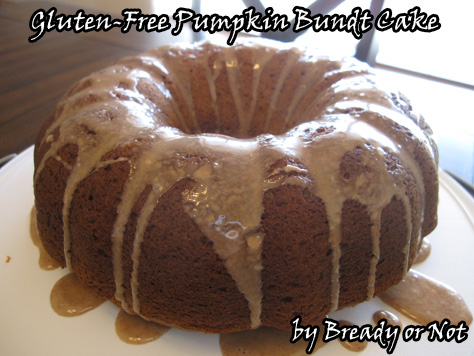
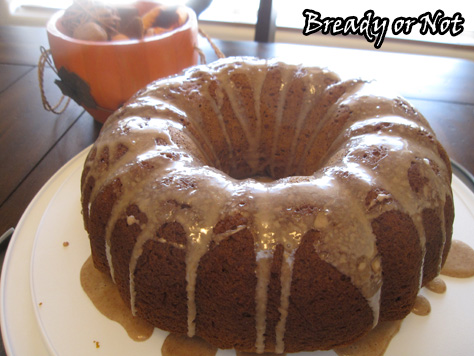
Bready or Not: Gluten-Free Pumpkin Cake
Let’s carry September’s Cake Month into October as I start the annual autumn theme of pumpkin, maple, and other seasonal flavors!
Most of the stuff I bake goes with my husband along to his work. Lo and behold, a few of his co-workers eat gluten-free. I hate for people to feel left out. Therefore, I try to mix in some GF goodies every so often.
Baking gluten-free can be rather intimidating. The stuff is expensive, and even worse, some of it tastes BAD. As in, scrub-out-your-mouth-with-a-toilet-brush bad. I also worried about cross-contamination. My kitchen is pretty much saturated in gluten.
I prowled around for good pumpkin cake recipes and I found this one at King Arthur Flour. Their recipes are very reliable. I modified it slightly. I used a Bob’s Red Mill GF Vanilla Cake Mix here, as Bob’s mixes and flours are pretty darn good. I also used my own maple glaze, because, well, MAPLE!
The end result was an absolutely delicious cake. It tasted totally normal–no one would suspect it was gluten-free!
Modified from the recipe at King Arthur Flour, with my own glaze.
Bready or Not: Gluten-Free Pumpkin Cake
Ingredients
Cake ingredients:
- 5 large eggs room temperature
- 3 Tablespoons molasses
- 15 oz pumpkin purée
- 3/4 cup vegetable oil
- 1 gluten free cake mix yellow, vanilla, or white (recommend King Arthur or Bob's Red Mill)
- 1/2 cup cornstarch
- 1/4 teaspoon baking soda
- 1 Tablespoon pumpkin pie spice or substitute 2 teaspoons ground cinnamon, 1/2 teaspoon ground ginger, and 1/4 teaspoon ground cloves
Maple Glaze ingredients:
- 1 cup confectioners' sugar sifted
- 1/2 teaspoon cinnamon
- 1/4 teaspoon maple flavor
- 1 1/2 Tablespoons milk almond milk works!, more as needed
Instructions
- Preheat the oven to 325°F. Thoroughly grease a 10-cup Bundt pan.
- Whisk together the eggs, molasses, pumpkin purée, and oil. Set aside.
- In another big bowl, combine the cake mix, cornstarch, baking soda, and spice(s).
- Stir the wet and dry mixtures together until smooth and pour the batter into the prepared pan.
- Bake the cake for 60 to 65 minutes, until it passes the crumb test.
- Remove the cake from the oven, let it cool in the pan for 15 minutes, then turn it out of the pan to cool completely on a rack.
- Dust the cake with confectioners' sugar, or make the maple glaze. Combine the glaze ingredients, adding more sugar or milk for desired texture. Drizzle over cake.
OM NOM NOM!
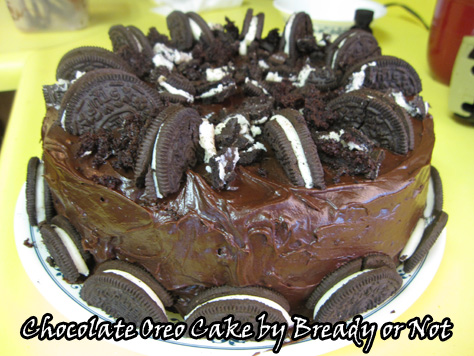
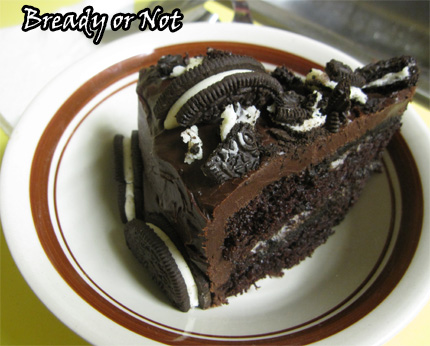
Bready or Not: Chocolate Oreo Cake
Let’s finish off Cake Month with a cake of chocolate wonder, shall we?
I made this while visiting my parents’ house for the 4th of July. My brother’s birthday was in June and I let him pick the recipe for me to try. I prepared all of the dry ingredients beforehand and toted them to California.
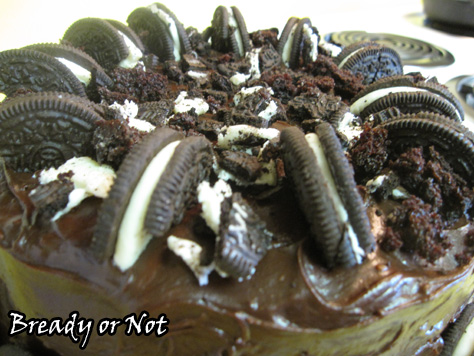
I think he chose pretty well. This actually reminded me of how our local Savemart bakery used to make their Oreo Cake back in the late ’80s. This is heavy duty chocolate with the frosting and all, though the cake layers had a light crumb. It may not be as dense as some cakes, but it’s still a chocolate fist to the face.
I was a little disappointed in the filling layer, though–it wasn’t even visible in the cut cake! Therefore, I modified the ingredients to double the cream and sugar there.
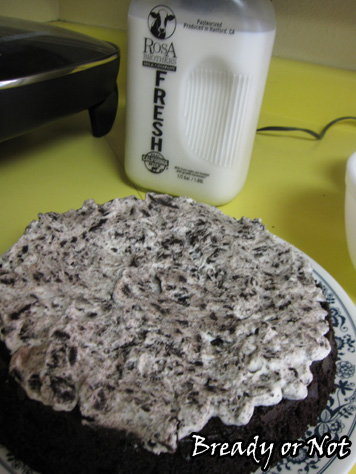
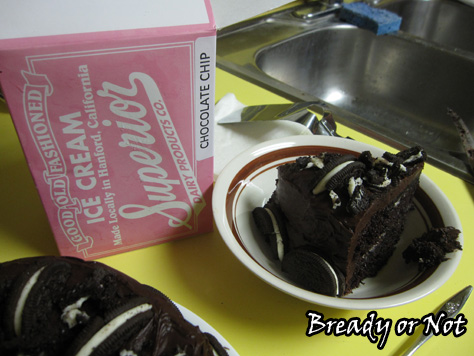
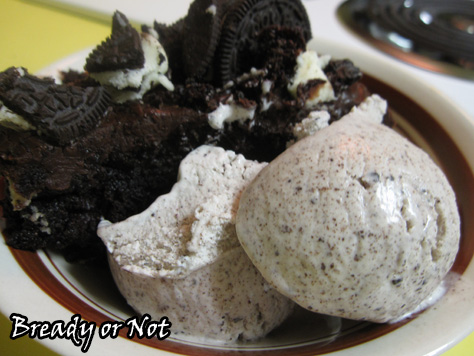
Since I was in my hometown, it was only right that I use local ingredients. I used Rosa Brothers milk–it comes in a glass bottle and everything! Then I had to serve the cake with Superior Dairy chocolate chip ice cream, the best ice cream anywhere. I’ve lived all over the country. I know.
Like most chocolate cakes, this one improved after a day in the fridge.
Yet another reason why chocolate cake is awesome.
Modified from version here.
Chocolate Oreo Cake
Ingredients
For cake:
- 2 cups white sugar
- 1-3/4 cups all-purpose flour
- 3/4 cup baking cocoa sifted
- 1-1/2 tsp baking powder
- 1-1/2 tsp baking soda
- 1 tsp salt
- 2 eggs room temperature
- 1 cup milk
- 1/2 cup vegetable oil
- 2 tsp vanilla extract
- 1 cup boiling water
- 10-15 Oreos twisted to separate cookies and reveal cream center
- 15 Oreos chopped directly in half through cookie [for final garnish]
For filling:
- 2/3 cup whipping cream
- 4 tsp confectioners' sugar
- 1/4 tsp vanilla extract
- black Oreo sides crushed
For icing:
- 1/2 cup unsalted butter melted
- 2/3 cup baking cocoa sifted
- 3 cups confectioners' sugar
- 1/3 cup milk
- 1 tsp vanilla extract
Instructions
Make the cakes:
- Preheat oven to 350-degrees. Prepare two 9-inch round baking pans by applying nonstick spray, lining with parchment, and then spraying again.
- Set 5-8 Oreo halves down in each pan. These will be the cream sides, with the cream facing up. Set the black halves aside to be used in the filling.
- In a large bowl, stir together the sugar, flour, cocoa, baking powder, baking soda and salt.
- Add the eggs, milk, oil and vanilla; beat on medium speed for about 2 minutes.
- Stir in the boiling water. The batter will be very thin. Pour it very carefully into the prepared pans. Don't be surprised if the Oreos float around.
- Bake the pans for 30 to 35 minutes or until wooden pick inserted in center comes out clean.
- Cool them for 10 minutes; run a knife around the sides to make sure they are loose, then carefully remove the cakes from pans. Set them on wire racks and remove the parchment from the tops. Let the cakes completely cool.
To make the filling:
- Beat together the cream, sugar and vanilla until they form stiff peaks. Gently fold in the cookie crumbs.
- Set up the bottom layer of the cake on the serving dish. Depending on consistency, pipe the filling onto the cake or spread it on with a spatula.
- Set the top layer in place. If need be, trim the sides of the cake to make them more even.
Make the frosting:
- Melt the butter. Mix in the cocoa. Alternately beat in the powdered sugar, milk, and vanilla. Add small amounts of milk until it reaches spreading consistency.
- Frost the cake around the top and sides. Apply the remaining halved Oreos around the bottom and the top; add any sliced-off cake crumbs as well.
Store the cake in the fridge, covered by a dome, foil, or wrap. Like most chocolate cakes, it actually tastes better after the first day. It can also be frozen in slices.
OM NOM NOM!
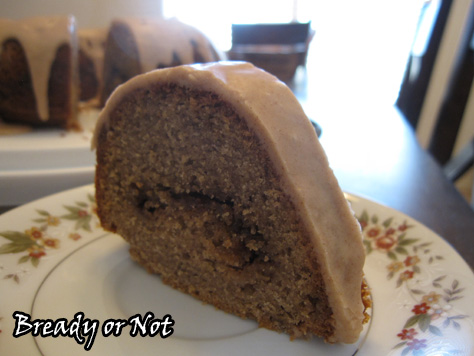
Bready or Not: Cinnamon Bundt Cake
Am I still alive? Did I survive The Clockwork Dagger’s launch into the world?
I don’t know. In the interest of my sanity (hahahaha) I am scheduling this far in advance. I suspect I will be 1) exhausted, 2) exhilarated, and 3) terrified, with a potpourri of other emotions mixed in.
I mean, MY BOOK IS OUT. How crazy is that? I’ve only wanted to publish a book of my own since I was, oh, four. Thirty years later, here I am.
Pardon me while I go to hug my book again. It’s real.
… ahem. Well, it’s Wednesday, and it’s Cake Month, so I suspect you want to see that Cinnamon Bundt Cake mentioned in the title, right? (I can shut up about the book for a little while. Honest.)
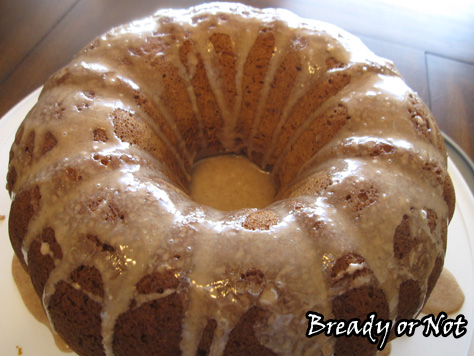
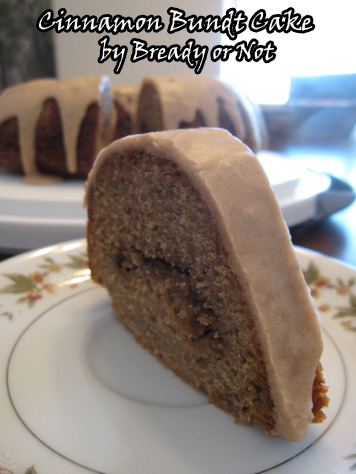
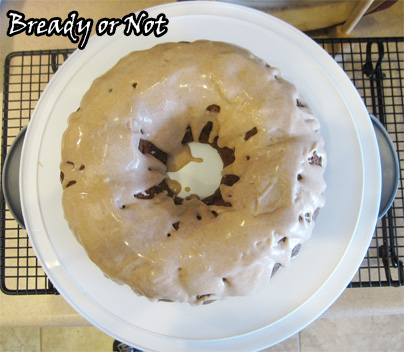
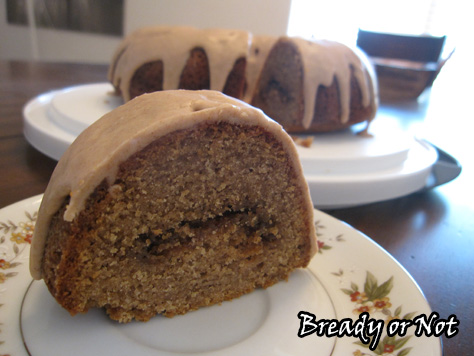
This is a gorgeous cake that’ll slap you upside the head with cinnamon goodness.
The recipe doesn’t produce a large bundt cake, but it’ll still feed a crowd. This is one of those cakes that’s awesome for breakfast, coffee breaks, dessert, or whatever other occasion you want to stuff a slice of cake in your face.
Now, you have a few options for the liquid in the recipe. The original version used Cinnabon creamer; instead, I used heavy cream and greatly increased the cinnamon. Therefore, toggle the cinnamon to your tastes. I love using flavored creamers in recipes like this, so I imagine the Cinnabon-branded one or any other would be delicious here, too.
I guess I should make this again to test that theory out. Oh, darn.
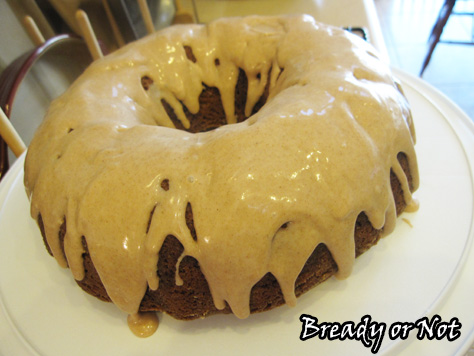
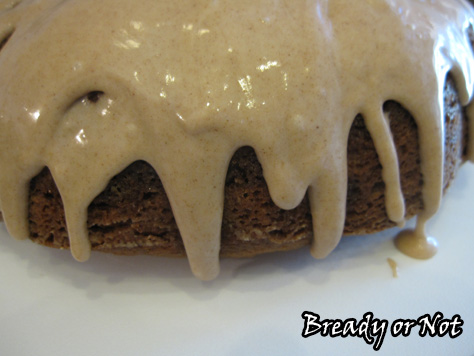
Also, let’s talk about the glaze. Please.
Okay, I really don’t have much to say about the glaze. Sometimes a picture is worth a thousand words.
Modified from Cinnabon Bundt Cake at Shari Blogs.
Bready or Not: Cinnamon Bundt Cake
Ingredients
For the Batter:
- 1 cup brown sugar packed
- 1 cup canola oil
- 1 cup heavy cream OR cinnamon-flavored creamer
- 3 eggs room temperature
- 1 1/2 teaspoon baking powder
- 1/2 teaspoon baking soda
- 1 teaspoon salt
- 1 Tablespoon cinnamon [reduce if using flavored creamer]
- 2 1/2 cups all-purpose flour
For the Streusel:
- 1/2 cup brown sugar packed
- 2 teaspoons cinnamon
For the Glaze:
- 1 1/4 cups confectioners' sugar
- 4-6 Tablespoons heavy cream or cinnamon-flavored creamer
- 1-3 teaspoons cinnamon to preference
Instructions
To make the bundt:
- Preheat oven to 325-degrees. Thoroughly coat a bundt pan with non-stick cooking spray.
- In a mixing bowl, combine the sugar, oil, cream/creamer, and eggs.
- In a separate bowl, sift together the dry ingredients: the baking powder, baking soda, salt, cinnamon and flour.
- Gradually add the flour mix into the wet batter until just combined.
- In another small bowl, mix up the brown sugar and cinnamon for the streusel.
- Pour half of the batter into the greased bundt pan. As evenly as possible, sprinkle the streusel all the way around the batter later. Top it off with the rest of the batter.
- Bake the bundt cake for 45-50 minutes, until it passes the toothpick test. Let it cool for 15 minutes and then carefully tip the cake onto a plate. Transfer it to a wire rack to completely cool.
To make the glaze:
- Once the cake is cool, mix up the glaze until it's at just a pourable consistency. Add the cinnamon to suit your tastes; sample it and check.
- Dribble glaze all over the cake.
Store the cake covered in the fridge.
OM NOM NOM.
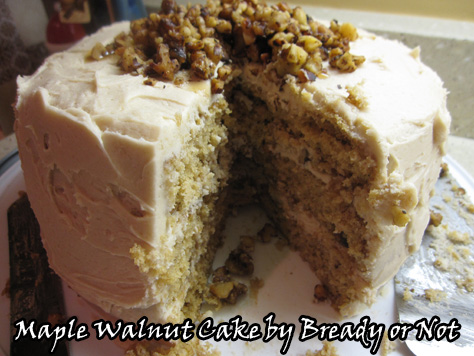
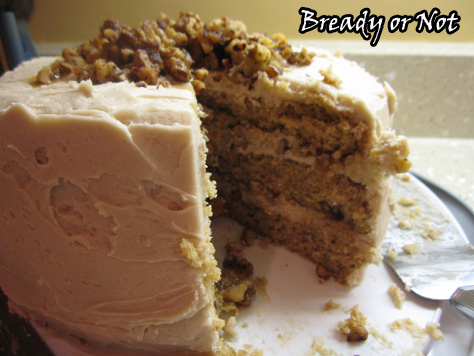
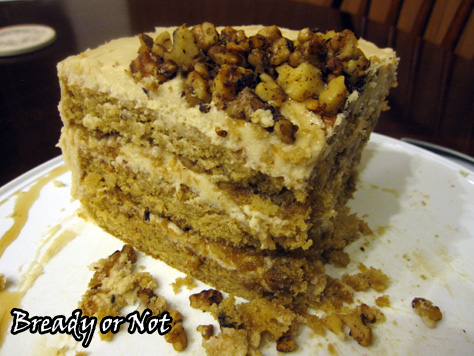
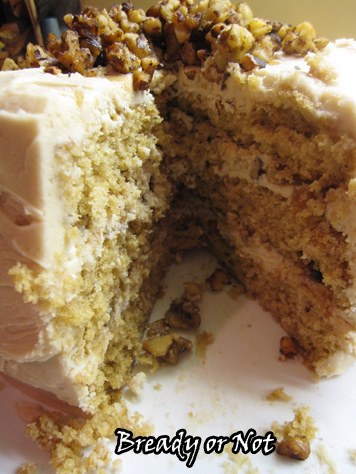
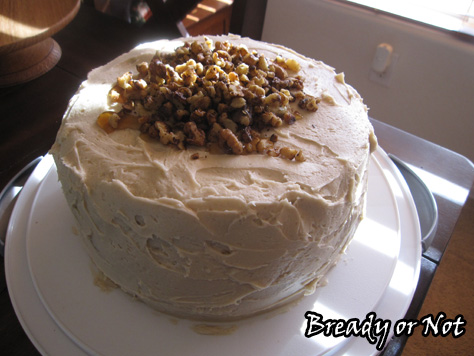
Bready or Not: Maple Walnut Cake
For the week leading into the release of The Clockwork Dagger, I am presenting the most awesome of cakes.
Three layers. Maple infused every which way. Oh yeah, baby.
My one fear was that sweetness of the cake would be overkill like the way Cadbury eggs are to me now. I’m often asked if a recipe can be modified to omit the nuts. In this case, no. The nuts–in taste and texture–do a lot here to balance out the sweetness. They prevent that overkill.
It shouldn’t come as a surprise to anyone that since I love maple, that delight has also worked its way into The Clockwork Dagger. Since the geography in my book is loosely modeled on Western Washington state, it’s only right that the country to the north is likewise based on Canada. Frengia is known for its maple production.
[Hrm. Maybe in a year when the sequel comes out, I should do a maple theme for Bready or Not. There’s an idea! Or maybe no one will notice because I do so much maple already…]
If you love maple as I do, this is your epic cake. Print this out. Make it now, or save it for the holidays. Just bake it up at some point.
Brace yourself for the maple-induced ecstasy.
Modified from Maple Walnut Cake at Taste of Home.
Bready or Not: Maple Walnut Cake
Ingredients
THE CAKE [NOT A LIE]
- 1/2 cup unsalted butter room temperature
- 1-1/2 cups light brown sugar packed
- 3 eggs room temperature
- 1 teaspoon maple flavor
- 2 cups all-purpose flour
- 1 teaspoon baking powder
- 1 teaspoon baking soda
- 1/4 teaspoon salt
- 1 cup buttermilk or sour milk: milk with a tablespoon of lemon juice or vinegar
CANDIED NUTS:
- 1 Tablespoon unsalted butter
- 1-1/2 cups coarsely chopped walnuts or pecans
- 1 Tablespoon maple syrup
- 1/4 teaspoon salt
FROSTING:
- 2 cups unsalted butter room temperature
- 5 cups confectioners' sugar
- 1 teaspoon maple flavor
- 1/4 teaspoon salt
- 1/4 to 1/2 cup half-and-half cream or milk
- 3 + tablespoons maple syrup divided
Instructions
To make the cake:
- Preheat oven to 350°. Use nonstick spray or butter on three 9-inch round cake pans. Cut out rounds of parchment paper for the bottoms of the pans, then grease the paper.
- In a large bowl, cream softened butter and brown sugar. Add the eggs and beat well after each addition. Add the maple flavor.
- In a separate bowl, whisk together the flour, baking powder, baking soda and salt.
- Add the dry ingredients to the creamed mixture, alternating with the buttermilk, until everything is just blended.
- Pour batter into each prepared pan as evenly as you can. Bake for 11-13 minutes or until a toothpick inserted in center comes out clean. Cool in pans for 10 minutes, then gently tip them onto a wire racks. Remove parchment. Cool cake layers completely. [Note: at this point you can even freeze the layers between wax paper, then wrap well in plastic wrap, to assemble the cake days or weeks later.]
To make candied walnuts:
- Grab a small cookie sheet or platter and cover it with aluminum foil. Set aside.
- In a large skillet, melt the tablespoon of butter. Add nuts and stir over medium heat until toasted, about 5 minutes. Watch the heat, as they can burn fast. Stir in the tablespoon maple syrup and salt; stir for 1 minute longer. Spread the nuts on the foil to cool completely.
For frosting:
- In a large bowl, beat the softened butter until creamy. Slowly add in confectioners' sugar, maple flavor, salt and enough cream/milk to reach desired consistency. [If it ends up too wet, add more powdered sugar.]
- Set out your serving platter. Add a few dabs of frosting; this will be like glue to help your bottom layer stay in place.
- Place the cake layer on top. Spread with one cup of frosting. Sprinkle about 1/2 cup of candied nuts over the frosting and then drizzle about a tablespoon of maple syrup.
- Repeat this with the next layer.
- Place the top layer. Frost the very top and sides of cake, then add the remaining nuts and another healthy (ahem) drizzle of maple syrup.
OM NOM NOM and try not to die of sugar coma.
Trade Paperback & eBook
Paperback ISBN: 978-0-06-231384-3
ebook ASIN (Amazon): B00HLIYZ5U
ebook ISBN (Nook): 978-0-06-231385-0
Release: September 16, 2014
Amazon Barnes & Noble Powell’s Books-A-Million Poisoned Pen Changing Hands Mysterious Galaxy
Read More


