Bready or Not: Biscoff-Nutella Ecstasy Bars
Last week I shared Peanut Butter Ecstasy Bars. This week I switch out the peanut butter for a version that tastes even better.
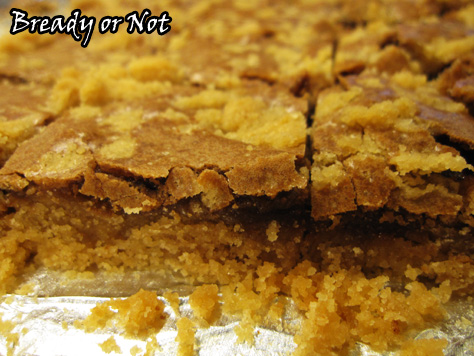
The top and bottom layers use cookie butter (Biscoff, Speculoos, whichever!) while the middle layer uses just a touch of Nutella. That combination is luscious. Cookie dough and chocolate. Guh.
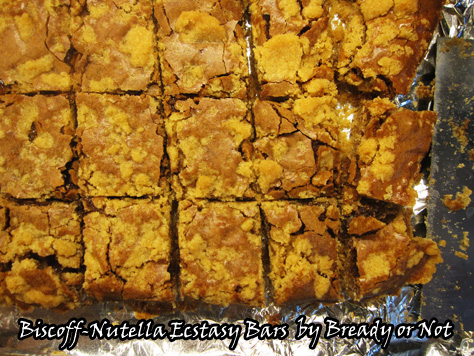
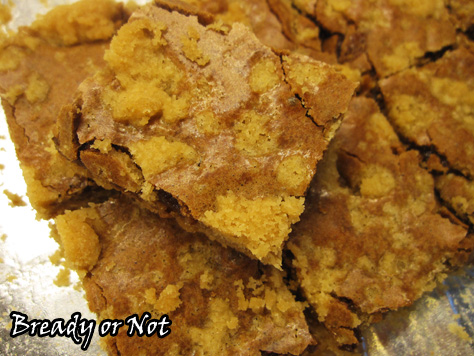
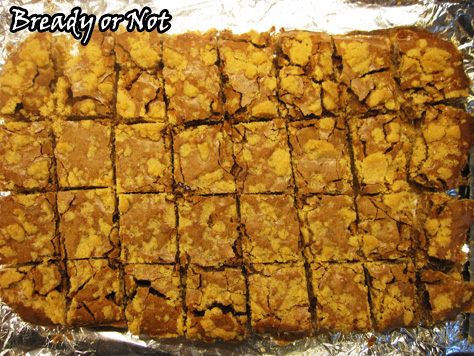
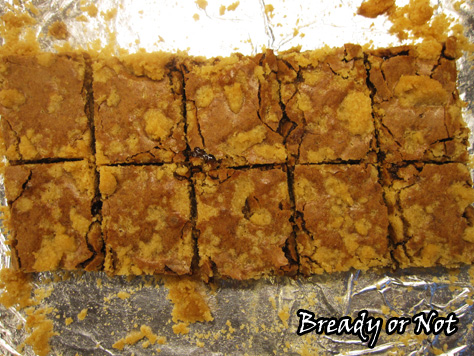
I mentioned before that the peanut butter version can be crumbly, especially the edge pieces. Well, this new variation is even messier. Karmic balance for the extra deliciousness, right? The middle pieces were a touch gooey, even as the edge pieces pretty much shattered as they were cut.
That’s not a bad thing here, though. These pieces are delicious. Lap them up. Save them to top ice cream or yogurt. Just please, don’t let them go to waste.
Mind you, they’ll also go to your waist, but that’s a totally separate dilemma.
Bready or Not: Biscoff-Nutella Ecstasy Bars
Ingredients
Crust:
- 1/2 cup unsalted butter room temperature
- 1/2 cup Creamy Biscoff spread or other cookie butter brand
- 1 1/2 cups white sugar
- 1 teaspoon vanilla extract
- 1 1/2 cups all-purpose flour
Filling:
- 2 eggs room temperature
- 2 Tablespoons Nutella or similar chocolate spread
- 1/2 cup white sugar
- 1/2 cup brown sugar packed
Instructions
- Preheat oven to 375-degrees. Line a 9x13 pan with aluminum foil and apply nonstick spray.
- In a large bowl, mix butter, cookie butter, and sugar. Add the vanilla. Slowly mix in the flour. Set aside about 1 cup of the dough, and firmly press the rest into the prepared pan.
- Using the same bowl, make the filling. Beat together the eggs, Nutella, and two sugars. Spread this over the unbaked crust. Sprinkle the reserved dough over the top.
- Bake for 20 to 25 minutes, until the dough it set and golden. Cool completely in pan. Slice into bars. The bars may be crumbly, especially the edge pieces, but every bit is delicious. Keeps for at least 3 days in a sealed container.
- OM NOM NOM!
Read More
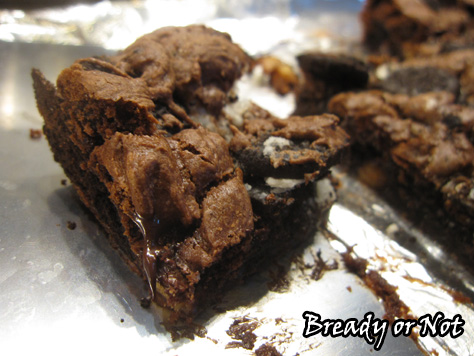
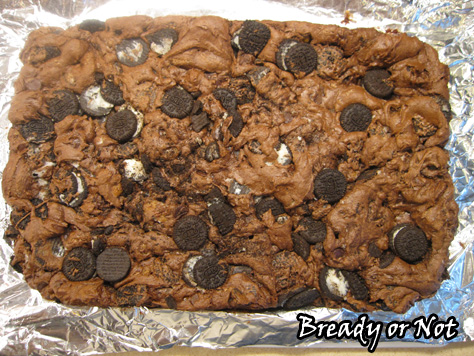
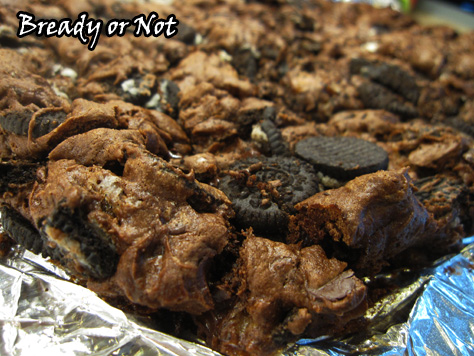
Bready or Not: Oreo and Caramel Cake Batter Brownies
If you need a fast chocolate fix, I have the recipe for you.
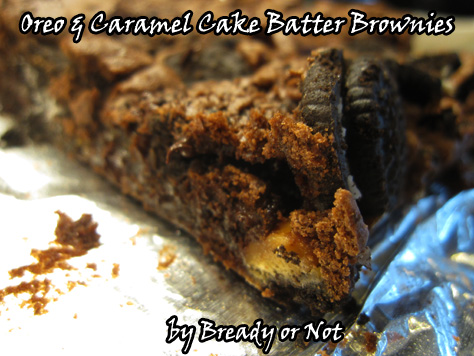
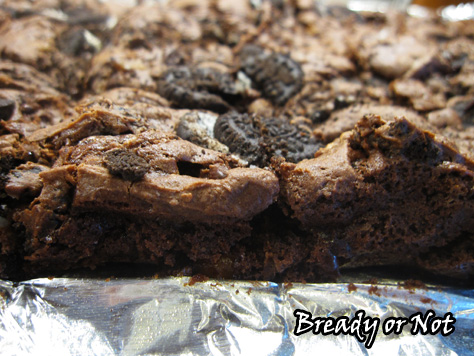
This uses cake mix as a base for decadent brownies. If you don’t have caramels, chop up some candy bars. Use full-size Oreos or break up some other kind of cookies. Just let caramel and chocolate, in some form, get cozy.
After you combine everything, this bakes up in about 20 minutes. It smells like heaven, too. A heaven oozing with chocolate.
These bars end up chewy and mild. If you want deeper flavor, use dark chocolate.
This is a Bready or Not Original, too. I modified it from my Golden Oreo Cake Batter Blondies.
Bready or Not: Oreo and Caramel Cake Batter Brownies
Ingredients
- 1 box devil's food cake mix
- 1 teaspoon espresso powder optional but awesome
- 1/4 cup canola oil
- 1 egg room temperature
- 1/2 cup milk or half & half
- 1 cup chocolate chips
- 5 ounces Caramel Bits or chopped caramel
- 8 ounces Mini Oreos or chopped Oreos, some reserved for top
Instructions
- Preheat oven to 350-degrees. Line a 9x13 pan with foil and apply nonstick spray or butter.
- Combine first three ingredients in a large bowl. Add egg and milk. Fold in the chocolate chips, caramel pieces, and Mini Oreos.
- Pour into prepared baking pan. Add the reserved Oreos on top. Bake for 20 minutes, or it until passes the toothpick test.
- Allow to set for at least 30 minutes before cutting into squares.
- OM NOM NOM!
Read More
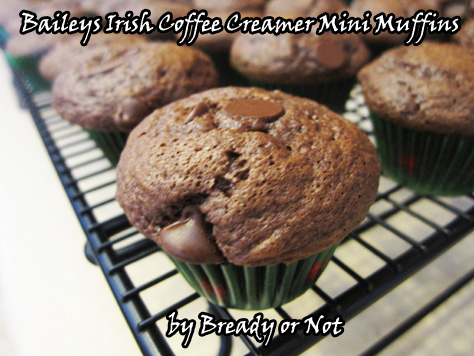
Bready or Not: Baileys Irish Coffee Creamer Chocolate Mini Muffins
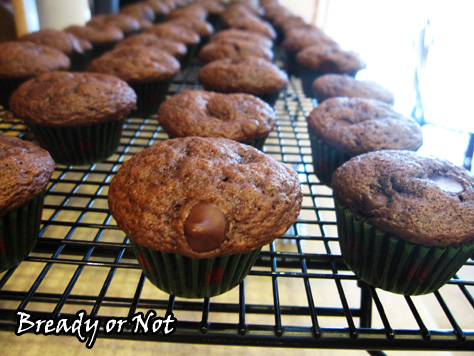
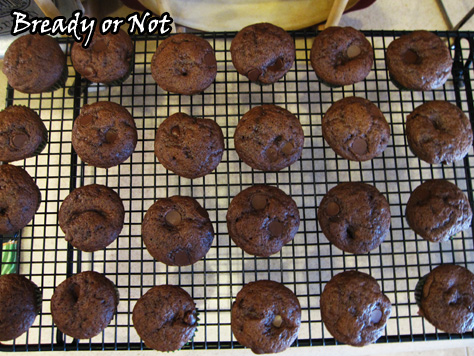
I’m not ashamed to use cake mix every now and then. It’s fast. It can make delicious things. In this case, about 70 delicious things.
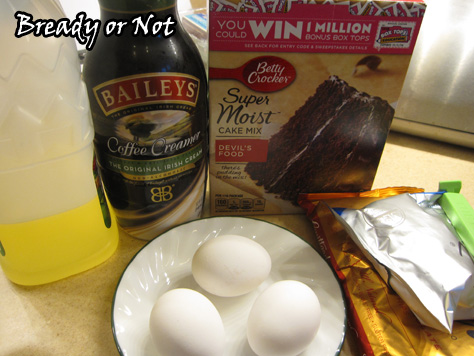
I doctored this recipe to use nonalcoholic refrigerated Baileys Coffee Creamer instead of the hard stuff, and I also adapted it for mini muffins. Loads of them.
These are bite-sized dollops of chocolate: chocolate cake dappled with chocolate chips, with the added smoothness of Baileys. Plus, it’s fast to whip up, especially if you have more than one mini muffin pan!
Since I bought a large container of coffee creamer (hey, it was a good sale, and I needed St. Patrick’s recipes, so…), you’ll see more recipes with Baileys featured the next two weeks as well!
Modified from Couponing & Cooking.
Bready or Not: Baileys Irish Coffee Creamer Chocolate Mini Muffins
Ingredients
- 1 box chocolate cake mix
- 3 eggs
- 1/2 cup vegetable oil
- 1 cup Baileys Irish Coffee Creamer nonalcoholic
- 1 cup semi-sweet chocolate chips or milk chocolate chips, + additional for tops, if desired
Instructions
- Prep your mini muffin pans(s) by placing liners and dousing with nonstick spray. Note that the recipe makes about 70 mini muffins. Preheat the oven at 350-degrees.
- In a large bowl, mix together the cake mix, eggs, oil, and Baileys Creamer. Once that's mixed to show no clumps, add the chocolate chips. The batter will be a little runny.
- A teaspoon scoop makes it easy to dole out batter into the liners--but don't fill to the top! They will grow as they bake. Top with a few extra chocolate chips, if desired.
- Bake for 10 to 12 minutes, until the tops are springy and the innermost muffins pass the toothpick test. Use a fork to pop them out and onto a rack to cool.
- Store in a sealed container in the fridge or at room temperature.
- OM NOM NOM!
Read More
Bready or Not: Dulce de Leche Brownies
Right before Valentine’s Day, I like to share new brownie or chocolate recipes. Today I’m posting a recipe that was originally at the Holy Taco Church: Dulce de Leche Brownies.
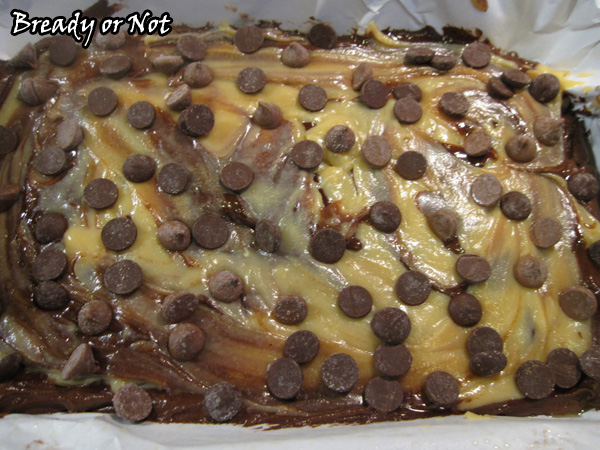
This is a dangerous recipe, and I’m not just talking calories. Sweetened condensed milk becomes lava after mere minutes in the microwave. Make this recipe with care.
I have had this recipe for ages–I clipped it off a box of Challenge Butter. Mind you, I live in Arizona, so I can easily buy ready-made canned Dulce de Leche at any store, but I wanted to go hardcore to make this accessible to cooks around the world.
There is a warning in the original recipe to watch the bowl closely. This is legit. After the 3rd cooking burst in the microwave, I found my bowl had runneth over. Sweetened condensed milk everywhere. HOT, sticky stuff. Stuff that burns. Yeah.
I cleaned up the microwave and the outside of the bowl as best I could, and from then on, I did 50-60 second cooking bursts, and even then I stopped it early a few times.
Was it worth the clean-up and risk of 3rd degree burns? HECK YEAH. Brownies?! Hello!
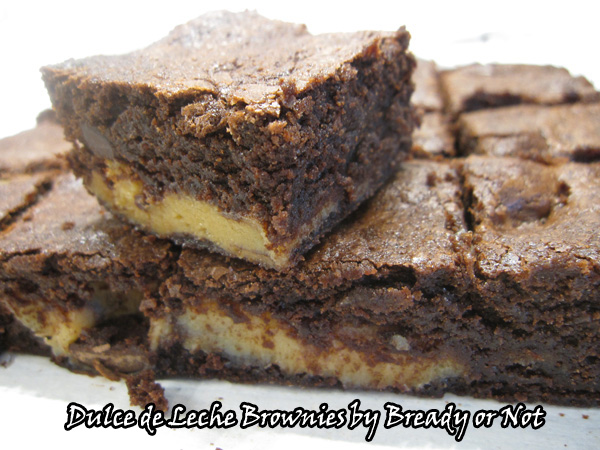
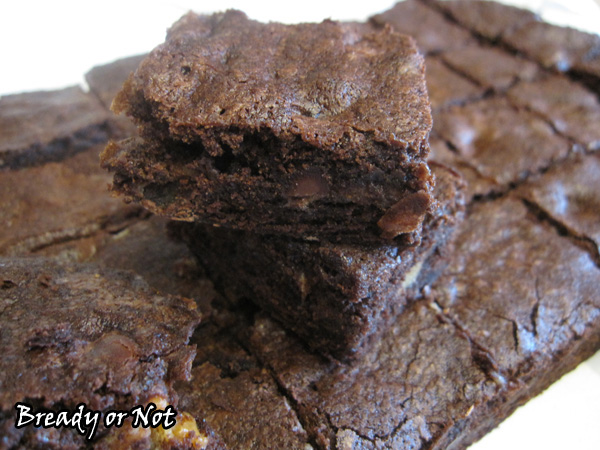
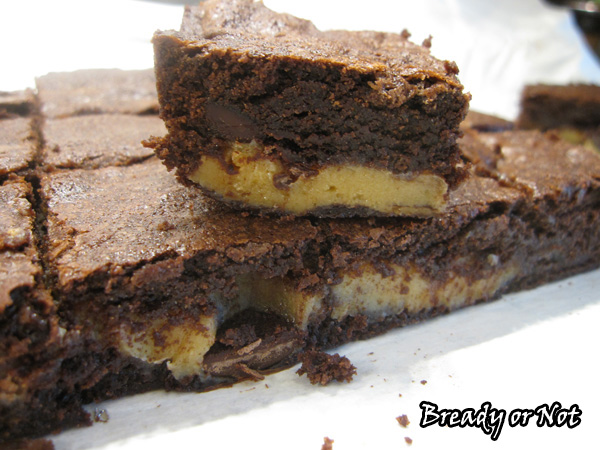
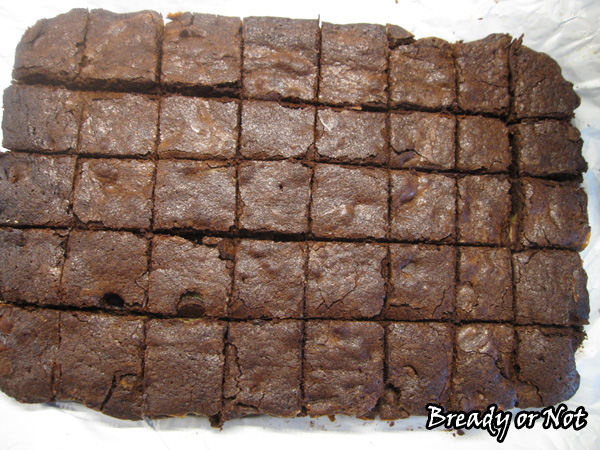
This makes a 9×13 pan of luscious, fudgy brownies. If you like’em cakey, you’ll have to go elsewhere. Sorry. The dulce de leche isn’t a super-thick layer. You can’t even see it in most of the bars, but you taste it. It’s ninja dulce de leche.
Subtle. Sweet. Potentially harmful to your health while preparing and while eating.
Modified from recipe from Challenge Butter.
Bready or Not: Dulce de Leche Brownies
Ingredients
Dulce de Leche
- 14 oz can sweetened condensed milk
- 1 Tablespoon corn syrup
- 2 Tablespoons unsalted butter
Brownies
- 1 cup unsalted butter 2 sticks, softened
- 11/4 cups white sugar
- 1/2 cup brown sugar packed
- 4 eggs room temperature
- 2 teaspoons vanilla extract
- 1 cup all-purpose flour
- 1 teaspoon espresso powder optional but awesome
- 3/4 cup unsweetened cocoa powder sifted
- 1/2 teaspoon salt
- 1 recipe Dulce de Leche above (or use canned Dulce de Leche)
- 1/2 cup chocolate chips
Instructions
To make Dulce de Leche
- (Note that you can buy canned Dulce de Leche on the Hispanic foods aisle in many grocery stores and skip this step! You can also make it in a crock pot or stove--look up these other methods online. Microwave is faster, but has some danger involved.)
- Combine sweetened condensed milk and corn syrup in a LARGE microwave safe bowl. You need the bowl large because the stuff will start to boil like an erupting volcano.
- Microwave on 50% power, stopping and stirring every 2 minutes. Start watching VERY CAREFULLY about the 5 minute point. It will start to boil over very quickly. Start doing 1 minute increments, stirring well in between. At the 10 to 12 minute point, it will thicken and look caramel-colored rather than white. It might look curdled but that goes away when you stir. Add in the butter and stir until it's melted. Set aside.
To Make the Brownies
- Preheat oven to 325-degrees F. Line a 9x13 pan with foil and butter it or spray it with Pam.
- In a large bowl, cream the butter and sugars until fluffy. Beat in eggs and vanilla. Combine flour, espresso powder (if using), cocoa, and salt. Add dry ingredients into creamed mixture; mix until well blended.
- Spread about 1/2 of mixture in the prepared pan. This will just cover the bottom. Drop spoonfuls of Dulce de Leche evenly over this layer and smooth out. Sprinkle chocolate chips all over. Cover with remaining brownie batter; an offset spatula is great to smooth it to the edges.
- Bake 35 to 40 minutes. Cool and cut into squares.
- OM NOM NOM!
Bready or Not: Peppermint-Brownie Pie
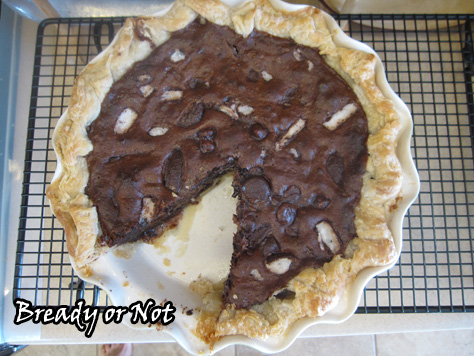
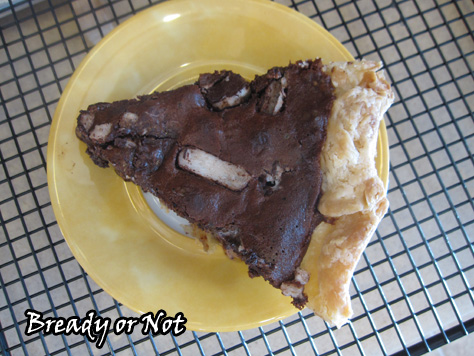
You could just make normal brownies, sure, but it’s an indisputable fact that everything is better in pie form.
Back in March, we were in Tucson for the Book Festival on Pi Day. To my amazement, pie was hard to find. We ended up driving a good distance to a Village Inn, where they had already run out of most pies. Our selections ended up being fine, but my husband was tormented by a tabletop ad for a mint brownie pie that was not available.
“Don’t worry,” I told him. “I’ll make one for you.”
This ended up being more of a challenge than I expected. I ended up looking at a number of recipes until I found a good base recipe to modify. I wanted a strong mint flavor and for it to not necessarily LOOK Christmassy. I wanted a pie that could be made year-round.
I already had some York Patties stashed away, courtesy of post-holiday clearance sales, so I had the very candy to mix into my recipe, too.
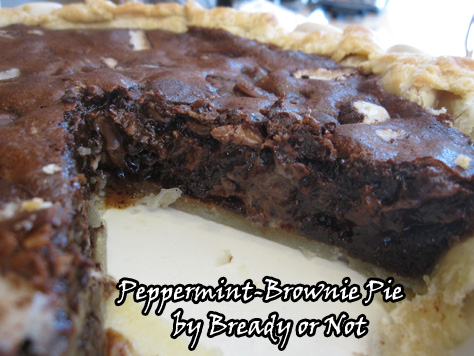
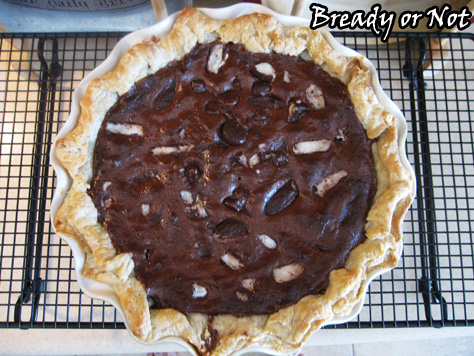
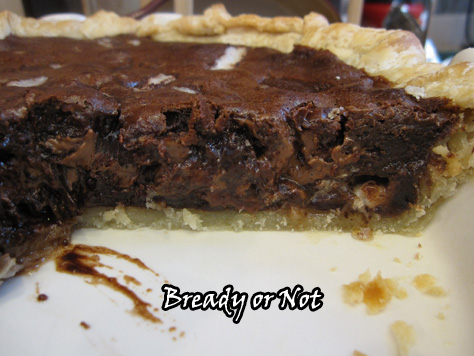
The end result was peppermint-brownie perfection. I used my homemade pie crust (shown below as well) and was pleased that the brownie contents didn’t make the crust get soggy or hard.
If you love mint brownies, if you love pie, welcome to your new bliss.
Modified from Culinary Concoctions by Peabody.
Bready or Not: Basic Pie Crust
Ingredients
- 3 cups all-purpose flour
- 1 Tablespoon sugar
- 1 teaspoon fine salt
- 1 cup unsalted butter 2 sticks, cold, cut into cubes
- 3/4 cup ice water
Instructions
- Make dough hours in advance or the night before. In a medium mixing bowl, whisk together the flour, sugar, and salt. Add in the cold butter cubes, and either use a pastry blender or pulse the ingredients in a food processor until the butter is pea-sized.
- Pour in the cold water and pulse/mix together until the dough forms a loose ball. I like to use my hands at this point. The dough may be sticky, but it will firm up well.
- Pour dough onto a floured surface. Divide into two balls and fallen them into discs. Wrap each disc in parchment paper, then in plastic wrap. Refrigerate at least one hour before placing in pie dish, or freeze for up to 3 months.
- Roll out the refrigerated dough into a 12-inch round. Press it into a 9-inch dish, trimming the excess and pinching the edges. Wrap loosely with plastic wrap and freeze at least two hours before using, or keep frozen up to three months.
Bready or Not: Peppermint-Brownie Pie
Ingredients
- 14 oz sweetened condensed milk
- 1/4 cup unsalted butter half stick, cut into pieces for quicker melting
- 1/2 cup unsweetened baking cocoa sifted
- 3 eggs room temperature
- 3 Tablespoons all-purpose flour
- 2 tsp espresso powder optional but awesome
- 1 tsp vanilla extract
- 1/2 tsp peppermint extract
- 1 cup milk chocolate chips
- 1 cup York Peppermint Patties chopped
- 1 pie shell make your own or use a store bought crust
Instructions
- Set out the pie crust atop a cookie sheet. Chop up the York patties and place half of them in the crust.
- In a medium sauce pan, place the milk, butter, and cocoa powder. Warm on low heat. Stir occasionally so the mixture doesn't stick and scorch. Remove from heat when all ingredients are melted and mixed together fully. Set aside to cool for 15 minutes.
- Preheat the oven at 350-degrees.
- In a large bowl, lightly beat the three eggs. Temper them by adding a couple spoonfuls of the chocolate mixture and mixing. Do this three times. Finally, stir the remaining chocolate into eggs.
- Add the flour, espresso powder, vanilla extract, and peppermint extract. Fold in chocolate chips.
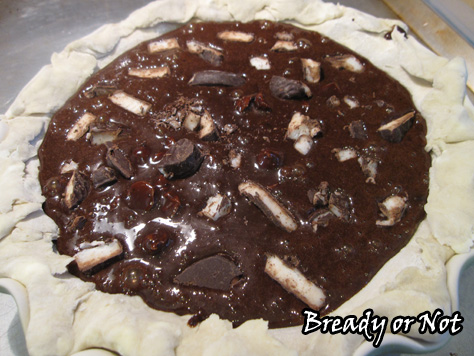
- Pour brownie batter into the pie shell and then top with remaining chopped York Patties.
- Bake for 30-40 minutes on the cookie sheet, until a knife in the center comes out clean. Let set to cool for several hours. Store covered with foil in the fridge.
- OM NOM NOM!
Read More
Bready or Not: Cocoa Cookies
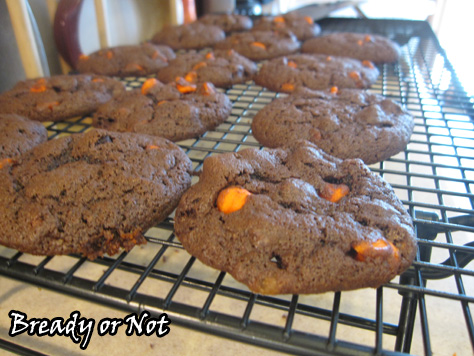
In the mood for chocolate? Here you go. These cookies are like mini brownies packed with cocoa and chocolate chips!
I used Nestle Tollhouse chips in Halloween colors to really set off the lovely dark dough. It helps to show how much chocolate is loaded in these babies, too.
There is nothing healthy about these. Nothing. You have butter, sugar, cocoa, and loads of chocolate chips. It’s the first week of October and I have already sabotaged all your healthy eating plans for the season.
Sorry/not sorry.
This is modified from Chocolate Drop Cookies at King Arthur Flour.
Bready or Not: Cocoa Cookies
Ingredients
- 1/2 cup unsalted butter 1 stick
- 1/2 cup white sugar
- 1/3 cup brown sugar packed
- 1/3 cup Dutch-process cocoa sifted
- 1/2 teaspoon salt
- 1/4 teaspoon baking soda
- 1/2 teaspoon baking powder
- 1 teaspoon vanilla extract
- 1 large egg room temperature
- 2 Tablespoons milk or almond milk
- 1 cup + 2 tablespoons all-purpose flour
- 1 teaspoon espresso powder optional; for depth of flavor
- 2 cups chocolate chips 1 bag
Instructions
- Preheat the oven to 375. Lightly grease a baking sheet or line with parchment.
- Beat together the butter, sugars, cocoa powder, salt, baking soda, baking powder, and vanilla extract until well blended. Scrape sides of bowl.
- Add the egg and milk, beating until smooth, then the flour and espresso powder (if using). Add the chocolate chips last.
- Use a teaspoon scoop to set dollops of dough on the cookie sheet. Don't set them too close together.
- Bake cookies for 9 to 11 minutes, until they've lost their sheen. Cool on pan for a few minutes and then move to rack.
- OM NOM NOM!
Read More


