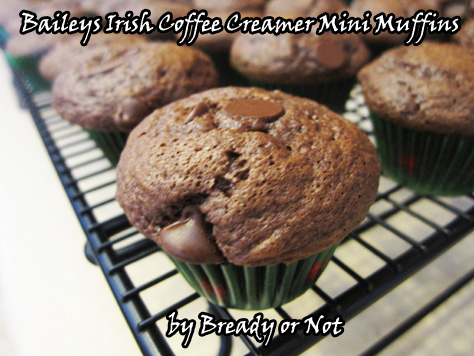
Bready or Not: Baileys Irish Coffee Creamer Chocolate Mini Muffins
I’m not ashamed to use cake mix every now and then. It’s fast. It can make delicious things. In this case, about 70 delicious things.
I doctored this recipe to use nonalcoholic refrigerated Baileys Coffee Creamer instead of the hard stuff, and I also adapted it for mini muffins. Loads of them.
These are bite-sized dollops of chocolate: chocolate cake dappled with chocolate chips, with the added smoothness of Baileys. Plus, it’s fast to whip up, especially if you have more than one mini muffin pan!
Since I bought a large container of coffee creamer (hey, it was a good sale, and I needed St. Patrick’s recipes, so…), you’ll see more recipes with Baileys featured the next two weeks as well!
Modified from Couponing & Cooking.
Bready or Not: Baileys Irish Coffee Creamer Chocolate Mini Muffins
Ingredients
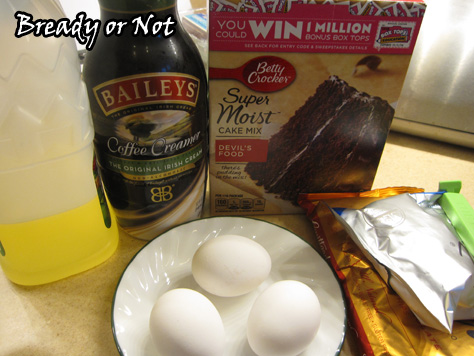
- 1 box chocolate cake mix
- 3 eggs
- 1/2 cup vegetable oil
- 1 cup Baileys Irish Coffee Creamer nonalcoholic
- 1 cup semi-sweet chocolate chips or milk chocolate chips, + additional for tops, if desired
Instructions
- Prep your mini muffin pans(s) by placing liners and dousing with nonstick spray. Note that the recipe makes about 70 mini muffins. Preheat the oven at 350-degrees.
- In a large bowl, mix together the cake mix, eggs, oil, and Baileys Creamer. Once that's mixed to show no clumps, add the chocolate chips. The batter will be a little runny.
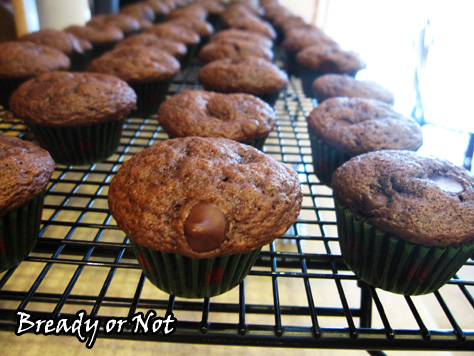
- A teaspoon scoop makes it easy to dole out batter into the liners--but don't fill to the top! They will grow as they bake. Top with a few extra chocolate chips, if desired.
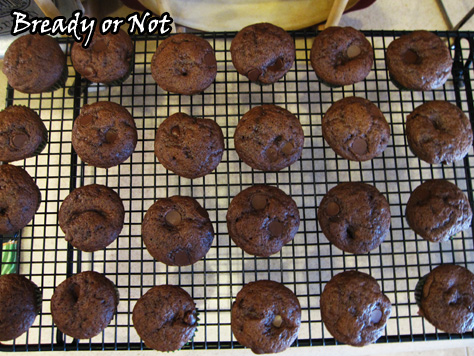
- Bake for 10 to 12 minutes, until the tops are springy and the innermost muffins pass the toothpick test. Use a fork to pop them out and onto a rack to cool.
- Store in a sealed container in the fridge or at room temperature.
- OM NOM NOM!
Read More
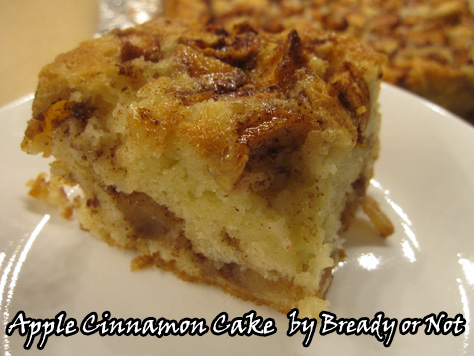
Bready or Not: Apple Cinnamon Cake
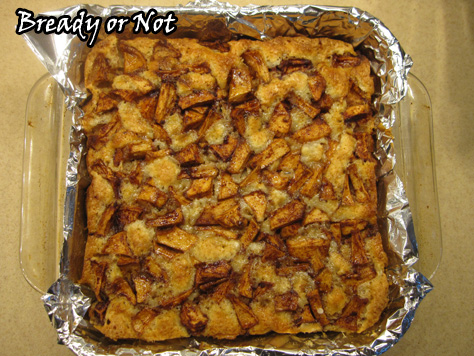
I mention every so often that apple pie is probably the favorite thing of both my dad and my husband. This apple cake now rates right up there, too.
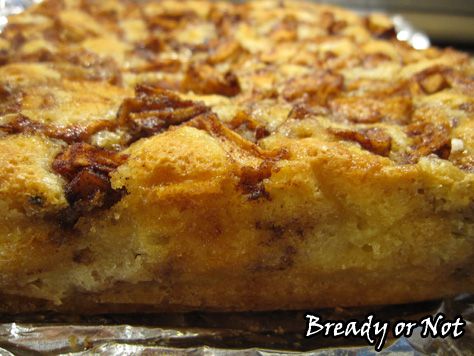
This cake is easy to put together. The most time-consuming thing is peeling and chopping the apples. The cake bakes up dense, soft, and full of cinnamon and apple flavor.
One of the great things about this recipe is that it’s easy to parcel out leftovers–if you have any. Cut the cake into pieces, freeze each separately, wrap in waxed paper, and place in freezer bags or plastic containers. Thaw pieces in fridge, and eat them cold or warm up in the microwave or oven (the latter being the family preference).
This apple cake is great whenever. Serve it for breakfast, snack, or dessert. It’ll make your belly happy any time of day.
Modified from Apple Squares at Julia’s Album.
Bready or Not: Apple Cinnamon Cake
Ingredients
- 3 medium apples peeled, cored, & chopped into small chunks
- 1 teaspoon cinnamon heaping
- 1/4 cup brown sugar packed
- 1 1/4 cup all-purpose flour
- 1 teaspoon baking powder
- 1/8 teaspoon salt
- 1 cup white sugar
- 1/3 cup vegetable oil
- 1/3 cup sour cream or Greek yogurt
- 1 teaspoon vanilla extract
- 2 eggs room temperature
Instructions
- Preheat oven to 350-degrees. Line a 9×9 square pan with foil and apply butter or nonstick spray.
- In a medium bowl, toss peeled and chopped apples with cinnamon and brown sugar.
- In a separate bowl, combine the flour, baking powder, and salt.
- In a larger mixing bowl, whisk together the white sugar, vegetable oil, sour cream/yogurt, and vanilla extract until it's smooth. Add the eggs.
- Add the dry ingredients into the wet ingredients until everything is just mixed.
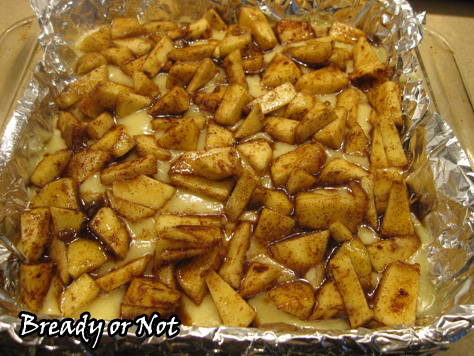
- Pour half the batter into the ready pan. Sprinkle half the apples evenly over the top. Pour the remaining batter, smooth it out, then add the remaining apples.
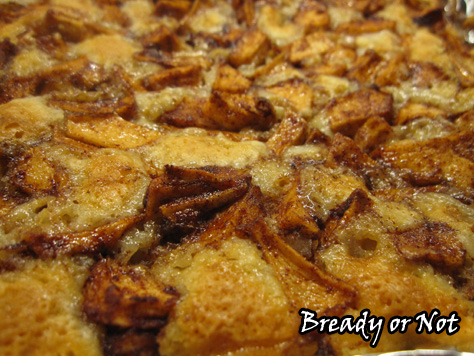
- Bake for about an hour. It will pass the toothpick test when done. Cool completely and store covered in the fridge.
- OM NOM NOM!
Read More
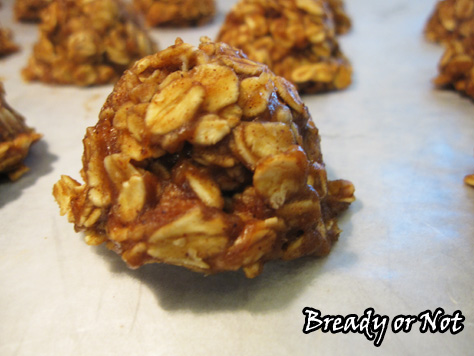
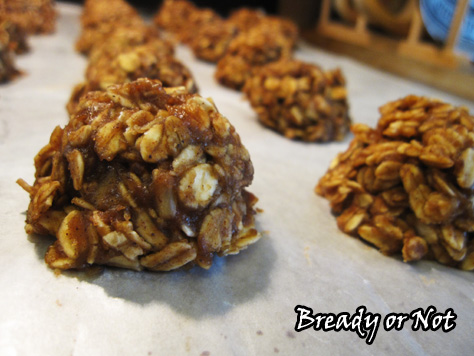
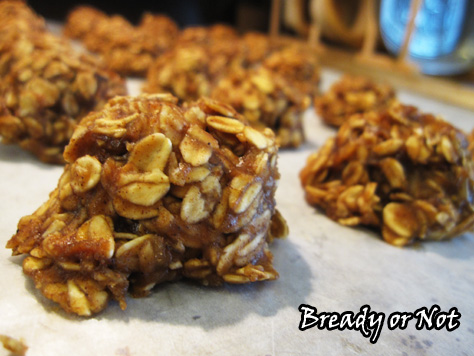
Bready or Not: Healthy No-Bake Maple Breakfast Cookies
Happy New Year! Let’s make a healthy start. It’s no secret I love maple. This particular recipe has been a huge breakfast favorite of mine for the past six months, along with my other Healthy Breakfast Cookies.
These have another advantage, too… other than stronger maple flavor. They are fast to prepare. Even with my slow stovetop, I can whip these up and have them cooling in about 20 minutes.
Plus, these are fantastic to make and freeze! Since I eat three for breakfast, that means I can have a week’s worth of breakfast stashed away for now or later.
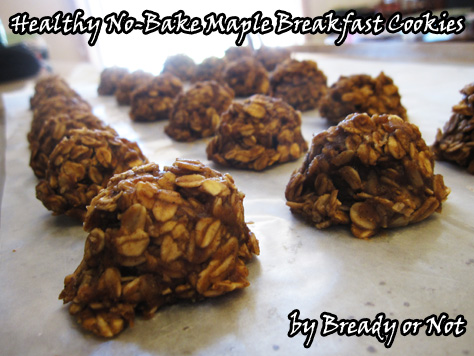
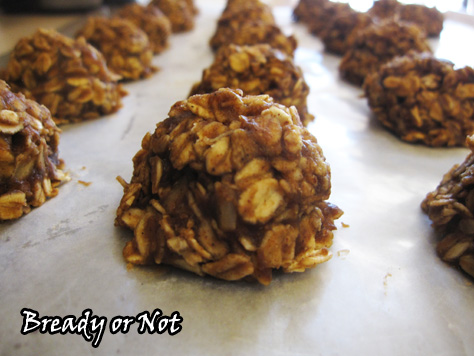
These are similar to the Maple Nut Butter No-Bakes I posted a while back, but this breakfast version is a heck of a lot healthier. No sugar. No butter. I like the taste more, too. It has a great, mild maple and nut butter flavor to it, and the oats soak just enough so that the cookies are perfectly chewy.
Customize these all kinds of ways, too. Use apple butter, pumpkin butter, etc. I’ve made them with cashew butter and almond butter, and combinations thereof. You could certainly use other kinds of milk, too, but I stick with unsweetened vanilla almond milk.
Greatly modified from Cookin’ Canuck.
Bready or Not: Healthy No-Bake Maple Breakfast Cookies
Ingredients
- 2 1/2 cups old-fashioned rolled oats
- 1 tsp vanilla extract
- 1/2 - 1 tsp maple flavor to preference
- 1/2 cup apple butter or other fruit butter
- 1/2 cup + 2 Tb almond milk
- 1/2 cup almond butter or other nut butter
- 1/4 cup + 2 Tb pure maple syrup
- sprinkle salt
- 1/2 cup pepitas or other seeds/nuts, optional
Instructions
- Measure out the oats and the two extracts, keeping them separate, and have ready near the stove. Prepare a large baking sheet with full coverage of wax paper.
- In a medium saucepan, mix together the apple butter, almond milk, maple syrup, and salt. Heat on medium, stirring often.
- After about ten minutes, the mixture will thicken; cook it at that level for another minute or two. If you have a candy thermometer, this thickening starts at about 180-degrees; that few minutes will take it to 200-degrees, and make sure it gets no hotter than that. Remove the pot from heat.
- Stir in the oats followed by the two extracts. Add pepitas or nuts, if desired. Stir until everything is covered.
- Use a tablespoon scoop to dole out cookies onto the prepared wax paper. This will be about 20 cookies or about 29 if seeds/nuts are added. Once they are all scooped, use your fingers to gently press in stray oats.
- Let cool for about 30 minutes. They can be kept sealed at room temperature but taste even better from the fridge; store between layers of wax paper. They can also be frozen.
- OM NOM NOM!
Bready or Not Guest Lawrence M. Schoen with Cold Porridge for Anthropomorphic Elephants
I’m happy to welcome Lawrence M. Schoen as the final Bready or Not guest for 2015! Lawrence is a good friend, a Klingon linguist, and is about ready to burst in joy because his novel is out from Tor this week. Barsk features anthropomorphic elephants in space. How cool is that? Lawrence, quite appropriately, is here today with a recipe that may be enjoyed by such wayfaring pachyderms.
Cold Porridge suitable for Anthropomorphic Elephants
 There’s not a lot of cooking going on in my novel, Barsk: The Elephants’ Graveyard. There’s a fair amount of eating, but since the main characters are anthropomorphic elephants living in a rainforest, most of what they eat is in a raw state — leaves, assorted grains and grasses, fresh and dried fruit.
In an earlier draft of the novel, I had a scene where Jorl, my protagonist, is visiting another planet, one inhabited by several different species/races of uplifted animals but which hasn’t seen an elephant in a millennium. In that scene, Jorl’s doing a signing at a bookstore and a helpful clerk brings him a large mug and a tureen of vanilla cocoa he can presumably refill it from. To the horror of everyone around him, Jorl dips his trunk directly in the tureen and empties it in one go. I miss this scene and I’m hoping to find a home for it one day. More importantly for this blog, I thought I had invented the idea of blending vanilla in with hot chocolate (which I had been doing for years by adding vanilla extract). Imagine my surprise when I saw you could buy this as a pre-packaged flavor.
But in terms of an actual recipe from the book, let’s talk about “cold porridge.” The first anthropomorphic elephant we meet in the book is Rüsul, and he’s on a raft on the ocean sailing off to his death. Along with the fruit and grasses included in his provisions, there’s mention of grain for making cold porridge. It’s worth noting that it’s almost always raining on Barsk, which is why a hot meal is complicated (not that making a fire on a raft would be a good idea even if it were easier). There are many variations on this, depending on what fruits you want to use, whether or not you choose to go with yogurt or coconut milk, and so on. Here’s the one I personally like best:
Ingredients:
1/2 cup of rolled oats
1 cup unsweetened coconut milk
1 sliced and chopped banana
1 pinch of salt
2 tablespoons unsweetened dried coconut
1 tablespoon sliced almonds
1/4 teaspoon vanilla extract
Instructions:
Blend everything — except the banana! —together. Ideally, you want to put this into a sealed container and shake it furiously. Add the banana bits and repeat the blending/shaking. Then put the whole thing in the refrigerator overnight. By morning, it will have all set, and you’ll have a delicious cold porridge to start your day or in case any anthropomorphic elephants happen by.
 Lawrence M. Schoen holds a Ph.D. in cognitive psychology, has been nominated for the Campbell, Hugo, and Nebula awards, is a world authority on the Klingon language, operates the small press Paper Golem, and is a practicing hypnotherapist specializing in authors’ issues.
His previous science fiction includes many light and humorous adventures of a space-faring stage hypnotist and his alien animal companion. His most recent book, Barsk, takes a very different tone, exploring issues of prophecy, intolerance, friendship, conspiracy, and loyalty, and redefines the continua between life and death. He lives near Philadelphia, Pennsylvania with his wife and their dog
Read More
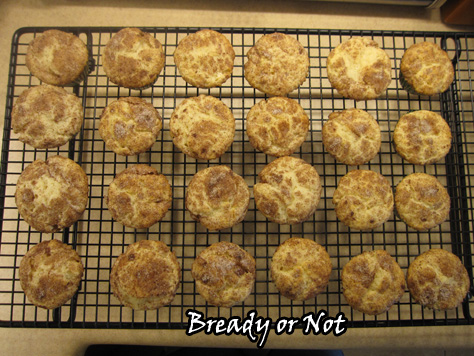
Bready or Not: Snickerdoodle Muffins
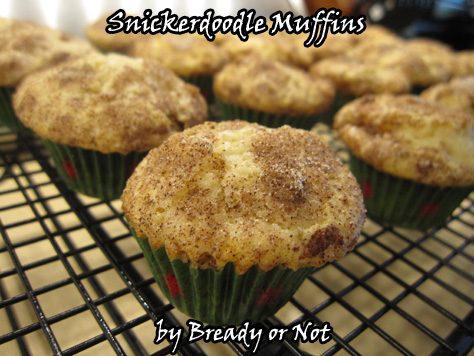
Let’s end the year on a sweet note! How about some Snickerdoodle Muffins for breakfast or dessert?
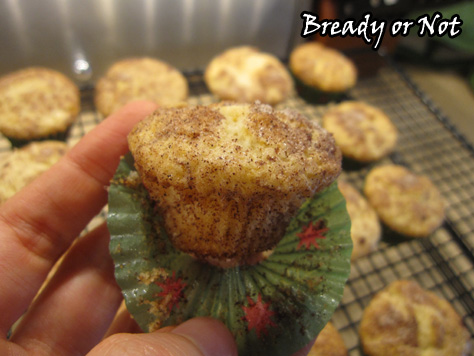
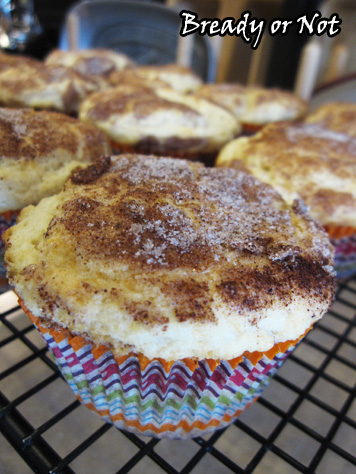
These things taste and look just like the cookie version. From straight overhead, they even look like cookies!
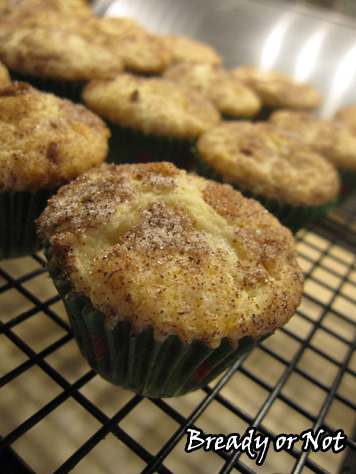
The muffin texture is light and fluffy. This is because the butter and sugar are beaten to fluffiness, and then the sour cream creates tenderness without any negative impact on taste. The dough is thick enough to be rolled in cinnamon sugar.
I have made this as normal muffin size and as mini muffins. Both are fabulous and freeze well for later eating, too. Unless you plan to eat them the first day, do store them in the fridge. At room temperature, after two days they go really spongy and soft, but they can be saved by sticking them in the fridge or freezer.
Many of the sweets I make go with my husband to work, but not these. He adores Snickerdoodles. These are all for him.
Heavily modified from Rincon-Cocina.
Bready or Not: Snickerdoodle Muffins
Ingredients
- 1/2 cup unsalted butter 1 stick, room temperature
- 1/2 cup white sugar
- 1 teaspoon vanilla extract
- 1 egg room temperature
- 1 cup + 2 Tablespoons all-purpose flour
- 1/2 teaspoon baking soda
- 1/2 teaspoon baking powder
- 1/2 teaspoon cream of tartar
- 1/4 teaspoon nutmeg
- 1/2 cup + 2 Tablespoons sour cream
Topping
- 1/3 cup white sugar
- 1/2 Tablespoon cinnamon
Instructions
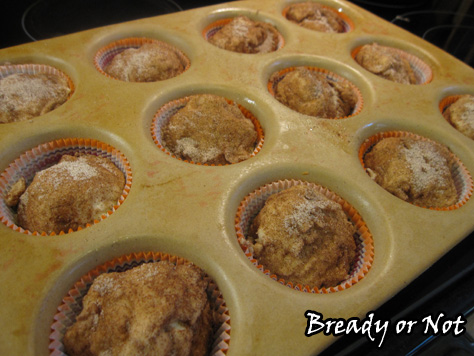
- Preheat oven at 350-degrees. Prepare a 12-cup muffin tin or 24-cup mini muffin tin by adding liners and spraying them with Pam.
- With a mixer, cream together the butter and sugar for about three minutes, until it's light and fluffy. Add the egg.
- In a separate bowl, sift together the flour, baking soda, baking powder, cream of tartar, and nutmeg.
- Take turns adding the flour mix and the sour cream to the butter-sugar mix until everything is just combined.
- Prepare a bowl with the topping sugar and cinnamon. Use a 1/4 cup or scoop for large muffins or a teaspoon scoop for mini muffins, and dole out a ball of batter into the topping mix. Roll it to cover it, then transfer the ball to the prepared muffin tin.
- Bake large muffins for 21-24 minutes; bake mini muffins at 12-14 minutes. Do a toothpick test to ensure doneness. Let muffins cool in tin for about 10-15 minutes, then use a fork to gently pry them out to set on a rack to finish cooling.
- Note that muffins keep best in the fridge. At room temperature, they will go very soft after about two days, but can be revived by being popped in the fridge. Muffins can be frozen for an extended time, but remember to remove the liners before freezing.
- OM NOM NOM!
Read More
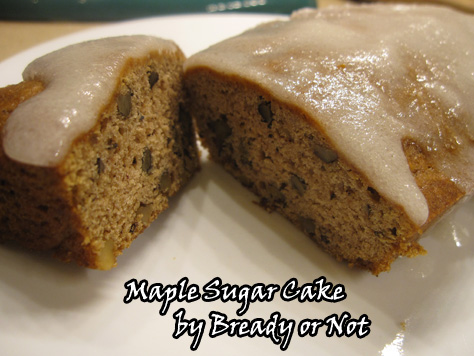
Bready or Not: Maple Sugar Cake: A Clockwork Dagger recipe
Maple is one of my favorite flavors. It’s also a flavor that is often mentioned in my Clockwork Dagger books, especially in connection with the northern kingdom of Frengia.
My new Clockwork Dagger novella “Wings of Sorrow and Bone” follows an important minor character from Clockwork Crown: Rivka. Her mother was Frengian and a baker, and teenaged Rivka is also a baker when you meet her in the book.
“Wings of Sorrow and Bone” begins soon after the events in Clockwork Crown. Rivka now lives in Tamarania City with her grandmother. Instead of running a bakery, she is pursuing her dream of becoming a master mechanist… but maple-flavored goods are still a major subject of nostalgia. They make her think of her old home, and her mama.
I looked around online for recipes that I thought would suit the more rustic world of my books. I found a maple sugar cake recipe
at The Kitchy Kitchen and decided to make some adaptions. I wanted something that would work for gift-sized loaf cakes.
Maple sugar is the one extravagant ingredient, but it can now be bought for a decent price on Amazon.com–heck, you can even subscribe and get it cheaper! A little maple sugar goes a long way, too. It’s potent stuff.
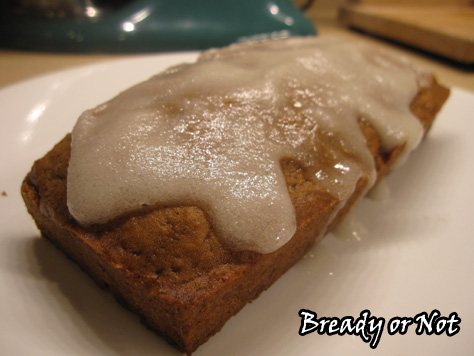
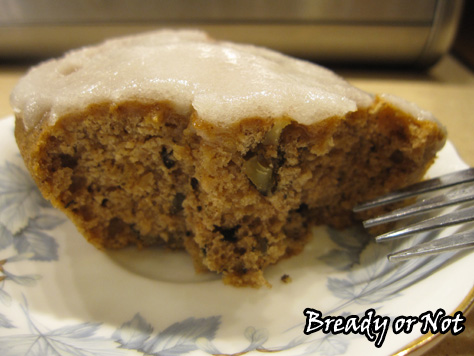
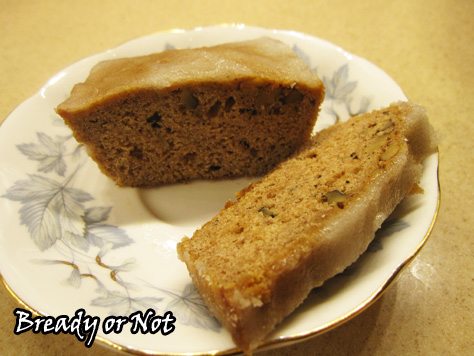
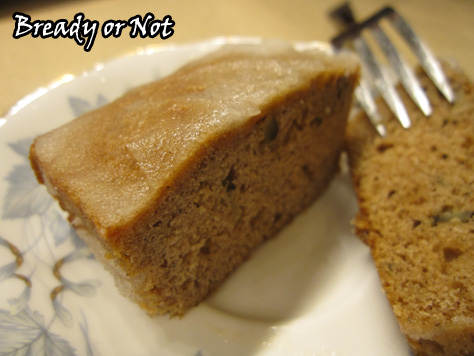
The resulting cake is perfect for breakfast or a snack. You can sweeten it up to your preference. Make glaze with the recipe below, or eat it plain. Plus, it freezes and keeps for months! I used it as a handy breakfast loaf to thaw out for company.
This maple loaf cake has a role in the novella, too. Maybe you can go all meta and eat some cake as you read about the cake!
Bready or Not: Maple Sugar Cake: A Clockwork Dagger recipe
Ingredients
For the loaf cake:
- 1/4 cup unsalted butter half stick, softened
- 1 1/2 cups maple sugar
- 2 eggs beaten
- 1/2 teaspoon salt
- 1 teaspoon baking soda
- 1 teaspoon cinnamon heaping
- 1/2 teaspoon nutmeg
- 2 1/2 cups all-purpose flour sifted
- 1 1/2 cups unsweetened applesauce
- 1 cup pecans or walnuts, chopped
Glaze for ONE small loaf:
- 1 cup confectioners' sugar or powdered xylitol, sifted
- 1 1/2 Tablespoons milk or almond milk or other substitute, more as needed
- 1/2 teaspoon maple flavor or vanilla extract
Instructions
- Preheat oven to 350-degrees. Prepare mini loaf pans (tin, stoneware, paper) by applying nonstick spray.
- In a large bowl, cream the butter and gradually add the maple sugar. Beat until creamy; with a mixer, this takes about a minute. Add the beaten eggs and combine.
- In a separate bowl, sift together the salt, baking soda, spices, and flour. Alternately add applesauce and dry ingredients to butter mixture. Once they are blended, fold the nuts into the batter. Distribute the batter among the pans; they should be about half full.
- Bake for 25 to 30 minute, until a tester comes out clean. Let cakes cool completely. If they are in a tin or stoneware pan, remove them from the dish.
- At this point, you can freeze the loaves wrapped in wax paper and plastic wrap or in a gallon bag.
- If you want to eat them now, store at room temperature or in fridge. Serve with glaze (see recipe above) or topped with powdered sugar or even a small amount of maple syrup... or plain! Eat cold or warmed in microwave.
- A loaf keeps for days if wrapped in the fridge. In the freezer, keeps for upward of six months.
- OM NOM NOM!
Read More


