Bready or Not: Ginger Pumpkin Braided Bread
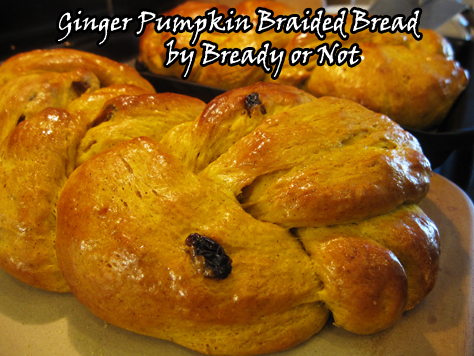
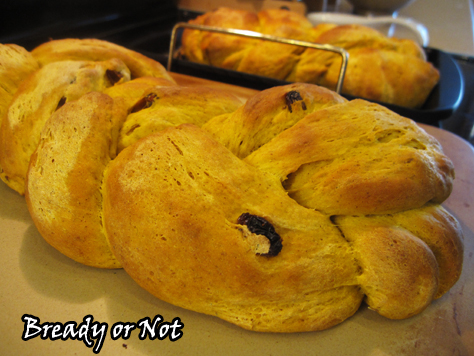
Bready or Not is full-out bready this week with a recipe that produces two gorgeous braided loaves of pumpkin bread!
This recipe from King Arthur Flour and was featured in their mailed catalog a while back. Like so many of their recipes, it’s an absolute winner.
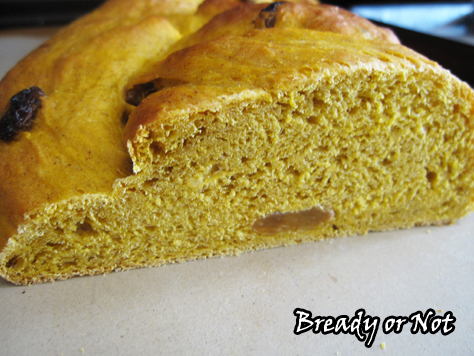
The pumpkin puree doesn’t make this bread tacky, even as dough. It incorporates well and adds light taste and vivid color. Diced candied ginger and raisins create variations in texture. The spices play well with everything. Actually, you should make this bread just to smell it as it bakes.
The slices are divine, whether or not you add butter. It would also be delicious in something like bread pudding. YUM.
Plus, it’s just plain pretty.
Modified from King Arthur Flour.
Bready or Not: Ginger Pumpkin Braided Bread
Ingredients
- 4 1/2 cups bread flour
- 1 teaspoon cinnamon
- 1 teaspoon ground ginger
- 1/4 teaspoon ground cloves
- 1/3 cup white sugar
- 1 1/2 teaspoons salt
- 1 Tablespoon instant yeast
- 1 3/4 cups pumpkin puree 1 can
- 2 eggs room temperature
- 1/4 cup unsalted butter half stick, melted
- 1/2 cup golden raisins
- 1/3 cup diced candied ginger
- butter to brush on bread
Instructions
- In the large bowl of a stand mixer, combine the flour, spices, sugar, ginger, salt, and yeast.
- In a separate bowl, stir together the pumpkin, eggs and melted butter. Add the wet ingredients to the dry ingredients. Continue to stir until the dough begins to come away from the sides of the bowl. Knead the dough for 2 minutes; let it rest for 15 minutes. Knead for an additional 5 to 7 minutes, or until it's smooth. Add the raisins and candied ginger, and continue kneading just until they're incorporated.
- Transfer the dough to a lightly oiled bowl. Cover it with plastic wrap, and set it aside to rise for 1 to 1 1/2 hours, until about doubled.
- Lightly grease a surface and turn out the dough onto it. Divide the dough in half, then divide each half into three pieces. Roll each piece into a 10-inch log.
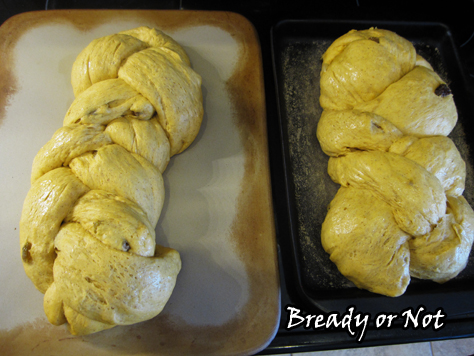
- Place three logs together on a parchment-lined baking sheet. Braid them together, making sure to pinch together the ends or tuck them underneath. Repeat the process with the other three logs on another baking sheet. Lightly cover them with plastic wrap and let them rise another hour. They should be puffy, not necessarily doubled in size.
- Bake the loaves in a preheated 375-degree oven for 25 to 30 minutes, until lightly browned. A cake tester inserted in the center should come out clean. Brush butter over the loaves to give them a nice shine.
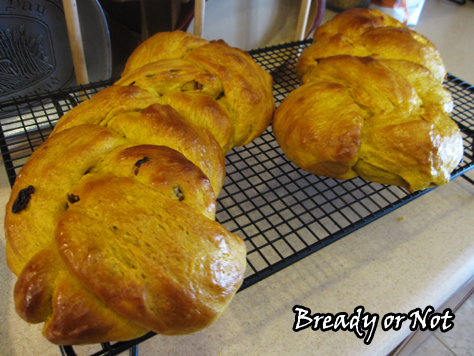
- Let the braids cool on a wire rack. Serve them warm or at room temperature. Loaves can also be frozen for later enjoyment.
- OM NOM NOM!
Read More
Bready or Not: Maple Pear Galette
It’s my husband’s birthday, so I’m sharing a dessert that he looooves.
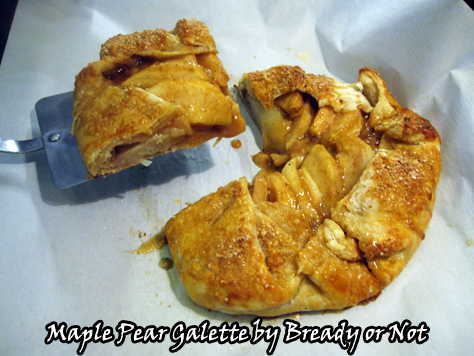
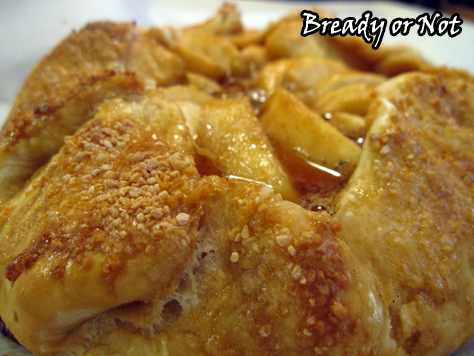
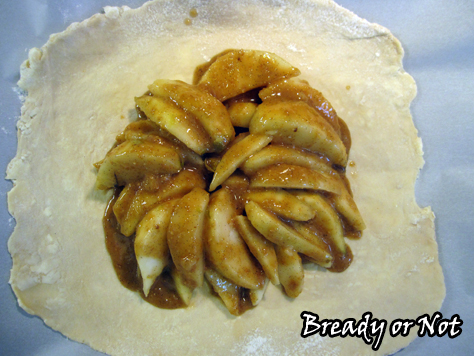
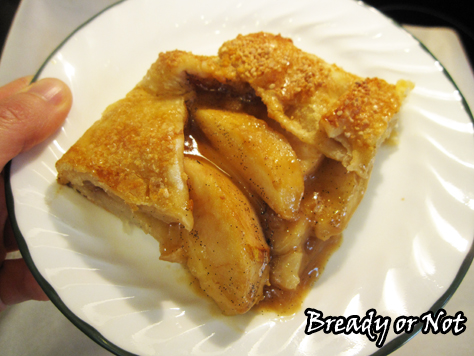
This recipe laces maple sugar into every layer: the galette dough, the thick maple paste for the pears, and as a golden accent and perfect crunch for the top of the galette.
This is remarkably easy to make, too. Peeling and coring the pears is the biggest hassle. I made the dough a day ahead of time, which made the assembly part go pretty fast.
I modified this recipe from one found in this incredible cookbook called Maple by Katie Webster. Seriously, if you love maple used in dishes for any meal of the day, get this cookbook!
This galette is one of the three recipes I melded together to create my Maple Apple Pie (aka Voltron Pie). Specifically, I tweaked the maple-lemon paste for the filling and ported it over. I’m pretty certain that such a potent maple mix can improve anything. Maybe it can inspire world peace. I dunno.
In the case of this galette, though, I say give a piece a chance.
Bready or Not: Maple Pear Galette
Ingredients
- 1 1/4 cups plus 2 Tablespoons all-purpose flour divided, plus more for dusting
- 1/2 cup plus 2 Tablespoons maple sugar divided
- 1/2 teaspoon salt
- 4 Tablespoons unsalted butter
- 3 - 6 Tablespoons ice water
- 1 vanilla bean split open and scraped out, or 2 teaspoons vanilla extract
- 1 Tablespoon lemon juice
- 3 ripe pears peeled, cored, and cut into wedges
- 1 egg lightly beaten
Instructions
- In a medium bowl, whisk together the 1 1/4 cups flour, 1 tablespoon maple sugar, and salt. Add butter and work into dough so that the butter is down to pea-sized chunks. Add just enough water to incorporate as dough, smearing butter chunks in the process. Shape dough into a disk and shroud in plastic wrap; refrigerate for 30 minutes, or overnight.
- Preheat oven to 350-degrees. Place parchment paper on a large rimmed baking sheet.
- In a large bowl, gently stir together the vanilla (bean or extract), lemon juice, 2 tablespoons flour, and 1/2 cup maple sugar; it will form a thick paste. Gently stir in the pears to coat. Expect the mixture to become more liquid as it sits with the pears in it.
- Use flour to lightly dust a large work surface. Roll out the dough to at least a foot diameter circle. Transfer it to the prepared parchment paper on baking sheet; the dough might hang over the edges for now, but that's okay.
- Arrange the pears in a circular pattern in the center; leave a 2.5 to 3-inch border. Scrape the rest of the maple paste over the pears. Fold the dough inward, with the center still exposed. Brush the egg over the top and sprinkle on the maple sugar.
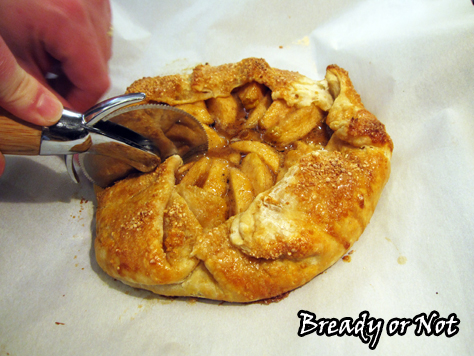
- Bake for 40 to 50 minutes, until the crust is golden and the filling bubbles. Let cool before cutting.
- OM NOM NOM!
Read More
Bready or Not Guest Pat Esden with Old Fashioned Blueberry Cake
I’m happy to welcome Pat Esden to Bready or Not again. You might recall she visited last year to share a recipe for Popovers as she celebrated the release of her first book, A Hold On Me. Today she shares a quintessential Maine recipe for Blueberry Cake! Her second book, Beyond Your Touch, is a new adult paranormal romance that came out August 30th. We’ll start things off with an interview to learn about her Dark Heart series.
You sent a lovely blueberry recipe. YUM. Can you explain how this ties into your books’ world?
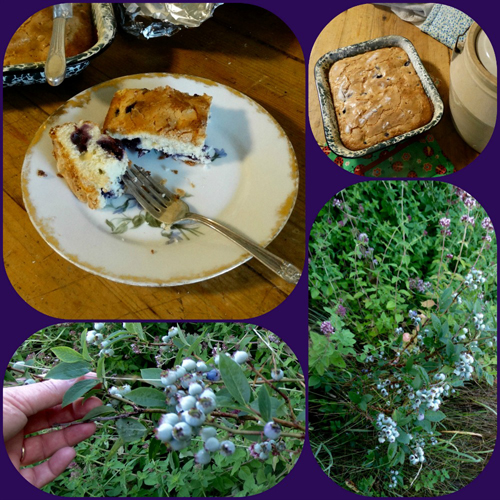
Both A HOLD ON ME (Dark Heart book #1) and BEYOND YOUR TOUCH (Dark Heart book #2) are for the most part set on the Maine seacoast, a prime area for both commercial and wild blueberries. The main character, Annie Freemont, and her family often have blueberry muffins for breakfast. The cake recipe I’m going to share is something they’d have at teatime for sure.
Also Annie’s love interest, Chase, is a blueberry fanatic. He was born in Maine, but was kidnapped as a child and raised in the djinn realm until he escaped in his late teens. During his years of captivity, Chase often went hungry. As a result, having edible berries growing right outside his cottage is not only a tasty treat for him, it’s also emotionally comforting. In reality, he’s a bit of a blueberry glutton.
You do a great job of capturing the new adult voices in A Hold on Me and Beyond Your Touch. Do you have advice for other writers who are working on voice in new adult fiction?
New adult is a category of fiction where the main character and point of view are a person or persons between the age of nineteen and twenty-six. It’s not a novel written through the eyes and sensibilities of someone looking back on that stage of their life. It’s that sensibility that is most vital to remember when you’re writing new adult. The motivations and choices of people in that age range will vary, but they are not the same as a younger teenager who has less life experience in general or an older person who has more experience. It’s important for a writer to put themselves in the mindset of being that age and to look at each choice and reaction the character(s) make to be sure they are appropriate for a new adult.
What has been your greatest challenge in working on your Dark Heart series?
The Dark Heart series consists of three novels. The biggest challenge for me has been swapping between books during the various editing and marketing stages. For example: in the middle of drafting book 3, I received notes from my editor on book 2. I had to put book 3 aside for a month to do edits on book 2. Once book 2 was turned in, I went back to book 3. But I had to swap again and focus on book 1 when it was released. LOL. It’s crazy making!
Thanks again!
Thank you as well. I love visiting.
Old Fashion Blueberry Cake
Ingredients:
2 eggs separated
1 cup sugar
1/2 cup shortening
1/4 teaspoon salt
1 teaspoon vanilla extract
1-1/2 cup flour
1 teaspoon baking powder
1/2 cup milk
1-1/2 cups fresh blueberries
Beat 2 egg whites until stiff, and set aside.
Cream together shortening, vanilla, sugar, and two egg yolks.
Sift flour and baking powder together. Add to cream mixture alternating with milk.
Fold in egg whites and blue berries.
Pour into 9” pan (greased and floured) and sprinkle top lightly with sugar.
Bake at 350 degrees for 50 minutes.
This is a traditional New England dense desert or breakfast cake. Just a touch lighter than pound cake. No frosting needed.
BEYOND YOUR TOUCH (book #2 Dark Heart series) was released August 30th
She wants more than he can promise.
His desires could lead to betrayal.
But without each other, neither can survive the dangers ahead.
Annie Freemont knows this isn’t the right time to get involved with a man like Chase. After years of distrust, she’s finally drawing close to her estranged family, and he’s an employee on their estate in Maine. Though she never intended to stay on the estate for long, her father’s illness and the mysteries surrounding her family made leaving impossible. And now with the newfound hope of rescuing her long-missing mother, Annie’s determined to be involved with the family’s plans one way or another.
If only she could keep her mind off Chase and focus on the impending rescue. But there’s something about the enigmatic Chase that she can’t resist. And she’s not the only woman. Annie fears a seductive stranger who is key to safely freeing her mother is also obsessed with him. As plans transform into action and time for a treacherous journey into a strange world draws near, every move Annie makes will test the one bond she’s trusted with her secrets, her desires—and her heart.
PAT ESDEN is an antique-dealing florist by trade. She’s also a member of Science Fiction and Fantasy Writers of America, Romance Writers of America, and the League of Vermont Writers. Her short stories have appeared in a number of publications, including Orson Scott Card’s Intergalactic Medicine Show, the Mythopoeic Society’s Mythic Circle literary magazine, and George H. Scither’s anthology Cat Tales.
Her new adult paranormal novels, A HOLD ON ME (book #1 in the Dark Heart series) and BEYOND YOUR TOUCH (book #2 Dark Heart series) are available from Kensington book. REACH FOR YOU (book #3 Dark Heart series) will be released in 2017.
#SFWAPro
Read More
Bready or Not: Cardamom Coffee Pound Cake
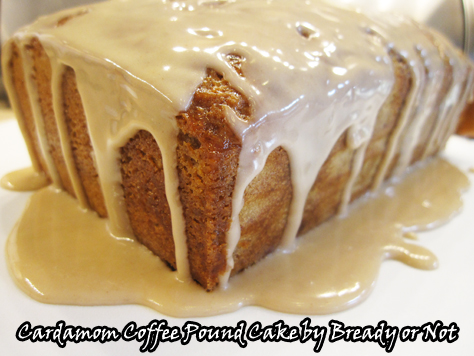
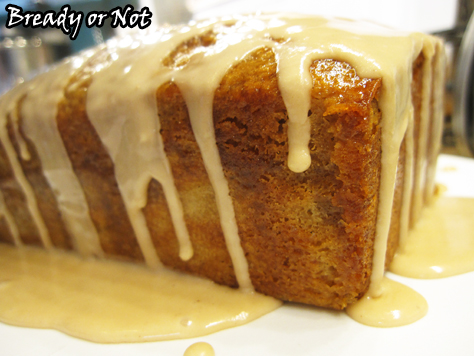
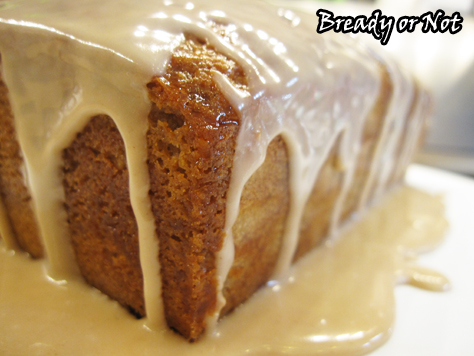
Eat your morning coffee in this luscious Cardamom Coffee Pound Cake!
Weird fact: I actually considered skipping the glaze on this because I figured it would be a delicious cake on its own. What was I thinking? The glaze makes this cake.
My husband’s workplace lives on coffee. He brought this loaf cake and it was consumed almost instantly. Apparently, the loaf was practically divine when paired with a hot cup of coffee.
This recipe has coffee going on all over the place, too. Espresso powder is in the cake batter. Brewed coffee is infused in the baked cake, and is also the primary liquid in the glaze. Plus, it uses one of my favorite spices: cardamom. Which happens to be perfect along with coffee.
Modified from Relish Magazine.
Bready or Not: Cardamom Coffee Pound Cake
Ingredients
For the cake:
- 1 1/2 cups all-purpose flour
- 2 teaspoons baking powder
- 1/2 teaspoon salt
- 1 teaspoon cardamom
- 1 cup vanilla low fat yogurt or vanilla or plain Greek yogurt, or sour cream
- 1 cup white sugar
- 3 eggs room temperature
- 1/2 teaspoon vanilla extract
- 1 teaspoon espresso powder dissolved in 1 teaspoon water
- 1/3 cup olive oil or vegetable oil
For coffee infusion:
- 1/4 cup brewed coffee
- 1/4 cup white sugar
For icing:
- 1 cup confectioners' sugar sifted
- 2 Tablespoons brewed coffee
- pinch cardamom
Instructions
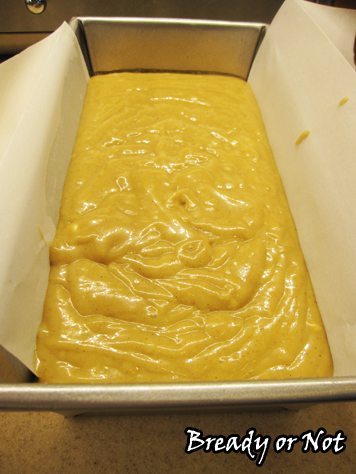
- Preheat oven to 350-degrees. Cut a piece of parchment paper to act as a sling across the wide part of a 8 1/2 by 4 1/4-inch loaf pan. Grease the pan well, press in the parchment paper inside so it sticks up on either end, and grease the paper as well.
- In a medium bowl, combine flour, baking powder, salt and 1 teaspoon cardamom. Set aside.
- In a large bowl, combine yogurt/sour cream, 1 cup sugar, eggs, vanilla extract, hydrated espresso powder, and oil; whisk well.
- Gradually stir in flour mixture.
- Pour batter into prepared pan and bake 50 to 55 minutes, until it passes the toothpick test in the middle of the loaf. Let it cool in pan for 10 minutes then lift out by the parchment and place on a wire rack over a sheet pan. You can reuse the parchment by placing it beneath the rack to make the next clean up stage easier, too.
- While the loaf is still warm, use a chopstick or skewer to poke deep holes all over the top and sides. Use a saucepan to heat up the 1/4 cup brewed coffee and 1/4 cup sugar until the sugar is dissolved. Slowly spoon the coffee mix over the cake, giving the liquid time to soak in; use it all, with the excess dripping into the pan below.
- When the loaf cake is completely cool, make the icing. Combine sifted powdered sugar, remaining 2 tablespoons brewed coffee, and pinch of cardamom. Stir until smooth. Add more sugar or a touch of coffee (or milk or water, in a pinch) if needed for consistency. Drizzle glaze over cake.
- OM NOM NOM!
Read More
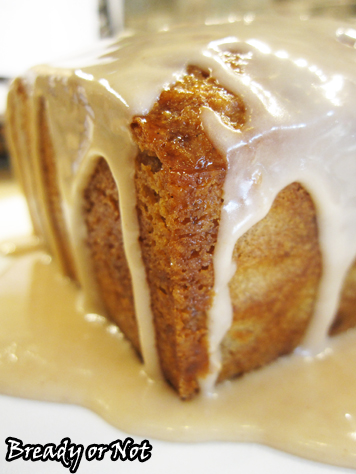
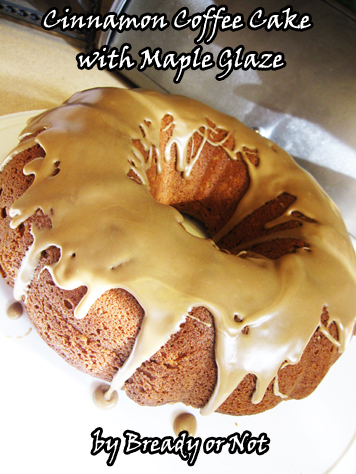
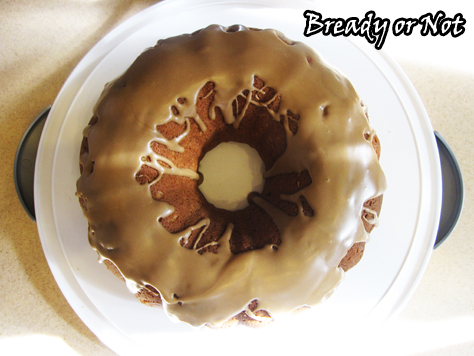
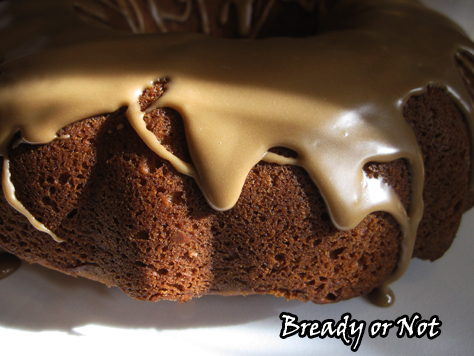
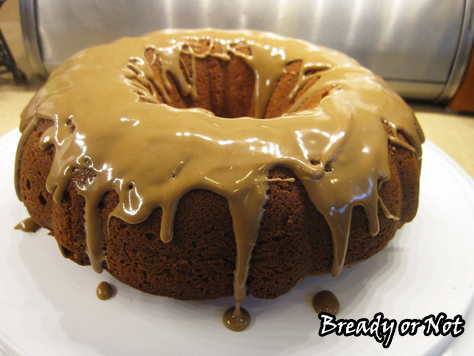
Bready or Not: Cinnamon Coffee Cake with Maple Glaze
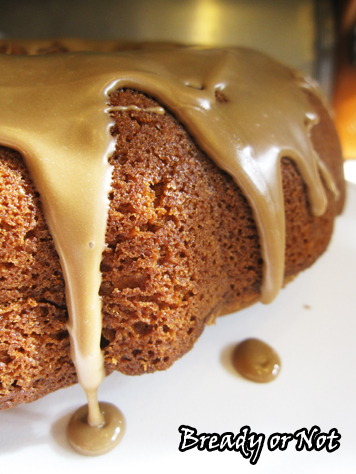
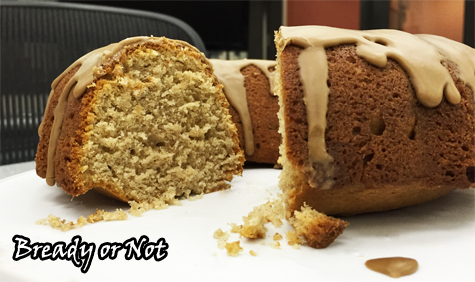
CAKE + PIE MONTH continues with another dose of maple–this time in the glaze atop this tender cinnamon-filled bundt cake!
If you don’t have maple flavor around, worry not. This cake will be just fine if you use vanilla extract instead. You could always add more cinnamon into the glaze, too, just for a spicy boost.
I love using sour cream in cake batter like this. It creates such a tender, moist texture. You can always substitute Greek yogurt for sour cream, too.
I spied the original version of this recipe in the Arizona Republic one morning. I knew I had to make it… but I also knew it needed some modifications. How could it be called a cinnamon coffee cake if it only had one teaspoon of cinnamon? Nope, nope. And of course, I had to give it a maple glaze.
If you’re getting burned out on maple (*cough*blasphemy*cough*), worry not. Next week, I finish off Cake + Pie Month with Cardamom Coffee Pound Cake! Unlike this week’s recipe, the pound cake actually includes coffee in the batter and in the glaze.
But, you know, I think this week’s recipe has a mighty fine glaze as it is.
Modified from Sour Cream Cinnamon Coffee Cake in the Arizona Republic, March 16, 2016.
Bready or Not: Cinnamon Coffee Cake with Maple Glaze
Ingredients
For the cake:
- 1 cup unsalted butter 2 sticks, room temperature
- 1 cup white sugar
- 2 large eggs room temperature
- 1 teaspoon vanilla extract
- 1 cup sour cream or Greek yogurt
- 2 cups all-purpose flour
- 1 1/2 teaspoons baking powder
- 1/2 teaspoon baking soda
- 2 teaspoons ground cinnamon
- 1/2 teaspoon kosher salt
For the glaze:
- 2/3 cup confectioners' sugar sifted
- 1 Tablespoon milk or half and half
- 1/2 teaspoon maple flavor or substitute vanilla extract
Instructions
- Preheat oven at 350-degrees. Use nonstick spray with flour to thoroughly coat a 9 or 10-inch bundt pan, or use extra butter and a liberal dusting of flour. Discard any excess flour.
- In a large bowl, beat together the 1 cup butter and the sugar until they are light and fluffy. Add eggs one at a time followed by the vanilla and sour cream.
- In a smaller bowl, combine the dry ingredients: the flour, baking powder, baking soda, cinnamon, and salt. Slowly combine the two bowls; don't overmix. Scrape the batter into the prepared pan and spread so the top is even.
- Bake for 45 minutes, or until a toothpick deeply inserted into the cake comes out clean. Let cool for 10 minutes on wire rack, then flip the cake out of the pan to completely cool on the rack.
- When the cake is completely cool, make the glaze. In a small bowl, stir together the powdered sugar, milk, and maple flavor (or vanilla extract). Add more milk, if needed, for desired textured. Set cake on a serving plate and dribble glaze all over top of cake.
- OM NOM NOM!
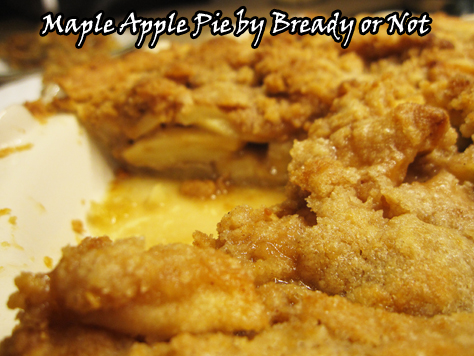
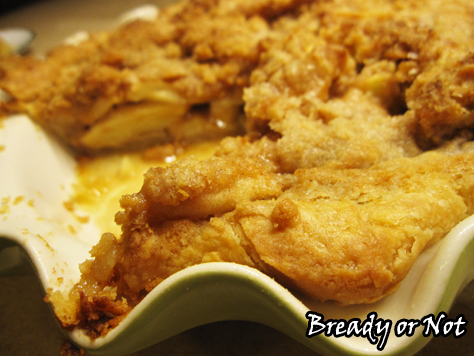
Bready or Not: Maple Apple Pie
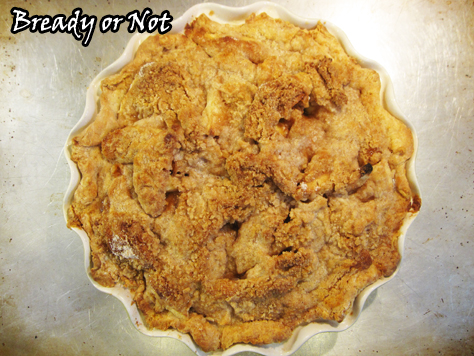
This pie is my own original creation. I hacked together three existing recipes and amped up the maple to make something totally new. When I told my husband about how I melded everything, he said, “Oh, so it’s a Voltron pie.” That’s now our nickname for this Maple Apple Pie.
Maple sugar is the key ingredient in every step, but it’s just enough to embody the flavor without it going overkill. I highly recommend buying a big ol’ container of maple sugar–trust me, if you want to follow along with my recipes, you’ll go through it eventually. This is the brand I use:
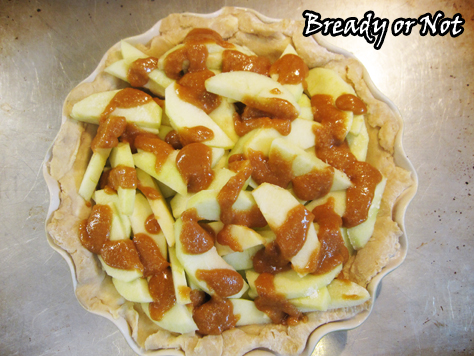
The most amazing thing about this? The filling sauce. I borrowed and modified it from a pear galette recipe (which I’ll feature this fall) from the cookbook Maple. It’s really more like a paste in texture, grainy and strong with a lovely combo of maple and lemon. You’ll want to lick the bowl.
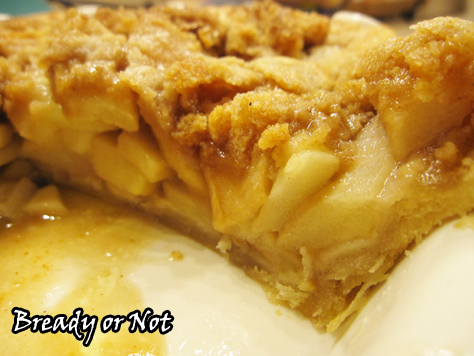
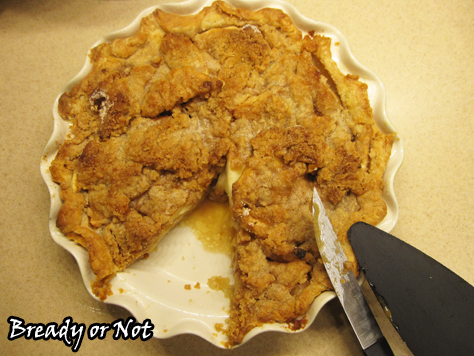
This pie smells glorious. It’s like autumn, Thanksgiving, Christmas. And the taste… well. My husband adores my Caramel Apple Pie and considers it his all-time favorite.
Or it was, until he had Voltron Pie.
That’s right. This maple-filled pie is the new champion in the Cato household.
Bready or Not: Maple Apple Pie
Ingredients
Crust:
- 1 1/2 cups all-purpose flour
- 1 Tablespoon maple sugar
- 1/4 teaspoon salt
- 4 Tablespoons unsalted butter 1/2 cube, cold
- 2 Tablespoons avocado oil or canola oil
- 3 - 5 Tablespoons ice water
Filling:
- 4 - 5 Granny Smith apples
- 1 teaspoon vanilla extract or a vanilla bean, scraped
- 1 Tablespoon lemon juice
- 2 Tablespoons all-purpose flour
- 1/2 cup maple sugar
Crumb topping:
- 2/3 cup all-purpose flour
- 1/4 cup white sugar
- 1/4 cup maple sugar
- 1/2 teaspoon ground cinnamon
- 1/2 cup unsalted butter 1 stick , cold
Instructions
- Combine crust ingredients. Work in butter until it is just pea-sized, and use only as much water as needed to make the dough cohesive. Wrap well in plastic wrap and refrigerate for a few hours or a few days.
- Roll out dough to equal thickness and place in pie dish. Cover with plastic wrap and freeze while preparing the filling, or freeze for several days.
- Preheat oven at 375-degrees. Peel and core apples and slice to 1/8s or smaller. Toss them in a light dusting of flour to prevent sticking. Place apples in pie crust on a cookie sheet.
- In a small bowl, whisk together the vanilla extract, lemon juice, flour, and maple sugar; it'll form a thick maple paste. Set aside.
- In another small bowl, combine the topping ingredients. Use a fork and knife to reduce the butter to pea-sized chunks.
- Return to the maple sauce. Give it a good stir, and drizzle thick syrup all over apples. Cover evenly with crumb topping.
- Bake for 40-45 minutes, or until the apples are tender when stabbed with a fork.
- OM NOM NOM!
Read More


