


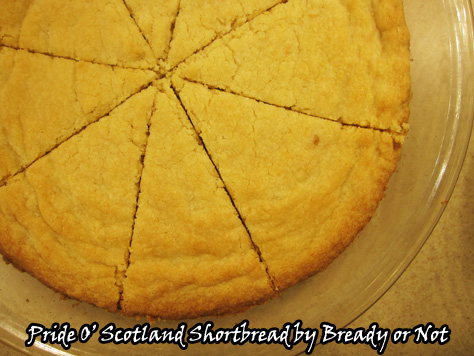
Bready or Not: Pride O’ Scotland Shortbread
The day after my anniversary, it seems only right to share the shortbread recipe I made for my husband the first day we met: Pride O’ Scotland Shortbread.
The original recipe is from one of my mom’s very battered cookbooks, which she gave to me a few years ago. The pages tenuously cling to the spiral binding. Back when I was a teenager, this shortbread recipe was one of the first I really declared ‘mine.’
Back in those dark ages before widespread internet shopping and Cost Plus World Market, my family was only able to obtain shortbread once or twice a year–at the Fresno Highland Games, and maybe at Christmas. Those red boxes of Walker’s Shortbread brought us great joy.
So when I found this recipe and my relatives declared that my shortbread was BETTER than Walker’s brand… whoa. I felt like I’d made something magical.
Maybe I did. It helped snare me a husband, after all.

Bready or Not: Pride O' Scotland Shortbread
Ingredients
- 2 cups all-purpose flour
- 3/4 cups white sugar
- 1/4 teaspoon salt
- 1 cup unsalted butter 2 sticks, softened
- 1 egg yolk
- 1 teaspoon vanilla extract
Instructions
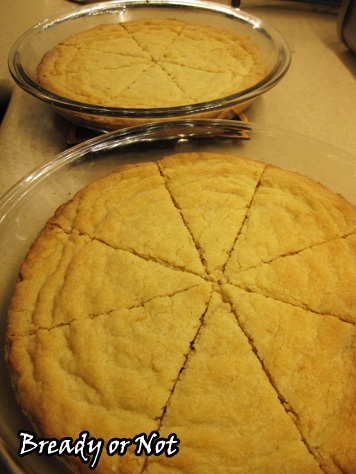
- Preheat oven at 375-degrees. Grease two 9-inch pie pans.
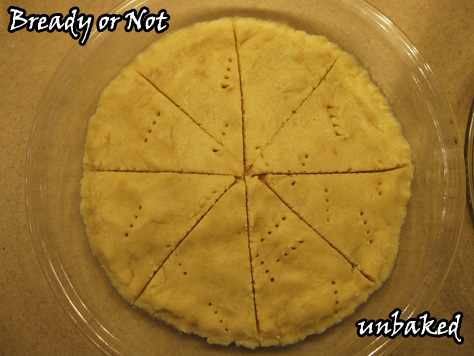
- Place dry ingredients in mixing bowl; add butter, egg yolk, and vanilla. Mix with fingers until dough holds together. Divide dough into two balls and press each ball into a pan. Flatten evenly with palms; prick surface all over with floured fork. Slash into wedges.
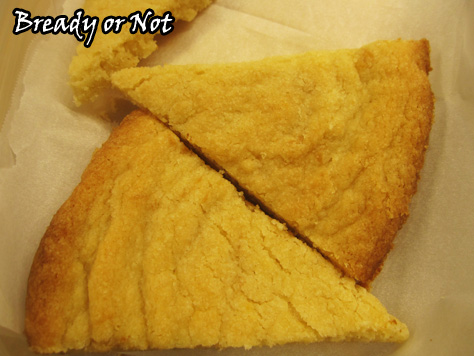
- Bake for 17 to 22 minutes, until the edges are golden brown. Remove from oven. Immediately cut again following slash marks and carefully run the blade around the edge of the crust to loosen the shortbread.
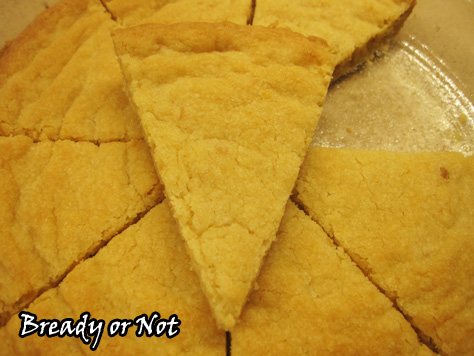
- Let shortbread cool. Cut again along slash marks and the crust, then remove wedges to eat. Shortbread keeps in sealed container for several days.
- OM NOM NOM!
Read More
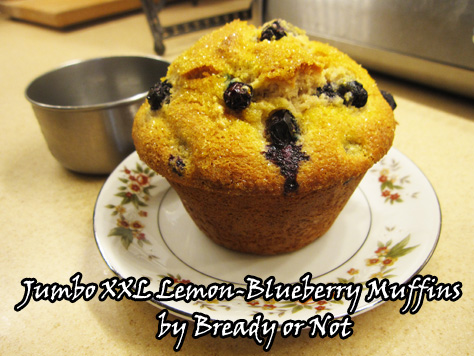
Bready or Not: Jumbo XXL Lemon-Blueberry Muffins
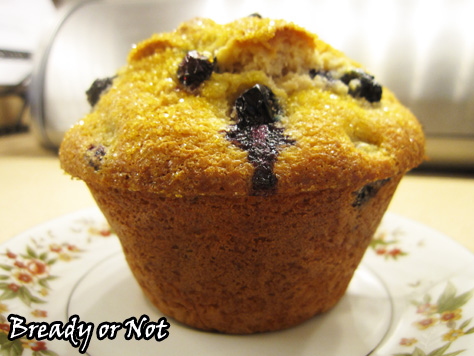
You could made normal, piddly muffins. Or you can make ENORMOUS HONKIN’ MUFFINS like the kind you get in bakeries. These Jumbo XXL Lemon-Blueberry Muffins taste pretty darn good and will fill your belly, too.
These muffins pans are surprisingly cheap. Amazon has a couple different kinds. Search for “jumbo muffin pan” or “Texas muffin pan.” (Because everything is bigger in Texas).
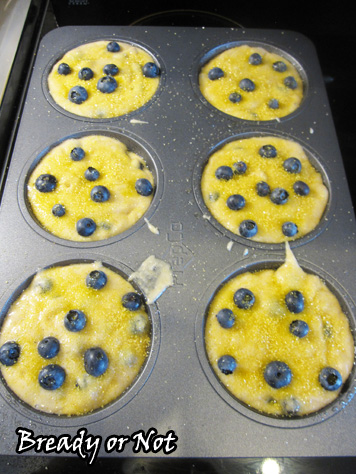
Confession: one reason I like these muffins is because they are pretty. I add a couple blueberries on top to make sure they don’t all sink, and I add some turbinado sugar to make them glisten.
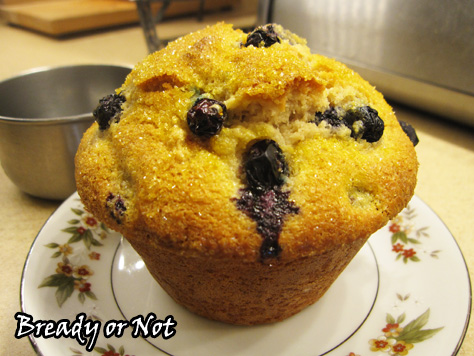
Then there’s the size. Look at the pictures here and you’ll see that silver cup for size contrast. That’s 1 cup. Yeah.
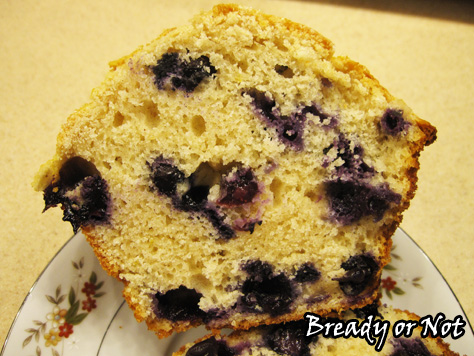
If that’s too much muffin for you to eat, you can easily cut one in half. Or you can do what I do and freeze most of the batch. Wrap’em up in a few layers of plastic wrap and they’ll keep well in the freezer for a few weeks.
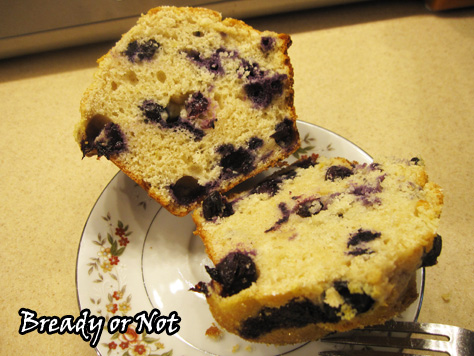
That’s a perfect way to make these cakey lemon-blueberry bombs last a little longer!
Modified from Sally’s Baking Addiction. Shared another version of this recipe in 2013 on my LiveJournal.

Bready or Not: Jumbo XXL Lemon-Blueberry Muffins
Ingredients
- 3 cups all-purpose flour
- 4 teaspoons baking powder
- 1 teaspoon salt
- 1 teaspoon ground cinnamon
- 2 eggs room temperature
- 1 lemon zested and juiced
- 1 cup white sugar
- 1 cup milk or almond milk or half & half
- 1/2 cup canola oil
- 1/2 teaspoon vanilla extract
- 6 ounces fresh blueberries washed and patted dry
- sparkling sugar optional, or turbinado sugar for the top
Instructions
- Preheat oven at 425-degrees. Use nonstick spray or butter on the muffin pan.
- In a medium bowl, mix together the flour, baking powder, salt, lemon zest, and cinnamon. Set aside.
- In a large bowl, whisk together the eggs and sugar. Mix in the milk, oil, lemon juice, and vanilla extract. Mixture will be pale and yellow.
- Gradually stir the dry ingredients into the wet ingredients, making sure to scrape the bowl, but don't overmix. The batter will be thick and somewhat lumpy.
- Carefully fold in the blueberries, reserving some to place on top of the muffins.
- Pour the batter into the greased muffin tins, filling just about to the top. Add the reserved blueberries and some turbinado or sparkling sugar, if desired.
- Bake at 425-degrees for 5 minutes, then reduce oven temperature to 375. Continue to bake for about 25 minutes. The tops should be lightly golden, and the muffins should pass the toothpick test. Allow them to cool for 10 minutes in pan, then remove to begin eating or to allow them to cool completely on a rack. (If you leave the muffins in the pan too long, they will steam and get soggy.)
- Muffins are best eaten within a day or two, but they can also be frozen for later enjoyment. Eat at room temperature or zap in the microwave to warm up.
- OM NOM NOM!
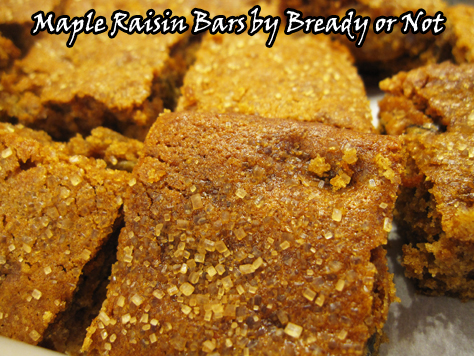
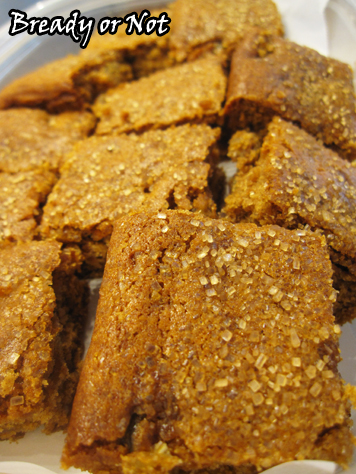
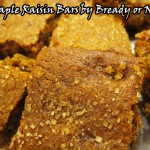
Bready or Not: Maple Raisin Bars
If you like chewy maple goodness, then these Maple Raisin Bars are for you!
So you ever look at a recipe and think, “Hey, that looks good, but I want to change half the ingredients around?” That’s how this recipe came about. I look at another recipe and decided to give it an overhaul. Golden raisins instead of apricots. Honey instead of molasses. And so on.
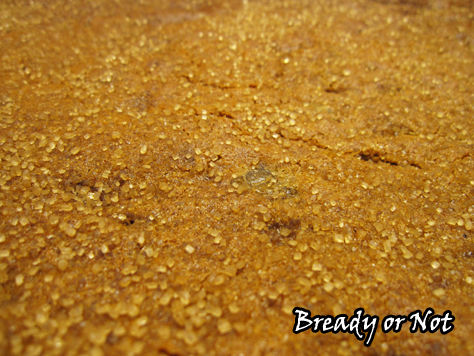
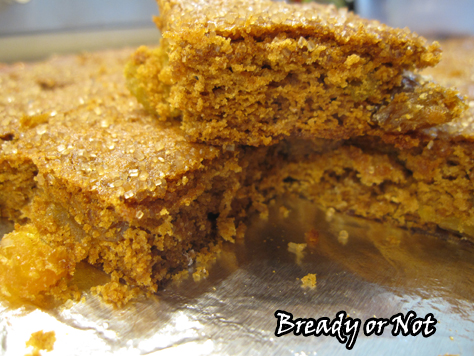
The result? Chewy, cakey bars with delightful gems of golden raisins sprinkled throughout. The turbinado sugar on top adds a special sparkle.
They taste kind of like gingerbread just, well, without any ginger. That’s the closest comparison I can make.
Even better, these keep well for days at room temperature, and they can also be frozen for later enjoyment.
Yep, these will be greatly enjoyed. Now or later.
Bready or Not: Maple Raisin Bars
Ingredients
- 1 cup bread flour
- 1/2 cup all-purpose flour
- 1 teaspoon baking soda
- 1 teaspoon ground cinnamon
- 1/2 teaspoon ground nutmeg
- 1/4 teaspoon ground cloves
- 1/4 teaspoon salt
- 1 cup golden raisins
- 3/4 cup maple sugar
- 1/2 cup avocado oil or canola oil
- 1/3 cup honey
- 1/2 cup milk or almond milk
- 3 teaspoons turbinado sugar
Instructions
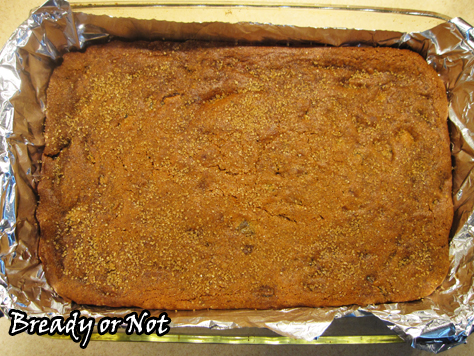
- Preheat oven at 350-degrees. Line a 9x13 pan with aluminum foil and apply nonstick spray or butter.
- In a large bowl, combine the flours, baking soda, cinnamon, nutmeg, cloves, and salt. Stir in the raisins. Set bowl aside.
- In a medium bowl, whisk together maple sugar, oil, honey, and milk. Slowly pour the wet ingredients into the dry until fully combined. Scrape the dough into the prepared pan, making sure the raisins are well distributed. Sprinkle turbinado sugar all over the top.
- Bake for 24 to 28 minutes, until the dough has puffed and it passes the toothpick test in the middle.
- Let it cool completely. Lift out of pan with the foil and cut into squares. Store in a sealed container with waxed paper or parchment paper between the layers. Will keep well at room temperature for days, or can be frozen for weeks.
- OM NOM NOM!

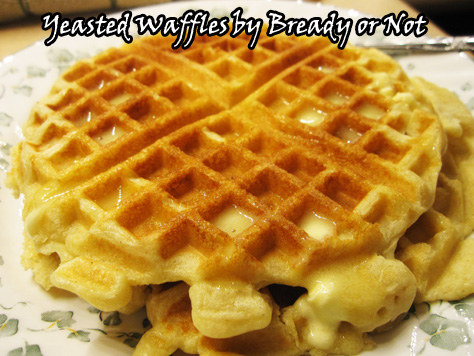
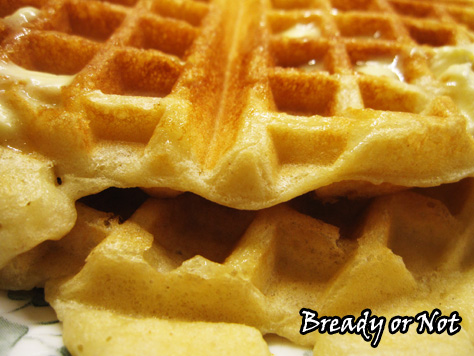
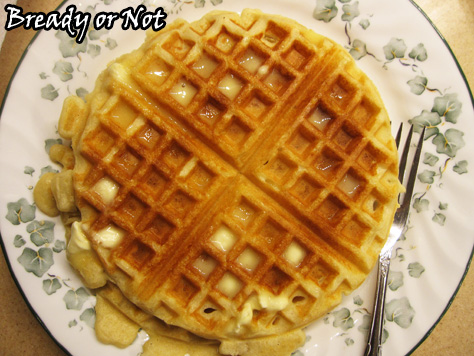
Bready or Not: Yeasted Waffles
If you’re in need of a quick-fix breakfast, whip up a batch of these yeasted waffles! Chill the batter for at least 4 hours and you can start using it; the batter can stay in the fridge up to 3 days.
I was really impressed with how this batter kept, too. I noticed no difference in the taste for day to day, and I kept it chilled for the 3 day max stated in the original Eating Well recipe.
That said, these do taste different than normal waffles. There’s yeast in there! I found them to have a slightly sourdough flavor, which was not off-putting in the slightest.
Like any homemade waffles, the cooked waffles also keep very well frozen between layers of waxed paper. You stick the frozen waffles straight into the toaster like you would the store-bought version.
No matter how quickly these waffles are cooked up, they make for a convenient and delicious breakfast!
Modified from the original from the March/April 2016 Eating Well Magazine.

Bready or Not: Yeasted Waffles
Ingredients
- 2 3/4 cups almond milk or other milk
- 6 Tablespoons butter cut into pieces
- 3 cups all-purpose flour or whole wheat flour, or mix
- 1 1/2 Tablespoons white sugar
- 2 1/4 teaspoons active yeast 1 packet
- 3/4 teaspoons salt
- 3 large eggs lightly beaten
- 1 1/2 teaspoons vanilla extract
Instructions
- In a small saucepan, heat milk and butter over medium until the butter is melted. Set aside to let cool until it's just warm, about 15 minutes.
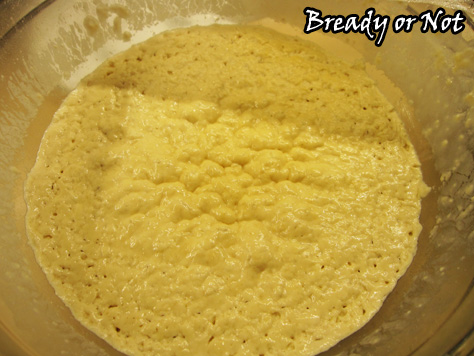
- In a large bowl, whisk together the flour, sugar, yeast, and salt. Add in the milk mixture followed by the eggs and vanilla extract. Stir together until just combined.
- Refrigerate the batter for at least 4 hours, or up to 3 days.
- Preheat waffle iron. Gently stir the batter to reconstitute. Use about scant 1/2 cup of batter for each waffle; the waffles will expand as they cook, and the iron might overflow on the first attempts you get a feel for the right amount to pour in.
- Return any unused batter to the fridge for later enjoyment. Cooked waffles can also be frozen.
- OM NOM NOM!
Read More
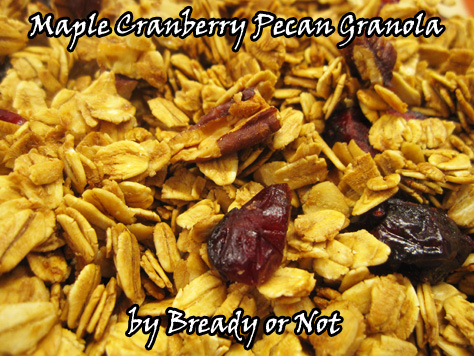
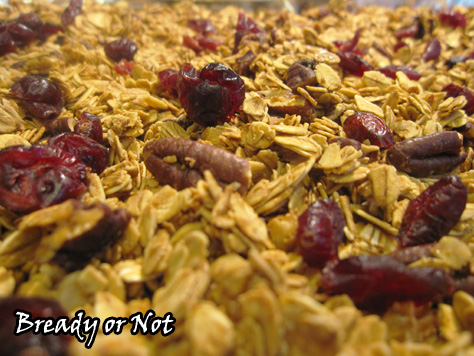
Bready or Not: Maple Cranberry Pecan Granola
Let’s start off 2017 with something delicious and healthy: Maple Cranberry Pecan Granola.
It’s super easy to make granola at home, and wow, is it cheaper than buying the stuff at the store. If you have a nearby store that sells oats in bins, that’s the way to go–my Sprouts often puts their oats on sale, too.
It’s easy to customize this to your preferences. Switch out the pecans for walnuts. Use raisins or dried blueberries for the cranberries. Whatever. Make it your own.
If you need gluten-free food, that’s easy, too–just use gluten-free oats! Ta-da.

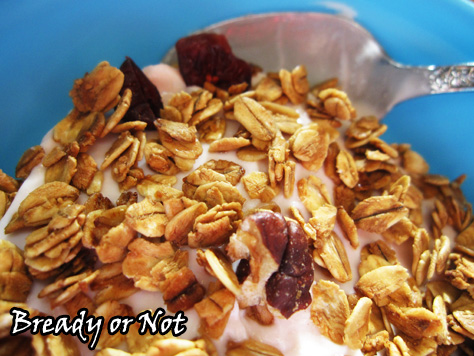
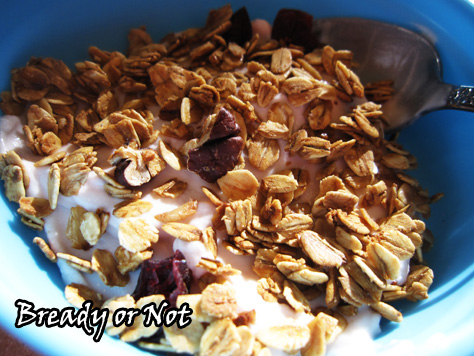
Eat this granola by itself, or with milk or almond milk as cereal, or as a topping for yogurt or ice cream. Heck, you could even use it in cookie or granola bar recipes.
However you eat it, know that it’s delicious–and good for you, too!

Bready or Not: Maple Cranberry Pecan Granola
Ingredients
- 2 cups old-fashioned rolled oats
- 1/4 cup pecans chopped
- 1/4 cup pure maple syrup
- 1/2 Tb avocado oil or olive oil
- sprinkle salt
- 1/4 cup dried cranberries
Instructions
- Preheat oven at 325-degrees. Line a large, rimmed cookie sheet with foil and apply nonstick spray.
- In a large mixing bowl, stir together all of the ingredients EXCEPT the cranberries. Spread the mixture on the cookie sheet. Bake for about 20 minutes, gently stir the granola, and bake for another 10 to 15 minutes, until it's crisp and golden. Let set out on stove top to cool; it will continue to crisp up.
- Once it is room temperature, gently stir in the cranberries. Store in a sealed container up to 1 month.
- OM NOM NOM!
Read More
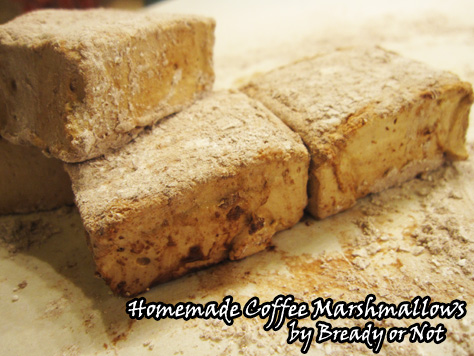
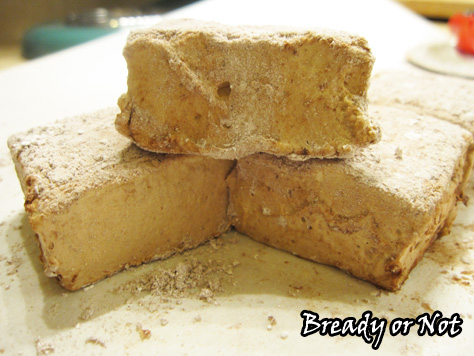
Bready or Not: Coffee Marshmallows
Let’s end the year on an obnoxiously sweet note with homemade Coffee Marshmallows. If you want to send someone a late gift or sabotage a New Year’s resolution, here you go.
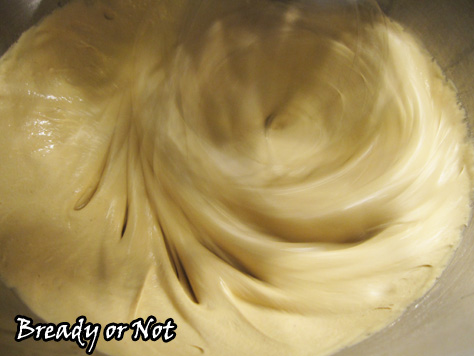
This recipe involves lots of beating. No, not with a stick. You’ll want a good stand mixer, or be ready for your hand to vibrate to numbness if you use a hand mixer. I don’t recommend doing this with a whisk in hand. Your hand might fall off.
Not recommended, unless your last name is Skywalker and you have access to cool prostheses.
Once I started the recipe, I had the bulk of it done in about an hour. My stove is reeeeaaally slow to heat up. I did the mixing in my valiant Kitchen Aid.
The results were fantastic: soft yet dense blocks of sugary goodness, coated in more sugary goodness.
This makes a 9×13 pan. That’s a lot of mallows. They’re supposed to stay fresh up to a week if they are well-sealed. Bag these things up! Eat them by themselves, or plunked in coffee or hot chocolate.
Originally posted at the Holy Taco Church.
Bready or Not: Coffee Marshmallows
Ingredients
Powder coating
- 1/4 cup confectioners' sugar
- 1/4 cup corn starch
- 1 tablespoon Dutch-processed cocoa powder sifted
Marshmallows
- 3/4 cup warm water divided
- 1 Tablespoon espresso powder
- 3 envelopes Knox gelatin
- 1 1/2 cups white sugar
- 1 cup light corn syrup
- 1/2 teaspoon salt
Later mixing stage additions
- 2 Tablespoons Dutch-processed cocoa powder sifted
- 2 teaspoons vanilla extract
- Pam or oil for pan
Instructions
- Whisk together 1/2 cup warm water and the instant espresso. Let this cool in the fridge for a bit.
- In a medium bowl, sift together the powdered sugar, corn starch and cocoa powder.
- Grease a large casserole dish (like 9x13 or 10x8) with Pam or vegetable oil. Sift a small bit of the powdered sugar/cocoa mix over the bottom of the pan.
- Pour the cooled coffee into the large bowl you will use for the mixing phase. Sprinkle the gelatin onto the coffee and let it sit for at least 10 minutes. Have a whisk attachment ready on your mixer.
- In a medium sauce pan with an attached candy thermometer, combine the granulated sugar, corn syrup, salt and remaining 1/4 cup of water. Start heating this on medium until the sugar is dissolved and then crank it to high heat. Bring the mixture to a hard boil and cook for 1 minute, until the candy thermometer reaches 240 degrees. The color will start to change.
- With the mixer on low, VERY CAREFULLY pour the boiling liquid into the gelatin/coffee mix. Once it's all in there, turn it to high and beat for 10-15 minutes, until it has doubled in volume and holds stiff peaks. Note that the color will change dramatically in stages.
- Add in the remaining cocoa powder and vanilla extract and beat for another minute or so, until they are mixed in.
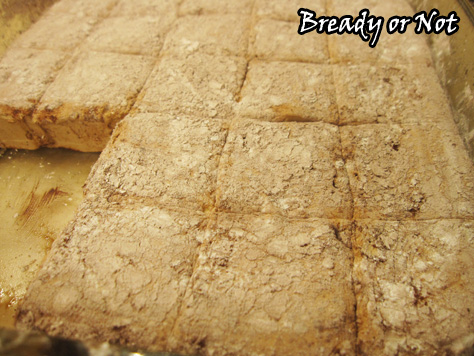
- Pour the very sticky goop into the ready casserole dish. Use a well-greased spatula to even it out. Add a few tablespoons of the cocoa/sugar mix and use your fingers to dust that over the top. Cover the dish with foil or plastic wrap and let it firm up. Give it at least four hours, or overnight.
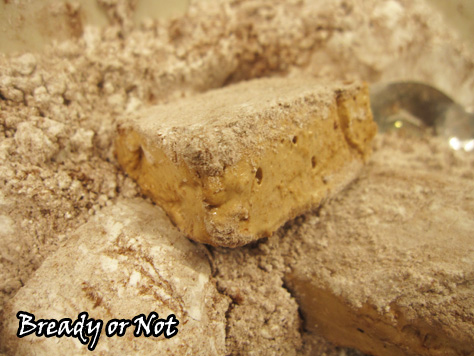
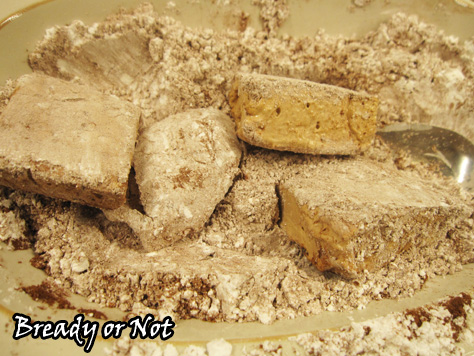
- Run a knife along the edges of the pan to loosen the marshmallows. You can try inverting the whole block onto a large cutting board, or use a knife or pizza cutter to do basic rectangles and then remove portions at a time. Cut the marshmallows into 1-inch cubes and toss them in the cocoa/sugar mix.
- Store the coffee marshmallows in an airtight container for up to one week. Enjoy them straight-up, or in coffee or hot cocoa.
- OM NOM NOM!
Read More
Follow me


