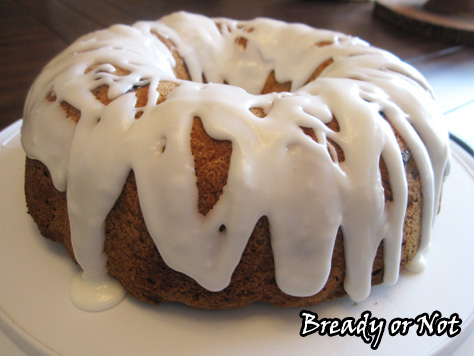
Bready or Not: Pumpkin Pucks
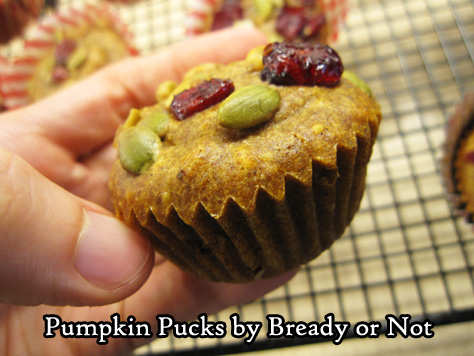
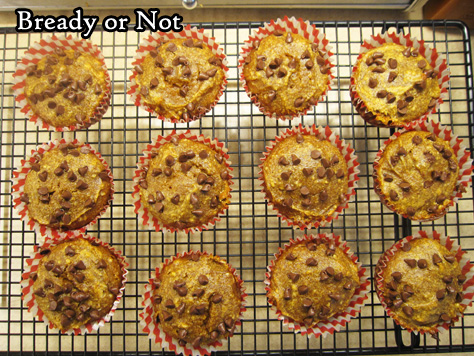
I continue to revisit old favorite pumpkin recipes to incorporate more experience and better photography. This week’s recipe is for Pumpkin Pucks.
These happen to be gluten-free and paleo, if you follow those diets. More to my needs, they are high-protein, avoid processed flours, and are DELICIOUS.
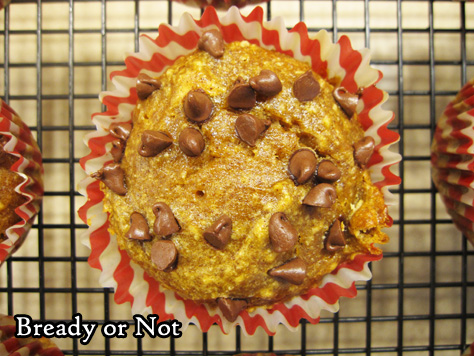
They are rather like mini pumpkin pie custards with a slightly nutty taste. Do note that this can be made with whole wheat and/or all-purpose flour, if you don’t care about it being gluten-free… but I by far prefer the taste with almond flour.
I have also used different nut butters. Almond butter tastes the strongest–in a very good way–though cashew butter was fantastic, too.
Once, I only had 3/4 cup of pumpkin, so I made up for the difference with applesauce. I found no major difference in taste or texture.
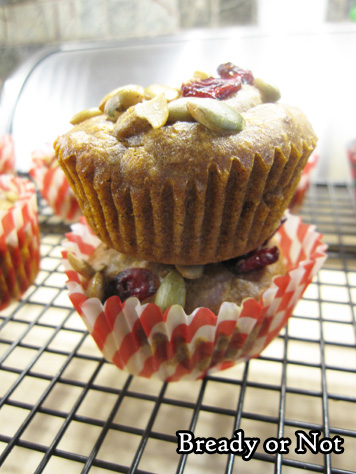
I find that two of these make for a delicious breakfast. The size makes them very kid-friendly. I have kept them in the fridge for upwards of a week. Also, these are fantastic to freeze. Just be sure to remove the muffin cup liners and use waxed paper between layers.
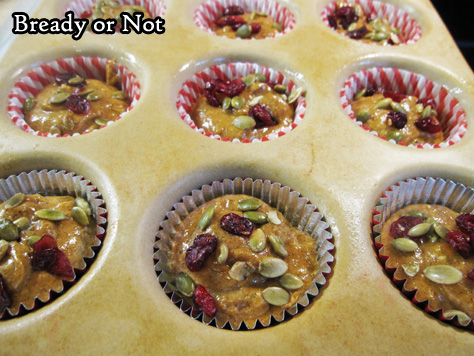
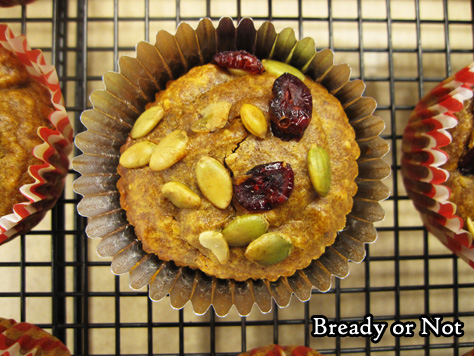
You can alter the flavor with different toppings, too. Mini chocolate chips are my favorite! Pepitas and dried cranberries work well, too; note that the cranberries are tart but mellow after time in the fridge.
Enjoy this healthy recipe, and be warned that next week takes a decidedly sugary turn with a recipe for Pumpkin Roll!
Modified from Paleo Parents.
Bready or Not: Pumpkin Pucks
Ingredients
- 1 cup pumpkin puree
- 1 cup almond butter or other nut butter
- 1/4 cup honey
- 2 Tbsp maple syrup
- 2 eggs room temperature
- 1/3 cup almond flour or wheat or all-purpose flour
- 1 Tbsp cinnamon
- 1 tsp nutmeg
- 1/2 tsp salt
Topping choice: 1/3 cup mini chocolate chips, OR chopped nuts or pepitas, or dried cranberries
Instructions
- Place muffin cup liners in pan, then spray the insides with nonstick spray. Preheat oven at 350-degrees.
- If your almond butter is very stiff, measure it out, place in a microwave-safe bowl, then zap it for 15 seconds or so to soften it. Mix pumpkin puree and the almond butter together.
- Add honey and maple syrup. Beat in eggs one at a time. Add the dry ingredients until everything is just combined.
- Fill the muffin cups to 3/4 full; a tablespoon scoop makes this easy, as it's almost exactly 2 tablespoons to fill the cups. Top with mini chocolate chips or nuts or cranberries, if desired.
- Bake at 350-degrees for about 20 minutes. Pumpkin pucks will not rise much. The tops of some may start to crack. Remove them from pan and allow to cool, then store in fridge.
- OM NOM NOM!
Bready or Not: Matcha Green Tea Cheesecake Bars
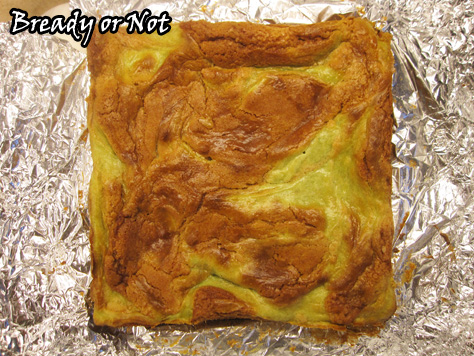
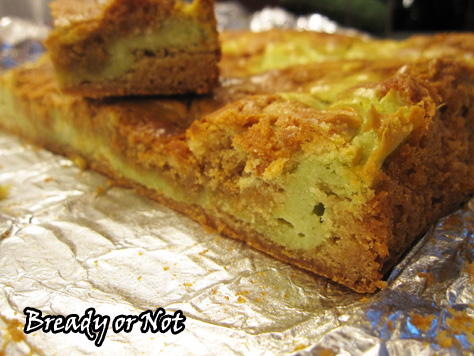
I’m presenting many wonderful matcha baked goods this month, but this one, dear readers, is the most delicious. The most divine. The most appropriate way to celebrate the release of Call of Fire.
My husband takes most all of my baked goods to work. These Matcha Cheesecake Bars earned a rare and vociferous response.
To directly quote, with expletives replaced Mad Lib style to make this work-safe and kid-safe:
“She needs to laminate that [noun for excrement].”
“Those were [verb for copulation, -ing] on point.”
Yeah. This recipe is a winner.
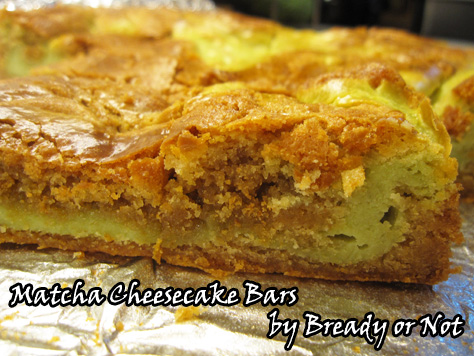
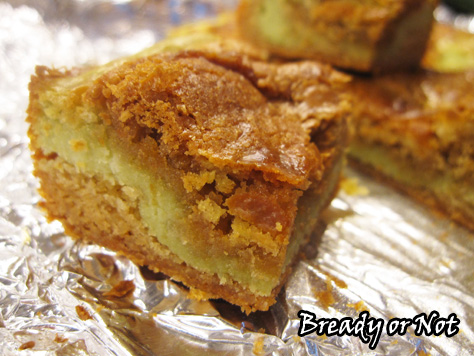
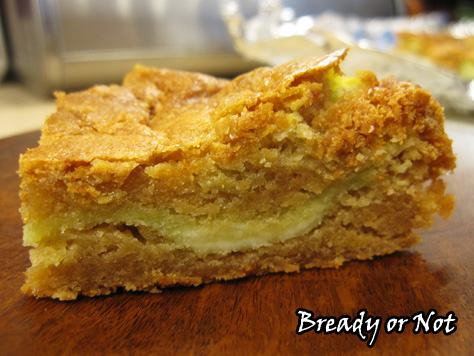
Plus, these bars are ridiculously easy to make. You make a crust. Mix up some green cheesecake. Do some layering and swirling.
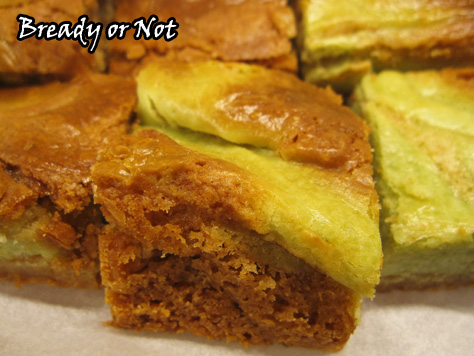
Mind you, I’m not a big cheesecake person, but thanks to the cookie-like crust, these are not rich like standard cheesecakes. You really get the best of everything here, and the matcha powder adds a wonderful fresh flavor and a lovely green tint.
Do note that the type of green tea you use may produce different results. I used a Rishi sweet green tea blend that includes sugar, making it ideal for lattes or baked goods. [Addendum: Readers have baked this recipe using standard matcha powder and have been delighted with the results! So use whatever green tea you have handy. If you want it sweeter, just add a touch more sugar.]
I plan on re-making this with a variety of teas. Look for another version of this recipe in the coming months!
Adapted from Every Day Dishes.
Bready or Not: Matcha Green Tea Cheesecake Bars
Ingredients
Crust
- 1 1/2 cups all-purpose flour
- 1 tsp baking powder
- 1/2 tsp salt
- 10 Tb unsalted butter softened
- 1 1/2 cups light brown sugar packed
- 2 eggs room temperature
- 1 Tb vanilla extract
Cheesecake layer
- 8 oz cream cheese softened
- 1/4 cup white sugar
- 2 Tb unsalted butter softened
- 2 Tb all-purpose flour
- 1 Tb matcha sweet or regular
- 1 egg room temperature
- 1/2 tsp vanilla extract
Instructions
- Preheat oven at 325-degrees. Line an 8x8 or 9x9 pan with aluminum foil and apply nonstick spray.
- In a medium bowl, sift together the flour, baking powder, and salt. Set aside.
- In a large mixer bowl, cream together the softened butter and brown sugar for about 3 minutes, until light and fluffy. Add 2 eggs and the vanilla extract, followed by the combined dry ingredients.
- Use an uneven spatula to smooth out HALF of the batter in the prepared pan. Place the other half in another bowl for now. Clean the mixing bowl before the next stage, if desired.
- To make the cheesecake layer, beat together the softened cream cheese, sugar, butter, flour, and matcha powder. Mix in the egg and vanilla until it is mostly smooth.
- Pour about HALF of the cream cheese mix on top of the batter in the pan and smooth it out. Dollop the remaining crust and cheesecake batters over the top, and use a butter knife to swirl them together.
- Bake for 45 to 55 minutes, until it passes the toothpick test in the middle. Let cool at room temperature for an hour, then place in fridge to continue chill and set for another hour or two.
- Lift it up by the aluminum foil and place on a cutting board to slice into bars. Store in a lidded container in fridge, with waxed paper or parchment between stacked layers.
- OM NOM NOM!
Read More
Bready or Not: Matcha Green Tea Bundt Cake
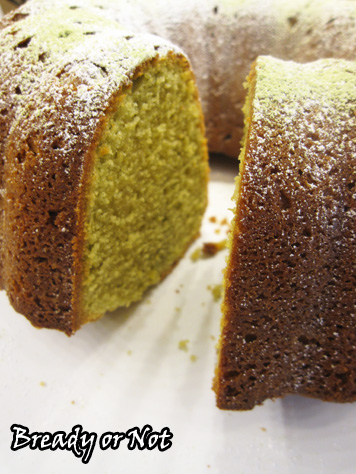
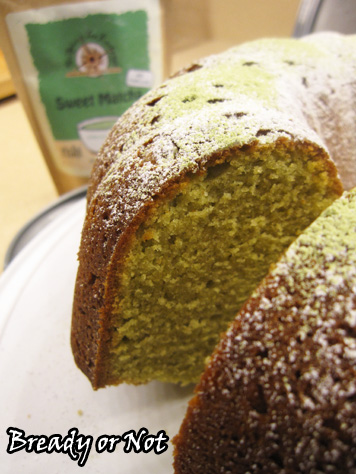
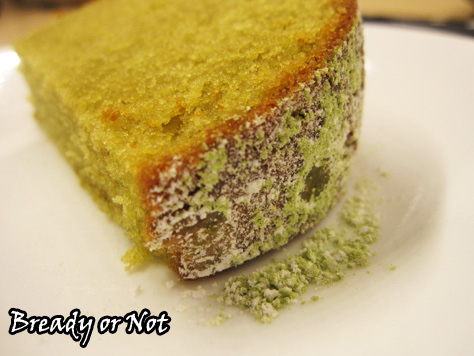
During my book release months, I typically follow a theme of cakes and pies. This time around, we’re doing something different: baked goods featuring matcha powder, aka green tea!
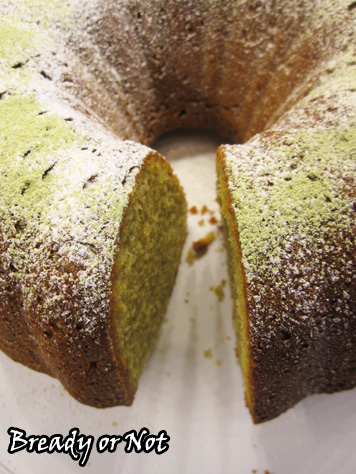
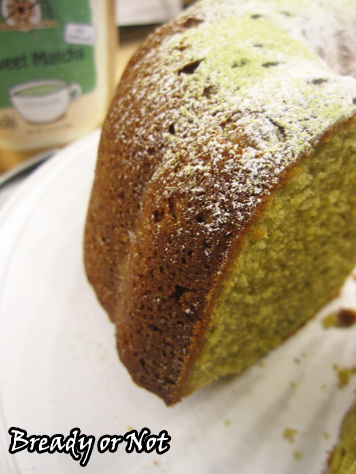
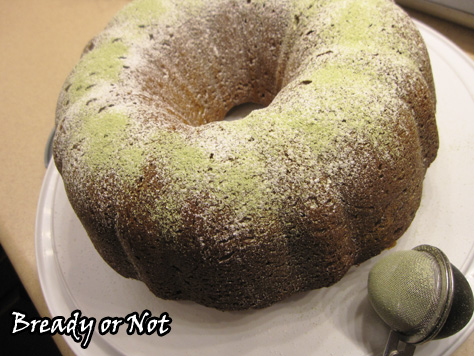
My first recipe can’t help but follow the traditional cake theme, though: Matcha Bundt Cake.
The America in my books Breath of Earth and Call of Fire is heavily influenced by Japanese culture. That’s evident in architecture, nickel cinemas, the vernacular–and in baked goods, too.
Of course, in our timeline, the phenomenon of green tea in leavened sweets is a contemporary innovation.
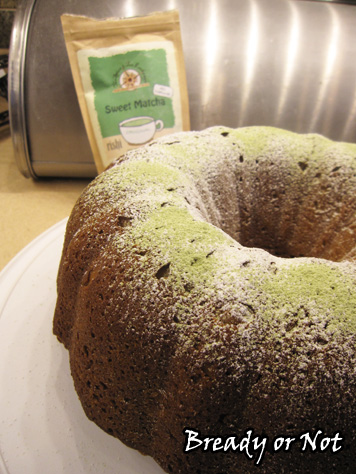
The type of green tea you use may produce different results. I used a Rishi sweet green tea blend that includes sugar, making it ideal for lattes or baked goods.
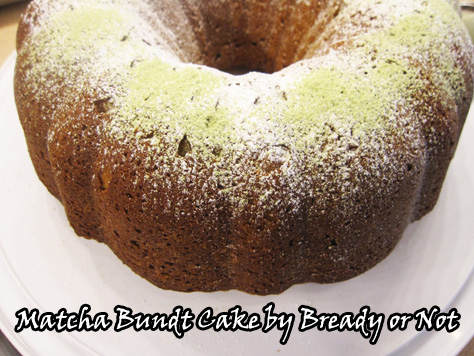
This bundt cake naturally baked up with a lovely light green tint, but as you’ll see, in some of the forthcoming cookie recipes, the green is barely visible. If you want things to turn out VERY green, just add some food dye.
This is essentially a tender pound cake in both taste and texture, with a unique fresh flavor from the tea.
In other words, DELICIOUS.
Modified from Week of Menus.
Bready or Not: Matcha Green Tea Bundt Cake
Ingredients
Cake
- 3 cups all-purpose flour
- 3 Tablespoons sweet matcha powder
- 1/2 teaspoon baking powder
- 1/2 teaspoon baking soda
- 1/2 teaspoon salt
- 1 cup unsalted butter 2 sticks, softened
- 1 3/4 cups white sugar
- 4 large eggs room temperature
- 2 teaspoons vanilla extract
- 1 cup sour cream 8 ounces
Topping
- 2 Tablespoons confectioners' sugar sifted
- 1/4 teaspoon sweet matcha powder sifted
Instructions
- Preheat oven at 350-degrees. Grease and lightly flour a 10-or 12-inch bundt pan.
- In a medium bowl, stir together the dry ingredients: flour, matcha powder, baking powder, baking soda and salt. Set aside.
- In a large bowl, beat the butter creamy. Gradually add sugar; continue to mix until it is light in texture and color. Add the eggs one at a time, beating after each addition, followed by the vanilla extract.
- Gradually add the dry mix and sour cream into the big bowl, going back and forth between the two, until everything is combined. Scoop batter into the ready pan.
- Bake cake for 50 to 60 minutes, until it passes the toothpick test in the middle. Cool the cake for about 10 minutes, then invert it onto a rack to completely cool.
- Sift the confectioners' sugar on top of the cake, followed by the matcha. Slice and serve. Keep covered on counter.
- OM NOM NOM!
Read More
Bready or Not: Easy Buttermilk Biscuits
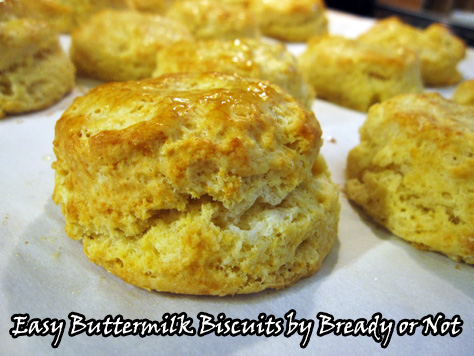
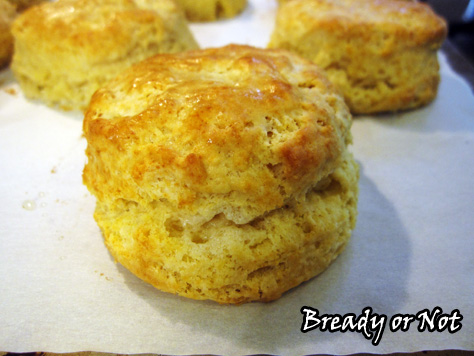
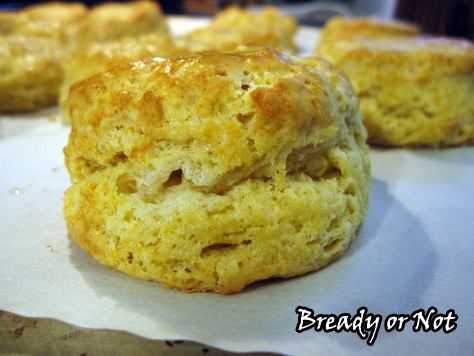
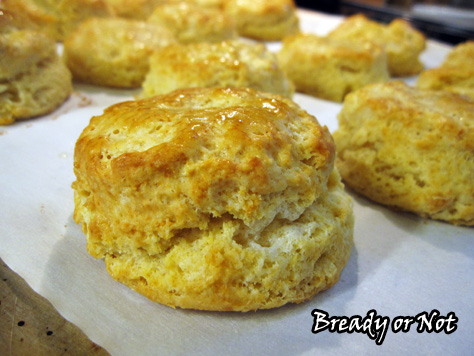
I first posted this recipe over three years ago. I’m sharing it again because 1) biscuits are timeless and awesome, and 2) I have much better photographs this time around.
I failed at buttermilk biscuits for years. This grieved me. This recipe, finally, is the one that has repeatedly produced lofty, flaky, perfect biscuits.
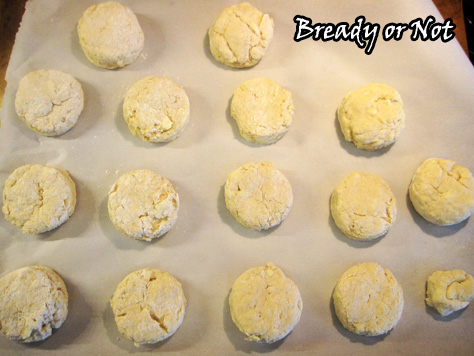
The trick is to keep small chunks of butter throughout the dough. That’s what makes flaky layers. Most of the pieces should be pea-sized, and somewhat flat. For that reason, I will start mixing everything together with a big spoon or pastry cutter, but by the end I use my fingers.
Biscuits are important within my family. My dad’s from Alabama. My husband’s family has Arkansas roots. Most meals come with a side of bread, and you can’t get more southern than baking soda-leavened biscuits.
I never keep buttermilk around, but instead rely on sour milk. I have also made these using buttermilk powder and water. The biscuits taste the same with every method–DELICIOUS.
Bready or Not: Easy Buttermilk Biscuits
Ingredients
- 4 cups all-purpose flour
- 4 teaspoons baking powder
- 1 teaspoon baking soda
- 1 teaspoon salt
- 12 Tablespoons unsalted butter 1 1/2 cubes, cold, cut up
- 1 1/2 cups buttermilk or sour milk
- 1/4 cup milk to brush on tops BEFORE baking
- 2 Tablespoons unsalted butter melted, to brush on tops AFTER baking
Instructions
- Preheat oven to 450-degrees. Prepare baking sheet by lightly greasing or using parchment or baking mats.
- Combine the dry ingredients: flour, baking powder, baking soda, and salt. Gradually cut the butter into the flour mix, using a pastry blender or forks until it's down to pea size.
- Add the buttermilk and combine until it just comes together. Don't overwork it! The butter needs to stay in small lumps; that creates the flaky layers. It's often best to use fingers to mix at the end.
- Lightly flour about a square foot of counter. Press the dough out to be about an even 3/4-inch thick. Use a 3-inch round biscuit cutter to punch out shapes and place on baking sheets. Brush a little bit of milk on the biscuits.
- Bake for 12 to 15 minutes or until they turn golden brown. Remove from oven and immediately brush melted butter on the tops.
- OM NOM NOM!
Read More
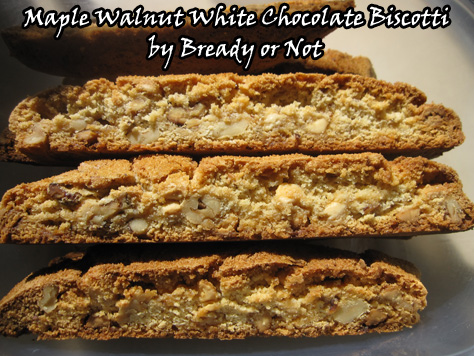
Bready or Not: Maple Walnut White Chocolate Biscotti
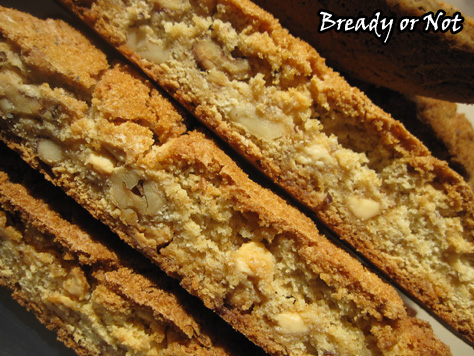
Back in May, I posted my Snickerdoodle Biscotti recipe. This is the next installment: Maple-Walnut White Chocolate Biscotti, modified from a King Arthur Flour recipe.
I first made this following the original version pretty closely. I received feedback that it was good, but it was also way too nutty.
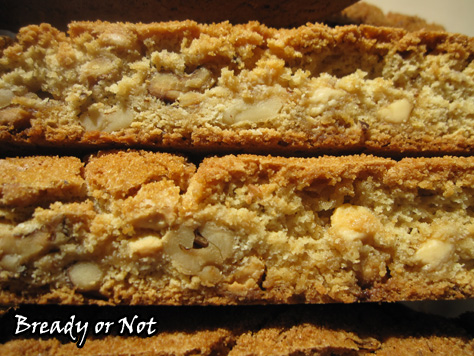
Clearly, I needed to rewrite the recipe and make it work. I decided to halve the walnuts, and replace that half with white chocolate chips. This time, I received feedback that they were the most awesome biscotti ever.
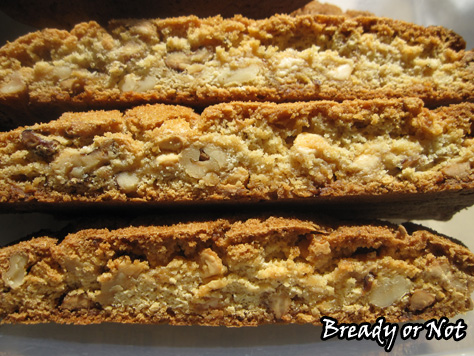
In a single bite, it’s easy to see why. The maple flavor is great, the walnuts add a wonderful crunch within the already-crunchy dough, and the white chocolate adds sublime sweetness to bring everything together.
Since these are biscotti, they will keep well, sealed, for weeks. That makes these great for mailing (though perhaps not in the middle of summer, as there is some chocolate in these) or presenting as gifts.
As I noted before, homemade biscotti cannot be compared to the store versions, which could be used as billy clubs to defend households against burglars. Homemade biscotti are crunchy but still chewy… and, of course, taste best if dipped into coffee or tea.
Bready or Not: Maple Walnut White Chocolate Biscotti
Ingredients
- 1 cup walnuts coarsely chopped
- 2 large eggs
- 1/2 cup white sugar
- 1/2 cup brown sugar packed
- 1/4 cup pure maple syrup
- 3/4 teaspoon maple flavor
- 1/3 cup unsalted butter melted
- 2 1/2 cups all-purpose flour
- 2 teaspoons baking powder
- 1/2 teaspoon salt
- 1 cup white chocolate chips
- 1 Tablespoon maple sugar optional, or turbinado sugar for topping
Instructions
- Preheat oven at 350-degrees. Line a baking sheet with parchment. Toast the walnuts for about 8 minutes, until they're light golden brown and smell toasty. Set them aside in a bowl to cool, but keep the parchment on the pan.
- In a large bowl, beat together the eggs, sugars, maple syrup, and maple flavor. Add the melted butter, and beat until smooth.
- Mix in the flour, baking powder, and salt. Add the walnuts next, followed by the white chocolate chips.
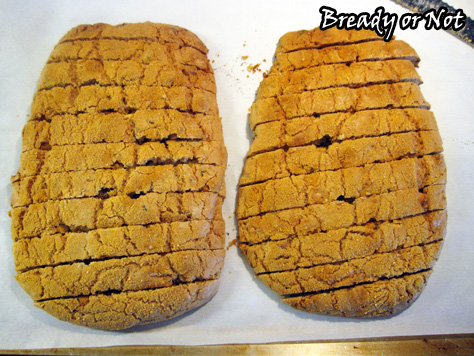
- Divide the dough in half on the prepared baking sheet. Form each into a log about 4 inches wide and 10 inches long; make sure there is space between the two logs, as they'll grow in the oven.
- Sprinkle maple sugar or turbinado sugar over the tops of both logs.
- Bake about 30 minutes, until the biscotti is lightly browned with small cracks forming across the top. Remove the baking sheet, but be sure to leave the oven on.
- Let the biscotti cool for 10 minutes. Use a large knife, such as a bread knife, to diagonally slice the logs 1/2-inch apart. Use a straight-down motion to cut; don't saw.
- Arrange the biscotti spaced out on the baking sheet. Stand them up if possible, or lay them on their sides. Bake for another 20 to 25 minutes, flipping them over halfway if necessary, to equally crisp both sides.
- Cool completely on the baking sheet. Store in an airtight container as long as a few weeks.
- OM NOM NOM!
Read More
Bready or Not: Blueberry Pound Cake with Lemon Glaze
Blueberries are in season, so let’s get baking!
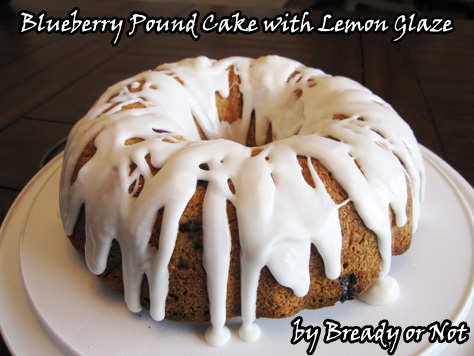
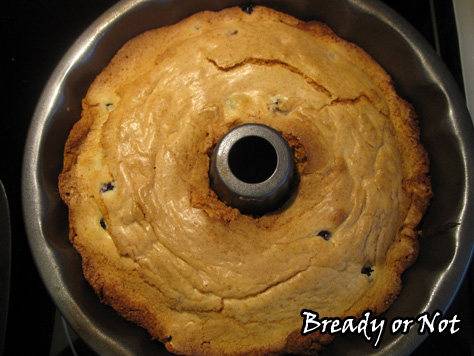
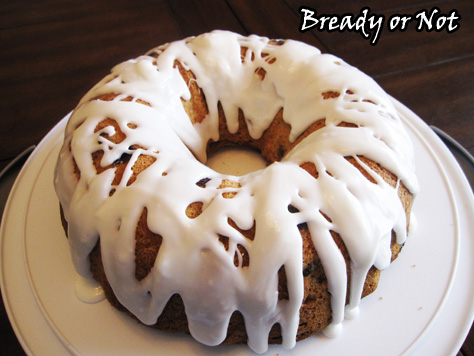
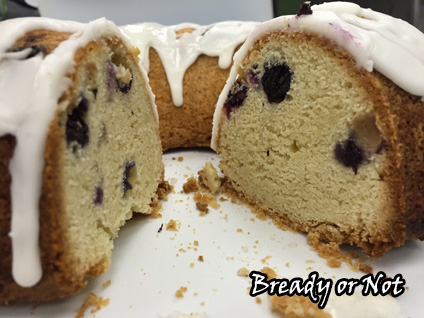
This cake is sheer perfection. This has the tender texture of a pound cake, with added sweetness from dapples of blueberries.
Oh yeah, and then there’s the glaze. When I was meddling with the base recipe, that version felt so… naked.
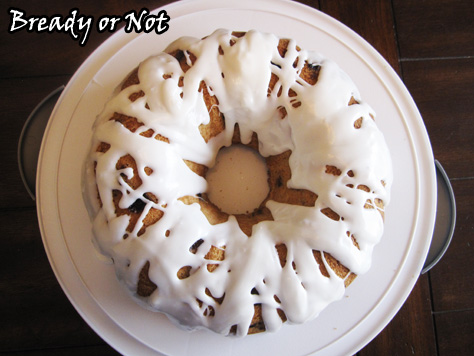
The lemon glaze adds a bit more sweetness, and a tartness that contrasts perfectly with the blueberries.
The glaze looks gorgeous, too!
This cake is perfect for breakfast, brunch, or dessert. Whenever the heck you want it, really.
Modified from Through Her Looking Glass.
Bready or Not: Blueberry Pound Cake with Lemon Glaze
Ingredients
Cake
- 6 ounces blueberries washed, drained, and patted dry
- 3 cups flour divided
- 1 teaspoon baking powder
- 1/2 teaspoon salt
- 1 cup unsalted butter 2 sticks, room temperature
- 2 cups white sugar
- 4 large eggs room temperature
- 1 1/2 teaspoons vanilla extract
Glaze
- 1 1/2 cups confectioners' sugar sifted
- 1 Tablespoon + milk
- 1/2 teaspoon lemon extract
Instructions
- Preheat oven at 350-degrees. Prepare a 10 or 12-cup bundt pan by applying Pam with Flour or buttering well and dusting with flour.
- In a small bowl, gently stir the blueberries with 1/4 cup flour. This will keep the blueberries from sinking in the batter as it bakes. Set bowl aside.
- In a medium bowl, stir the remaining flour with the baking powder and salt. Set aside.
- In a mixing bowl, cream the butter and sugar together until fluffy. Add the eggs one at a time, followed by the vanilla. Beat it until fluffy again.
- Slowly mix in the dry ingredients until just blended. Follow that by gently folding in the blueberries.
- Use a rubber spatula to pour the batter into the ready pan. Bake for 50 minutes to 1 hour, until it passes the toothpick test.
- Let the cake cool for about 10 minutes, then invert it onto a rack to completely cool. Once the cake is at room temperature, mix the glaze. Add enough milk to give it the desired pourable consistency. Drizzle it over cake.
- Store cake in fridge.
- OM NOM NOM!
Read More


