


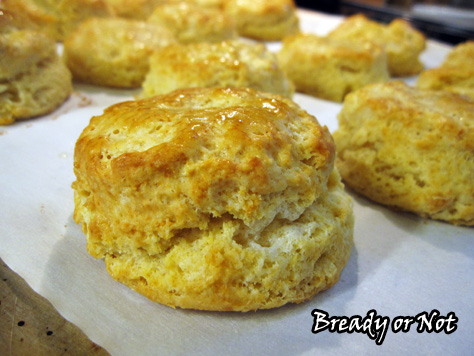
Bready or Not: Easy Buttermilk Biscuits
I first posted this recipe over three years ago. I’m sharing it again because 1) biscuits are timeless and awesome, and 2) I have much better photographs this time around.
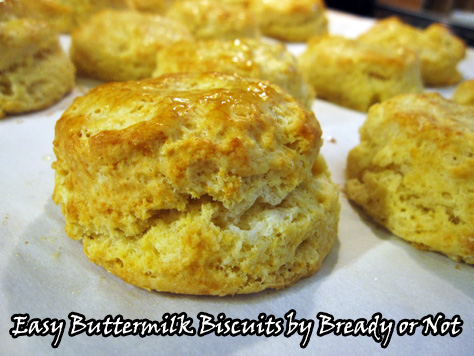
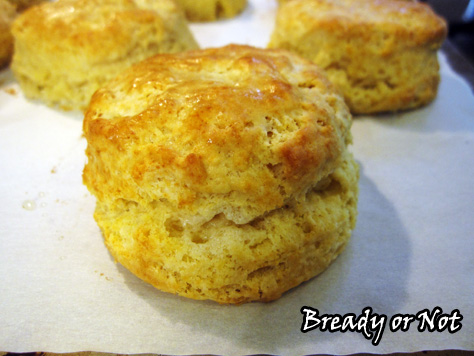
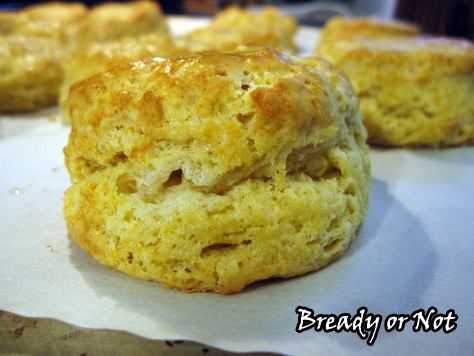
I failed at buttermilk biscuits for years. This grieved me. This recipe, finally, is the one that has repeatedly produced lofty, flaky, perfect biscuits.
The trick is to keep small chunks of butter throughout the dough. That’s what makes flaky layers. Most of the pieces should be pea-sized, and somewhat flat. For that reason, I will start mixing everything together with a big spoon or pastry cutter, but by the end I use my fingers.
Biscuits are important within my family. My dad’s from Alabama. My husband’s family has Arkansas roots. Most meals come with a side of bread, and you can’t get more southern than baking soda-leavened biscuits.
I never keep buttermilk around, but instead rely on sour milk. I have also made these using buttermilk powder and water. The biscuits taste the same with every method–DELICIOUS.

Bready or Not: Easy Buttermilk Biscuits
Ingredients
- 4 cups all-purpose flour
- 4 teaspoons baking powder
- 1 teaspoon baking soda
- 1 teaspoon salt
- 12 Tablespoons unsalted butter 1 1/2 cubes, cold, cut up
- 1 1/2 cups buttermilk or sour milk
- 1/4 cup milk to brush on tops BEFORE baking
- 2 Tablespoons unsalted butter melted, to brush on tops AFTER baking
Instructions
- Preheat oven to 450-degrees. Prepare baking sheet by lightly greasing or using parchment or baking mats.
- Combine the dry ingredients: flour, baking powder, baking soda, and salt. Gradually cut the butter into the flour mix, using a pastry blender or forks until it's down to pea size.
- Add the buttermilk and combine until it just comes together. Don't overwork it! The butter needs to stay in small lumps; that creates the flaky layers. It's often best to use fingers to mix at the end.
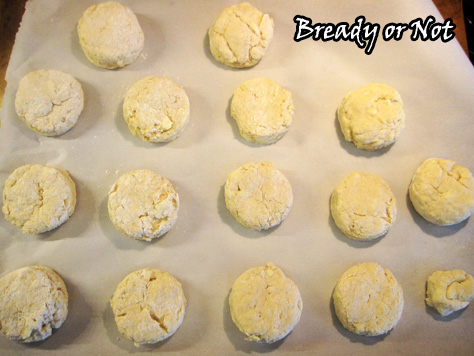
- Lightly flour about a square foot of counter. Press the dough out to be about an even 3/4-inch thick. Use a 3-inch round biscuit cutter to punch out shapes and place on baking sheets. Brush a little bit of milk on the biscuits.
- Bake for 12 to 15 minutes or until they turn golden brown. Remove from oven and immediately brush melted butter on the tops.
- OM NOM NOM!
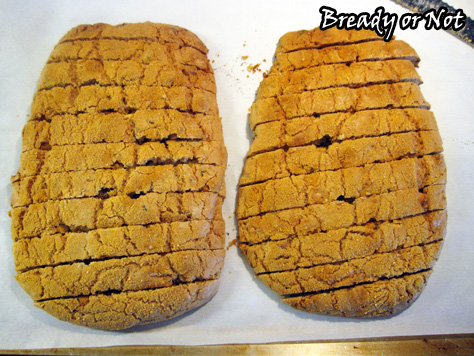
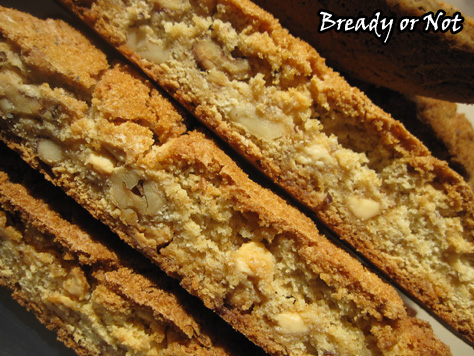
Bready or Not: Maple Walnut White Chocolate Biscotti
Back in May, I posted my Snickerdoodle Biscotti recipe. This is the next installment: Maple-Walnut White Chocolate Biscotti, modified from a King Arthur Flour recipe.

I first made this following the original version pretty closely. I received feedback that it was good, but it was also way too nutty.
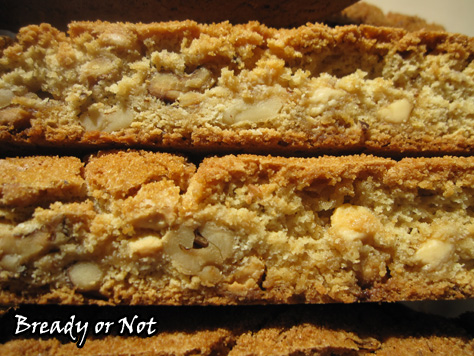
Clearly, I needed to rewrite the recipe and make it work. I decided to halve the walnuts, and replace that half with white chocolate chips. This time, I received feedback that they were the most awesome biscotti ever.
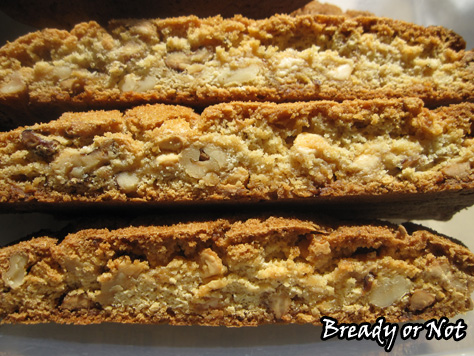
In a single bite, it’s easy to see why. The maple flavor is great, the walnuts add a wonderful crunch within the already-crunchy dough, and the white chocolate adds sublime sweetness to bring everything together.
Since these are biscotti, they will keep well, sealed, for weeks. That makes these great for mailing (though perhaps not in the middle of summer, as there is some chocolate in these) or presenting as gifts.
As I noted before, homemade biscotti cannot be compared to the store versions, which could be used as billy clubs to defend households against burglars. Homemade biscotti are crunchy but still chewy… and, of course, taste best if dipped into coffee or tea.
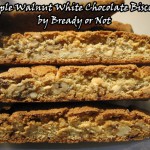
Bready or Not: Maple Walnut White Chocolate Biscotti
Ingredients
- 1 cup walnuts coarsely chopped
- 2 large eggs
- 1/2 cup white sugar
- 1/2 cup brown sugar packed
- 1/4 cup pure maple syrup
- 3/4 teaspoon maple flavor
- 1/3 cup unsalted butter melted
- 2 1/2 cups all-purpose flour
- 2 teaspoons baking powder
- 1/2 teaspoon salt
- 1 cup white chocolate chips
- 1 Tablespoon maple sugar optional, or turbinado sugar for topping
Instructions
- Preheat oven at 350-degrees. Line a baking sheet with parchment. Toast the walnuts for about 8 minutes, until they're light golden brown and smell toasty. Set them aside in a bowl to cool, but keep the parchment on the pan.
- In a large bowl, beat together the eggs, sugars, maple syrup, and maple flavor. Add the melted butter, and beat until smooth.
- Mix in the flour, baking powder, and salt. Add the walnuts next, followed by the white chocolate chips.
- Divide the dough in half on the prepared baking sheet. Form each into a log about 4 inches wide and 10 inches long; make sure there is space between the two logs, as they'll grow in the oven.
- Sprinkle maple sugar or turbinado sugar over the tops of both logs.
- Bake about 30 minutes, until the biscotti is lightly browned with small cracks forming across the top. Remove the baking sheet, but be sure to leave the oven on.
- Let the biscotti cool for 10 minutes. Use a large knife, such as a bread knife, to diagonally slice the logs 1/2-inch apart. Use a straight-down motion to cut; don't saw.
- Arrange the biscotti spaced out on the baking sheet. Stand them up if possible, or lay them on their sides. Bake for another 20 to 25 minutes, flipping them over halfway if necessary, to equally crisp both sides.
- Cool completely on the baking sheet. Store in an airtight container as long as a few weeks.
- OM NOM NOM!
Read More
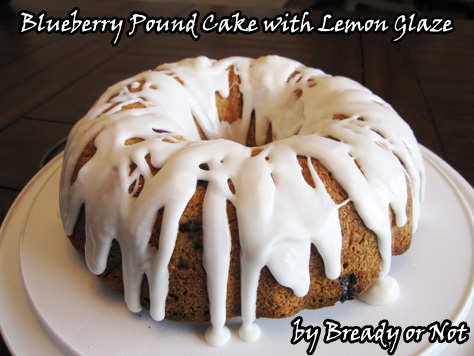
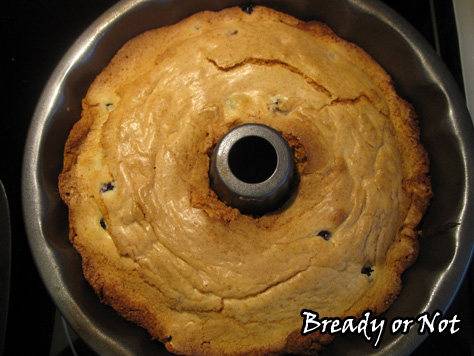
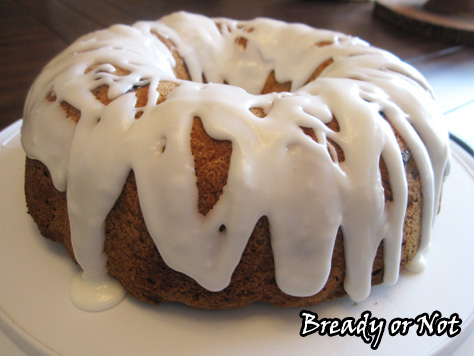
Bready or Not: Blueberry Pound Cake with Lemon Glaze
Blueberries are in season, so let’s get baking!
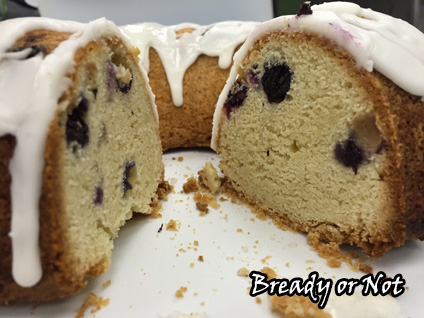
This cake is sheer perfection. This has the tender texture of a pound cake, with added sweetness from dapples of blueberries.
Oh yeah, and then there’s the glaze. When I was meddling with the base recipe, that version felt so… naked.
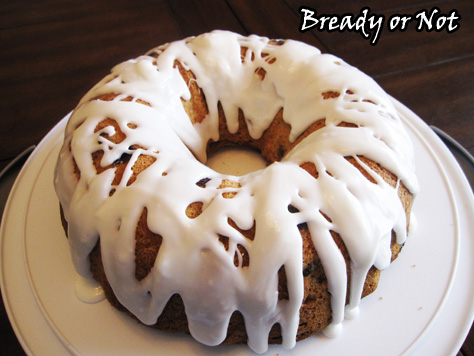
The lemon glaze adds a bit more sweetness, and a tartness that contrasts perfectly with the blueberries.
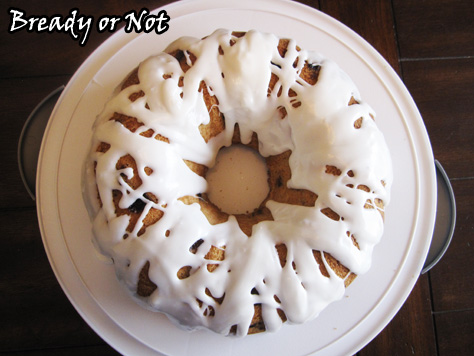
The glaze looks gorgeous, too!
This cake is perfect for breakfast, brunch, or dessert. Whenever the heck you want it, really.
Modified from Through Her Looking Glass.

Bready or Not: Blueberry Pound Cake with Lemon Glaze
Ingredients
Cake
- 6 ounces blueberries washed, drained, and patted dry
- 3 cups flour divided
- 1 teaspoon baking powder
- 1/2 teaspoon salt
- 1 cup unsalted butter 2 sticks, room temperature
- 2 cups white sugar
- 4 large eggs room temperature
- 1 1/2 teaspoons vanilla extract
Glaze
- 1 1/2 cups confectioners' sugar sifted
- 1 Tablespoon + milk
- 1/2 teaspoon lemon extract
Instructions
- Preheat oven at 350-degrees. Prepare a 10 or 12-cup bundt pan by applying Pam with Flour or buttering well and dusting with flour.
- In a small bowl, gently stir the blueberries with 1/4 cup flour. This will keep the blueberries from sinking in the batter as it bakes. Set bowl aside.
- In a medium bowl, stir the remaining flour with the baking powder and salt. Set aside.
- In a mixing bowl, cream the butter and sugar together until fluffy. Add the eggs one at a time, followed by the vanilla. Beat it until fluffy again.
- Slowly mix in the dry ingredients until just blended. Follow that by gently folding in the blueberries.
- Use a rubber spatula to pour the batter into the ready pan. Bake for 50 minutes to 1 hour, until it passes the toothpick test.
- Let the cake cool for about 10 minutes, then invert it onto a rack to completely cool. Once the cake is at room temperature, mix the glaze. Add enough milk to give it the desired pourable consistency. Drizzle it over cake.
- Store cake in fridge.
- OM NOM NOM!
Read More
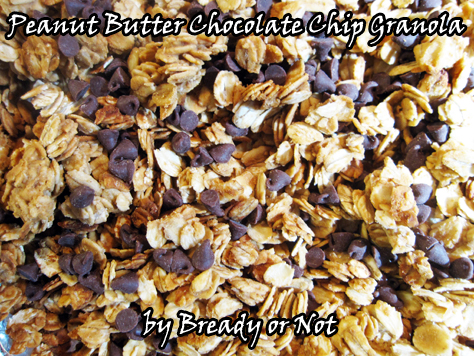
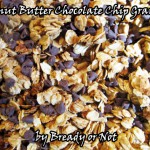
Bready or Not: Peanut Butter Chocolate Chip Granola
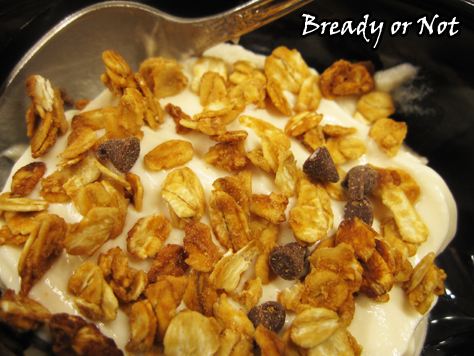
Homemade Peanut Butter Chocolate Chip Granola is delicious and oh-so-much cheaper than buying the pre-made stuff from the store.
My son is autistic and has a very limited diet. With the help of feeding therapy, we have gradually introduced him to new foods and new combinations of textures. He has eaten yogurt for years, and it turned out he really liked the addition of granola on top.
Me being me, I saw the prices of granola at the store and decided I’d start making it myself. My son loves peanut butter and chocolate, so I knew that it’d be a great combo for him.
When I didn’t see an existing recipe that I liked, I decided to make my own. This is the result.
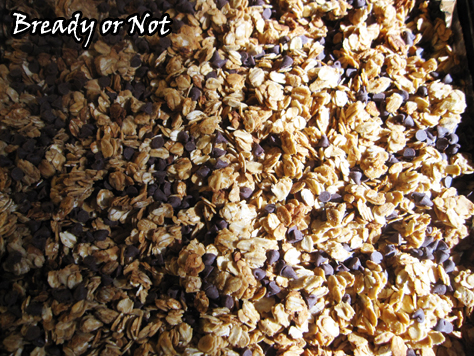
This granola is quick to mix together and quick to bake, too. Just be careful to NOT overbake. It’s easy to do, since it’s hard to tell how crisp the granola will get after you remove it from the oven.
If you eat gluten-free, use GF oats and check your other ingredients!
Bready or Not Original: Peanut Butter Chocolate Chip Granola
Ingredients
- 2 1/2 cups old fashioned rolled oats
- 1/4 cup creamy peanut butter
- 1/4 cup honey
- 1 teaspoon vanilla extract
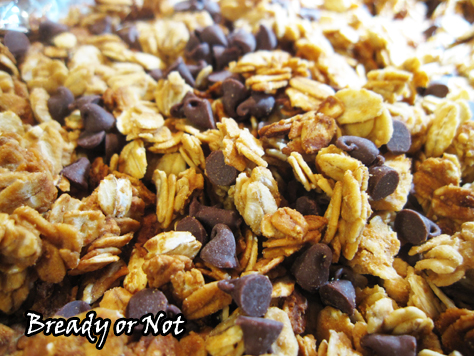
- 1/3 cup mini chocolate chips
Instructions
- Preheat oven at 275-degrees. Line a large, rimmed cookie sheet with aluminum foil and rub with butter or apply nonstick spray.
- Place the oats in a large bowl. In a small bowl, microwave the peanut butter and honey for 30 seconds; the peanut butter should be starting to melt. Stir them together, then add vanilla extract.
- Pour the peanut butter mix over the oats; stir until the oats are completely coated. Spread the granola on the foil-lined sheet and bake for 15 minutes. Stir. Bake for another 10 to 15 minutes, then set out to cool. Note that it will continue to crisp up as it cools, so don't overbake!
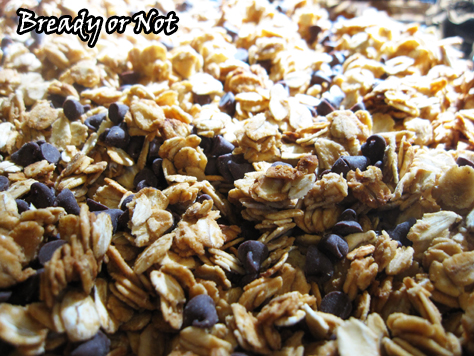
- Once the granola is cool, mix in the chocolate chips. Store in a sealed container.
- OM NOM NOM!
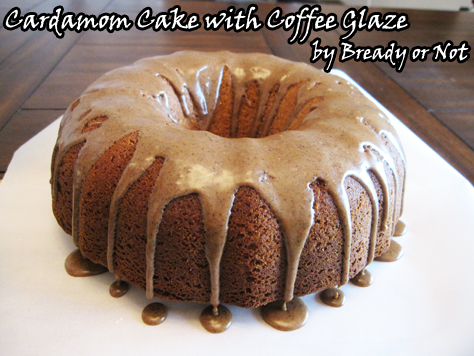
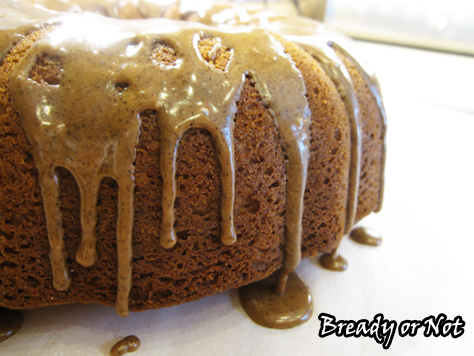
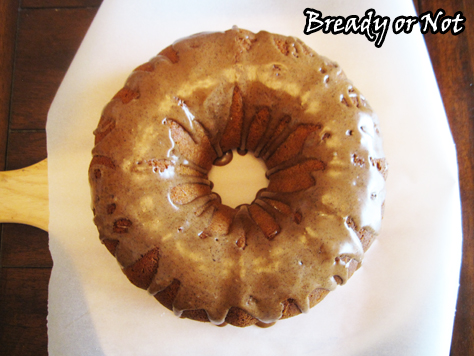
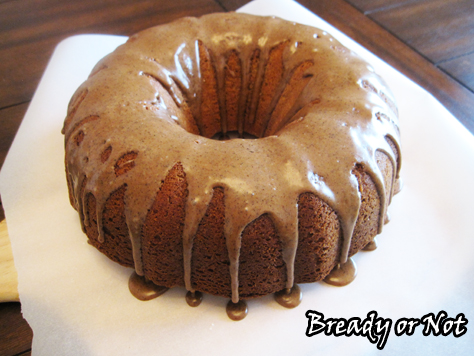
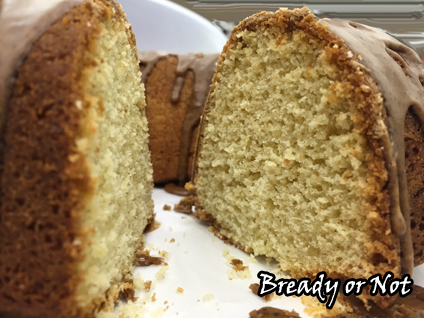
Bready or Not: Cardamom Bundt Cake with Coffee Glaze
It’s June and hey, let’s eat cake! Cardamom Cake with Coffee Glaze. A bundt cake full of sugar and glory and cardamom-y goodness.
I read a lot of books. I also read a lot of magazines. One of my favorite things to do is hit up a good used book store or library book sale and buy stacks of older food magazines to raid for recipes.
That’s how I found the original recipe for this in an October 2013 issue of Country Living. I modified it, removing pistachios and tweaking here and there, and created a cake that earned the utter adoration of my husband’s co-workers.
Coffee and cardamom is a fantastic flavor combination. You might remember the Cardamom Coffee Pound cake I posted last fall. This bundt cake is like that awesome loaf cake, and so much more.
It’s bigger, for one, being a full-size cake. It has a kinda pound cake thing going, too. The sour cream does miraculous thing for cake texture, creating crumb that is dense, not crumbly.
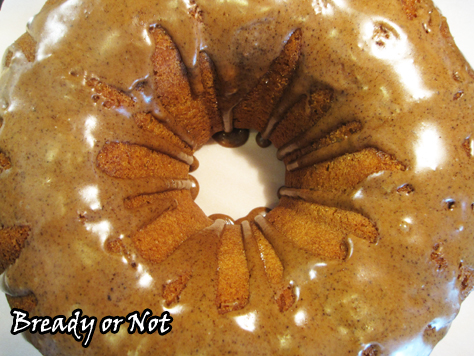
This is a cake you can eat out of hand, no saucer required. And you’ll want to lick your fingers clean, too, because the glaze includes espresso powder (one of my favorite ingredients to keep around) and sugar.
If the caffeine doesn’t boost your day, you know the sugar will!

Bready or Not: Cardamom Bundt Cake with Coffee Glaze
Ingredients
Bundt cake
- 1 cup unsalted butter 2 sticks, room temperature, plus more to grease pan
- dried breadcrumbs fine texture, to dust pan
- cooking spray
- 2 1/3 cups cake flour
- 1 1/2 teaspoons ground cardamom
- 1 1/2 teaspoons baking powder
- 3/4 teaspoon baking soda
- 1/2 teaspoons salt
- 1 1/2 cups white sugar
- 4 large eggs room temperature
- 1 teaspoon vanilla extract
- 1 cup sour cream 8 ounces
Coffee glaze
- 2/3 cup confectioners' sugar sifted
- 1 teaspoon espresso powder
- 1/4 teaspoon unsweetened cocoa powder
- 1 Tablespoon milk or half & half, plus more if needed
Instructions
- Preheat oven to 350-degrees. Generously butter a 10 or 12-cup Bundt pan. Dust the pan with fine bread crumbs; a toasted and pulverized half heel of bread will do. Apply cooking spray over the bread crumbs.
- In a medium bowl, whisk together flour, cardamom, baking powder, baking soda, and salt; set aside.
- In a large bowl, use a mixer on medium to beat the butter and sugar until light and fluffy. Add eggs one at a time followed by the vanilla extract, beating until very pale yellow.
- Reduce the mixer speed and alternate between adding the flour mix and the sour cream into the butter blend.
- Pour the batter into the prepared pan, using a rubber spatula. Bake cake until a wooden toothpick inserted into the cake comes out dry with only a few moist crumbs attached, 45 to 50 minutes. Transfer pan to a wire rack to cool for 30 minutes, then invert cake onto rack to completely cool. Once cool, move cake to cake plate and prepare glaze.
- Whisk together sugar, espresso powder, and cocoa powder. Add milk and stir, adding more milk as needed until glaze is just thin enough to drizzle. Dribble over cake.
- OM NOM NOM!
Read More
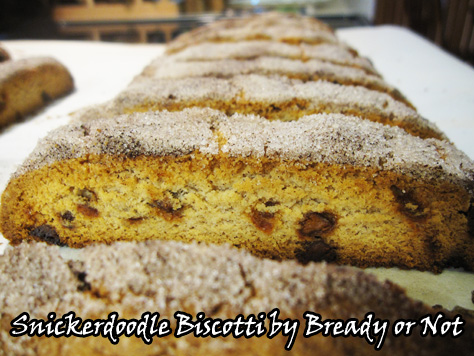
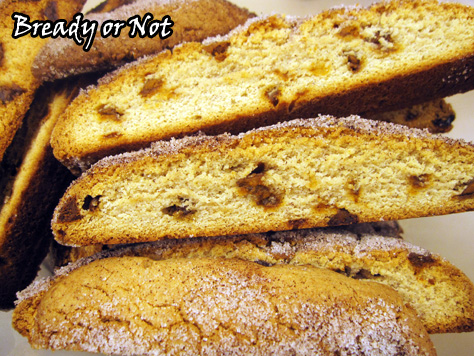
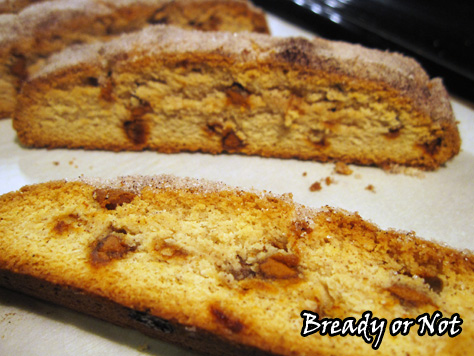
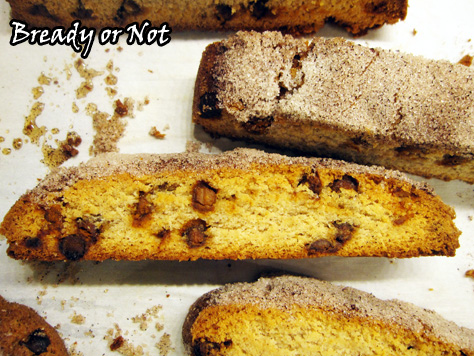
Bready or Not: Snickerdoodle Biscotti
Brace yourself: I’ve been experimenting with biscotti, and this Snickerdoodle version is the first of several you’ll see this year!
Yes, these really do taste like Snickerdoodles, only in a crisper, more dunk-able form. I even added cream of tartar to the recipe, to amp up the Snickerdoodliness. (That should totally be a word.)
For years, I have said that I dislike biscotti. That’s because the only kind I ever tried came from the grocery store, and it was HARD. Like, “this could break my teeth,” hard. It didn’t help that I don’t drink coffee and therefore had nothing to dip the biscotti into to soften it.
Then the Great British Bake Off featured biscotti and my interest was piqued. The bakers made it look easy. Doable. And the fresh version was supposed to be crisp, not teeth-shatteringly hard.
I hunted down some recipes. I started baking. I discovered, once again, that the Great British Bake Off abounds in wisdom. Homemade biscotti is easy and tasty.
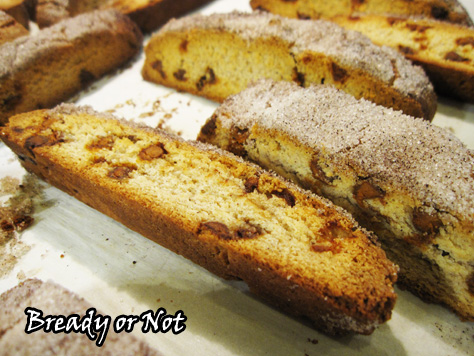
These Snickerdoodle Biscotti are fantastic for Snickerdoodle lovers. The cinnamon-sugar top makes these even look and smell like the cookie version, and the flavor….!
Oh yeah. Snickerdoodliness.
Because these are biscotti, they keep well for a few weeks, too. That makes these great to stash away or to even ship across distances.
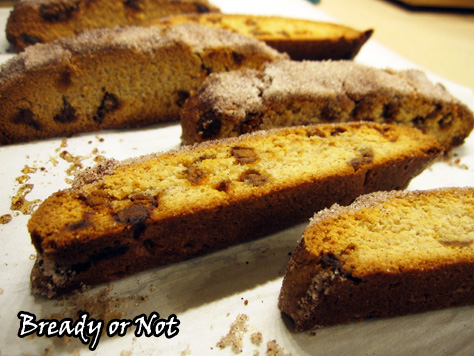
And even if they go stale, I bet you they are still a million times better than the grocery store version.
Modified from Brown Eyed Baker.
Bready or Not: Snickerdoodle Biscotti
Ingredients
biscotti
- 2 3/4 cups all-purpose flour
- 1 1/2 teaspoons ground cinnamon
- 1 teaspoon baking powder
- 1/2 teaspoon cream of tartar
- 1/2 teaspoon salt
- 1/2 cup unsalted butter 1 stick, room temperature
- 1 cup white sugar
- 2 eggs room temperature
- 1 teaspoon vanilla extract
- 1/2 cup cinnamon chips
topping
- 1/4 cup white sugar
- 1 teaspoon ground cinnamon
Instructions
- Preheat oven to 375-degrees. Line a baking sheet with parchment paper; set aside.
- In a medium bowl, whisk together the dry ingredients: flour, cinnamon, baking powder, cream of tartar, and salt.
- In a large bowl, cream together the sugar and butter on medium speed until light and fluffy, 3 to 5 minutes. Scrape the sides of the bowl often. Add the eggs, one at a time, followed by the vanilla. Gradually add the dry ingredients, mixing just until a dough forms. Finally, mix in the cinnamon chips.
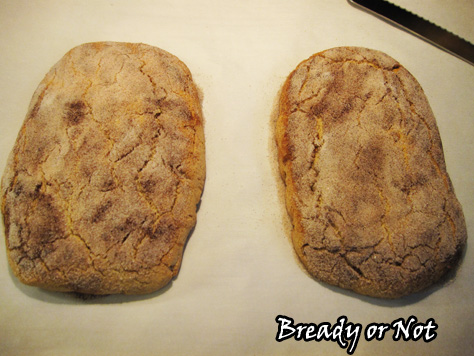
- Divide the dough in half on the prepared baking sheet. Form each into a log about 4 inches wide and 10 inches long; make sure there is space between the two logs, as they'll grow in the oven.
- Mix together the topping ingredients and sprinkle over both dough logs.
- Bake about 25 minutes, until the biscotti is lightly browned with small cracks forming across the top. Remove the baking sheet from the oven, but be sure to leave the oven on.
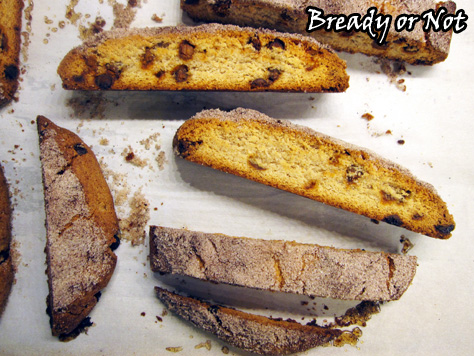
- Let the biscotti cool for 10 minutes. Use a large knife, such as a bread knife, to diagonally slice the logs 1/2-inch apart. Use a straight-down motion to cut; don't saw.
- Arrange the biscotti spaced out on the baking sheet. Stand them up if possible, or lay them on their sides. Bake for another 15-20 minutes, flipping them over halfway if necessary, to equally crisp both sides.
- Cool completely on the baking sheet. Store in an airtight container as long as a few weeks.
- OM NOM NOM!
Read More
Follow me


