


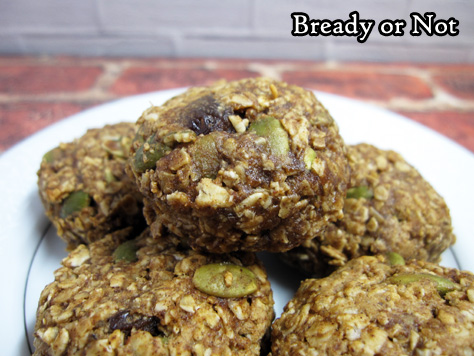
Bready or Not: Healthy Breakfast Cookies [Redux]
Cookies for breakfast. Healthy cookies. No refined sugars. Vegan. Also gluten-free, if you use GF oats.
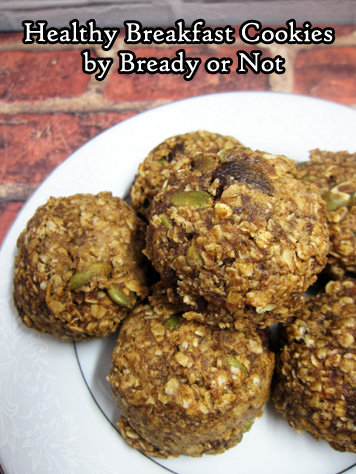
Even better: they taste delicious.
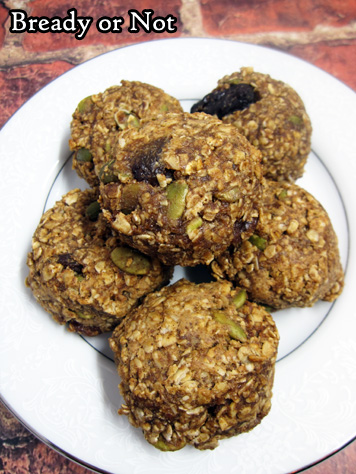
This is one of my favorite breakfast recipes, one I’ve made at least once a month for the past five years. In fact, I posted it on Bready or Not back in 2014. Delicious as the cookies are, I couldn’t finagle the lighting then to do the recipe justice. Now, thanks to my Shotbox, I can.

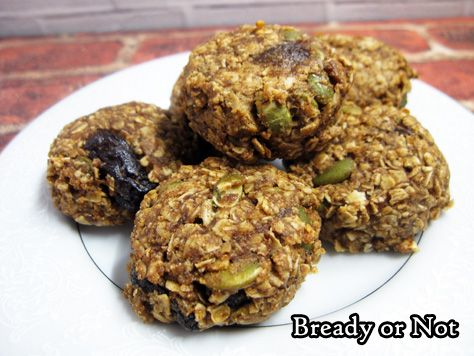
I customize these cookies based on my mood and what I have on hand. I’ve used macadamia nut butter, cashew butter, and almond butter–and combinations thereof. I’ve used apple butter, pumpkin butter, and date butter–and in a pinch, I’ve used applesauce and doubled the cinnamon.
For the dried fruit, I often use a mix of golden raisins and dried cranberries, but I’ve thrown in dried blueberries, too. If you don’t have pepitas, use sunflower kernels or other chopped nuts.
I usually whip up a batch and freeze 2/3 of it right away. The cookies keep perfectly fine in a room temperature sealed container for over a week. Two or three cookies make for a great breakfast prior to exercising!
Did I mention they are also delicious?
Bready or Not: Healthy Breakfast Cookies [Redux]
Ingredients
- 2 cups quick oats not whole or old-fashioned oats
- 3/4 teaspoon salt
- 1 teaspoon ground cinnamon
- 1 cup nut butter
- 1/4 cup pure maple syrup or honey
- 3/4 cup fruit butter apple butter, date butter, etc
- 1 cup dried fruit raisins, cranberries, etc
- 1/2 cup pepitas shelled pumpkin seeds or other seeds or nuts
- 1/4 cup ground flaxseed or wheat germ
Instructions
- Preheat oven to 325-degrees. Prepare cookie sheets with parchment or silicone baking mats, or use seasoned stoneware.
- Combine all of the ingredients into a large bowl.
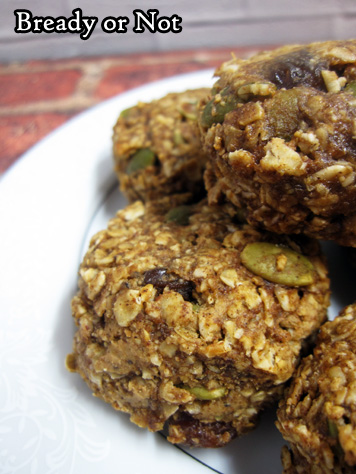
- Using a tablespoon or tablespoon scoop, drop dollops of dough onto cookie sheet. Note that it won't spread. Use fingers to gently tamp down top and press in stray oats on the sides; it will be a little sticky.
- Bake for 12 to 15 minutes or until the cookies are just set. Cool for several minutes before transitioning them to a rack to finish cooling.
- OM NOM NOM!
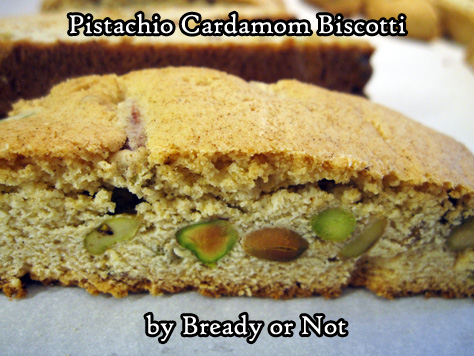
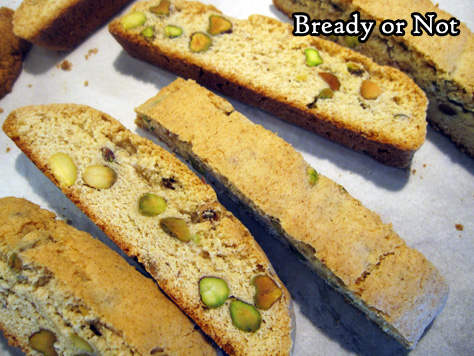
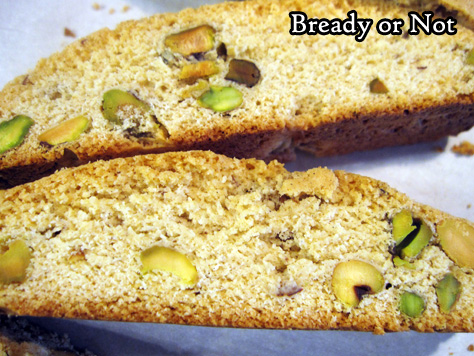
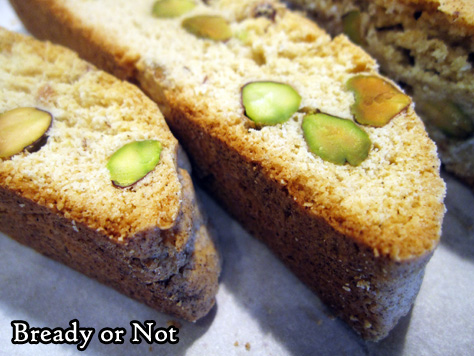
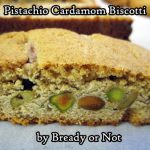
Bready or Not: Pistachio Cardamom Biscotti
Bake up these biscotti, and your house will smell absolutely glorious!
That’s the power of cardamom. It’s one of my favorite spices to use in baking AND in writing (heck, see my story in Uncanny last year, “With Cardamom I’ll Bind Their Lips.”)
The combination of cardamom and vanilla here creates a very fresh taste. Really, these are a delight to the senses.
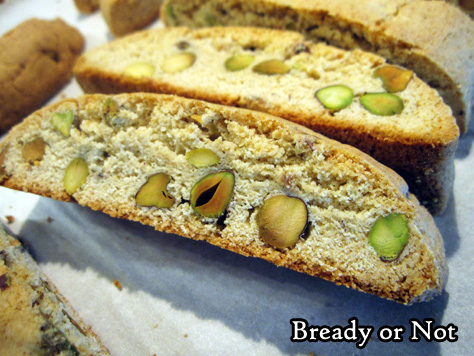
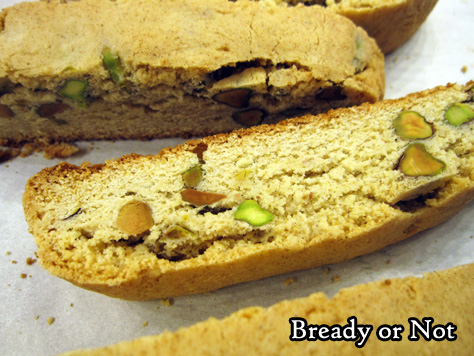
There are just enough pistachios included to add pretty green dapples and some extra crunch, but they didn’t make the biscotti harder to cut (the almonds in my Chocolate Almond Biscotti were a lot more annoying in that regard).
Store these biscotti for a few weeks. These are also great to ship because they do keep so well.
Serve them up with some hot tea or coffee, and start the day off right!
Bready or Not: Pistachio Cardamom Biscotti
Ingredients
- 4 Tablespoons unsalted butter softened
- 3/4 cup white sugar
- 2 eggs room temperature
- 3/4 cup salted pistachios shelled, chopped
- 1 teaspoon ground cardamom
- 1 teaspoon vanilla extract
- 2 cups all-purpose flour
- 1 teaspoon baking powder
Instructions
- Line a large baking sheet with parchment paper. Preheat oven at 350-degrees.
- In a large bowl, mix together the butter and sugar until they are light and fluffy. Add eggs one at a time. Add the pistachios, cardamom, and vanilla extract. Stir in the flour and baking powder until just combined.
- Divide the dough in half on the prepared baking sheet. Form each into a log about 4 inches wide and 10 inches long; make sure there is space between the two logs, as they'll grow in the oven.
- Bake for 25 minutes, until the dough is slightly golden. Remove the baking sheet from oven, but leave the oven on.
- Let the biscotti cool for 10 minutes. Use a large knife, such as a bread knife, to diagonally slice the logs 1/2-inch apart. Use a straight-down motion to cut; don't saw.
- Arrange the biscotti spaced out on the baking sheet. Stand them up if possible, or lay them on their sides. Bake for another 20 to 25 minutes, flipping them over halfway if necessary, to equally crisp both sides.
- Cool completely on the baking sheet. Store in an airtight container as long as a few weeks.
- OM NOM NOM!
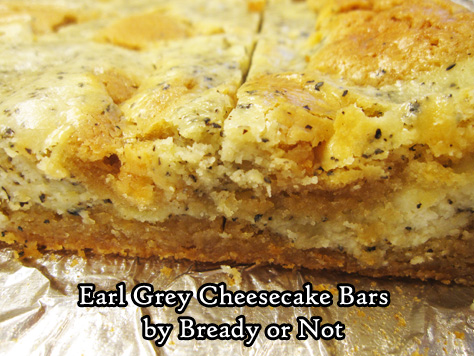
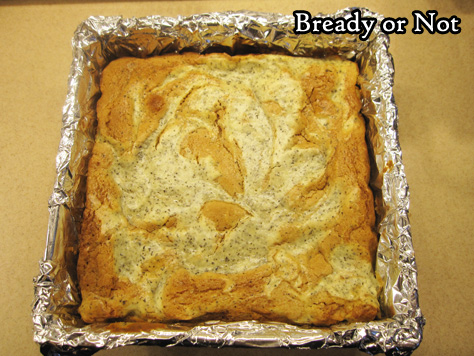
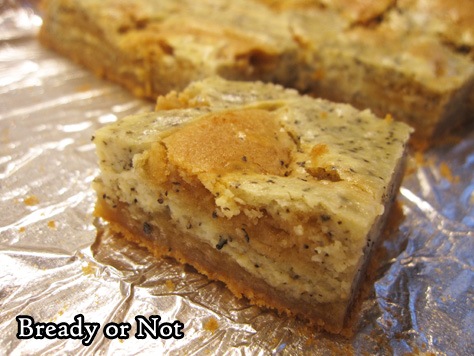
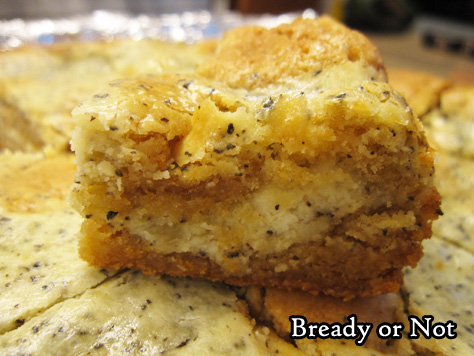
Bready or Not Original: Earl Grey Cheesecake Bars
Earl Grey tea and cream cheese team up in delicious bar form in these delicious Earl Grey Cheesecake Bars.
Last August, I featured Matcha Cheesecake Bars. I decided to modify that recipe using Earl Grey.
The result: WOW. Earl Grey has a slight heat to it when eaten in baked goods (like, say, Earl Grey shortbread).
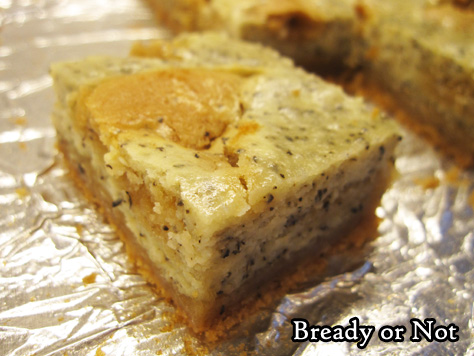
Here, that contrasts wonderfully with the smooth and creamy cheesecake swirls. I’m not a big cheesecake person, but I’m in awe of how good this basic recipe is.
This is a recipe to make cheesecake haters love cheesecake. That’s not a statement I’d make lightly.

I’ve been told these are excellent with coffee… but if I may, I suggest indulging while enjoying some Earl Grey tea. Hot. Captain Picard-style.
Bready or Not Original: Earl Grey Cheesecake Bars
Ingredients
Crust
- 1 1/2 cups all-purpose flour
- 1 tsp baking powder
- 1/2 tsp salt
- 10 Tb unsalted butter softened
- 1 1/2 cups light brown sugar packed
- 2 eggs room temperature
- 1 Tb vanilla extract
Cheesecake layer
- 8 oz cream cheese softened
- 1/4 cup sugar
- 2 Tb unsalted butter softened
- 2 Tb all-purpose flour
- 2 tea bags Earl Grey scant 1 tablespoon
- 1 egg room temperature
- 1/2 tsp vanilla extract
Instructions
- Preheat oven at 325-degrees. Line an 8x8 or 9x9 pan with aluminum foil and apply nonstick spray.
- In a medium bowl, sift together the flour, baking powder, and salt. Set aside.
- In a large mixer bowl, cream together the softened butter and brown sugar for about 3 minutes, until light and fluffy. Add 2 eggs and the vanilla extract, followed by the combined dry ingredients.
- Use an uneven spatula to smooth out HALF of the batter in the prepared pan. Place the other half in another bowl for now. Clean the bowl before the next stage, if desired.
- To make the cheesecake layer, beat together the softened cream cheese, sugar, butter, flour, and the contents of two bags of Earl Grey. Mix in the egg and vanilla until it is mostly smooth.
- Pour about HALF of the cream cheese mix on top of the batter in the pan and smooth it out. Dollop the remaining crust and cheesecake batters over the top, and use a butter knife to swirl them together.
- Bake for 45 to 55 minutes, until it passes the toothpick test in the middle. Let cool at room temperature for an hour, then place in fridge to continue to chill and set for another hour or two.
- Lift it up by the aluminum foil and place on a cutting board to slice into bars. Store in a lidded container in fridge, with waxed paper or parchment between stacked layers.
- OM NOM NOM!
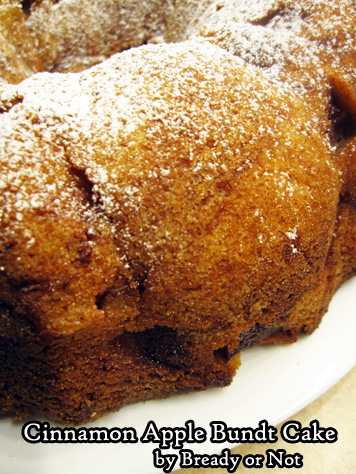
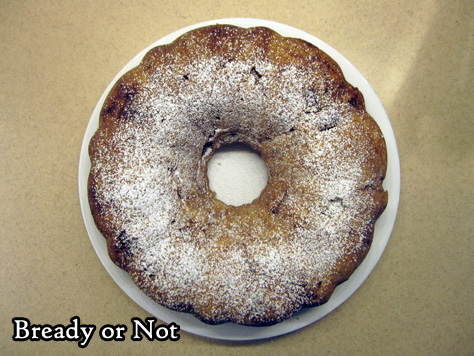
Bready or Not: Cinnamon Apple Bundt Cake
Apple cake and apple pie are the favorites of the men in my family, and this Cinnamon Apple Bundt Cake met their full approval!
I try out different apple recipes on a regular basis; my apple tag on the site attests to that.
This recipe resembles another old favorite of mine, my basic apple cake that is made in a square baking pan.

The new recipe, however, makes more cake with an overall showier presentation. I love that sprinkle of confectioners’ sugar on top!

The most difficult thing about making this cake is peeling and chopping up the apples. After that, everything comes together quite quickly.
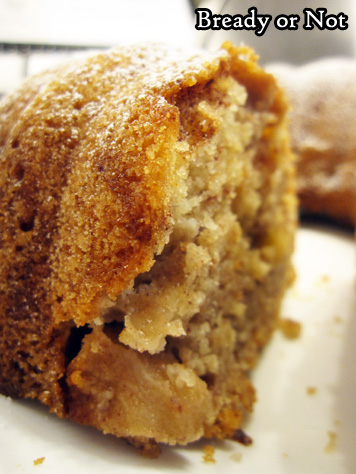
The end result is a tender, moist cake flecked with apple chunks. It’s the perfect breakfast, snack, or dessert, and is tasty hot or cold.
Modified from Taste of Home Sunday Best 2015.
Bready or Not: Cinnamon Apple Bundt Cake
Ingredients
- 3 medium apples peeled and chopped
- 2 teaspoons cinnamon
- 2 cups white sugar
- 1 cup canola oil
- 3 large eggs room temperature
- 2 teaspoons vanilla extract
- 3 cups all-purpose flour
- 1 teaspoon salt
- 1 teaspoon baking powder
- confectioners' sugar to sift over top optional
Instructions
- Preheat oven to 350-degrees. Grease and flour a bundt cake pan.
- In a large bowl, stir cinnamon to coat the chopped apples. Set aside.
- In another big bowl, beat together sugar, oil, eggs, and vanilla. Combine the flour, salt and baking powder in another bowl, then slowly add it into the liquid mixture. Stir in the apples.
- Pour the batter into the ready pan. Bake for 60 to 70 minutes, until it passes the toothpick test. Let cool in pan for 15 minutes, then carefully invert the cake out of the pan and onto a wire rack to completely cool.
- Keep stored in fridge. If desired, before serving, sift confectioners' sugar over the top. Slices may be eaten cold or warmed up in the microwave. Cake can also be frozen in slices for later enjoyment.
- OM NOM NOM!
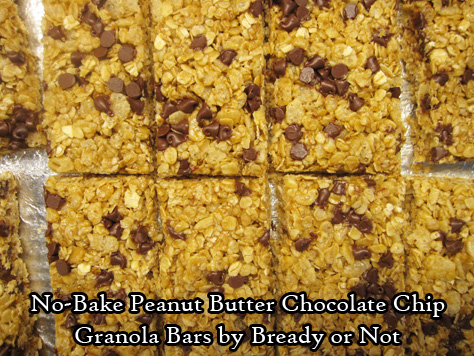
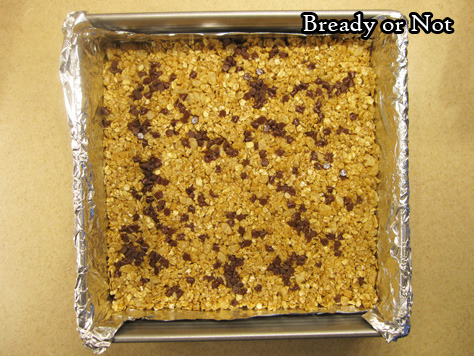
Bready or Not: No-Bake Peanut Butter Chocolate Chip Granola Bars
Homemade granola bars! These things are delicious and great for breakfast or snacks, for kids or adults.
Making these requires some brief time at the stove. This is a great recipe to get kids or grandkids involved, as they can help measure the dry ingredients and help to stir.
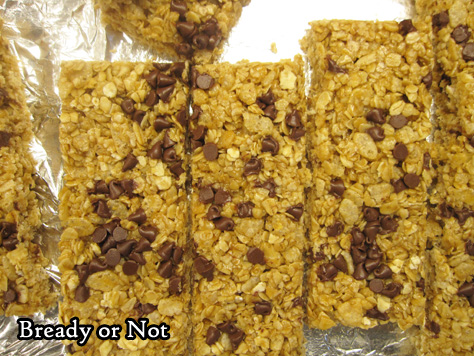
Do note that these bars won’t be quite as firm as the store-bought stuff, so keep that in mind if you’re transporting them around.
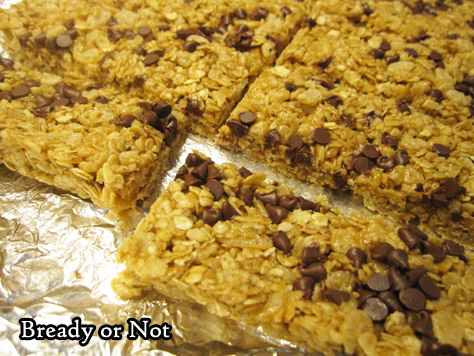
However, they taste a lot better than the store stuff. They taste FRESH. And peanut butter-chocolatey. Plus, they can be even more chocolatey if you use Nutella instead of peanut butter.
Speaking of chocolate, for Valentine’s Day next Wednesday, gird yourself (i.e. bust out the stretchy pants) in preparation of a Chewy Brownie recipe!

Bready or Not: No-Bake Peanut Butter Chocolate Chip Granola Bars
Ingredients
- 2 cups quick oats
- 1 cup puffed rice cereal like Rice Krispies
- 1/4 cup peanut butter creamy or crunchy
- 1 teaspoon vanilla extract
- 2 Tablespoons coconut oil
- 1/4 cup honey
- 1/4 cup light brown sugar packed
- 2 Tablespoons mini chocolate chips
Instructions
- Line an 8x8 or 9x9 baking pan with aluminum foil and apply nonstick spray.
- In a big bowl, stir together the oats and cereal. Set that aside. Measure out the peanut butter and vanilla extract and set near stove.
- Place the coconut oil, honey, and brown sugar in a small saucepan. Cook on medium heat, stirring often, as sugar dissolves, and continue to heat until it just starts boiling. Remove pot from burner. Quickly add the peanut butter and vanilla, and stir until everything is incorporated.
- Pour the hot mix into the bowl with the oats and cereal. Stir until everything is coated, then pour into the prepared pan. Use a spatula to press down evenly. Sprinkle mini chocolate chips over the top. To compress the granola even more, line waxed paper over the pan, then use the bottom of a glass or other flat, heavy implement to press down.
- Allow pan to set for several hours. Slice into bars. Pack up individually with plastic wrap or keep in a sealed container with plastic wrap or waxed paper between layers. At room temperature, keeps well for up to a week; bars can also be frozen.
- OM NOM NOM!
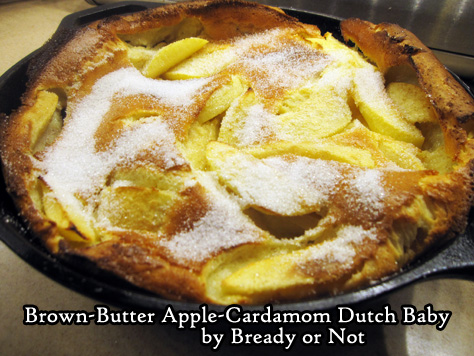
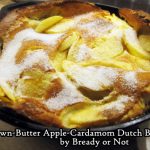
Bready or Not: Brown-Butter Apple-Cardamom Dutch Baby
Let’s finish up the breakfast theme with a glorious Brown-Butter Apple-Cardamom Dutch Baby.
When I say ‘I’m cooking a Dutch baby,’ I can’t help but marvel at how lewd it sounds. I expect the FBI to come knocking.
I didn’t name the dish, but I can state with certainty that no babies are harmed in the making of this recipe. (Well, not in MY house. You watch your kids around that stove!)
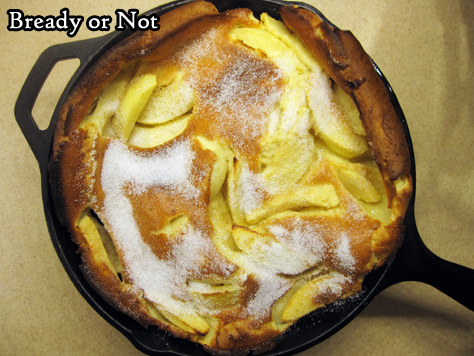
It’s been a while since I posted my more basic Dutch baby recipe. This new version has even more oomph since it includes brown butter and an apple.
A Dutch baby is a fabulous way to whip up a fast breakfast for a couple people. Everyone can ooh and ahh at how it looks when it comes out of the oven… and sigh at how it deflates as soon as it’s cut.

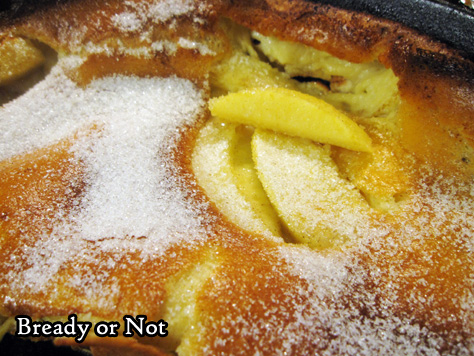
But that’s okay. A deflated Dutch baby is still absolutely delicious. (Go away, FBI!)
Modified from Martha Stewart Magazine.
Bready or Not: Brown-Butter Apple-Cardamom Dutch Baby
Ingredients
- 4 Tablespoons unsalted butter
- 1/3 cup white sugar
- 1/4 teaspoon cardamom
- 3 large eggs room temperature
- 1/2 cup all-purpose flour
- 1/2 teaspoon kosher salt
- 2/3 cup milk or half & half or almond milk
- 1/2 teaspoon pure vanilla extract
- 1 medium apple Granny Smith or Gala work well, cored, peeled, sliced into thin wedges
Instructions
- Place butter in a saucepan; a light-bottomed pan makes it easier to prevent overcooking. Heat on medium, swirling occasionally to distribute the butter. Butter will begin to foam, and the color will change from lemony to golden to brown. At that point, it should emit a nutty aroma. That means it's done! Immediately remove from heat and pour butter into a bowl to cool.
- Preheat oven at 450-degrees and place a 10-inch cast iron skillet to heat up as well.
- In a bowl, stir together the sugar and cardamom.
- In a large bowl, beat the eggs on medium-high until they are pale and frothy. Add the flour, salt, milk, vanilla, and a heaping tablespoon of the cardamom-sugar. Beat everything until it's smooth, though expect the batter to be thin.
- Using a potholder, pull the skillet from the oven. Pour in the brown butter and apple slices, stirring a few times to coat the fruit and pan. Spread the apple pieces into a fairly even layer across the bottom and pour the batter over it. Immediately return skillet to oven.
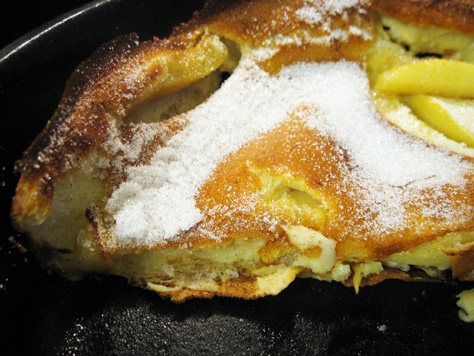
- Bake for 18 to 22 minutes, until the Dutch Baby is puffed and golden. Sprinkle a couple more tablespoons of the cardamom-sugar on top. Serve immediately.
