


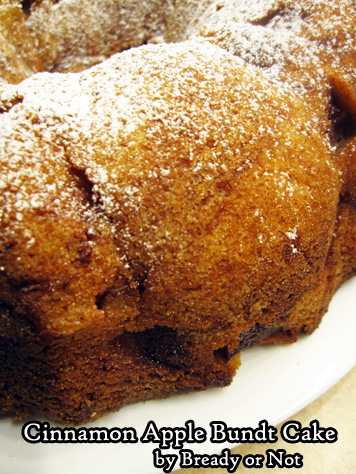
Bready or Not: Cinnamon Apple Bundt Cake
Apple cake and apple pie are the favorites of the men in my family, and this Cinnamon Apple Bundt Cake met their full approval!
I try out different apple recipes on a regular basis; my apple tag on the site attests to that.
This recipe resembles another old favorite of mine, my basic apple cake that is made in a square baking pan.

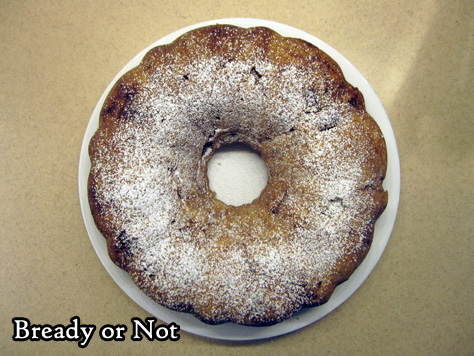
The new recipe, however, makes more cake with an overall showier presentation. I love that sprinkle of confectioners’ sugar on top!

The most difficult thing about making this cake is peeling and chopping up the apples. After that, everything comes together quite quickly.
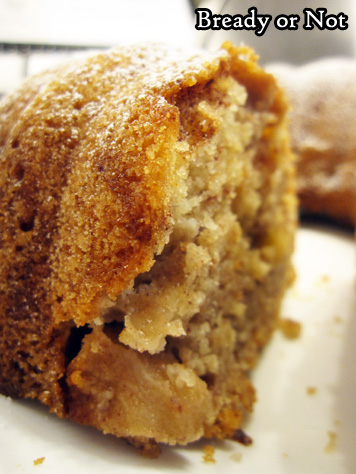
The end result is a tender, moist cake flecked with apple chunks. It’s the perfect breakfast, snack, or dessert, and is tasty hot or cold.
Modified from Taste of Home Sunday Best 2015.
Bready or Not: Cinnamon Apple Bundt Cake
Ingredients
- 3 medium apples peeled and chopped
- 2 teaspoons cinnamon
- 2 cups white sugar
- 1 cup canola oil
- 3 large eggs room temperature
- 2 teaspoons vanilla extract
- 3 cups all-purpose flour
- 1 teaspoon salt
- 1 teaspoon baking powder
- confectioners' sugar to sift over top optional
Instructions
- Preheat oven to 350-degrees. Grease and flour a bundt cake pan.
- In a large bowl, stir cinnamon to coat the chopped apples. Set aside.
- In another big bowl, beat together sugar, oil, eggs, and vanilla. Combine the flour, salt and baking powder in another bowl, then slowly add it into the liquid mixture. Stir in the apples.
- Pour the batter into the ready pan. Bake for 60 to 70 minutes, until it passes the toothpick test. Let cool in pan for 15 minutes, then carefully invert the cake out of the pan and onto a wire rack to completely cool.
- Keep stored in fridge. If desired, before serving, sift confectioners' sugar over the top. Slices may be eaten cold or warmed up in the microwave. Cake can also be frozen in slices for later enjoyment.
- OM NOM NOM!
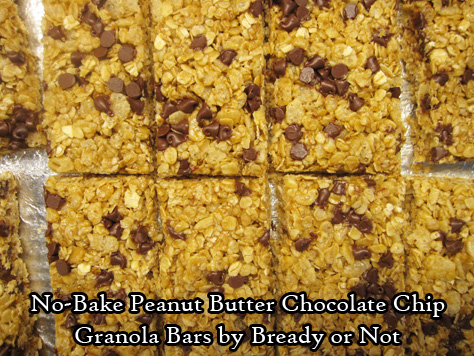
Bready or Not: No-Bake Peanut Butter Chocolate Chip Granola Bars
Homemade granola bars! These things are delicious and great for breakfast or snacks, for kids or adults.
Making these requires some brief time at the stove. This is a great recipe to get kids or grandkids involved, as they can help measure the dry ingredients and help to stir.
Do note that these bars won’t be quite as firm as the store-bought stuff, so keep that in mind if you’re transporting them around.
However, they taste a lot better than the store stuff. They taste FRESH. And peanut butter-chocolatey. Plus, they can be even more chocolatey if you use Nutella instead of peanut butter.
Speaking of chocolate, for Valentine’s Day next Wednesday, gird yourself (i.e. bust out the stretchy pants) in preparation of a Chewy Brownie recipe!

Bready or Not: No-Bake Peanut Butter Chocolate Chip Granola Bars
Ingredients
- 2 cups quick oats
- 1 cup puffed rice cereal like Rice Krispies
- 1/4 cup peanut butter creamy or crunchy
- 1 teaspoon vanilla extract
- 2 Tablespoons coconut oil
- 1/4 cup honey
- 1/4 cup light brown sugar packed
- 2 Tablespoons mini chocolate chips
Instructions
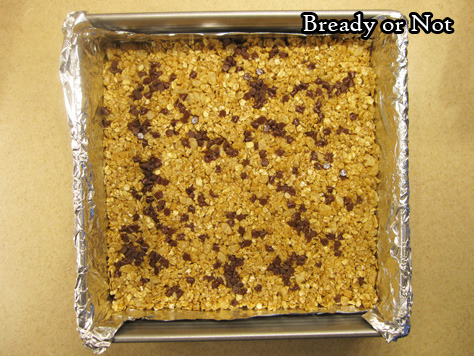
- Line an 8x8 or 9x9 baking pan with aluminum foil and apply nonstick spray.
- In a big bowl, stir together the oats and cereal. Set that aside. Measure out the peanut butter and vanilla extract and set near stove.
- Place the coconut oil, honey, and brown sugar in a small saucepan. Cook on medium heat, stirring often, as sugar dissolves, and continue to heat until it just starts boiling. Remove pot from burner. Quickly add the peanut butter and vanilla, and stir until everything is incorporated.
- Pour the hot mix into the bowl with the oats and cereal. Stir until everything is coated, then pour into the prepared pan. Use a spatula to press down evenly. Sprinkle mini chocolate chips over the top. To compress the granola even more, line waxed paper over the pan, then use the bottom of a glass or other flat, heavy implement to press down.
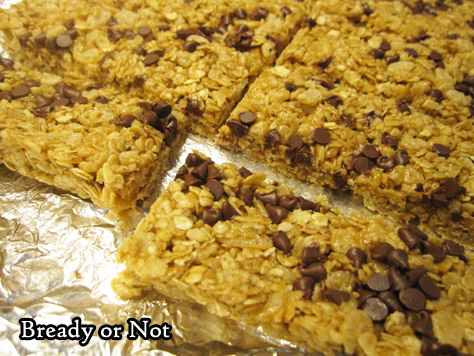
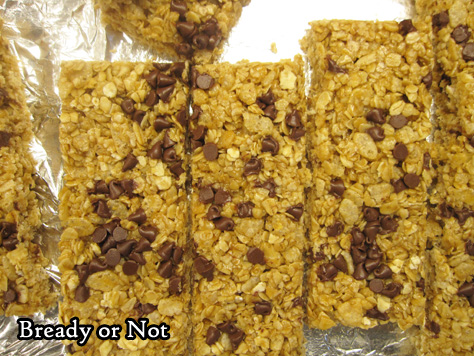
- Allow pan to set for several hours. Slice into bars. Pack up individually with plastic wrap or keep in a sealed container with plastic wrap or waxed paper between layers. At room temperature, keeps well for up to a week; bars can also be frozen.
- OM NOM NOM!
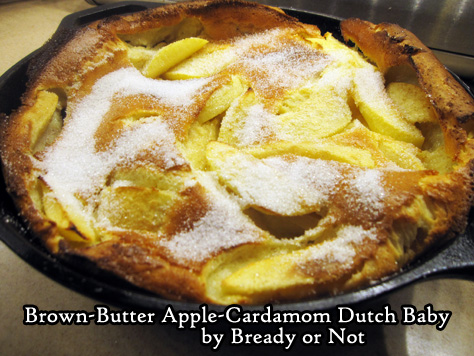
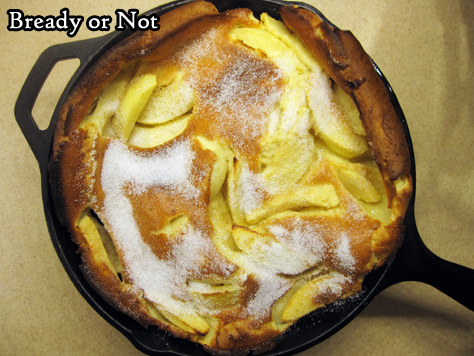
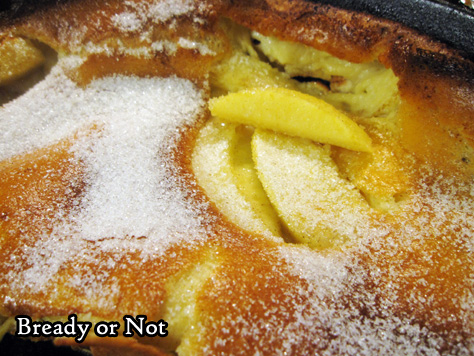
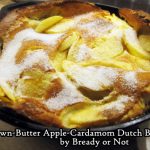
Bready or Not: Brown-Butter Apple-Cardamom Dutch Baby
Let’s finish up the breakfast theme with a glorious Brown-Butter Apple-Cardamom Dutch Baby.
When I say ‘I’m cooking a Dutch baby,’ I can’t help but marvel at how lewd it sounds. I expect the FBI to come knocking.
I didn’t name the dish, but I can state with certainty that no babies are harmed in the making of this recipe. (Well, not in MY house. You watch your kids around that stove!)
It’s been a while since I posted my more basic Dutch baby recipe. This new version has even more oomph since it includes brown butter and an apple.
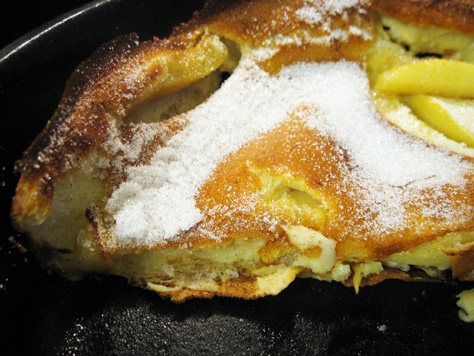
A Dutch baby is a fabulous way to whip up a fast breakfast for a couple people. Everyone can ooh and ahh at how it looks when it comes out of the oven… and sigh at how it deflates as soon as it’s cut.

But that’s okay. A deflated Dutch baby is still absolutely delicious. (Go away, FBI!)
Modified from Martha Stewart Magazine.
Bready or Not: Brown-Butter Apple-Cardamom Dutch Baby
Ingredients
- 4 Tablespoons unsalted butter
- 1/3 cup white sugar
- 1/4 teaspoon cardamom
- 3 large eggs room temperature
- 1/2 cup all-purpose flour
- 1/2 teaspoon kosher salt
- 2/3 cup milk or half & half or almond milk
- 1/2 teaspoon pure vanilla extract
- 1 medium apple Granny Smith or Gala work well, cored, peeled, sliced into thin wedges
Instructions
- Place butter in a saucepan; a light-bottomed pan makes it easier to prevent overcooking. Heat on medium, swirling occasionally to distribute the butter. Butter will begin to foam, and the color will change from lemony to golden to brown. At that point, it should emit a nutty aroma. That means it's done! Immediately remove from heat and pour butter into a bowl to cool.
- Preheat oven at 450-degrees and place a 10-inch cast iron skillet to heat up as well.
- In a bowl, stir together the sugar and cardamom.
- In a large bowl, beat the eggs on medium-high until they are pale and frothy. Add the flour, salt, milk, vanilla, and a heaping tablespoon of the cardamom-sugar. Beat everything until it's smooth, though expect the batter to be thin.
- Using a potholder, pull the skillet from the oven. Pour in the brown butter and apple slices, stirring a few times to coat the fruit and pan. Spread the apple pieces into a fairly even layer across the bottom and pour the batter over it. Immediately return skillet to oven.
- Bake for 18 to 22 minutes, until the Dutch Baby is puffed and golden. Sprinkle a couple more tablespoons of the cardamom-sugar on top. Serve immediately.
Bready or Not: Lemon Crumb Mini Muffins (potluck-sized)
I found a lemon muffin recipe and thought, hey, I’ll rewrite this to be original and I’ll do mini muffins instead!
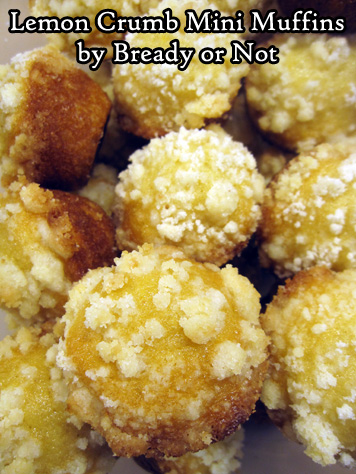
Um. Yeah. The original recipe made a couple dozen muffins. My version? 113.
I swear, I felt like I had created a Bowl of Holding. There was so much batter. So very, very much batter.
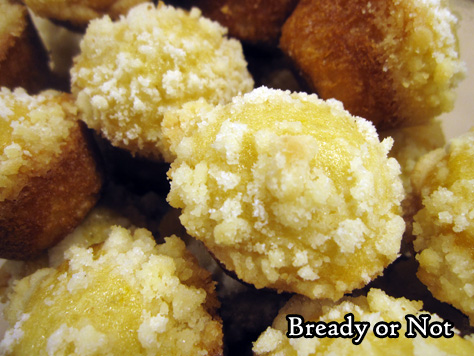
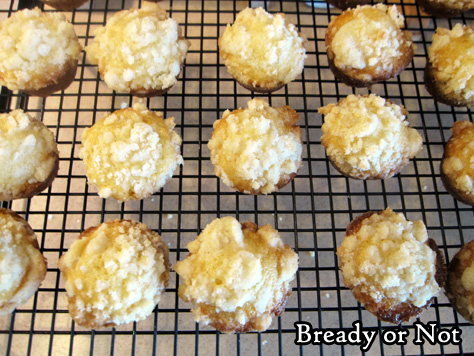
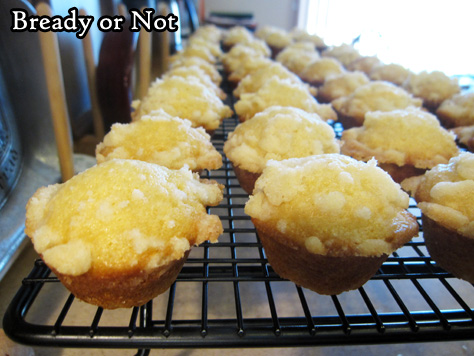
The good news? My efforts were not in vain. The muffins were delicious. They were lemony and light, like puffs of flavor, the perfect remedy to the doldrums of winter.
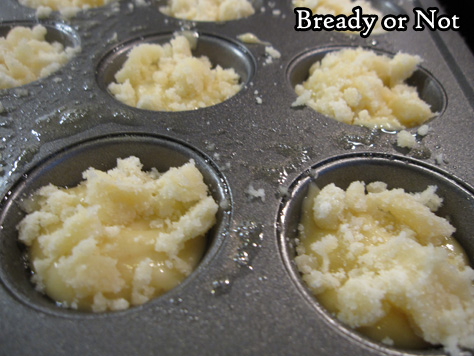
The recipe itself is pretty straightforward. Grease your mini muffin pans well (make SURE you have two pans to bake at once) and don’t overfill them. A touch of crumb topping makes them prettier and extra yummy.

Bready or Not: Lemon Crumb Mini Muffins (potluck-sized)
Ingredients
Crumb topping:
- 1 1/4 cups all-purpose flour
- 1 cup white sugar
- 1/4 teaspoon salt
- 1/2 cup unsalted butter 1 stick, melted
Mini muffins:
- 4 eggs room temperature
- 2 cups white sugar
- 1 cup vegetable oil
- 1 large lemon zested and juiced
- 1 teaspoon lemon extract
- 1 teaspoon vanilla extract
- 2 teaspoons baking soda
- 1 teaspoon salt
- 16 ounce sour cream 2 cups
- 4 cups all-purpose flour
Instructions
- Preheat oven at 375-degrees. Prepare two mini muffin pans with a heavy dose of nonstick spray.
- Combine the topping ingredients with a fork. Set aside.
- In a very large bowl, mix the eggs until they are thick and frothy. Add the sugar and oil, and beat until they become creamy. Add the lemon zest and juice, both extracts, baking soda, and salt.
- At this point, if you are using an electric mixer, you likely need to switch to a big spoon because of the sheer amounts involved. Add the sour cream and flour, pouring in small increments of each to gradually combine everything. Make sure to scrape the bottom of the bowl. The batter might be somewhat lumpy.
- Use a teaspoon scoop to add batter to each muffin cup. Do NOT fill over 3/4 of each cup--these will grow in the oven! Use a spoon to add crumb topping to the tops.
- Bake for 11 to 12 minutes, until muffins in the middle pass the toothpick test. Let them cool about 10 minutes, then use something like a chopstick to pry out each muffin to set on a cooling rack.
- Heavily apply nonstick spray to both pans again, then repeat the process. Using two pans, this will take three batches to bake.
- Store muffins in airtight containers at room temperature. They can also be frozen for weeks.
- OM NOM NOM!
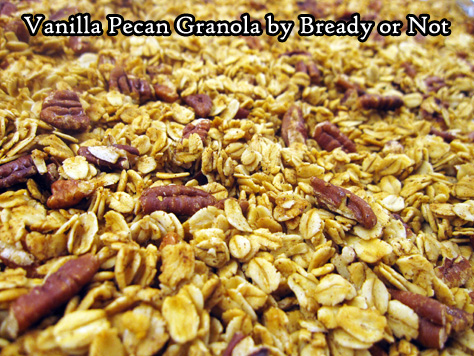
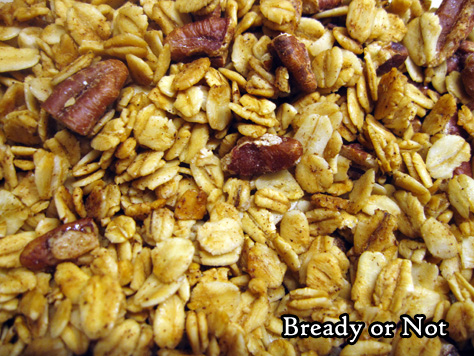
Bready or Not Original: (Gluten Free) Vanilla Pecan Granola
The breakfast theme goes healthy this week with my original recipe for Vanilla Pecan Granola!
If you eat gluten-free, this should be of particular interest. Use GF oats and other contaminant-free ingredients, and this will be a delicious, fiber-full option for you.
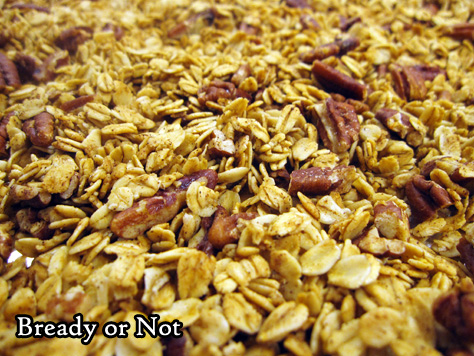
This is ridiculously easy to make, too. Combine, bake, stir every so often, then let it air out. Ta-da!
The granola keeps well for weeks, and the flavor is just so fresh. The recipe includes a full tablespoon of vanilla, which is a lot, yeah, but I do love that strong flavor. Some of the store granolas are wimpy in that regard.
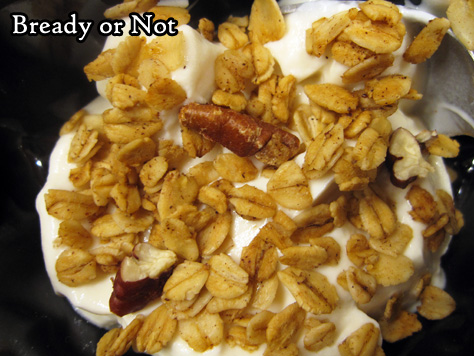
Use this as a topping for yogurt or ice cream, or in milk like a cereal, or as a snack to munch out of your palm. However you eat it, it’ll be delicious!
Bready or Not Original: (Gluten Free) Vanilla Pecan Granola
Ingredients
- 2 1/2 cups old-fashioned rolled oats gluten-free or regular
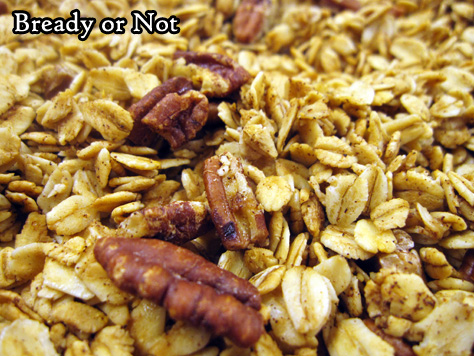
- 3/4 cup pecans chopped
- 1/2 teaspoon ground cinnamon
- pinch salt
- 1/3 cup pure maple syrup
- 1/4 cup coconut oil melted
- 1 Tablespoon vanilla extract
Instructions
- Preheat oven at 300-degrees. Line a large rimmed baking sheet with aluminum foil or parchment paper.
- In a large bowl, toss together the oats, pecans, cinnamon, and salt. In another bowl, whisk together the maple syrup, coconut oil, and vanilla extract. Pour the wet ingredients over the dry, and stir well to coat completely.
- Spread the granola onto the prepared sheet. Bake for 45 minutes, with a pause to stir every 15 minutes. Then let the granola sit out to cool and dry for several hours.
- Granola will keep for weeks in a sealed container. Can also be frozen for several months.
- OM NOM NOM!
Read More
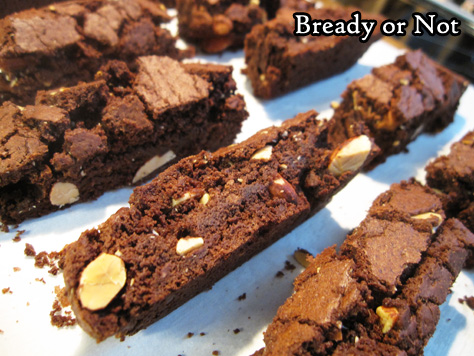
Bready or Not: Chocolate Almond Biscotti
Continuing the breakfast theme for the month, we now venture into the realm of chocolaty goodness with these Chocolate Almond Biscotti.
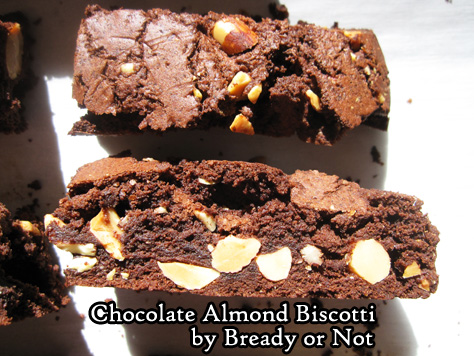
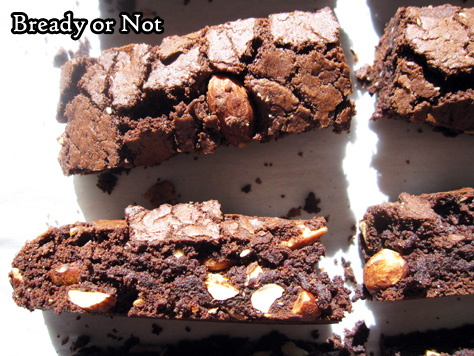
These taste like brownies… brownies that are firm enough to dip into coffee or hot chocolate or tea or your waiting mouth.
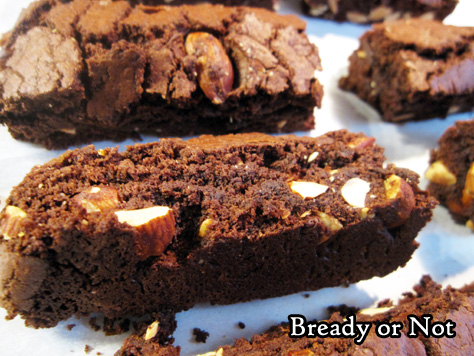
Almonds go wonderfully with chocolate–a lot of candy bars are proof of that–though they do complicate this recipe in one way. They get stuck on the knife blade when the biscotti are chopped apart.
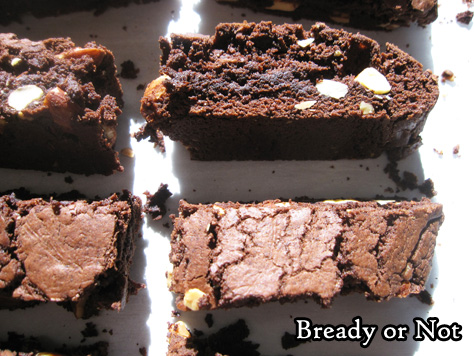
The good news is, the biscotti at still kind of soft then, so you can press them back together a bit–just don’t burn your fingers!
I can’t say I mind that some chocolate crumbles and almond bits are left on the cookie sheet, either. Oh darn. Can’t let those go to waste.
Do check out other biscotti featured on Bready or Not: Maple Walnut White Chocolate Biscotti and Snickerdoodle Biscotti.
This new recipe was modified from the original at McCormick.
Bready or Not: Chocolate Almond Biscotti
Ingredients
- 1 3/4 cups all-purpose flour
- 3/4 cup unsweetened cocoa powder sifted
- 1 teaspoon baking powder
- 1/4 teaspoon salt
- 4 ounces semi-sweet chocolate
- 1/2 cup unsalted butter 1 stick, softened
- 1 1/4 cups white sugar
- 2 eggs room temperature
- 1 teaspoon almond extract
- 1 cup almonds coarsely chopped
Instructions
- Preheat oven to 325-degrees. Prepare a large baking sheet with parchment paper. In a medium bowl, mix the flour, cocoa powder, baking powder, and salt; set aside.
- Melt the chocolate in the microwave, using short, careful bursts. Once it is melted, set aside to cool for a few minutes.
- In a large bowl, beat the butter and sugar until light and fluffy. Add the eggs followed by almond extract. Scrape in the melted chocolate. Gradually mix in the dry ingredients, and add the almonds last.
- Divide the dough in half. Drop each half onto the ready cookie sheet with lots of space between them. Use a spatula to shape them into logs roughly four inches across, eight inches long, and about an inch high.
- Bake 35 minutes, until the logs spring back when gently touched.
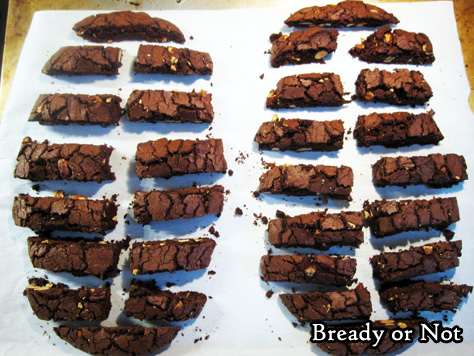
- Cool on stove top for 10 minutes. Use a sharp, serrated knife to chop the logs into 1/2-inch thick slices. The almonds will likely get stuck on the blade and cause the biscotti to crumble some; the biscotti is still somewhat soft, so try to wedge almonds back in and reshape the sticks. Do take care, as they are hot!
- Place the slices upright, if they will stay, or lay them on their sides. Bake for another 20 minutes, flipping them halfway, if necessary.
- Allow the biscotti to cool and dry out for several hours before placing them into sealed containers.
- OM NOM NOM!
Follow me


