Bready or Not: High Fiber Muffins
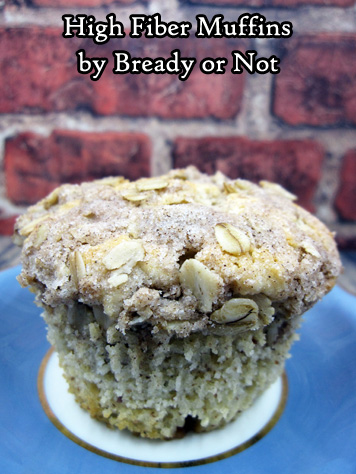
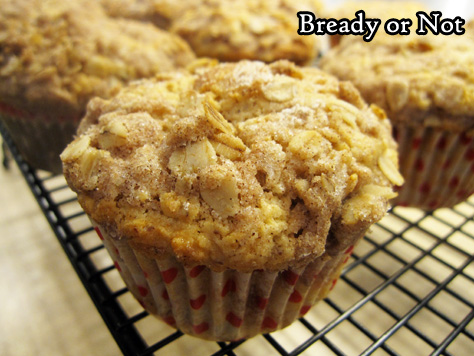
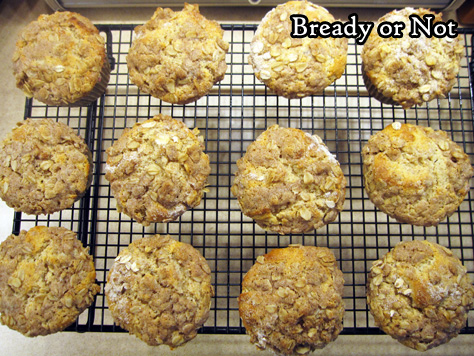
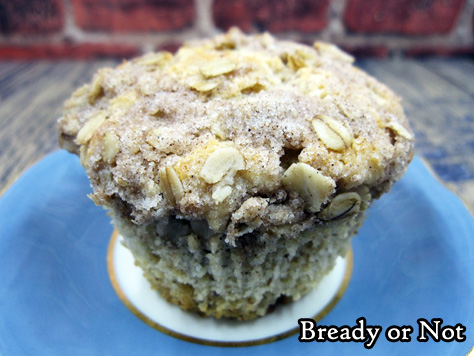
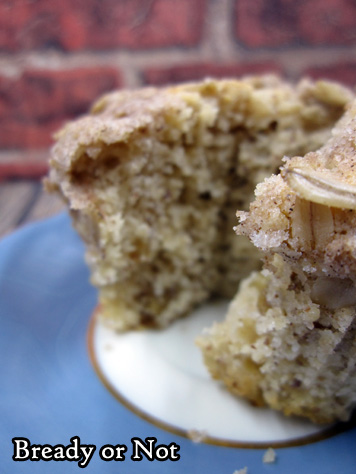
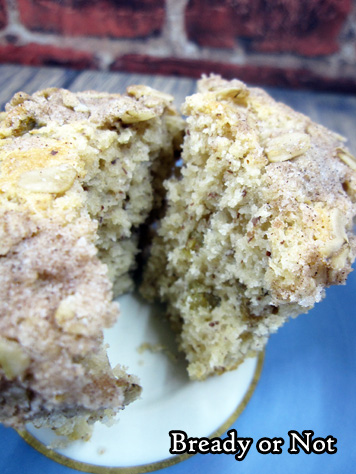
These High Fiber Muffins are a delicious way to start your day!
When I was challenged to make high-fiber muffins, this turned out to be more of a challenge than I anticipated. I wanted them to be delicious but to include ingredients I already had in the kitchen.
In other words, I didn’t want to order some fancy high fiber mix-ins that I would never use again.
I found a good base recipe from King Arthur Flour and set to work modifying it. Instead of Hi-Maize Fiber, I tried almond flour. I switched in white whole-wheat flour instead of all-purpose flour.
When the topping portion of the recipe made way, way too much, I tested out reduced amounts in my next attempt. I judged how well the muffins held up after being frozen for weeks.
The end result in a higher-fiber muffin recipe that’s light, cakey and delicious.
Note that the muffin tops will get soggy after about two days at room temperature. Make them last a lot longer by freezing them! Remove the paper liners and set muffins on waxed paper to freeze, then store them in a gallon bag or other freezer-safe container.
Modified from King Arthur Flour.
Bready or Not: High Fiber Muffins
Ingredients
Muffins:
- 1 1/2 cups white whole wheat flour
- 2/3 cup white sugar
- 3/4 cup almond flour
- 2 1/2 teaspoons baking powder
- 1/2 teaspoon salt
- 1 Tablespoon King Arthur Flour Cake Enhancer optional
- 1/3 cup milk or half & half
- 3/4 cup full-fat Greek vanilla yogurt a single serving size; could also use fruit-flavored kind
- 2 large eggs room temperature
- 1 teaspoon vanilla extract
- 1/4 cup unsalted butter half stick, melted
- 1 cup golden raisins or other dried fruit
Topping:
- 2 Tablespoons white whole wheat flour
- 2 Tablespoons white sugar
- 1/4 cup old-fashioned rolled oats
- 1/2 teaspoon ground cinnamon
- 3 Tablespoons unsalted butter softened
Instructions
- Preheat oven at 400-degrees. Place muffin liners in pan and apply nonstick spray.
- In a big bowl, whisk together the flour, sugar, almond flour, baking powder, salt, and cake enhancer (if using). Mix in the milk, yogurt, eggs, and vanilla, followed by the melted butter. Stir in the dried fruit until just distributed.
- Using a muffin scoop or heaping spoonfuls, fill muffin cups until mostly full.
- Combine topping ingredients. Spoon onto the top of each muffin and lightly press in with fingertips.
- Bake muffins for 16 to 18 minutes, until lightly domed and center muffin passes the toothpick test. Immediately remove them from the pan to cool on a rack.
- Store in a sealed container at room temperature for up to two days; after that, tops will start to get soggy, though muffins will still taste good. To freeze, remove paper liners and place on a wax-paper lined pan in freezer. Then place in gallon freezer bag or plastic container to store in freezer up to several weeks.
- OM NOM NOM!
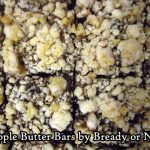
Bready or Not Original: Apple Butter Bars
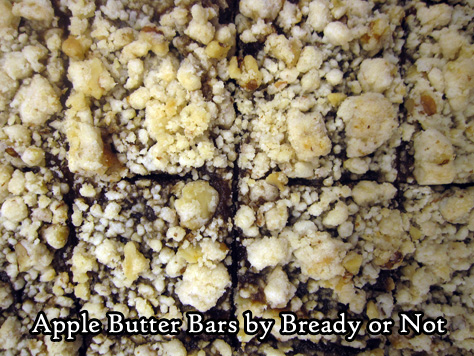
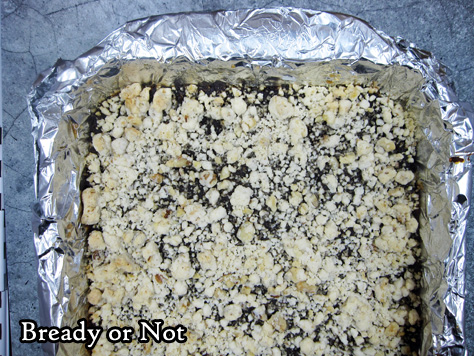
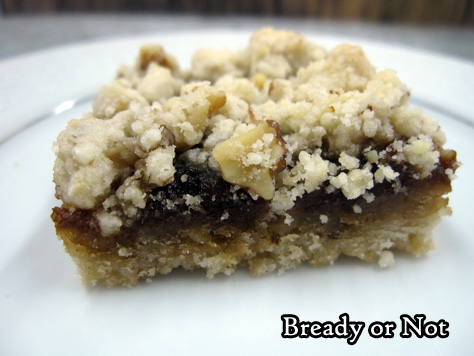
Last month I shared a recipe for Apple Butter Oatmeal Bars. This time around, I’m sharing easy and straightforward Apple Butter Bars.
This is a totally original recipe out of necessity. I tried another recipe, and ended up with a crumbly mess. Therefore, I decided to adapt my Lemon Cheesecake Bar recipe.
That attempt turned out perfect. It’s fast to make, as you don’t have to bake in stages, and the end result was cohesive.
Do note that these are best chilled. They will get softer if kept at room temperature for a while.
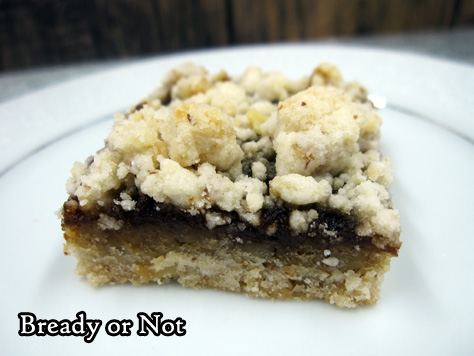
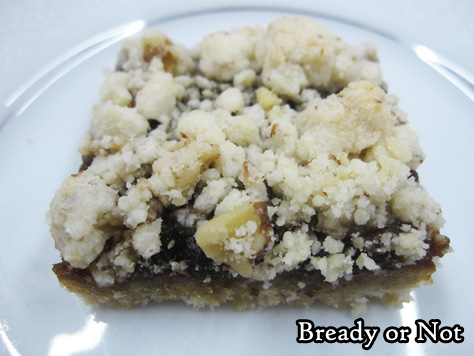
The taste is phenomenal. The crumb layers taste like vanilla shortbread, with a sporadic crunch from nuts. The thin layer of apple butter adds just the right about of spice and flavor.
This would be great with other fruit butters, too!
Bready or Not Original: Apple Butter Bars
Ingredients
- 2 cups all-purpose flour
- 1 cup walnuts chopped finely
- 1 cup confectioners' sugar
- 3/4 cup unsalted butter 1 1/2 sticks, softened
- 2 teaspoons vanilla extract
- 1 1/2 cups apple butter or other fruit butter
Instructions
- Preheat oven at 350-degrees. Line a 9x13 pan with aluminum foil and apply nonstick spray or butter.
- In a large bowl, blend together flour, walnuts, confectioners' sugar, butter, and vanilla, until it is crumbly. Reserve 1 1/2 cups of crumbs; press the rest into the ready pan.
- Bake for 18-20 minutes, until the edges are turning golden brown and crust is set.
- Pour apple butter over crust and smooth to edges. Crumble reserved flour mixture all over the top. Return the pan to the oven and bake for another 20 to 25 minutes.
- Cool to room temperature then chill in fridge. Use foil to lift out bars to slice. Store in sealed container in the fridge for maximum flavor and cohesiveness.
- OM NOM NOM!
Bready or Not: Maple Pound Cake
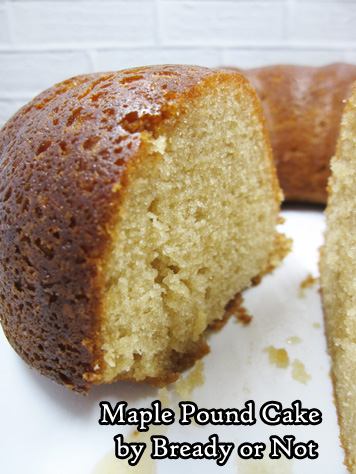
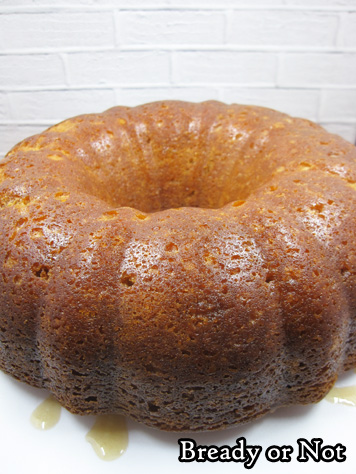
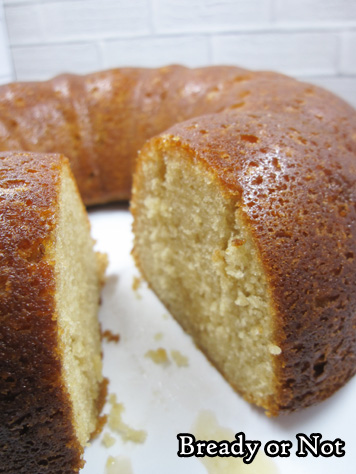
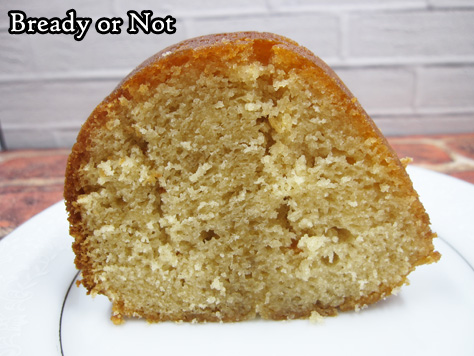
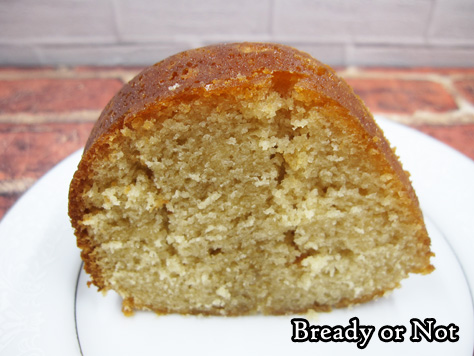
This bundt cake tastes just like a fluffy pancake with maple syrup. I am dead serious.
On this date, my 18th anniversary, I celebrate by sharing this amazing not-a-pancake-but-tastes-like-pancake cake. It’ll blow your mind.
The original recipe was from King Arthur Flour, but I turned it into a poke cake because I didn’t want all the glaze on the outside. I wanted to infuse it. I wanted the dough to marinate in glorious maple.
If you love maple, this is your new favorite pound cake.
This would be great for breakfast if you need to feed a crowd. Bake this up the day before, and slice this up in the morning. No fussing over individual pancakes! Just eat more cake!
Plus, no worries about leftovers. Bundt cakes like this are awesome because you can cut them into slices, freeze them up waxed paper, then transfer them to a freezer bag or container. Thaw them to eat, or zap them in the microwave straight from the freezer.
In case it didn’t come across, you should know that this cake is awesome. You should make it.
Modified from King Arthur Flour.
Bready or Not: Maple Pound Cake
Ingredients
Cake
- 2 cups cake flour
- 1 teaspoon baking powder
- 1/4 teaspoon baking soda
- 1 teaspoon salt
- 3/4 cup unsalted butter 1 1/2 sticks, softened
- 2/3 cup light brown sugar packed
- 2 large eggs
- 1/2 cup real maple syrup
- 1 cup sour cream 8 ounces
- 1 teaspoon vanilla extract
- 1/2 teaspoon maple flavor
Glaze
- 2 Tablespoons unsalted butter
- 1/4 cup real maple syrup
- 1/4 cup water
Instructions
- Preheat oven at 350-degrees. Grease a 9-or-10-cup bundt pan.
- In a medium bowl, sift together the cake flour, baking powder, baking soda, and salt. Set aside.
- In a big mixing bowl, beat together the butter and brown sugar until light and fluffy. Add eggs one at a time, scraping sides of bowl in between. Pour in the maple syrup.
- Mix in half the flour mixture. Then stir in the sour cream, vanilla, and maple flavor. Add the rest of the flour mix, until everything is just combined.
- Pour into the prepared pan. Bake for 45 to 50 minutes, until a cake tester inserted into the middle comes out clean. Let cool on rack for 10 minutes, then invert the cake onto the rack. Don't wash the pan! Set it aside for now.
- After an hour and a half--or longer--begin making the glaze. In a medium saucepan, combine all three glaze ingredients. Bring it a rapid boil, then reduce to a simmer for 5 to 8 minutes, until it thickens to a syrupy consistency. Remove pan from heat.
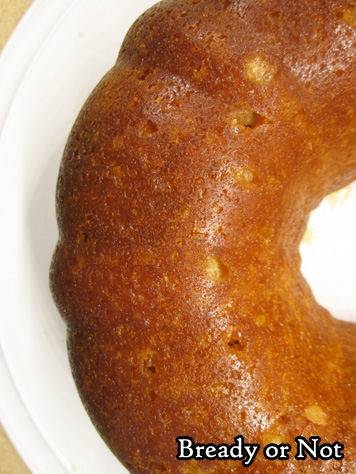
- Carefully invert the cooled cake into the pan again. Use a chopstick or skewer to stab all over the cake. Slowly spoon or pour about half the glaze into the holes and edges. Let it rest a few minutes. Invert the cake again onto the cake pan base or a storage plate. Again, stab the top of the cake to create holes, then spoon the rest of the glaze on. Can also use a basting brush to cover the exterior of the cake and sweep up any drippings.
- Store cake covered at room temperature. Slices can also be frozen.
- OM NOM NOM!
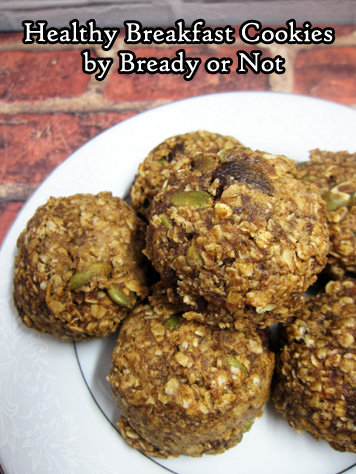
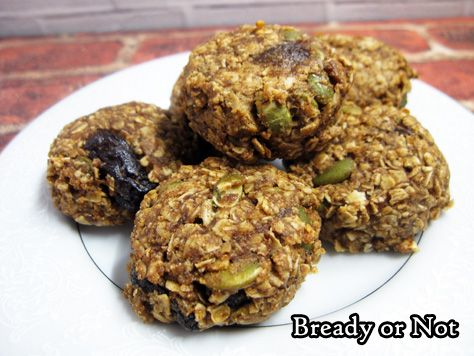
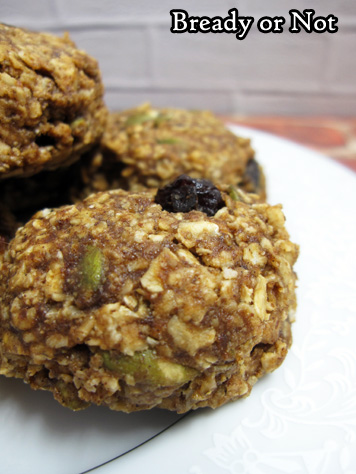
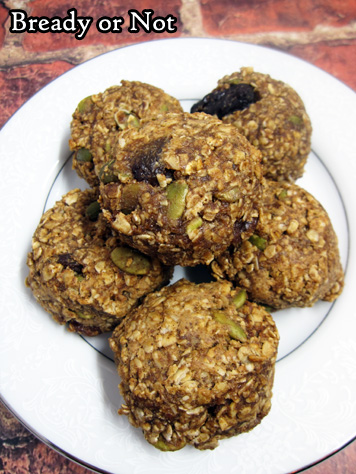
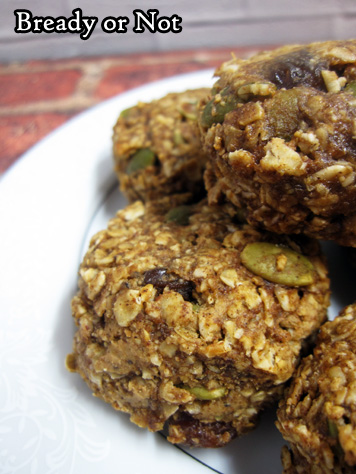
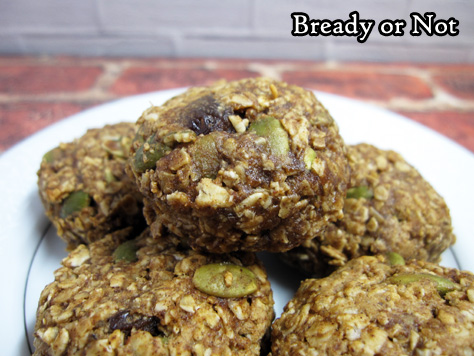
Bready or Not: Healthy Breakfast Cookies [Redux]
Cookies for breakfast. Healthy cookies. No refined sugars. Vegan. Also gluten-free, if you use GF oats.
Even better: they taste delicious.
This is one of my favorite breakfast recipes, one I’ve made at least once a month for the past five years. In fact, I posted it on Bready or Not back in 2014. Delicious as the cookies are, I couldn’t finagle the lighting then to do the recipe justice. Now, thanks to my Shotbox, I can.
I customize these cookies based on my mood and what I have on hand. I’ve used macadamia nut butter, cashew butter, and almond butter–and combinations thereof. I’ve used apple butter, pumpkin butter, and date butter–and in a pinch, I’ve used applesauce and doubled the cinnamon.
For the dried fruit, I often use a mix of golden raisins and dried cranberries, but I’ve thrown in dried blueberries, too. If you don’t have pepitas, use sunflower kernels or other chopped nuts.
I usually whip up a batch and freeze 2/3 of it right away. The cookies keep perfectly fine in a room temperature sealed container for over a week. Two or three cookies make for a great breakfast prior to exercising!
Did I mention they are also delicious?
Bready or Not: Healthy Breakfast Cookies [Redux]
Ingredients
- 2 cups quick oats not whole or old-fashioned oats
- 3/4 teaspoon salt
- 1 teaspoon ground cinnamon
- 1 cup nut butter
- 1/4 cup pure maple syrup or honey
- 3/4 cup fruit butter apple butter, date butter, etc
- 1 cup dried fruit raisins, cranberries, etc
- 1/2 cup pepitas shelled pumpkin seeds or other seeds or nuts
- 1/4 cup ground flaxseed or wheat germ
Instructions
- Preheat oven to 325-degrees. Prepare cookie sheets with parchment or silicone baking mats, or use seasoned stoneware.
- Combine all of the ingredients into a large bowl.
- Using a tablespoon or tablespoon scoop, drop dollops of dough onto cookie sheet. Note that it won't spread. Use fingers to gently tamp down top and press in stray oats on the sides; it will be a little sticky.
- Bake for 12 to 15 minutes or until the cookies are just set. Cool for several minutes before transitioning them to a rack to finish cooling.
- OM NOM NOM!
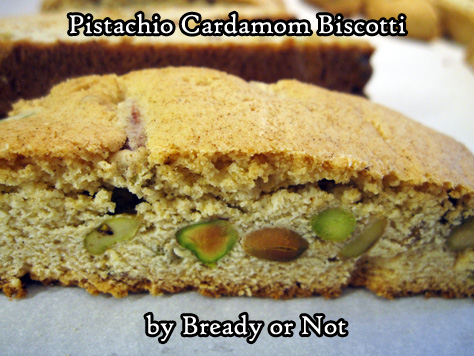
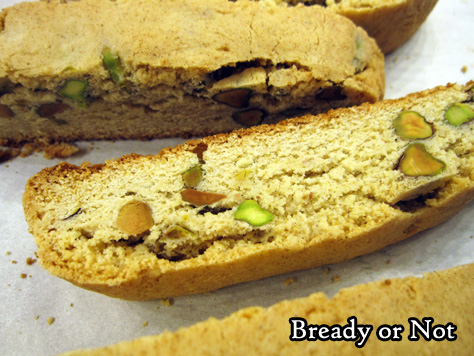
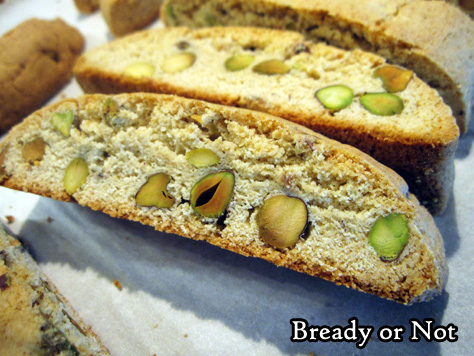
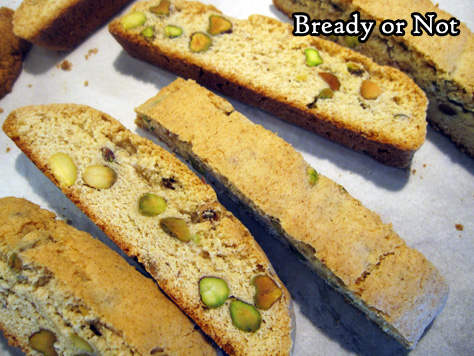
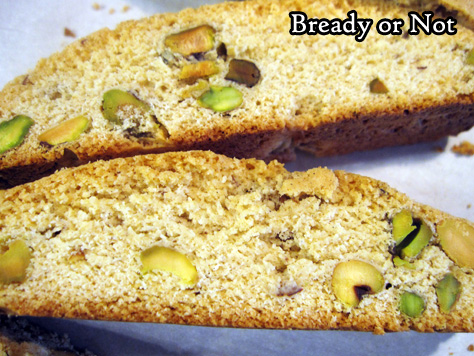
Bready or Not: Pistachio Cardamom Biscotti
Bake up these biscotti, and your house will smell absolutely glorious!
That’s the power of cardamom. It’s one of my favorite spices to use in baking AND in writing (heck, see my story in Uncanny last year, “With Cardamom I’ll Bind Their Lips.”)
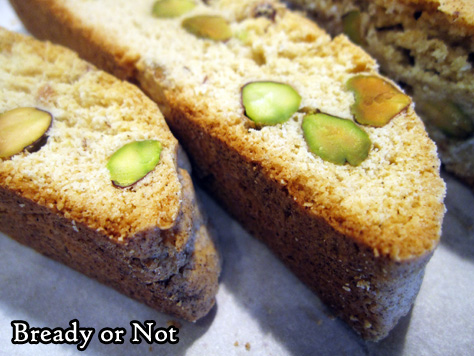
The combination of cardamom and vanilla here creates a very fresh taste. Really, these are a delight to the senses.
There are just enough pistachios included to add pretty green dapples and some extra crunch, but they didn’t make the biscotti harder to cut (the almonds in my Chocolate Almond Biscotti were a lot more annoying in that regard).
Store these biscotti for a few weeks. These are also great to ship because they do keep so well.
Serve them up with some hot tea or coffee, and start the day off right!
Bready or Not: Pistachio Cardamom Biscotti
Ingredients
- 4 Tablespoons unsalted butter softened
- 3/4 cup white sugar
- 2 eggs room temperature
- 3/4 cup salted pistachios shelled, chopped
- 1 teaspoon ground cardamom
- 1 teaspoon vanilla extract
- 2 cups all-purpose flour
- 1 teaspoon baking powder
Instructions
- Line a large baking sheet with parchment paper. Preheat oven at 350-degrees.
- In a large bowl, mix together the butter and sugar until they are light and fluffy. Add eggs one at a time. Add the pistachios, cardamom, and vanilla extract. Stir in the flour and baking powder until just combined.
- Divide the dough in half on the prepared baking sheet. Form each into a log about 4 inches wide and 10 inches long; make sure there is space between the two logs, as they'll grow in the oven.
- Bake for 25 minutes, until the dough is slightly golden. Remove the baking sheet from oven, but leave the oven on.
- Let the biscotti cool for 10 minutes. Use a large knife, such as a bread knife, to diagonally slice the logs 1/2-inch apart. Use a straight-down motion to cut; don't saw.
- Arrange the biscotti spaced out on the baking sheet. Stand them up if possible, or lay them on their sides. Bake for another 20 to 25 minutes, flipping them over halfway if necessary, to equally crisp both sides.
- Cool completely on the baking sheet. Store in an airtight container as long as a few weeks.
- OM NOM NOM!
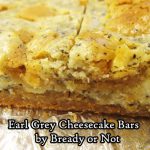
Bready or Not Original: Earl Grey Cheesecake Bars
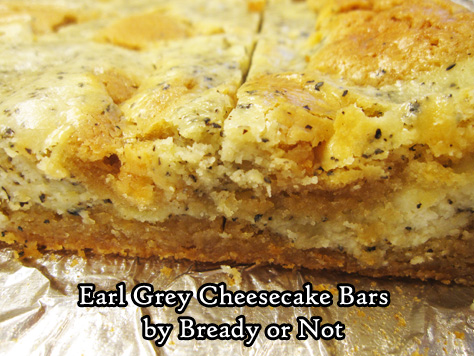
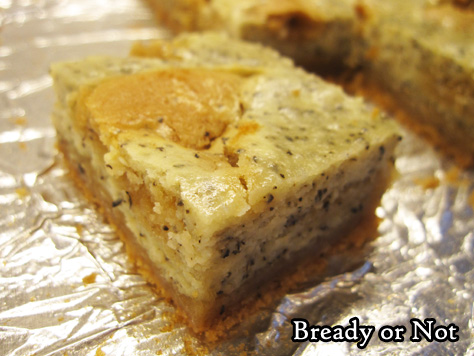
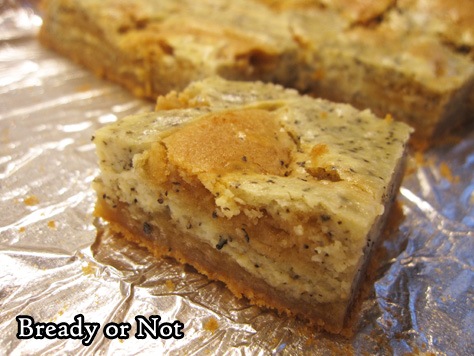
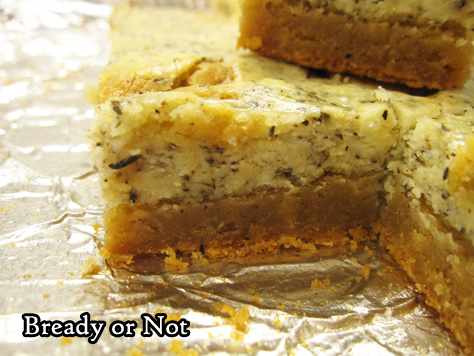
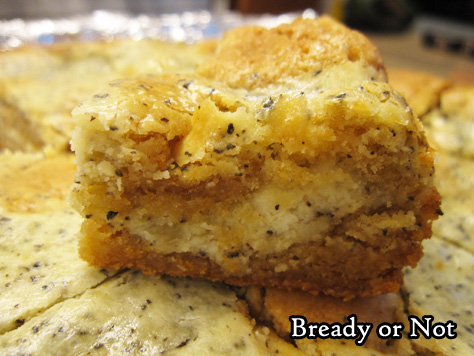
Earl Grey tea and cream cheese team up in delicious bar form in these delicious Earl Grey Cheesecake Bars.
Last August, I featured Matcha Cheesecake Bars. I decided to modify that recipe using Earl Grey.
The result: WOW. Earl Grey has a slight heat to it when eaten in baked goods (like, say, Earl Grey shortbread).
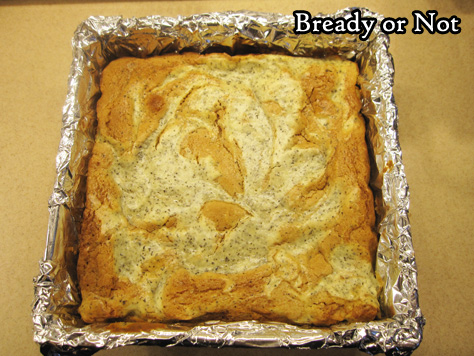
Here, that contrasts wonderfully with the smooth and creamy cheesecake swirls. I’m not a big cheesecake person, but I’m in awe of how good this basic recipe is.
This is a recipe to make cheesecake haters love cheesecake. That’s not a statement I’d make lightly.
I’ve been told these are excellent with coffee… but if I may, I suggest indulging while enjoying some Earl Grey tea. Hot. Captain Picard-style.
Bready or Not Original: Earl Grey Cheesecake Bars
Ingredients
Crust
- 1 1/2 cups all-purpose flour
- 1 tsp baking powder
- 1/2 tsp salt
- 10 Tb unsalted butter softened
- 1 1/2 cups light brown sugar packed
- 2 eggs room temperature
- 1 Tb vanilla extract
Cheesecake layer
- 8 oz cream cheese softened
- 1/4 cup sugar
- 2 Tb unsalted butter softened
- 2 Tb all-purpose flour
- 2 tea bags Earl Grey scant 1 tablespoon
- 1 egg room temperature
- 1/2 tsp vanilla extract
Instructions
- Preheat oven at 325-degrees. Line an 8x8 or 9x9 pan with aluminum foil and apply nonstick spray.
- In a medium bowl, sift together the flour, baking powder, and salt. Set aside.
- In a large mixer bowl, cream together the softened butter and brown sugar for about 3 minutes, until light and fluffy. Add 2 eggs and the vanilla extract, followed by the combined dry ingredients.
- Use an uneven spatula to smooth out HALF of the batter in the prepared pan. Place the other half in another bowl for now. Clean the bowl before the next stage, if desired.
- To make the cheesecake layer, beat together the softened cream cheese, sugar, butter, flour, and the contents of two bags of Earl Grey. Mix in the egg and vanilla until it is mostly smooth.
- Pour about HALF of the cream cheese mix on top of the batter in the pan and smooth it out. Dollop the remaining crust and cheesecake batters over the top, and use a butter knife to swirl them together.
- Bake for 45 to 55 minutes, until it passes the toothpick test in the middle. Let cool at room temperature for an hour, then place in fridge to continue to chill and set for another hour or two.
- Lift it up by the aluminum foil and place on a cutting board to slice into bars. Store in a lidded container in fridge, with waxed paper or parchment between stacked layers.
- OM NOM NOM!


