


Bready or Not Original: Glazed Gingerbread Rolls
Imagine cinnamon rolls that taste like gingerbread, and you have these incredible Gingerbread Rolls.
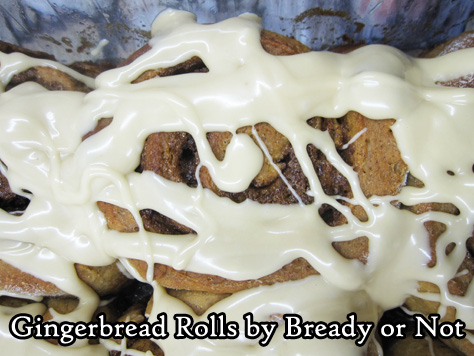
These things are a TREAT. Make them for a special holiday breakfast or brunch, or make them just because.
I had to make this twice to get it right. I followed another recipe closely at first and did a cream cheese frosting, which was delicious, but required the rolls be refrigerated, which made them end up pretty stiff before being eaten the next day.
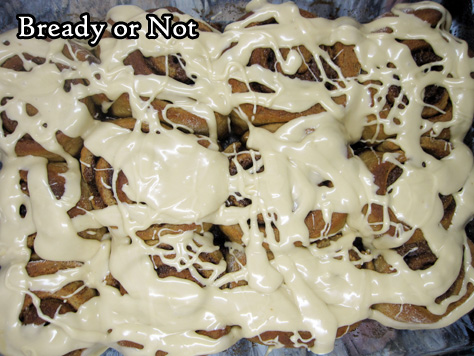
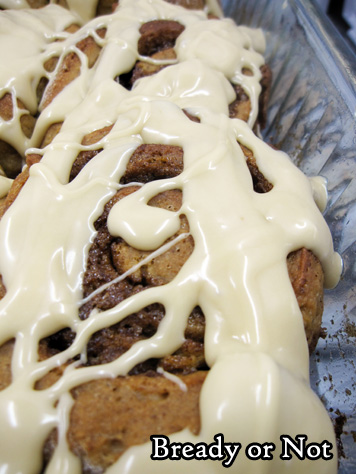
So, take two. This time, I made up my own glaze, and that worked beautifully. The rolls could stay at room temperature, and stay nice and pliable.
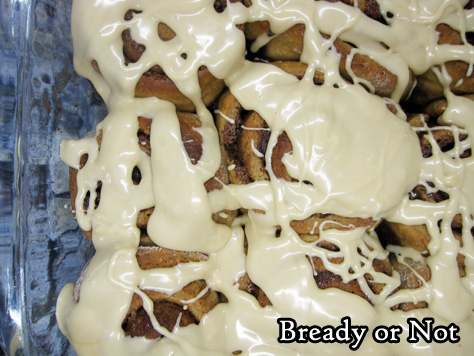
One of my husband’s co-workers described these rolls as “not as soft as Cinnabon, but better flavor.” By golly, I’ll take that, especially since the rolls had been made the day before.
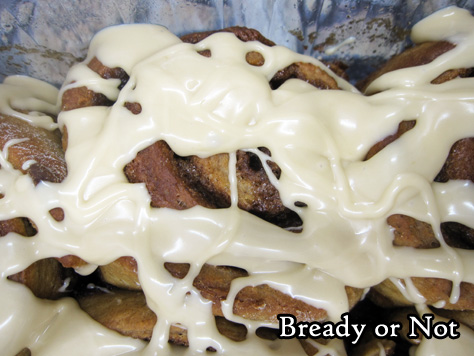
These rolls are as delicious as they look… and they look pretty good, don’t they?

Bready or Not Original: Glazed Gingerbread Rolls
Ingredients
Dough:
- 1/4 cup white sugar
- 1 teaspoon ground cinnamon
- 3/4 teaspoon ground ginger
- 1/2 teaspoon kosher salt
- 3 1/2 cups all-purpose flour divided
- 1 Tablespoon dry active yeast
- 1 cup whole milk or substitute 3/4 cup half & half and 1/4 cup water
- 2 Tablespoons unsalted butter room temperature
- 1 large egg
- 2 Tablespoons molasses
Filling:
- 1/2 cup brown sugar packed
- 6 Tablespoons unsalted butter room temperature
- 1 Tablespoon ground cinnamon
- 1 1/2 teaspoons ground ginger
- 1/4 teaspoon ground cloves
- all-purpose flour to dust work surface
Glaze:
- 2 1/2 cups confectioners' sugar
- 1 teaspoon molasses
- 1 teaspoon vanilla extract
- 1 Tablespoon milk or half & half, use more as needed
Instructions
Make the dough:
- In a large bowl (such as a Kitchen Aid bowl), combine sugar, ground cinnamon, ginger, salt, and 1 3/4 cups of flour. Stir in yeast.
- In a small saucepan, warm milk and butter. Cook until butter is melted and the milk/butter is between 105 and 110-degrees.
- Pour the milk mixture into the flour mixture. Stir. Add the egg and molasses, and stir well.
- Use a dough hook on a stand mixer or arm power to beat the dough. Gradually add the remaining 1 3/4 cups flour, kneading until the dough is smooth and pliable. Using a dough hook, this will be 4 to 5 minutes.
- Transfer dough to a lightly buttered or greased bowl and cover with plastic wrap or a towel. Let rise until doubled in size, about 1 hour.
Make the filling and assemble rolls:
- After the dough has risen, butter or grease a 9x13 OR 8x8 OR 9x9 casserole dish.
- In a small bowl, combine the filling ingredients: brown sugar, butter, cinnamon, ginger, and cloves.
- Prepare a clean stretch of counter or table with a dusting of flour. Roll out the dough to about a 12x16 rectangle. Spread the filling all over, but not quite to the edges. Starting with the long side, roll into a log.
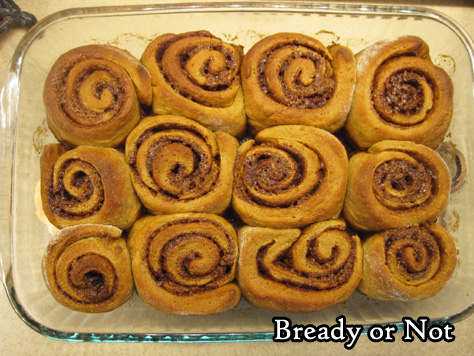
- If using a 9x13 pan, cut the rolls into 12 equal rounds; if using a smaller pan, cut into 9. A piece of unwaxed dental floss makes this easy; wrap around dough log, then pull two ends of floss opposite directions to slice through.
- Once the pan is full of rolls, cover with plastic wrap or a towel and let rise again until doubled, about an hour.
- Preheat oven at 375-degrees. Once it comes to temperature, place rolls inside. Bake for about 12 minutes then cover with foil to reduce browning, then bake about 8 to 12 minutes. Let cool a bit.
Glazing:
- Combine the glaze ingredients to each a thick yet loose texture. Add more milk or confectioners' sugar, as needed, to reach a good consistency. Spoon and spread over the rolls.
- Eat immediately, or cover with foil and keep at room temperature. Enjoy right from the pan or warmed slightly in the microwave. Best within a day or two.
OM NOM NOM!
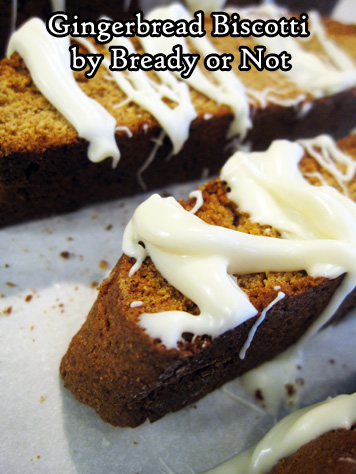
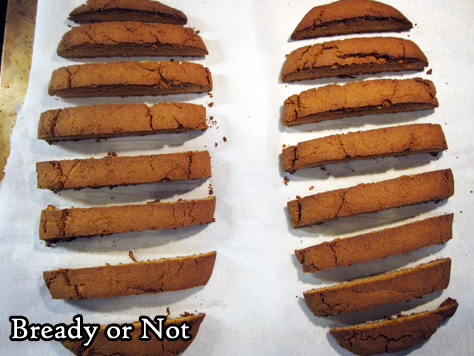
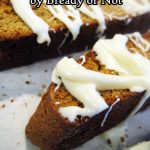
Bready or Not Original: Gingerbread Biscotti
Let’s get into the holiday spirit with some Gingerbread Biscotti!
This recipe is super-duper easy! Plus, the end result keeps well–it can even be frozen–and biscotti make for a wonderful holiday gift!
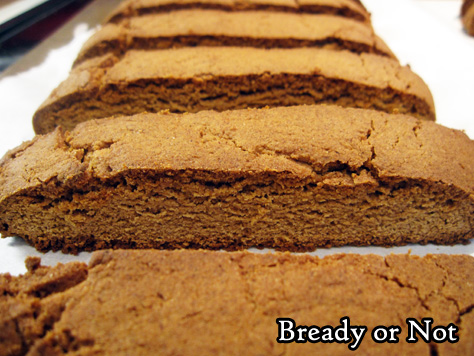
I was really amazed at the flavor of these. They are straight-out gingerbread, with the perfect crispness of biscotti.
Since the flavor is so great, they are good on their own… but like all biscotti, are even better in accompaniment to hot drinks like coffee, tea, or cocoa.
Like biscotti? I have a full assortment for you to try!
Snickerdoodle Biscotti
Chocolate Almond Biscotti
Pistachio Cardamom Biscotti
Maple Walnut White Chocolate Biscotti
Peppermint Biscotti
Bready or Not Original: Gingerbread Biscotti
Ingredients
Biscotti
- 1/3 cup vegetable oil
- 1 cup white sugar
- 3 large eggs
- 1/4 cup molasses
- 2 1/4 cups all-purpose flour
- 1 cup white whole wheat flour or whole wheat flour
- 1 Tablespoon baking powder
- 1 1/2 Tablespoons ground ginger
- 2 1/4 teaspoon ground cinnamon
- 1/2 teaspoon cloves
- 1/4 teaspoon nutmeg
- 1/4 teaspoon salt
Drizzle
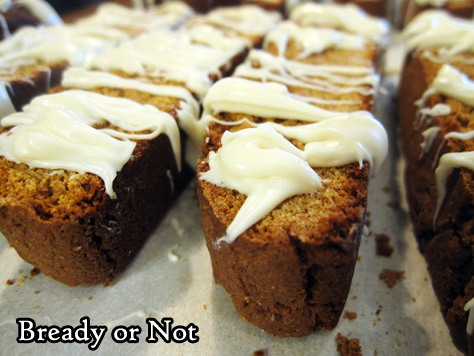
- 3/4 cup white chocolate chips
- 1 Tablespoon shortening
Instructions
- Preheat oven at 375-degrees. Line a large baking sheet with parchment paper.
- In a large bowl, stir together oil, sugar, eggs, and molasses. In a separate bowl, sift together the two flours, baking powder, ginger, cinnamon, cloves, nutmeg, and salt. Gradually stir the dry ingredients into the wet until it is the same consistent brown.
- Divide the dough in half on the prepared baking sheet. Form each into a log about 4 inches wide and 10 inches long; make sure there is space between the two logs, as they'll grow in the oven.
- Bake for 20 minutes, until tops are set when tapped. Remove the baking sheet from oven, but leave the oven on.
- Let the biscotti cool for 10 minutes. Use a large knife, such as a bread knife, to diagonally slice the logs 1/2-inch apart. Use a straight-down motion to cut; don't saw.
- Arrange the biscotti spaced out on the baking sheet. Stand them up if possible, or lay them on their sides. Bake for another 15 minutes, flipping them over halfway if necessary, to equally crisp both sides.
- Cool completely on the baking sheet.
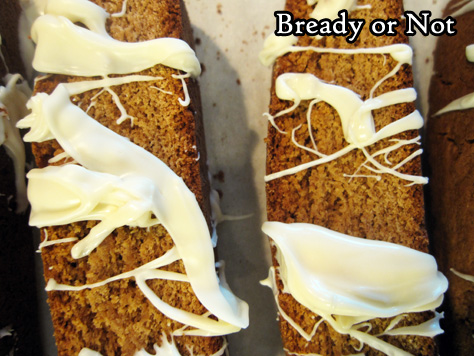
- Zap white chocolate chips with shortening in microwave for 20 seconds, stir, then continue to repeat until it stirs smooth; keep a close eye on it, as the chocolate can burn fast! Use a fork to drizzle white chocolate over biscotti, or dip an end of each biscotti into chocolate.
- Store in an airtight container at room temperature as long as a few weeks. Can also be frozen.
OM NOM NOM!
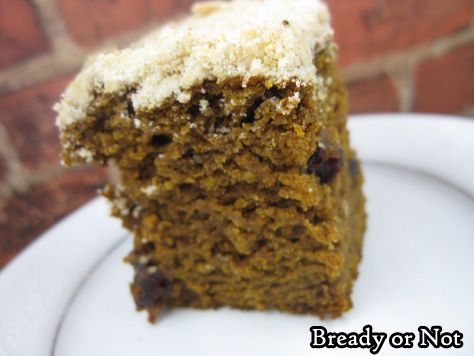
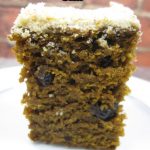
Bready or Not Original: Pumpkin-Gingerbread Coffee Cake
Wake up to lovely autumn flavors with this Pumpkin Gingerbread Coffee Cake!
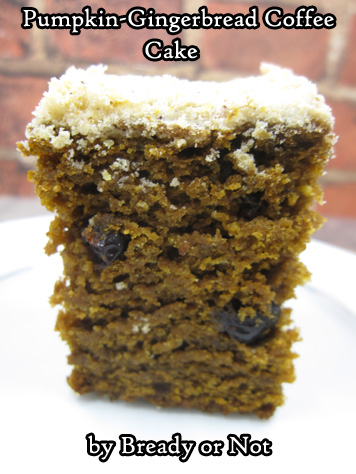
It’s beautiful to behold, and beautiful upon the tongue, too.
This isn’t a straightforward pumpkin cake. The gingerbread flavor is what comes across foremost–that molasses with a warm combination of spices–with the pumpkin flavor underlying it all.
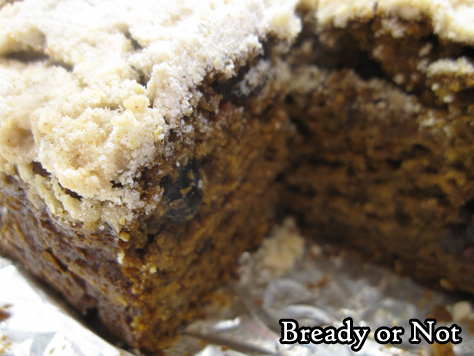
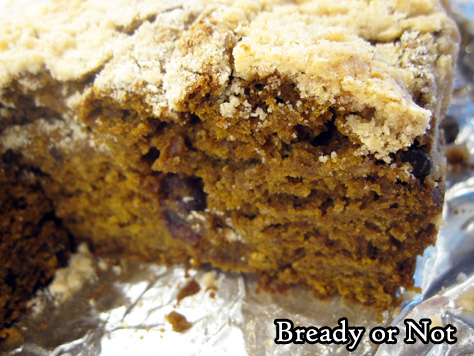
The pumpkin, of course, also permeates the cake with a moist, tender crumb. The crumb topping has all of the spices and acts in lovely contrast (in coloration and flavor) to the cake beneath.
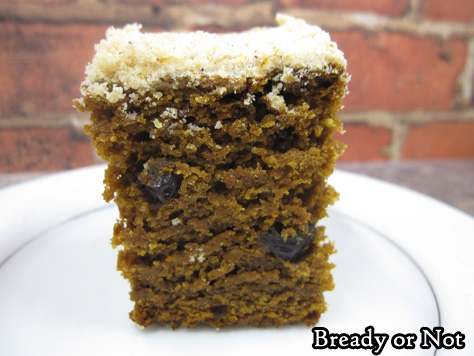
Oh yes, and the dried cranberries sprinkled throughout add little nuggets of tartness with a different kind of chewy texture. I bet this would be great with dried blueberries or cherries, too.
This cake would be incredible for a dessert, snack, and especially as a breakfast–especially on a special occasion like Halloween and Thanksgiving morning.
Greatly modified from original recipe in Fall Baking 2016 by Better Homes & Gardens.
Bready or Not Original: Pumpkin-Gingerbread Coffee Cake
Equipment
- 9x9 or 8x8 square pan
Ingredients
- 2 cups all-purpose flour
- 1/2 cup white whole wheat flour or whole wheat flour
- 1/2 cup yellow cornmeal
- 1 cup white sugar
- 2 teaspoons ground ginger
- 1 teaspoon ground cinnamon
- 1 teaspoon ground nutmeg
- 1/4 teaspoon black pepper
- 3/4 cup unsalted butter 1 1/2 sticks, softened
- 15 ounces pumpkin puree
- 2 eggs room temperature
- 1/2 cup molasses
- 1/3 cup buttermilk or sour milk
- 1 1/2 teaspoons baking soda
- 1 cup dried cranberries
Instructions
- Preheat oven at 350-degrees. Line pan with foil and apply butter or nonstick spray.
- In a large bowl, combine both flours, cornmeal, sugar, ginger, cinnamon, nutmeg, and pepper. Cut in the butter to form coarse crumbs. Measure out 1 cup of the mixture; set aside to use as topping.
- In another bowl, mix together the pumpkin, eggs, molasses, and baking soda. Stir together the dry and wet ingredients, then fold in the dried cranberries.
- Spread batter in prepared pan. Sprinkle reserved crumb topping over entire surface.
- Bake for 55 to 60 minutes, until the center passes the toothpick test. Completely cool at room temperature. Slice within pan, or use foil to lift onto cutting board.
OM NOM NOM!
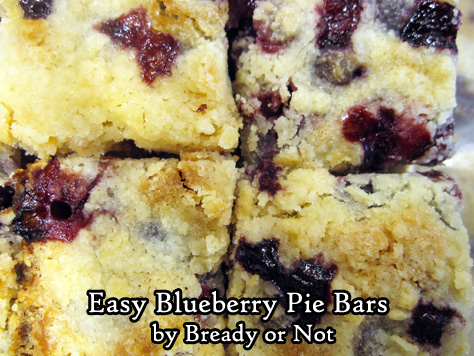
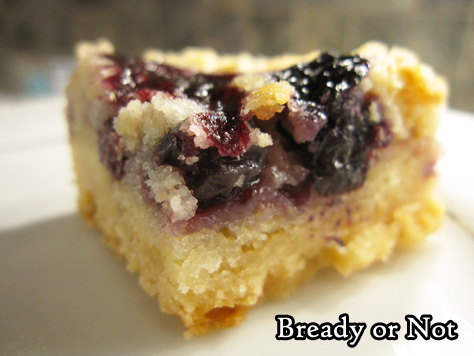
Bready or Not Original: Easy Blueberry Pie Bars
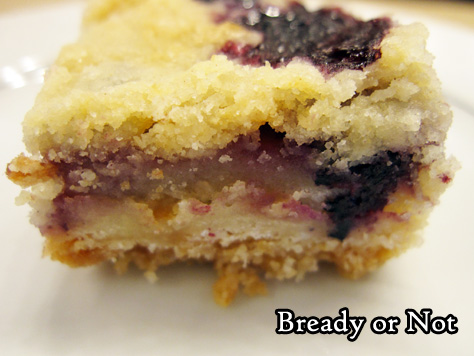
These Easy Blueberry Pie Bars taste like blueberry cobbler in a tidier, more compact form. They are DELICIOUS.
Yeah, yeah, I share a lot of good recipes on here, but these are seriously amazing.
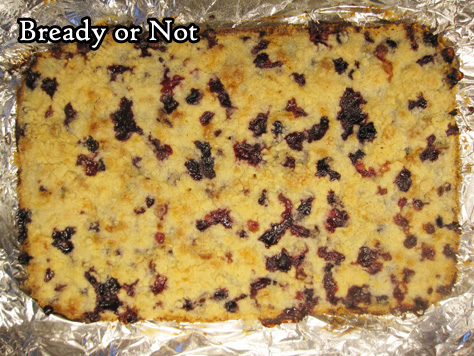
The recipe is pretty straightforward, too. Make the shortbread crust. Press it down. Bake. Mix up the middle ingredients, folding in the blueberries last. Sprinkle reserved crust on top. Bake. Enjoy.
I like that this recipe only requires a pint of blueberries, too. During the summer, I can often find a little 12 ounce clamshell container on sale for under a buck!
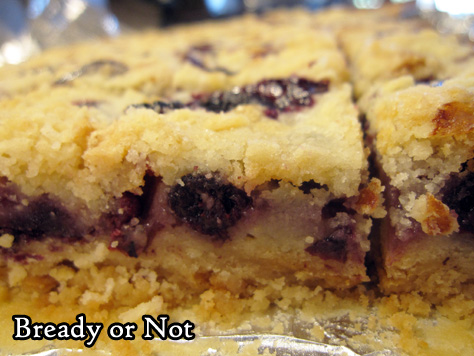
These bars keep well for as long as three days, maybe longer, in a sealed container in the fridge. They make for a great dessert, but they’d be great for breakfast, too.
Bready or Not Original: Easy Blueberry Pie Bars
Ingredients
Crust
- 2 cups all-purpose flour
- 3/4 cup white sugar
- 1/8 teaspoon salt
- 1 cup unsalted butter 2 sticks
Filling
- 2 eggs room temperature
- 1 cup white sugar
- 1/3 cup all-purpose flour
- 1/8 teaspoon salt
- 1/2 cup sour cream or plain or vanilla Greek yogurt
- 1 teaspoon vanilla extract
- 1 pint fresh blueberries 12 ounces
Instructions
- Preheat oven at 350-degrees.Line a 9x13 pan with foil and apply nonstick spray.
- Place flour, sugar, and salt in a large bowl. Add the butter, and use a knife and fork to chop it into crumbles. Measure out 1 cup of this crumb mixture; set aside.
- Place the rest of the crust mix into the baking dish. Distribute evenly, then compress into a thin layer; a piece of wax paper and a heavy glass work well for this.
- Bake for 15 minutes. In the meantime, make the filling.
- Beat eggs, then add in the sugar, flour, salt, sour cream/yogurt, and vanilla. Gently fold in the blueberries.
- Pour the filling over the prebaked crust. Spread out evenly. Sprinkle the reserved crust mixture over the top.
- Bake 55 to 60 minutes, until top is golden brown and passes the toothpick test.
- Cool at room temperature, then chill in fridge to set more firmly. Use foil to lift onto a cutting board to slice into bars. Store in sealed container in fridge with waxed paper or parchment paper between layers. Keeps for at least 3 days.
- OM NOM NOM!
Bready or Not: Coconut Cream Cheese Pound Cake
This stunning Coconut Cream Cheese Pound Cake is gorgeous and delicious, and will win over even people like me that are not big coconut fans.
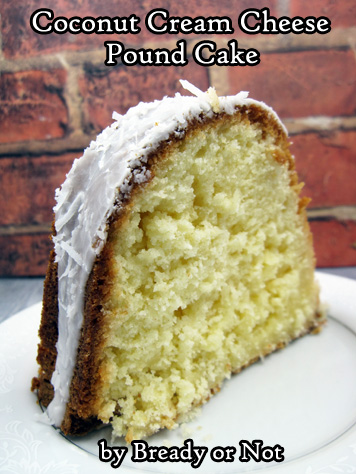
This cake works for me because the cream cheese creates a rich, tender crumb, and the coconut adds a lovely chewiness to it all.

The cake ends up being chewy, but not too chewy; sweet, but not cloyingly. Really, that makes this great as a breakfast, brunch, or dessert cake.
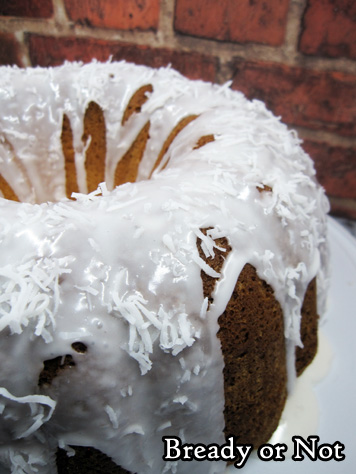
I highly recommend reserving some coconut to sprinkle on top, too. It adds a certain oomph.
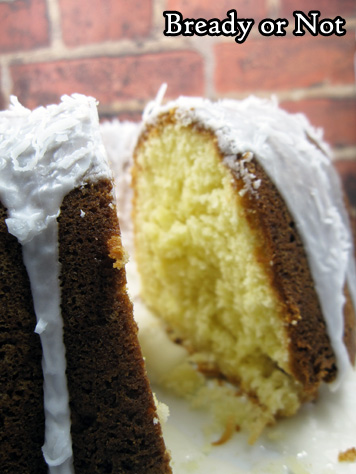
Serve this as cake alone, or like with any pound cake, it would be lovely alongside fresh fruit.

Modified from Cookies and Cups.
Bready or Not: Coconut Cream Cheese Pound Cake
Ingredients
Cake
- 1 cup unsalted butter 2 sticks, room temperature
- 8 ounces cream cheese 1 box, room temperature
- 3 cups white sugar
- 6 large eggs room temperature
- 2 teaspoons vanilla extract
- 1 teaspoon kosher salt
- 1 teaspoon baking powder
- 3 cups all-purpose flour
- 2 cups shredded coconut
Glaze
- 2 cups confectioners' sugar
- 2-3 Tablespoons milk
- extra shredded coconut
Instructions
- Preheat oven at 325-degrees. Coat a 10-cup bundt pan with nonstick spray or butter.
- In a large bowl, beat butter and cream cheese together until smooth. Add sugar and mix until light and fluffy.
- Add eggs one at a time, followed by the vanilla extract, salt, and baking powder. Gradually mix in the flour until just combined, then fold in the coconut.
- Pour batter into pan and distribute evenly. Bake for 75 to 80 minutes, until it passes the toothpick test.
- Cool pan for 20 minutes, then invert the cake onto a wire rack to completely cool. Move to a plate or cake platter.
- To make the glaze, stir together the confectioners' sugar and milk to form a smooth yet thick consistency. Pour or spoon glaze over the top, then sprinkle with additional coconut.
OM NOM NOM!
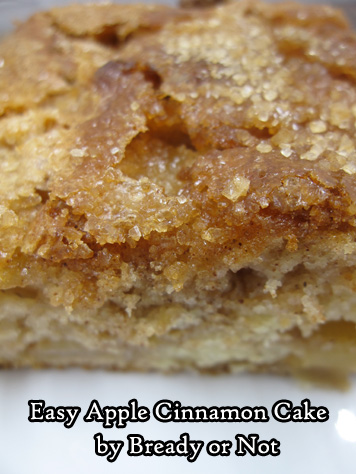
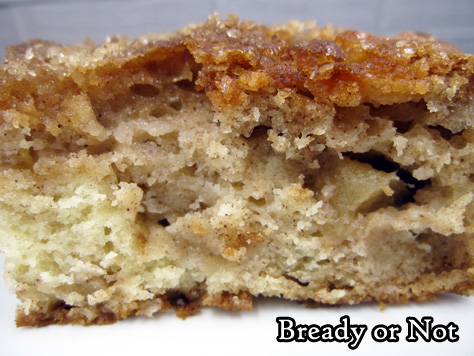
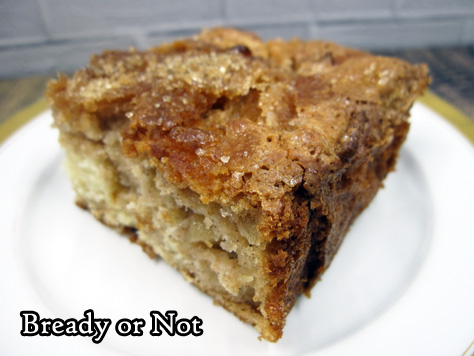
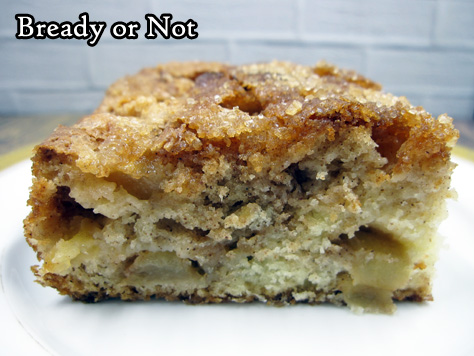
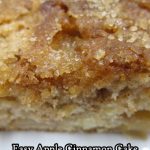
Bready or Not Original: Easy Apple Cinnamon Cake
Easy Apple Cake! This delicious cake is great to bake up, slice, and store in the fridge or freezer to enjoy for weeks to come.
If this recipe looks familiar, it’s because this is a rewrite of a recipe I posted back in 2016. The original version asked the baker to arrange the apple pieces in the middle and again on top.
After making this cake many, many times, I realized that was an unnecessarily fussy step. Ain’t nobody got time for that!
I started folding all of the apple chunks into the batter, and this saved a lot of time. The apples were perfectly distributed and the taste was the exact same.
This cake remains a very favorite for both my husband and my dad. They’ll eat it for breakfast, snack, or dessert.
When I travel back home to California, I always make this cake for my dad. Since my mom doesn’t stock baking ingredients, I measure up my own (one sandwich baggy with brown sugar and cinnamon; another with flour, baking soda, and salt; one more with white sugar) and whip him up a cake in no time!
Bready or Not Original: Easy Apple Cinnamon Cake
Ingredients
- 3 medium apples peeled, cored, & chopped into small chunks
- 1 teaspoon cinnamon heaping
- 1/4 cup brown sugar packed
- 1 1/4 cup all-purpose flour
- 1 teaspoon baking powder
- 1/8 teaspoon salt
- 1 cup white sugar
- 1/3 cup vegetable oil
- 1/3 cup sour cream or Greek yogurt
- 1 teaspoon vanilla extract
- 2 eggs room temperature
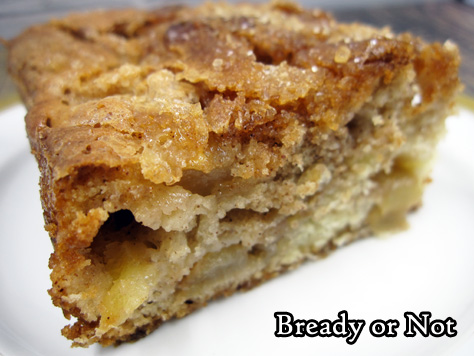
- turbinado or maple sugar for topping optional
Instructions
- Preheat oven to 350-degrees. Line a 9×9 square pan with foil and apply butter or nonstick spray.
- In a medium bowl, toss peeled and chopped apples with cinnamon and brown sugar.
- In a separate bowl, combine the flour, baking powder, and salt.
- In a larger mixing bowl, whisk together the white sugar, vegetable oil, sour cream/yogurt, and vanilla extract until it's smooth. Add the eggs.
- Add the dry ingredients into the wet ingredients until everything is just mixed. Fold in the apple chunks.
- Pour batter into the prepared pan. Sprinkle turbinado or maple sugar over top, if desired.
- Bake 1 hour, until it passes the toothpick test in middle. Cool completely, chilling in fridge if desired. Use foil to list contents onto a cutting board. Cut into pieces.
- These are great individually plastic wrapped and stored at room temperature or in the fridge; bars can be frozen and keep well for months. Eat from the fridge, or at room temperature, or warm in the microwave or oven. However you eat it, it'll be delicious!
- OM NOM NOM!
