


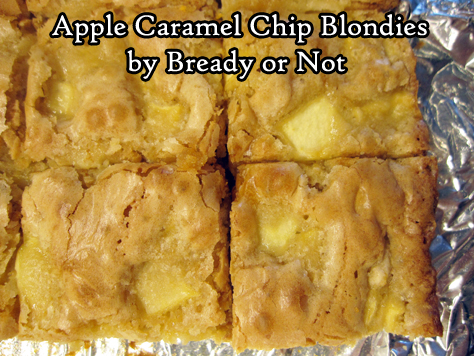
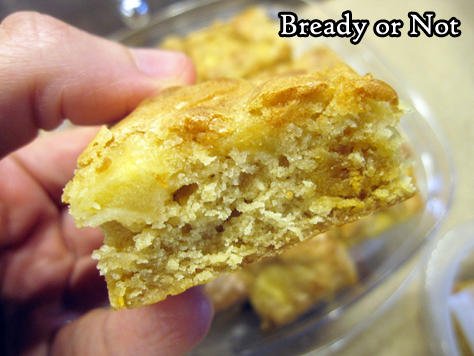
Bready or Not Original: Apple Caramel Chip Blondies
These Apple Caramel Chip Blondies are soft, sweet, and dangerously snackable, perfect for a quick bite to get you through the day.
I have other apple bar recipes like my tried-and-true Apple Cake that are thicker and more meal-like.
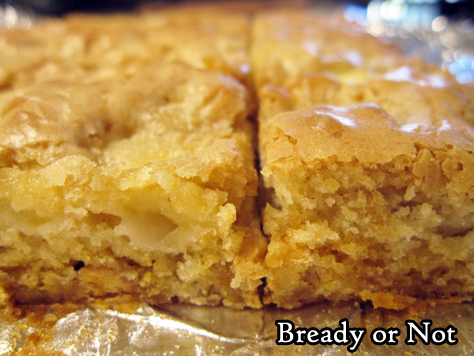
These bars are thin and light. They aren’t even heavy with apples, but the apple flavor is definitely there.
This is the kind of thing to use for a light breakfast, snack, or dessert, and they’d be great to wrap up and pack to go.
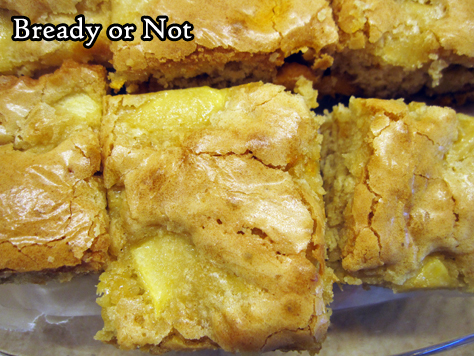
I used caramel chips for this recipe, but butterscotch or white chocolate would be great, too–or even seasonal sweet chips like pumpkin spice!
Bready or Not Original: Apple Caramel Chip Blondies
Equipment
- 9x9 pan
- medium saucepan
Ingredients
- 1 cup all-purpose flour
- 1/2 teaspoon kosher salt
- 1/4 teaspoon baking powder
- 6 Tablespoons unsalted butter
- 3/4 cup light brown sugar packed
- 1 teaspoon pure vanilla extract
- 2 large eggs room temperature
- 1 apple such as Ambrosia or Honeycrisp, peeled and chopped into raisin-sized pieces
- 1/3 cup caramel chips or substitute butterscotch chips or white chocolate chips
Instructions
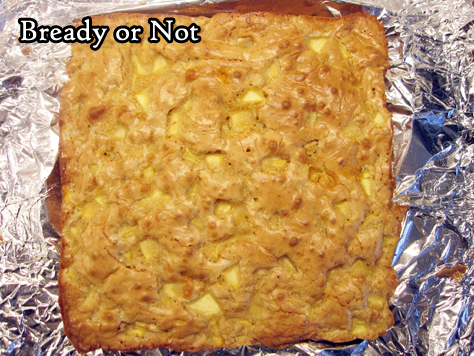
- Preheat oven at 350-degrees. Line a 9x9 pan with foil and apply nonstick spray or butter.
- In a small bowl, whisk together flour, salt, and baking powder. Set aside.
- In a medium saucepan, melt the butter, and continue to monitor a few more minutes, stirring often, to brown the butter. It should have a fresh, nutty smell. Remove from heat. Stir in the brown sugar and vanilla until the sugar is less grainy. Let the pan cool for a few minutes. Beat in the eggs until smooth. Stir in the dry ingredients next, followed by the apple pieces. Fold in the chips last.
- Pour the batter into the pan and smooth out the top. Bake for about 25 minutes, until the middle passes the toothpick test.
- Cool to room temperature. Use the foil to lift the contents onto a cutting board to slice up. Store the bars in a sealed container, with waxed paper or parchment between stacked layers.
OM NOM NOM!
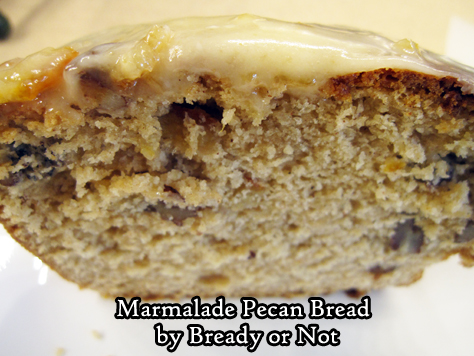
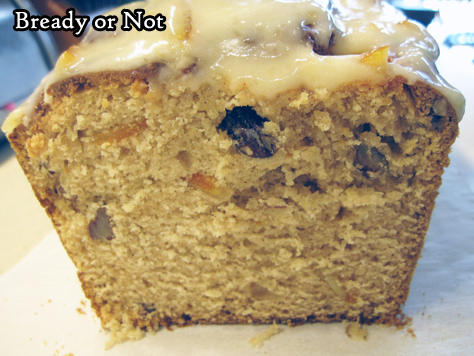
Bready or Not Original: Marmalade Pecan Bread
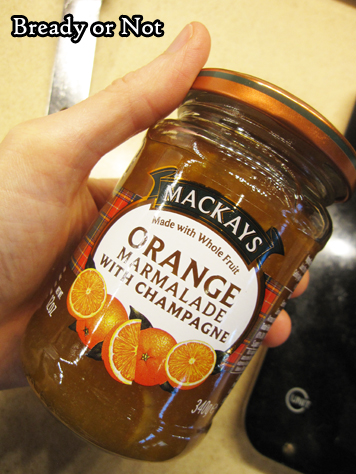
Orange marmalade is delicious stuff atop an English muffin or toast, and it’s also amazing incorporated into this Marmalade Pecan Bread.
If your jar is large enough, you can use some marmalade in the glaze, too–but worry not if your jar is smaller. Just use orange juice instead!
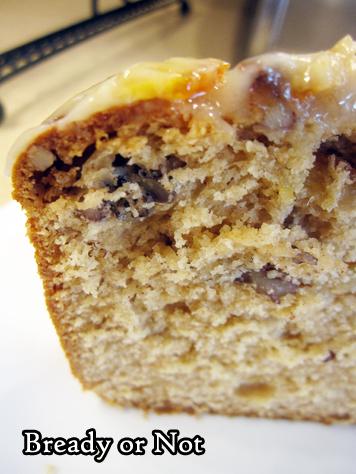
This bread has a tender, delicious crumb. You get some orange in every bite, and the pecans pieces add a great crunch for contrast.
This is ideal for a breakfast or brunch, but really, it would be a nice bedtime snack, too. Something cozy, delicious, and a touch sweet.
I cut the bread into slices and found it froze and thawed well, too. A tiny bit of glaze stuck to the plastic wrap, but it wasn’t that bad at all.
Modified from Taste of Home Church Potluck 2015.
Bready or Not Original: Marmalade Pecan Bread
Equipment
- 9x5 loaf pan
- parchment paper
Ingredients
- 12 ounce orange marmalade jar or a 10oz jar with a modified glaze
- 1/2 cup unsalted butter 1 stick, softened
- 1/2 cup brown sugar packed
- 2 eggs room temperature
- 2 2/3 cups all-purpose flour
- 3 teaspoons baking powder
- 2 teaspoons ground cinnamon
- 1 teaspoon salt
- 1/3 cup orange juice plus more, if needed for glaze
- 1/2 cup pecans chopped
- 1/2 cup confectioners' sugar
Instructions
- Preheat oven at 350-degrees. Cut a piece of parchment to fit long-ways in the loaf pan, extending up either side. Grease the pan, place the paper inside, then grease again. Set aside.
- If using a 12 ounce jar of marmalade, measure out two ounces to set aside.
- In a large bowl, beat together butter and brown sugar until blended. Add eggs, one at a time. Gradually mix in the 10 ounces of marmalade.
- In a separate bowl, mix together flour, baking powder, cinnamon, and salt.
- Slowly beat the dry ingredients into the wet, until just combined. Fold in the pecans.
- Pour batter into the loaf pan. Bake for 45 minutes; check on bread, and cover with foil if it is becoming too browned on top. Continue baking for another 15 to 20 minutes (that is 60 to 65 minutes total), until the very middle passes the toothpick test. Let rest in pan for about 10 minutes, then use the parchment sling to pull the bread out to set on a cooling rack.
- After the bread cools completely, mix together the remaining marmalade and the confectioners' sugar to form a thick glaze; alternatively, if a smaller jar was used, add orange juice by teaspoons into the sugar until a thick glaze is formed.
- Let set for 20 minutes before slicing in. Store at room temperature in a sealed beg or plastic wrap. Bread can also be sliced and frozen for later enjoyment.
OM NOM NOM!
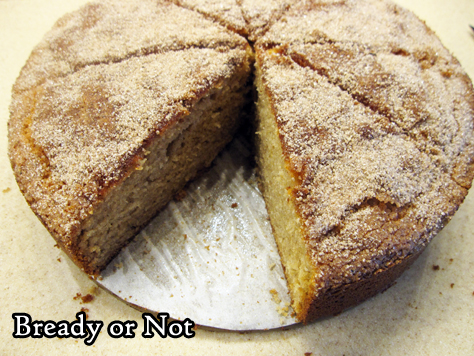
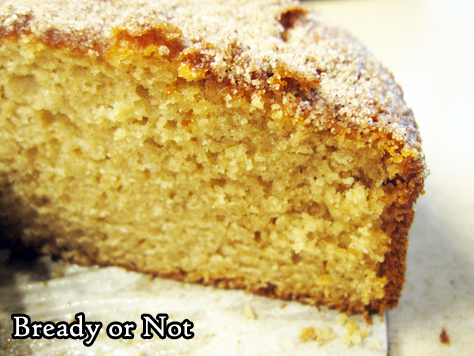
Bready or Not Original: Vanilla Applesauce Cake
Some days call for a no-fuss apple cake. This Vanilla Applesauce Cake is for those kinds of days.
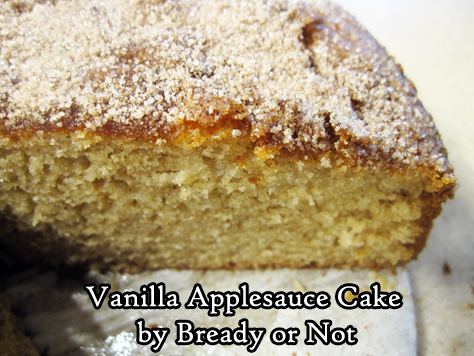
There is no need to worry about procuring apples, or having them go bad, or the effort to peel and slice them. This cake uses applesauce, which loads the cake with beautiful flavor.
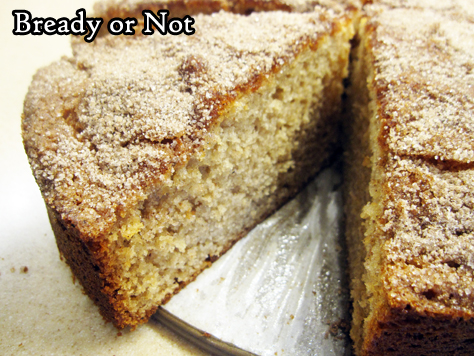
The cake also has the gentle flavor of a great combination of spices. The finisher is no-fuss, too: a top crusted with coarse sugar that adds a touch more sweet and a tiny crunch.
Want to serve this cake for just a few people? No problem. Slice up the cake, and freeze individual slices for later.
Modified greatly from a Heilala Vanilla ad in Bake from Scratch Magazine, September/October 2019.
Bready or Not Original: Vanilla Applesauce Cake
Equipment
- 9-inch springform pan
- offset spatula
- parchment paper
Ingredients
- 2 cups all-purpose flour
- 2 teaspoons baking powder
- 2 teaspoons ground cinnamon
- 1 teaspoon kosher salt
- 1/2 teaspoon baking soda
- 1/2 teaspoon ground ginger
- 1/4 teaspoon ground cloves
- 1 cup white sugar
- 1 cup applesauce or about 2 individual serving cups of applesauce
- 1/2 cup buttermilk or soured milk (see note)
- 1/2 cup vegetable oil
- 2 large eggs room temperature
- 1 teaspoon vanilla extract
- 1/4 cup coarse sugar as topping, such as turbinado, maple, etc
Instructions
- Preheat oven at 350-degrees. Cut parchment paper to fit in the base of a 9-inch springform pan. Apply nonstick spray with flour to bottom and sides of pan. Add parchment and spray again. Set aside.
- In a big bowl, combine flour, baking powder, cinnamon, salt, baking soda, ginger, and cloves.
- In another bowl, whisk together the sugar, applesauce, buttermilk or soured milk, oil, eggs, and vanilla. Gradually pour the wet ingredients into the dry, mixing well.
- Pour batter into the pan and smooth out with an uneven spatula. There will likely be bubbles in the batter. Gently tap the sides of the pan and thump it on the counter to get them to rise and burst. Using a spoon, sprinkle the coarse sugar all over the top as evenly as possible.
- Bake for 35 to 40 minutes, until the middle passes the toothpick test. Let cool in pan for 10 minutes, then release sides. Let cake cool completely on base for several hours.
- Slice into wedges and serve. Cake keeps well in a sealed container at room temperature and pieces can also be wrapped individually and frozen for later enjoyment.
OM NOM NOM!
Notes
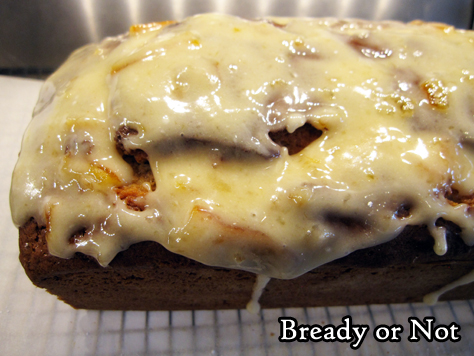
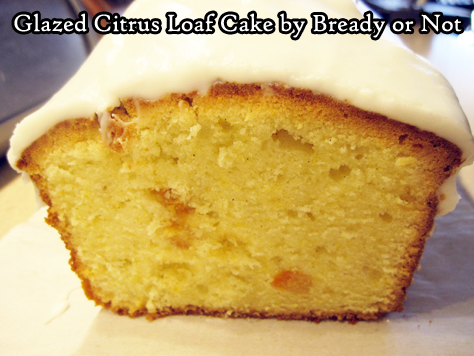
Bready or Not: Glazed Citrus Loaf Cake
For times when you want some cake, not a huge cake, this Glazed Citrus Loaf Cake is about perfect.
It’s not some huge thing to store. It doesn’t take forever to make. It’s easy to slice up, individually wrap, and freeze portions for later.
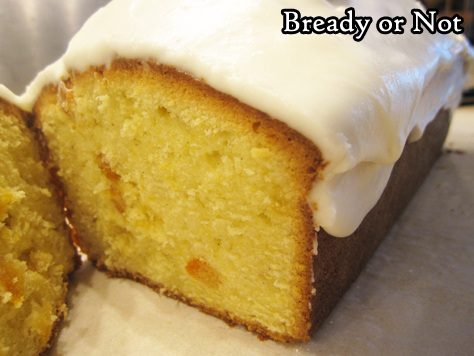
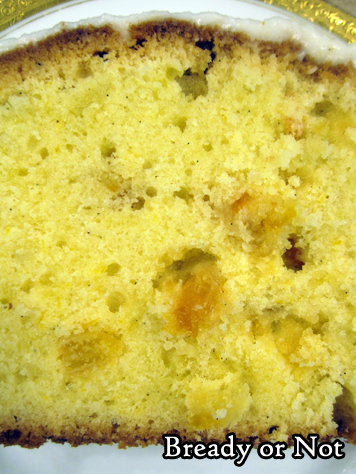
Plus, it’s delicious. The cake is like a pound cake, soft and moist, with lemon and orange zest throughout. The bits of candied orange add a different texture in the mix.
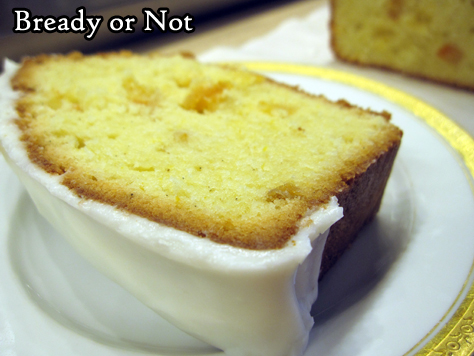
Then there’s that luscious glaze. It’s not a heavy frosting, but a boost of sweetness to balance the zing of the citrus.
This is a great spring and summer kind of kind, one that tastes fresh and bright!
I modified this recipe from my favorite food magazine, Bake from Scratch, the March/April 2020 issue.
Bready or Not: Glazed Citrus Loaf Cake
Equipment
- 9x5 loaf pan
- parchment paper
Ingredients
Loaf
- 1 cup unsalted butter (2 sticks) softened
- 1 1/4 cups white sugar
- 2 medium lemons
- 1 medium orange
- 4 large eggs room temperature
- 2 teaspoons vanilla bean paste
- 2 cups cake flour
- 3/4 teaspoon kosher salt
- 1/4 teaspoon baking powder
- 1/3 cup milk room temperature
- 1 teaspoon cake flour
- 1/2 cup candied orange slices finely chopped
Vanilla Glaze
- 1 1/2 cup confectioners' sugar plus more if needed
- 2 Tablespoons half & half or heavy cream
- 2 Tablespoons unsalted butter melted
- 1 teaspoon vanilla extract
- 1/4 teaspoon kosher salt
Instructions
- Wash, dry, and zest both lemons and orange. Set aside the fruit for another use.
- Preheat oven at 325-degrees. Cut a piece of parchment paper to fit into a loaf pan and extend up the long sides, like a sling. Apply nonstick spray in pan, then press in parchment and add more spray. Set aside.
- In a big bowl, beat butter, sugar, and zests together until they are fluffy, scraping the sides of the bowl often. Add eggs one by one, followed by the vanilla paste. The batter may look a bit curdled.
- In a separate medium bowl, combine the flour, salt, and baking powder. Gradually add it into the butter mix along with the milk. Batter will now be thick.
- In a small bowl, toss together the candied orange bits and the teaspoon of cake flour to coat. Fold it into the batter.
- Pour everything into the prepared loaf pan and even out the top.
- Bake for 40 minutes. Rotate pan in oven. Bake for another 40 minutes. Test the middle with a toothpick for doneness, and bake for another 5 to 20 minutes, until the toothpick comes out clean.
- Let loaf cool in pan for 10 minutes, then use the parchment to lift it onto a rack to cool completely.
- Make the vanilla glaze by mixing together all the ingredients until they are smooth and at a thick, pourable consistency. Immediately drizzle and smear over the top of the cake, letting excess artfully drip over the sides. Let glaze set for 30 minutes, then slice in.
- Wrap cake and keep at room temperature. It can also be cut into individual slices and frozen for later enjoyment.
OM NOM NOM!
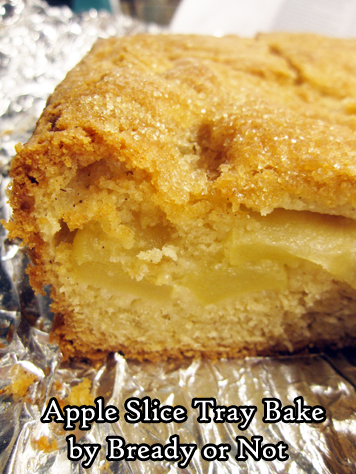
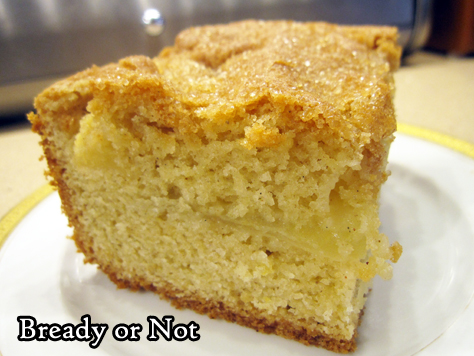
Bready or Not: Apple Slice Tray Bake
This Apple Slice Tray Bake would simply be an Apple Cake to most Americans. Whatever you call it, it’s packed with apples and delicious.
This is third consecutive recipe I’ve modified from the Bake from Scratch Magazine July/August 2020 Ireland-themed issue. I still have a few more things I want to try in the coming months, too!

I’ve found that French, Irish, and British apple cake recipes tend to be lighter on sugar and spices than typical American recipes. The focus is really on the apples.
I used Honeycrisps here, which are one of my favorite apples to eat outright or bake with! Two big apples will work.
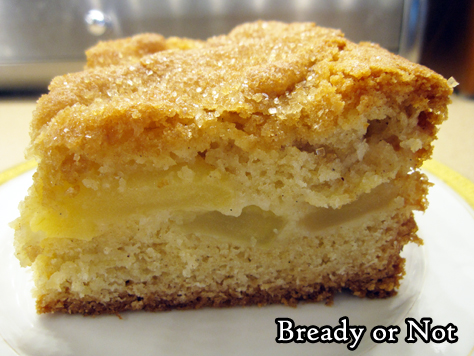
This bakes up light, lofty, and cakey, with a sugar-crusted top and a lovely flavor of apples throughout. The pieces freeze and thaw very well, too, meaning you can enjoy this like it is fresh but spread over days or weeks!
Bready or Not: Apple Slice Tray Bake
Equipment
- 9×9 baking pan
- uneven spatula
Ingredients
Apple layer:
- 2 large baking apples Honeycrisp work well
- 1 Tablespoon lemon juice
- 1 Tablespoon white sugar
Cake:
- 1 1/4 cups unsalted butter (2 and a half sticks) room temperature
- 1 1/2 cups white sugar
- 4 large eggs room temperature
- 1 1/2 teaspoons vanilla bean paste or substitute vanilla extract
- 3 cups all-purpose flour
- 3/4 teaspoon salt
- 4 1/2 teaspoons baking powder
- 1/2 teaspoon cinnamon
- 1/8 teaspoon allspice
- 2 Tablespoons turbinado sugar
Instructions
- Preheat oven at 350-degrees. Line a 9×9 pan with foil and apply nonstick spray.
- Peel and core the apples, then slice to about 1/4-inch thickness. Place slices in a large bowl and toss them with lemon juice and 1 Tablespoon white sugar, until apples are coated. Set aside.
- In a big mixing bowl, beat butter and white sugar for several minutes, until blended and fluffy. Add eggs, one at a time, mixing in well and scraping bowl afterward. Add vanilla. The batter may look curdled, but that’s okay.
- In a separate bowl, stir together flour, salt, baking powder, cinnamon, and allspice. Gradually mix the dry ingredients into the wet.
- Spread about half of the batter into the pan, using an uneven spatula to form an even layer. Arrange apple slices, flat side down, to cover the batter entirely. Top with the remaining batter, using the uneven spatula again to even out as much as possible. Sprinkle turbinado sugar all over the top.
- Bake until the middle of the cake passes the toothpick test, which will be from 1 hour to 1 hour and 15 minutes. Cover pan with foil about halfway through to prevent it from browning too much.
- Let cool in pan for an least 10 minutes, then use foil to lift cake onto a cutting board. Slice into squares. Tastes best warmed and at room temperature. Pieces can also be shrouded in plastic wrap and frozen for later enjoyment.
OM NOM NOM!
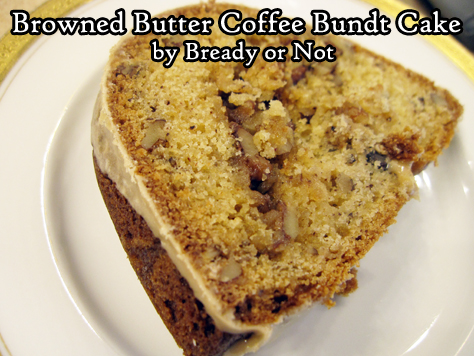
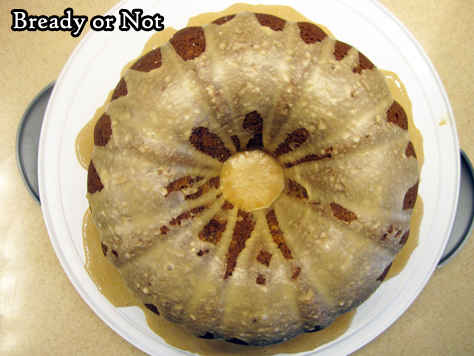
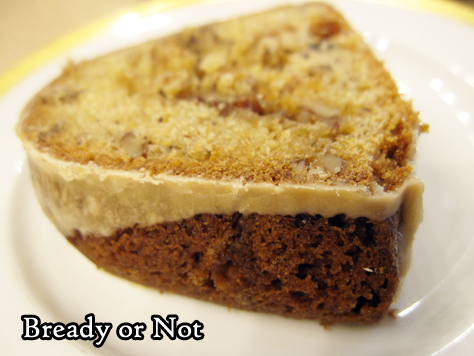
Bready or Not Original: Browned Butter Coffee Bundt Cake
This Browed Butter Coffee Bundt Cake is moist, delicious, and packed with a flavors that will get your day off to a good start.
And by a good start, of course, that includes CAFFEINE. Espresso powder is included in the icing!
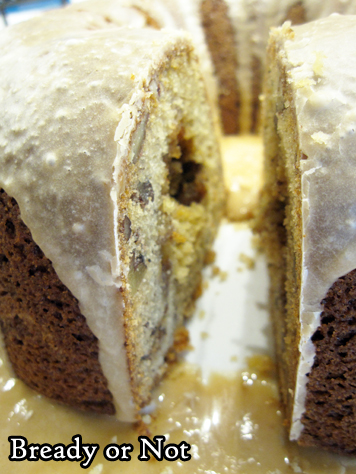
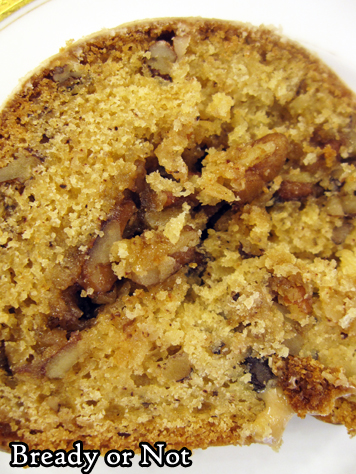
What I love about this cake is that it has all the luscious flavors of a coffee cake without the crumbly mess of the topping. In this cake, that crunchy, extra-sugary layer is in the center!
This is a great cake for a breakfast or brunch, and it’s a fantastic one to cut into individual slices, wrap up, and freeze for later.
If 2021 is anything like 2020, it’s a very good idea to have a stash of quick-thaw cake in the freezer.
Modified from Fall Baking Magazine 2013.
Bready or Not Original: Browned Butter Coffee Bundt Cake
Equipment
- large bundt cake pan
Ingredients
Bundt cake
- 3/4 cup unsalted butter 1 1/2 sticks
- nonstick spray with flour
- 2 cups pecan pieces finely chopped, divided
- 2 cups brown sugar packed, divided
- 2 teaspoons all-purpose flour
- 3 cups all-purpose flour
- 1 1/2 teaspoons baking powder
- 1 1/2 teaspoons baking soda
- 3/4 teaspoon salt
- 3 large eggs room temperature
- 1 teaspoon vanilla extract
- 1 1/2 cups vanilla yogurt or plain yogurt, crème fraiche, or sour cream
Coffee icing
- 4 teaspoons milk or half & half, or more as needed
- 1/2 teaspoon espresso powder
- 2 cups confectioners’ sugar or more as needed
Instructions
- First of all, brown the butter. (Note that this can be done a day ahead of time with the butter stashed in the fridge; set at room temperature to soften again or briefly and carefully, zap in microwave before mixing into recipe.) In a medium saucepan, melt the butter on medium-low heat for 5 to 6 minutes, until it becomes brown and embodied by a nutty fragrance. Remove from heat and cool for a while, then transfer to a small bowl. Cover and chill in the fridge for 2 hours, at minimum, to make firm.
- Preheat oven at 325-degrees. Apply nonstick spray with flour to coat inside of a large bundt pan. Soften the browned butter a bit.
- Prepare the filling. In a small bowl, mix together 3/4 cups of chopped pecans, 1/2 cup brown sugar, and 2 teaspoons of flour. Add 3 Tablespoons of the browned butter and work it in with a fork until it makes a crumbly mix.
- In another bowl, mix together the 3 cups flour, baking powder, baking soda, and salt. Set aside.
- In a big mixing bowl, beat together the remaining browned butter with the rest of the brown sugar. Add the eggs, one at a time, followed by the vanilla. Take turns mixing in the dry ingredients and the yogurt until just combined. Fold in the remaining 1 1/4 cups pecans.
- Pour about half the batter into the prepared pan and even it out. Sprinkle filling over it all the way around. Pour in the rest of the batter and spread it even again.
- Bake for 50 to 60 minutes, until it passes the toothpick test in the middle. Let cool for about 20 minutes, then invert it onto a rack to completely cool.
- Make the coffee icing. Stir together the milk, espresso powder, and confectioners’ sugar, adding more milk or sugar as needed to make an icing of a good consistency. Drizzle over cake.
- Store at room temperature. Can be sliced and frozen for later enjoyment.
