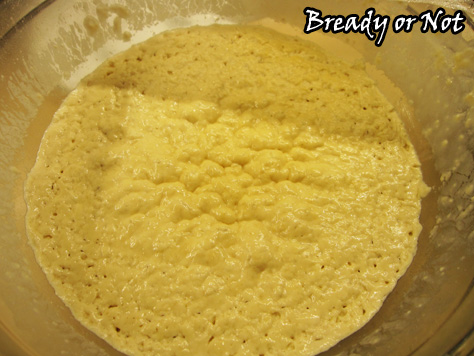
If you’re in need of a quick-fix breakfast, whip up a batch of these yeasted waffles! Chill the batter for at least 4 hours and you can start using it; the batter can stay in the fridge up to 3 days.
I was really impressed with how this batter kept, too. I noticed no difference in the taste for day to day, and I kept it chilled for the 3 day max stated in the original Eating Well recipe.
That said, these do taste different than normal waffles. There’s yeast in there! I found them to have a slightly sourdough flavor, which was not off-putting in the slightest.
Like any homemade waffles, the cooked waffles also keep very well frozen between layers of waxed paper. You stick the frozen waffles straight into the toaster like you would the store-bought version.
No matter how quickly these waffles are cooked up, they make for a convenient and delicious breakfast!
Modified from the original from the March/April 2016 Eating Well Magazine.
Bready or Not: Yeasted Waffles
Ingredients
- 2 3/4 cups almond milk or other milk
- 6 Tablespoons butter cut into pieces
- 3 cups all-purpose flour or whole wheat flour, or mix
- 1 1/2 Tablespoons white sugar
- 2 1/4 teaspoons active yeast 1 packet
- 3/4 teaspoons salt
- 3 large eggs lightly beaten
- 1 1/2 teaspoons vanilla extract
Instructions
- In a small saucepan, heat milk and butter over medium until the butter is melted. Set aside to let cool until it's just warm, about 15 minutes.
- In a large bowl, whisk together the flour, sugar, yeast, and salt. Add in the milk mixture followed by the eggs and vanilla extract. Stir together until just combined.
- Refrigerate the batter for at least 4 hours, or up to 3 days.
- Preheat waffle iron. Gently stir the batter to reconstitute. Use about scant 1/2 cup of batter for each waffle; the waffles will expand as they cook, and the iron might overflow on the first attempts you get a feel for the right amount to pour in.
- Return any unused batter to the fridge for later enjoyment. Cooked waffles can also be frozen.
- OM NOM NOM!


