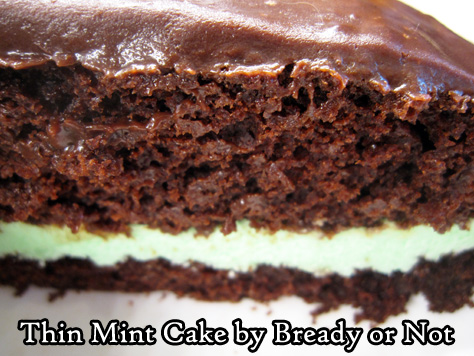
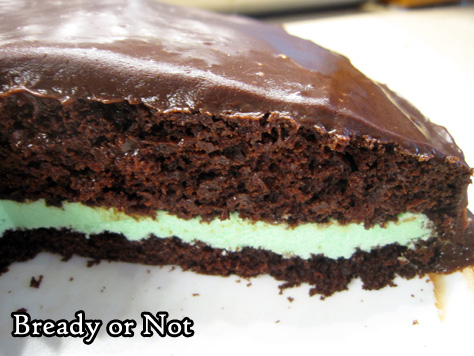
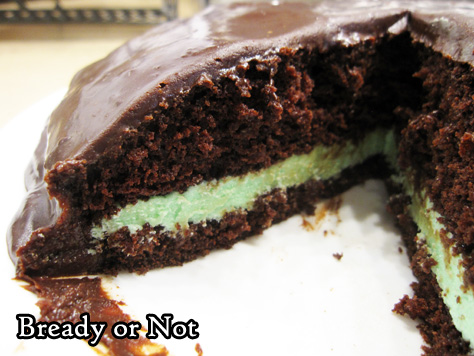
Oh hey, it’s time for cake. A Thin Mint Cake that is neither too big or too small, something that keeps well stashed in the fridge, and looks as amazing as it tastes.
If you love chocolate and mint, this is the cake for you. The cake is loaded with chocolate flavor, and a ganache adds a shiny finishing touch.
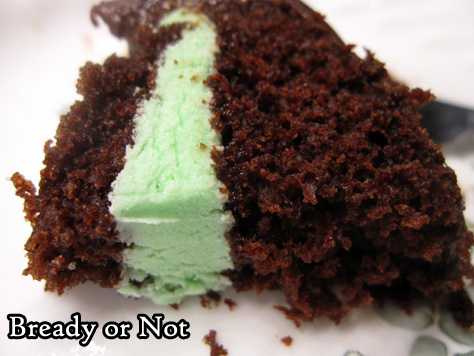
The middle layer of the cake is essentially a peppermint or mint-flavored buttercream. Sweet but not too sweet, it gives good contrast to balance the prevalent chocolate flavor.
I used this cake to try out a technique I’ve only read about and seen on TV before–I used four toothpicks to measure the halfway point on the sides of the cake, then tugged a piece of floss to cut the cake evenly in half! It worked out well.
Of course, you can still use a knife to cut through. The toothpicks will still be a helpful guide.
This is an ideal birthday or special occasion cake for a small group!
Greatly modified from Eating Well Magazine May 2020.
Bready or Not Original: Thin Mint Cake
Equipment
- 9-inch cake pan
- ruler
- toothpicks
- unwaxed floss
- parchment paper
Ingredients
Cake
- 1 cup all-purpose flour
- 1/2 cup white whole-wheat flour
- 3/4 cup white sugar
- 1/4 cup unsweetened cocoa powder sifted
- 1 teaspoon baking soda
- 1/2 teaspoon salt
- 1 cup water
- 1/3 cup canola oil
- 1 Tablespoon apple cider vinegar or other cider vinegar
- 1/2 teaspoon almond extract
- 1/2 teaspoon vanilla extract
Mint Filling
- 1/2 cup unsalted butter (1 stick), room temperature
- 1 1/2 cups confectioners' sugar sifted, more as needed for consistency
- 1/4 teaspoon peppermint extract or mint extract
- 1/4 teaspoon vanilla extract
- 1/4 teaspoon salt
- 1-2 drops green food coloring
- 2 Tablespoons half and half or milk
Glaze
- 1/2 cup half and half
- 1 1/4 cups semisweet chocolate chips
- pinch salt
Instructions
To prepare the cake
- Preheat an oven at 350-degrees. Cut a piece of parchment paper to fit inside a 9-inch cake pan. Apply nonstick spray inside pan, place parchment inside, and spray it again.
- Stir together all-purpose flour, white whole wheat flour, sugar, cocoa, baking soda, and salt.
- In another bowl, whisk together water, oil, vinegar, and both extracts. Gradually mix the wet ingredients into the dry until the batter is smooth. Pour into the prepared pan. Tap and thump it gently on the counter to knock out as many bubbles as possible.
- Bake 25 to 30 minutes, until a toothpick in the middle emerges with few crumbs attached. Let the pan cool on a rack for 10 minutes, then invert cake onto the rack to cool completely.
Make the filling
- Beat the butter until it is creamy and light. Add the confectioners' sugar, 1/2 cup at a time, to fully incorporate; if the mixture is still too soft and loose, add more sugar. Add mint and vanilla extract, followed by the salt. Add a few drops of food coloring to achieve the desired tint. Add the half and half and beat to make the filling fluffy and light.
Slice the cake and fill
- Stick a toothpick into the halfway point at each side of the cake; four toothpick markers work well. Use a knife to barely slice into the cake above each toothpick. Continue to use a long-bladed knife to slice all the way through, or use a long piece of unwaxed floss with the toothpicks as a guide to divide the cake evenly in half.
- Place the base of the cake on a serving plate. Spread the filling over the cake. Place the top of the cake over it, cut side down.
Make the glaze
- Microwave the half & half in a microwave-safe bowl for about a minute, until hot. Stir in the chocolate chips and salt. Stir, stir, stir until the chocolate is smooth and glossy. Let cool about 5 minutes to thicken, then slowly pour and spread glaze over the cake. Let sit at room temperature or in fridge to set, then slice in and enjoy!
- Store cake in fridge. Exposed sides of the cake will dry out more, but it will still be tasty. Keeps for at least 4 days.


