


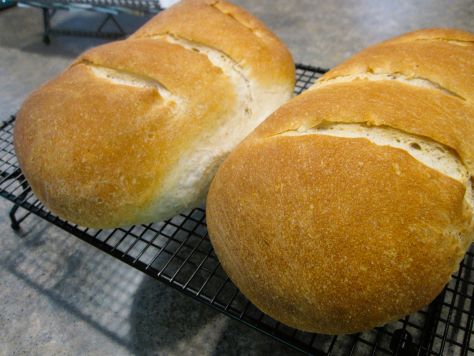
Bready or Not: Sourdough French Bread started in the Bread Machine (2 loaves)
Fresh French Bread is one of the best things on the planet. With your bread machine and a little bit of effort, you can create this wonder at home!
(Of course, you don’t NEED a bread machine to make the dough. You can just use the ingredients and mix by hand. This recipe aims for greater accessibility, though, for those who are crunched for time, have conditions like arthritis, or simply hate kneading.)
This recipe produces two loaves. A food scale will make for more precise results, both in assembling ingredients and dividing the dough later on.
Greatly modified from Making Artisan Breads in the Bread Machine by Michelle Anderson (a book I highly recommend).
Bready or Not: Sourdough French Bread started in the Bread Machine (2 loaves)
A bread machine makes this bread much easier to create, and the result is delicious! The baking process includes making some steam in the oven. That creates an authentic French-style crust. Recipes makes 2 loaves.
Equipment
- food scale
- bread machine
- food thermometer
- parchment paper
- baking sheet
- cake pan
Ingredients
- 1 1/2 cups active sourdough starter (around 350 grams)
- 3/4 cups lukewarm water (180 ml) about 100-110 degrees
- 2 1/2 Tablespoons white sugar (31 grams)
- 2 teaspoons sea salt
- 4 cups bread flour (480 grams)
- 1 1/2 teaspoons instant dry yeast or bread machine yeast
Instructions
- Most bread machines call for adding liquids to the bucket first. Therefore, place the starter and water inside. Use fingertips to whisk them together. Add sugar and salt, followed by the flour and yeast. Start the machine on dough mixing mode.
- Monitor the dough as it mixes. If it seems especially lumpy, drizzle in some extra water until the texture smooths out.
- Once the dough is done, measure it on a food scale to divide in half. Sprinkle extra flour on a clean work surface. Press dough out to a flat rectangle, about 10 inches long, then fold inward as if folding a sheet to go in an envelope. Pinch the seam together while gently elongating bread. Place seam underneath. Set loaf on parchment paper. Repeat with other half of dough.
- Let rise in a warm spot in the kitchen or in an oven on proof mode for an hour or so, until loaves look doubled. If loaves were in warm oven, remove them so the oven can preheat at 400 degrees. On a lower oven rack, place something like a metal cake pan that is an inch or two in depth so that it can heat as well.
- Once the oven is preheated, use a French lame or knife to slash the top of the loaf so that it can vent while baking. Being VERY careful to not overfill or get scalded by steam, pour water into the hot pan in the oven. Immediately place the risen loaves on the rack above and close the oven (and don’t open it again until the bread looks done!).
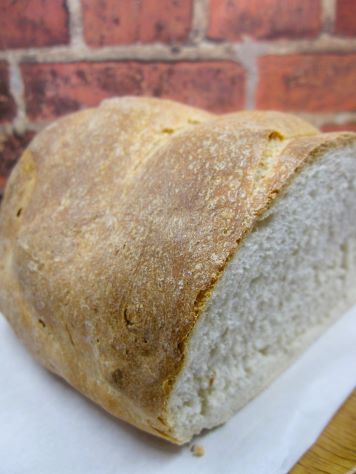
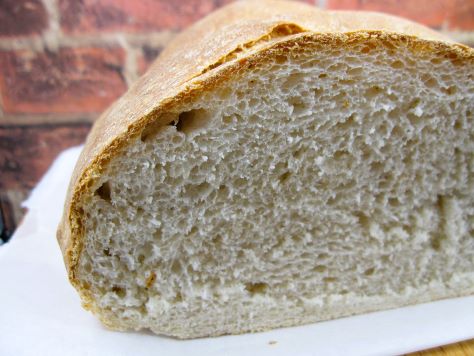
- Bake for 20-25 minutes, until loaves are golden and sound hollow when tapped. A check with a food thermometer should find an interior temperature over 190 degrees.
- Let loaves cool at least 30 minutes before slicing in. Bread will keep in a sealed bag at room temperature for up to 3 days. It can also be frozen right after cooling, and will keep well for up to a month there.
