Bready or Not: Maple Nut Pie Bars
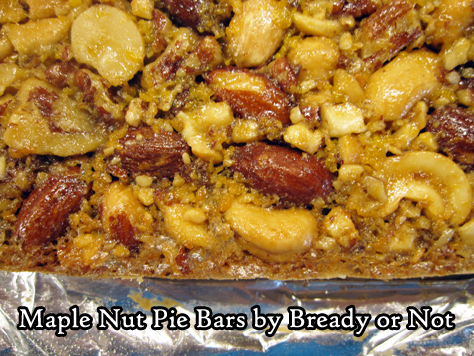
Bready or Not returns to the theme of maple goodness with these delicious Maple Nut Pie Bars.
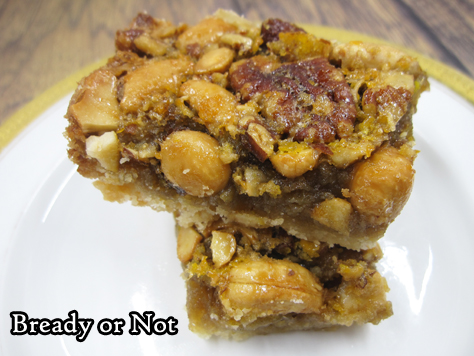
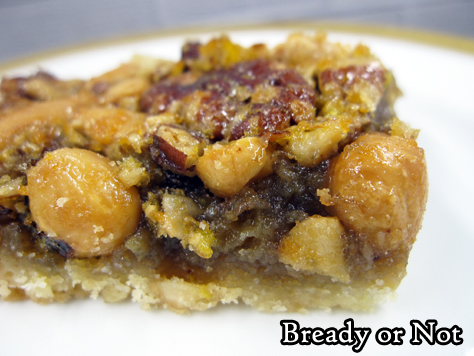
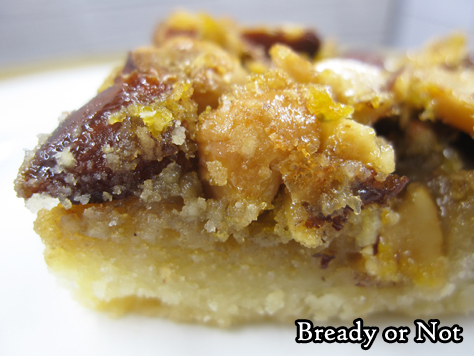
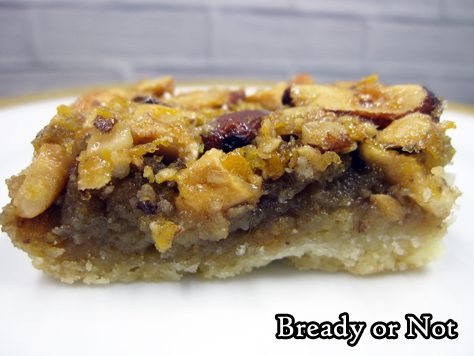
These are like pecan pie, but BETTER because they are portable and easily shared. And really, I love the variety of nuts.
That ‘easily shared’ bit is important, as this recipe bakes up an entire 13×9-inch dish of goodness. That’s quite a bounty to keep to oneself.
Each bar is exquisite, too: a shortbread base covered with sweetened mixed nuts. The variety of tastes and textures is perfection.
Store these in the fridge when all is done, and note that you can also freeze them for later. Make the goodness last even longer!
Modified from Brownies & Bars Magazine.
Bready or Not: Maple Nut Pie Bars
Ingredients
- 1 1/2 cups all-purpose flour
- 2/3 cup confectioners' sugar
- 1/4 teaspoon salt
- 2/3 cup unsalted butter room temperature
- 3 eggs room temperature
- 1 1/4 cups mixed nuts chopped
- 3/4 cup brown sugar packed
- 3/4 cup pure maple syrup
- 3 Tablespoons unsalted butter melted
- 1/2 teaspoon maple flavor or substitute 1 teaspoon vanilla extract
Instructions
- Preheat oven at 350-degrees. Line a 13x9 pan with foil and grease with nonstick spray or butter. Set aside.
- In a medium bowl, stir together the flour, powdered sugar, and salt. Use a pastry blender or a knife and fork to cut in the butter until it resembles small crumbs. Evenly press into the bottom of the pan. Bake for about 20 minutes, until light brown.
- As that bakes, make the filling. In a medium bowl, lightly stir the eggs. Add the mixed nuts, brown sugar, maple syrup, melted butter, and maple flavoring. Spread over the hot crust.
- Bake for another 18 to 20 minutes, until top is golden and set. Cool in pan for several hours. Lift contents onto a cutting board using the foil and slice into bars.
- Store with waxed paper between layers in a sealed container in fridge. Bars can also be frozen for later enjoyment.
- OM NOM NOM!
What’s New in May
– The F is for Fairy anthology is out NOW! I wrote the story for the letter Z. Get the book in print or ebook.
– I can now say I’ll have stories in TWO Chicken Soup for the Soul books this year: Life Lessons from the Cat (released on May 14th) and It’s Beginning to Look a Lot like Christmas (October 14th).
– Future SF Issue 2 includes my story about a cat lady on the moon, “The Peculiar Gravity of Home.” Wulf Moon narrated a fantastic podcast version. Kirkus Reviews had incredibly nice things to say about it, too.
Read MoreBready or Not: Oreo Thins Cake Batter Blondies [cake mix]
I’m no baking snob. Cake mix has a place in my kitchen when I need quick-fix baked goods. This recipe for Oreo Thins Cake Batter Blondies is fantastic.
I made a different variation of this back on my old LiveJournal lo those many years ago. In that one, I used regular Golden Oreos as Oreo Thins didn’t exist yet.
Both styles of Oreos are great in this recipe. If you use Thins, use the entire package, chopped-up. For regular Oreos, use about 2 cups of chopped cookie.![Bready or Not: Oreo Thins Cake Batter Blondies [cake mix]](https://www.bethcato.com/blog/wp-content/uploads/2019/02/Salted-Caramel-Oreo-Cake-Mix-Blondies10_sm.jpg)
There IS such a thing as too many Oreos in a recipe like this. They can overwhelm the batter and make everything (a delicious) crumbly mess when it’s cut. I speak from experience.
Use whatever kind of Oreo you want here. I used Oreo Thins Salted Caramel when I took these pictures. Use Golden Oreos, regular Oreos, or any seasonal remix–and choose different color sprinkles to match!
Sprinkles make everything better, right?
Bready or Not: Oreo Thins Cake Batter Blondies [cake mix]
Ingredients
- 18.25 oz yellow cake mix
- 1/4 cup canola oil
- 1 egg
- 1/3 cup milk or half and half
- 1 package Oreo Thins crumbled
- 1/2 cup sprinkles
- 1/2 cup white chocolate or chocolate chips, optional
Instructions
- Preheat oven at 350-degrees. Line a 13x9 dish with foil and apply nonstick spray or butter.
- In a large bowl, mix together the cake mix, oil, egg, and milk. The batter should be thick. Fold in the Oreo Thins and sprinkles [and chocolate chips, if using].
- Pour into pan and even out. Bake for 25 to 30 minutes, until middle passes toothpick test. Cool completely. Use foil to lift contents onto cutting board to slice into squares. Store in a sealed container.
- OM NOM NOM!
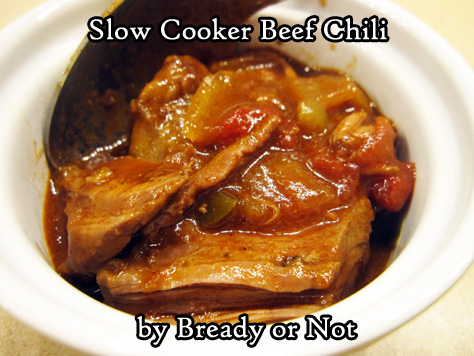
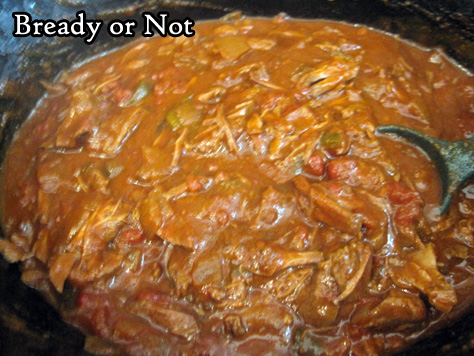
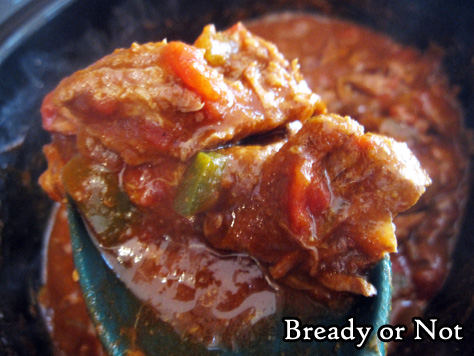
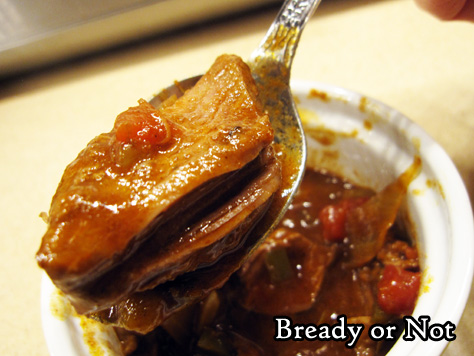
Bready or Not: Slow Cooker Beef Chili
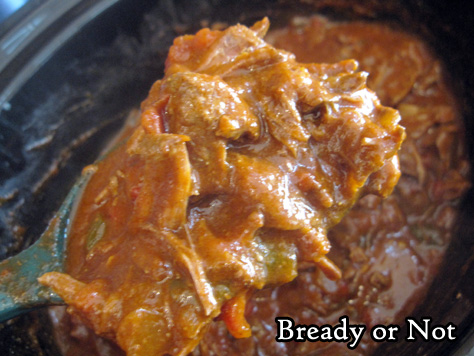
Make a big ol’ pot of meat with this recipe for Slow Cooker Beef Chili!
My husband loves a good, spicy chili. He does not like beans. This recipe is his favorite.
I find it simple to put together, too. The only fussy thing is taking the time to brown the meat, but I can typically do that in two batches.
There are several heat levels of Rotel-like canned tomatoes and chilies out there. There are also tomato sauce cans and boxes with added spice. In our case, I add a hefty sprinkle of a local Hatch New Mexican seasoning mix.
These make for great leftovers, too, and you can even throw some in a freezer bag to heat up later on!
Modified from The Everything Soup, Stew, & Chili Cookbook edited by Belinda Hulin.
Bready or Not: Slow Cooker Beef Chili
Ingredients
- 2 - 2 1/2 pounds beef stew meat or chuck roast, chopped into 1-inch cubes
- 2 Tablespoons vegetable oil
- 1 whole onion diced
- 1 green bell pepper cored and diced
- 2 Tablespoons all-purpose flour
- 4 Tablespoons chili powder hot or otherwise
- 1 teaspoon ground cumin
- 1 teaspoon salt
- 1/2 teaspoon garlic powder
- 10 ounce can tomatoes and green chilies like Rotel
- 14-15 ounces tomato sauce canned or boxed
- additional spices or sauces to preference
Instructions
- In a skillet or wok, brown beef in vegetable oil over high heat. Use a slotted spoon to transfer beef to the crock pot. Add onion to pan and cook for just a few minutes to soak up the drippings. Add onion to the slow cooker, followed by the green bell pepper.
- In a small bowl, combine the flour, chili powder, cumin, and salt. Sprinkle over the meat. Pour the cans of chili and tomatoes and the tomato sauce over the meat. Stir with a large spoon.
- Place lid on slow cooker and cook on low for 6 to 8 hours, or on high for 3 to 4 hours. Turn heat to low, and break the meat into smaller pieces. It should flake apart under little pressure. Taste and adjust seasonings as desired.
- Eat and enjoy. Keep leftovers in fridge up to 3 more days, or freeze for later enjoyment.
- OM NOM NOM
Bready or Not: Cranberry-Candied Ginger Blondies with Macadamia Nuts
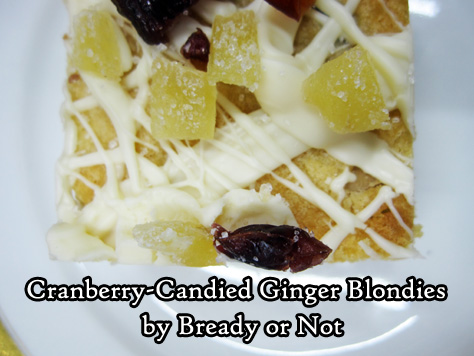
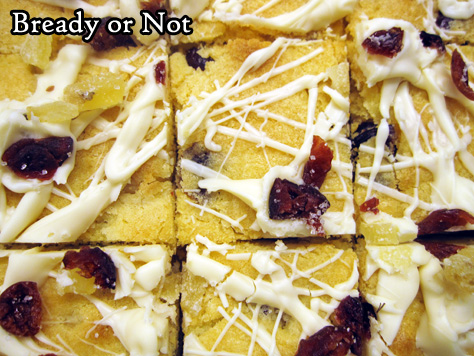
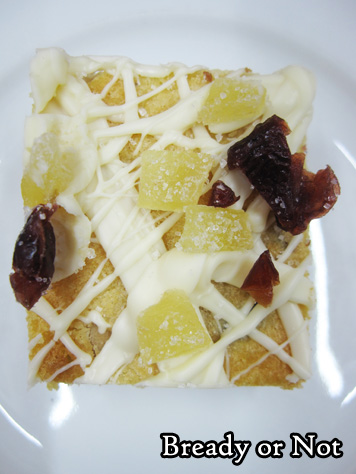
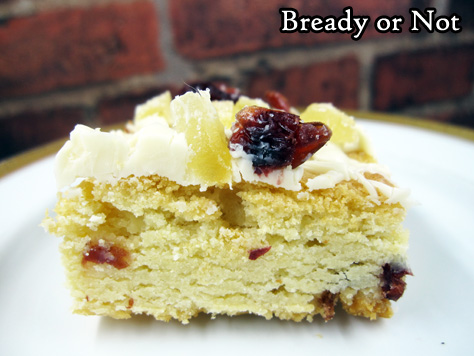
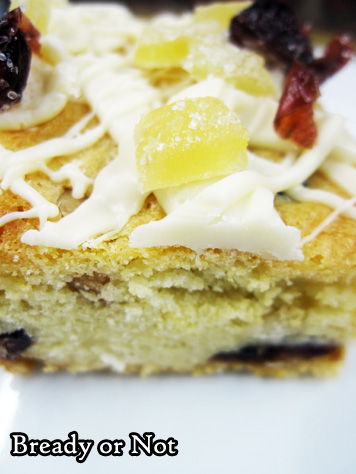
Cranberry-Candied Ginger Blondies with Macadamia Nuts! The name is a mouthful, but I assure you, the goodies make for delicious mouthfuls, too.
If the basic ingredients sound familiar, they should. I did a similar-sounding recipe just recently, but you’ll notice, they don’t look the same–nor do they taste the same, but both are excellent.
This recipe has a different sort of soft chewy texture, plus macadamia nuts. Macadamia nuts make almost everything better, right?
I think these look especially pretty because of the topping as well. You have to sprinkle on the cranberry and ginger bits fast at the end to make sure they stick in the melted white chocolate.
It’d be a tragedy if the pieces fell off. Then you have to eat them all. Darn.
Modified from Brownies & Bars Magazine.
Bready or Not: Cranberry-Candied Ginger Blondies with Macadamia Nuts
Ingredients
Blondies
- 11 oz white chocolate chips
- 1/2 cup unsalted butter room temperature
- 3 eggs
- 1/2 cup white sugar
- 1 3/4 cup all-purpose flour
- 1 teaspoon vanilla extract
- 1 cup macadamia nuts coarsely chopped
- 1/2 cup dried cranberries
- 2 Tablespoons candied ginger chopped
Topping
- 4 oz white chocolate chips
- 1 Tablespoon shortening
- 2 Tablespoons candied ginger chopped
- 1 Tablespoon dried cranberries
Instructions
- Preheat oven at 350-degrees. Line a 13x9 pan with foil and apply nonstick spray or butter.
- In the microwave or in a saucepan on the stovetop, at low heat warm the bag of white chocolate chips until melted. In the microwave, that means brief bursts at low power and stirring well between each pass--watch it, as it can burn fast! Stir in the butter until it's melted. Set aside to cool for 15 minutes.
- Whisk the eggs and sugar into the white chocolate mix followed by the flour and vanilla. Fold in the macadamia nuts, cranberries, and candied ginger. Spread evenly in the ready pan.
- Bake for 28 to 30 minutes, until top is light brown and center passes the toothpick test. Cool pan completely.
- In the microwave or in a saucepan on the stovetop, melt the white chocolate and shortening over low heat until smooth. Drizzle over the bars. Immediately sprinkle the remaining ginger and cranberries over the top and gently tap them into the drizzled chocolate. Let set at room temperature or fridge.
- Use the foil to lift contents onto cutting board. Slice into bars. Store in sealed containers with waxed paper between the layers.
- OM NOM NOM!




![Bready or Not: Oreo Thins Cake Batter Blondies [cake mix]](https://www.bethcato.com/blog/wp-content/uploads/2019/02/Salted-Caramel-Oreo-Cake-Mix-Blondies3_sm.jpg)
![Bready or Not: Oreo Thins Cake Batter Blondies [cake mix]](https://www.bethcato.com/blog/wp-content/uploads/2019/02/Salted-Caramel-Oreo-Cake-Mix-Blondies9_sm.jpg)
![Bready or Not: Oreo Thins Cake Batter Blondies [cake mix]](https://www.bethcato.com/blog/wp-content/uploads/2019/02/Salted-Caramel-Oreo-Cake-Mix-Blondies7_sm.jpg)
![Bready or Not: Oreo Thins Cake Batter Blondies [cake mix]](https://www.bethcato.com/blog/wp-content/uploads/2019/02/Salted-Caramel-Oreo-Cake-Mix-Blondies12_sm-150x150.jpg)
