Sunday Quote agrees
Read More“I write to give myself strength. I write to be the characters that I am not. I write to explore all the things I’m afraid of. ”
~Joss Whedon
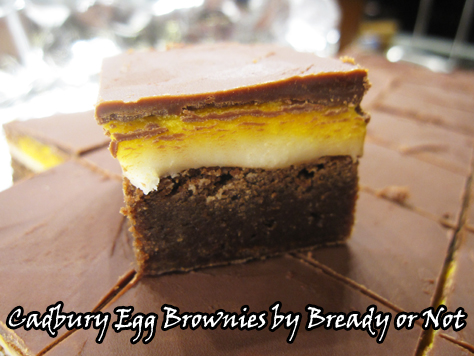
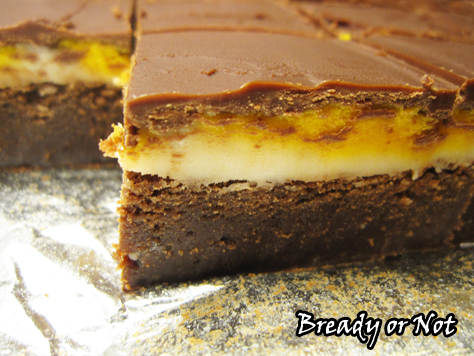
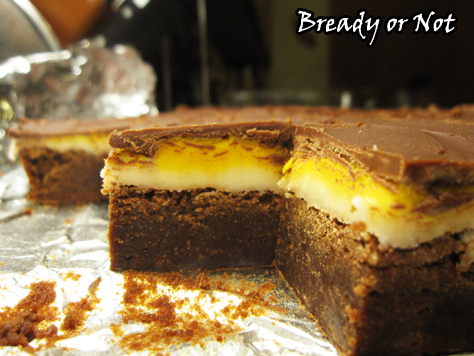
Bready or Not: Cadbury Egg Brownies
Three years ago, I shared my recipe for Cadbury Egg Brownies. Today we revisit that glorious recipe–and double it.
Because it obviously didn’t deliver enough sweetness the first time around, right?
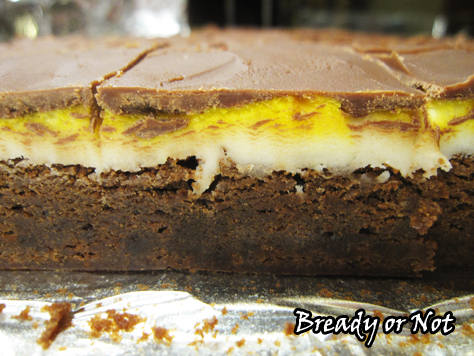
Here’s the thing about these brownies: they taste like Cadbury Eggs, but BETTER. That’s because they aren’t as cloying sweet. The brownie layer balances things out in a magical way.
This is a time-consuming recipe because of the layers and the refrigeration time involved, but it’s not hard. The first stage is the only one that requires baking.
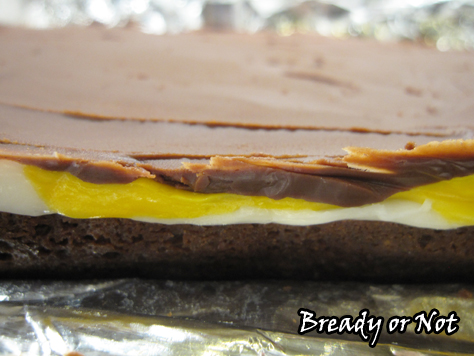
I will forever be amazed at how the cream filling layer turns out, too. It’s eerily like the non-runny portion of the Cadbury Egg filling. But you make it yourself. It boggles the mind.
Even better, these brownies will keep as long as a week if sealed and kept in the fridge. Trust me, there is NOTHING healthy about these. You want to make these to share with a crowd!
I’ve modified this a good bit, but I must give credit to the original recipe from Love and Oil. They shared something amazing.
Bready or Not: Cadbury Egg Brownies
Equipment
- 9x13 pan
- aluminum foil or parchment paper
- uneven spatula
- microwave safe bowl or double boiler
Ingredients
For Brownies:
- 1 1/3 cup all-purpose flour
- 1/4 cup cocoa powder sifted
- 1 teaspoon salt
- 1 teaspoon espresso powder optional
- 12 ounces milk chocolate chopped
- 1 cup unsalted butter (2 sticks) cut into cubes
- 1/2 cup white sugar
- 1 cup light brown sugar packed
- 4 large eggs room temperature, lightly beaten
- 2 teaspoons vanilla extract
For Cream Filling:
- 1/2 cup light corn syrup
- 4 tablespoons unsalted butter (half stick) room temperature
- 1 teaspoon vanilla extract
- 1/4 teaspoon salt
- 3 cups confectioners' sugar sifted
- yellow food coloring gel
For Glaze:
- 8 ounces milk chocolate chopped
- 4 Tablespoons unsalted butter half stick, cut into cubes
Instructions
Brownie stage
- Preheat oven to 350-degrees. Line the bottom and sides of a 9x13-inch pan with aluminum foil or parchment paper, making sure to overlap the sides to create handles. Cover with nonstick spray.
- Sift together flour, cocoa, and salt (and espresso powder, if using) in a small bowl and set aside.
- Melt chocolate and butter together in a double boiler or in slow increments in microwave. Stir until smooth. Whisk in sugars and stir until dissolved and mixture has cooled slightly, then add eggs and vanilla extract until just combined.
- Fold together the chocolate and flour mixes until just incorporated. Pour into prepared pan.
- Bake for 25 to 30 minutes or until toothpick inserted into the middle comes out clean. Transfer pan to a wire rack and allow to cool completely.
Cream filling stage
- Beat together corn syrup, butter, vanilla, and salt on medium-high speed until smooth. Add powdered sugar, a little bit at a time, mixing until creamy.
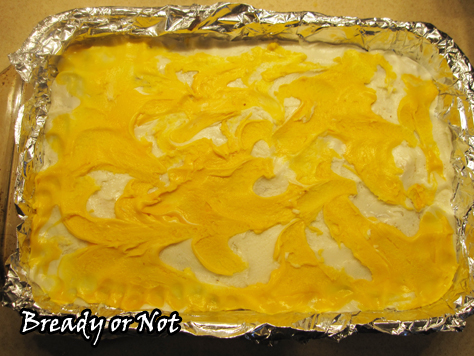
- Dump 3/4 of the cream mixture on top of cooled brownies and spread into an even layer. Add a drop of yellow food coloring gel to remaining cream mixture and stir until evenly colored. Drop dollops of yellow cream on top of white layer, and then swirl gently with a spatula. Refrigerate for at least 2 hours or until set.
Glaze stage
- Slowly melt the chocolate and butter together in a double boiler or microwave bowl. Stir until smooth. Pour over cream filling, carefully spreading into a thin, even layer.
- Chill in the fridge long enough for the chocolate to not quite harden, 15-20 minutes, OR let it chill for several hours and then let set at room temperature for about 15 minutes. The chocolate needs to be soft enough to cut through without cracking, but not soft enough to smear with each cut.
- Use the foil/paper to lift the entire block out of the pan and onto a cutting board. Using a large sharp knife, cut into 2-inch squares. Keep in sealed container in fridge; brownies will keep upward of a week.
OM NOM NOM!
Read More
Sunday Quote reads and reads and reads
Read More“You should write because you love the shape of stories and sentences and the creation of different words on a page. Writing comes from reading, and reading is the finest teacher of how to write.”
~Annie Proulx
Announcing my new book deal: ROAR OF SKY
Yesterday, I finished writing the rough draft I began on March 1st.
94,555 words written in little over a month.
Today, I get to announce the details of that book: it’s the final volume in my Blood of Earth trilogy, Roar of Sky.
That means the full trilogy is:
Breath of Earth (out now)
Call of Fire (out on August 15th)
Roar of Sky (2018)
YAAAAAAAAAAYYYY!
#SFWAPro
Read MoreBready or Not: Hunter’s Cake
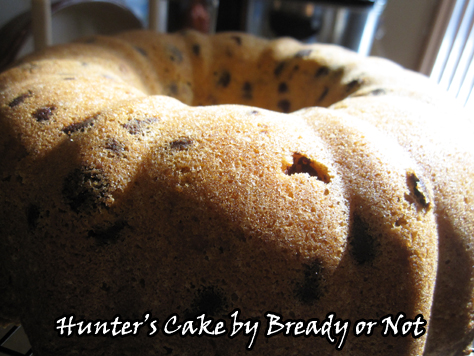
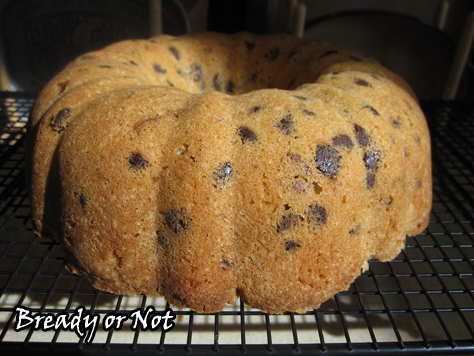
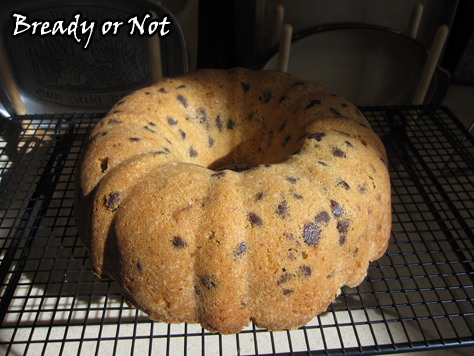
It’s April. We’re overdue for a cake recipe, yes? How about some Hunter’s Cake?
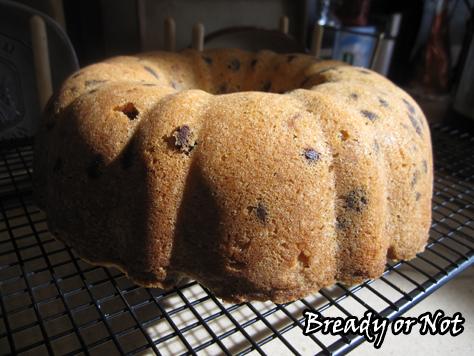
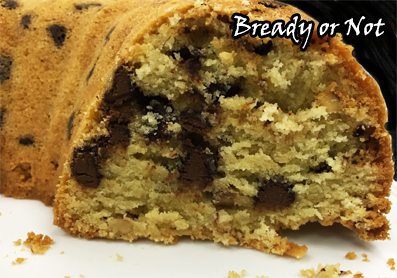
This is a cake that’s designed for some fantasy-style questing. The crumb is tender to eat but dense, so it doesn’t crumble much.
There’s no frosting, no fussiness. Wrap up slices of this cake to go in a lunch box, a picnic basket, a backpack, or Hobbit’s leather pouch.
Use whatever kind of chocolate you want. I used milk chocolate, because that’s what I tend to keep around. Whatever kind you use, be sure to coat the chocolate chips in flour before you add them to the batter. That will prevent them from sinking.
This cake is perfect to eat right out of hand. No fork required.
Modified from Rescued Recipes by Jan D’Atri in the Arizona Republic.
Bready or Not: Hunter's Cake
Ingredients
- 1 cup shortening
- 2 cups white sugar
- 2 teaspoons vanilla extract
- 1/4 teaspoon salt
- 6 eggs room temperature
- 2 cups all-purpose flour
- 8 ounces chocolate chips any kind
- 1 cup walnuts chopped
Instructions
- Preheat oven at 325-degrees. Grease and flour a Bundt pan, tube pan, or angel food cake pan.
- In a large bowl, beat together the shortening, sugar, vanilla, and salt. Add eggs one at a time until smooth, followed by most of the flour.
- In a small bowl, stir together the chocolate chips and remaining flour; this is important, as it will keep the chips from sinking in the batter as it bakes.
- Stir the floured chocolate and walnuts into the batter. Spoon the batter into the prepared pan.
- Bake for 55 minutes and use the toothpick test to check for doneness; bake longer if necessary. The top of the cake will be golden brown and will likely develop cracks.
- Let cool in pan for about 15 minutes, then invert onto a rack to completely cool. Store covered at room temperature. Cake is great to slice and pack for adventures!
- OM NOM NOM!
Read More


